
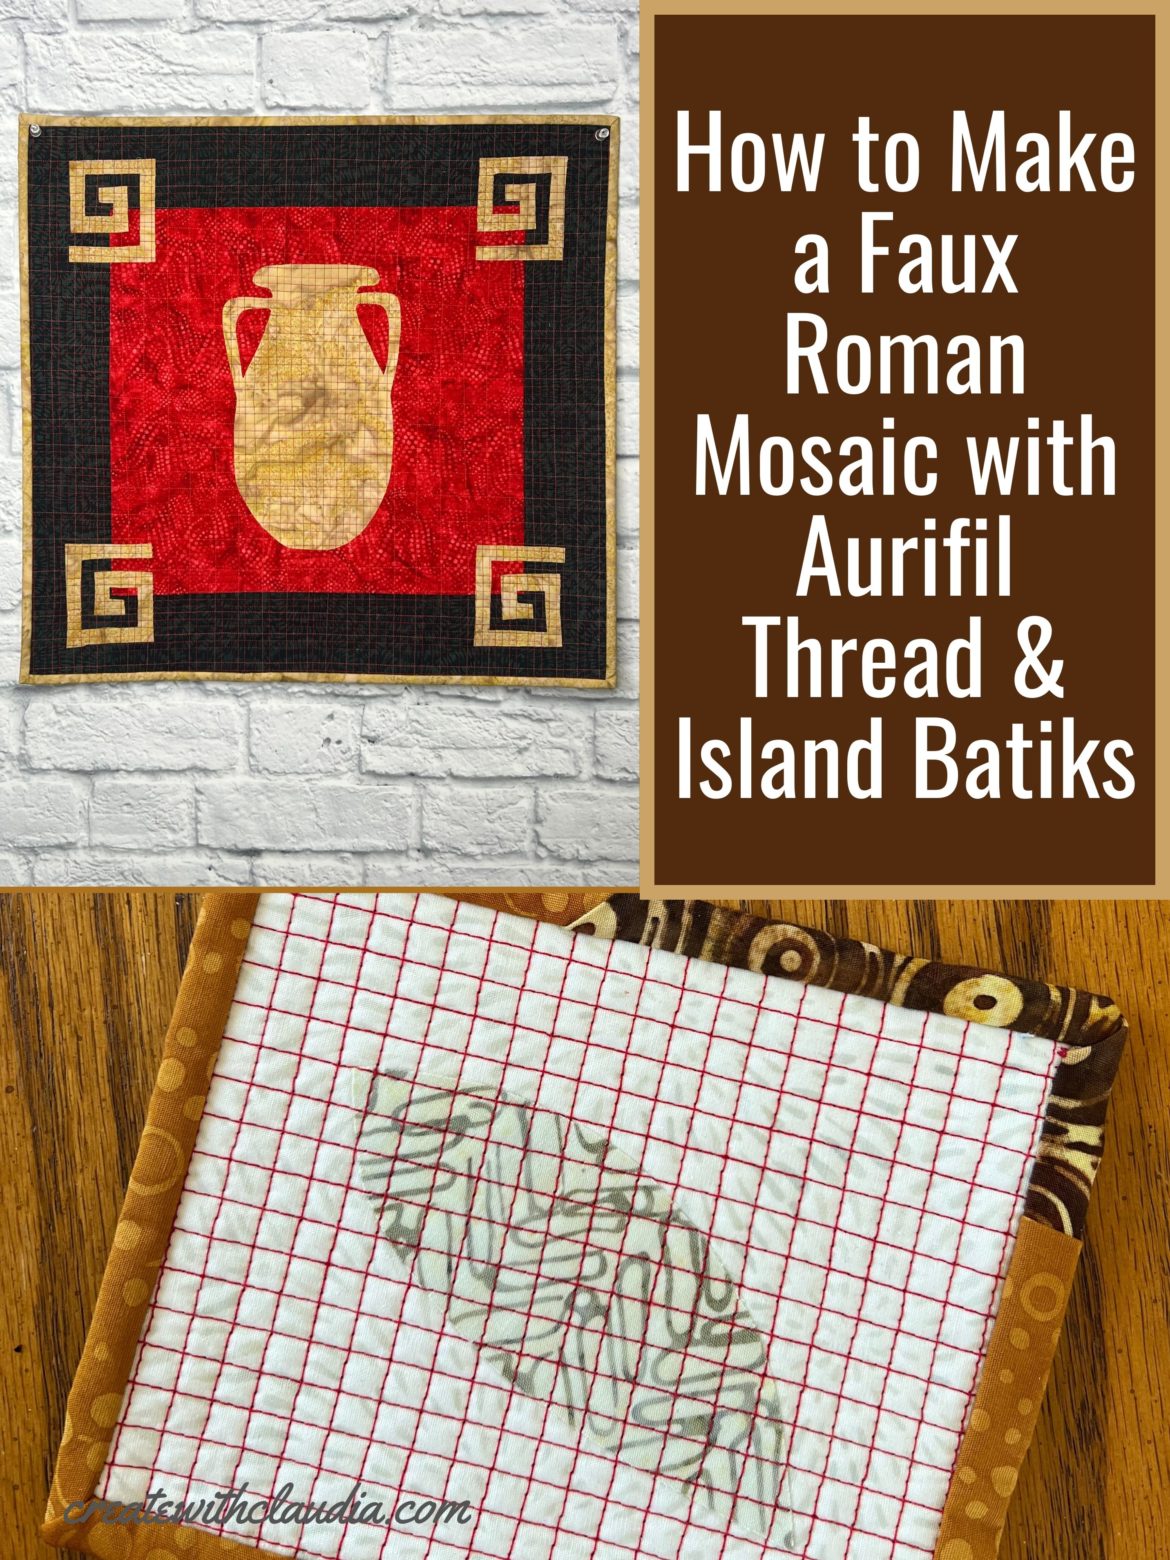
How to Make a Faux Roman Mosaic with Aurifil Thread and Island Batiks
If you ever have a chance to see the incredible Roman mosaics in Italy, they will take your breath away. Made with small pieces of stone, the designs are intricate and fascinating. Even more amazing, to me at least, is how many are intact or partially intact to this day. Why not try making your own masterpiece and learn how to make a faux Roman mosaic with Aurifil thread and Island Batiks.
This tutorial is part of my March project for the Island Batik ambassador project. Each month we are given a particular quilting/sewing challenge. This month was sponsored by Aurifil threads. All of the ambassadors received color builders based on various Italian cities. I was lucky enough to receive the gorgeous Pompeii Red one.
Disclosure: Items in this post were generously provided by Island Batik and Aurifil Thread.
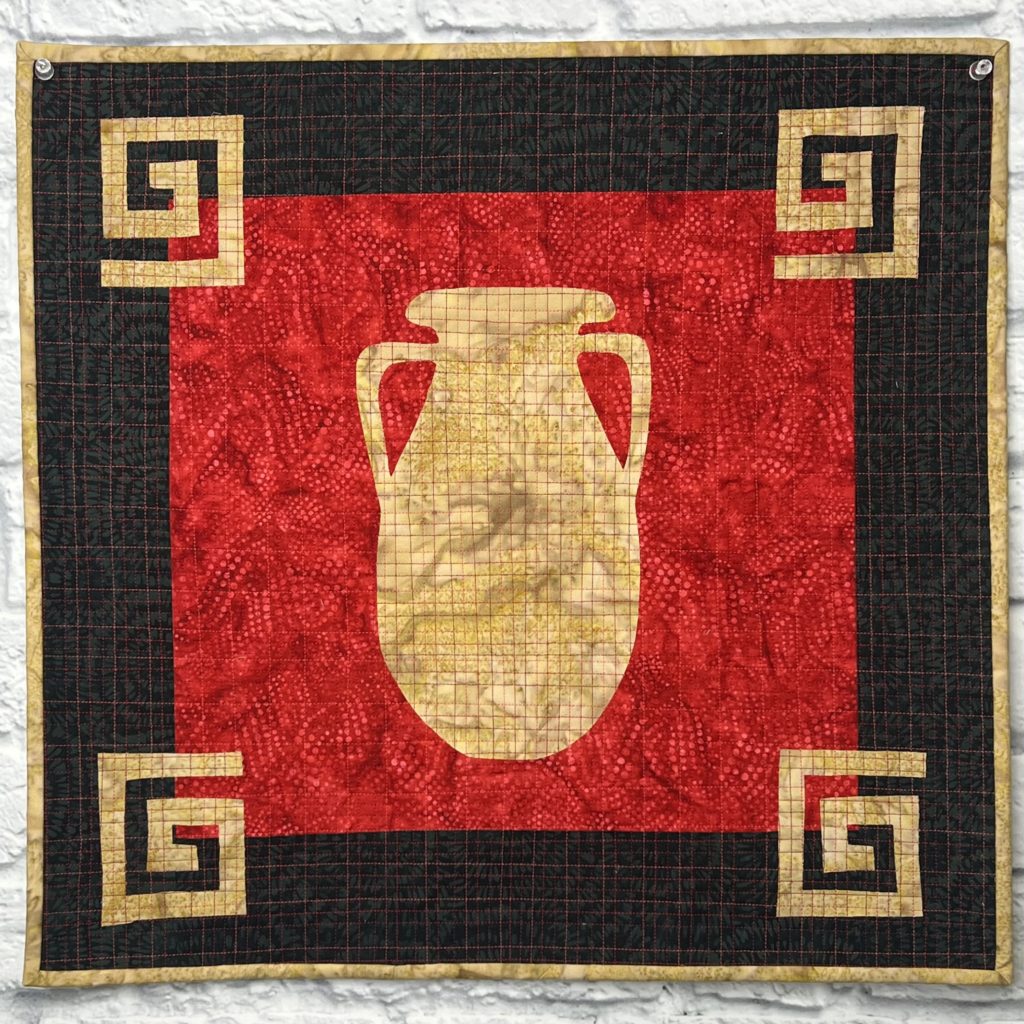
Immediately I knew that I wanted to make a mosaic like the ones that I had seen in Pompeii. As a result, I designed an Amphora mosaic for my March ambassador project . You can read all about it in my blog post.
It was such fun to make that I decided to show you how to make one too.
Video Tutorial
What You’ll Need
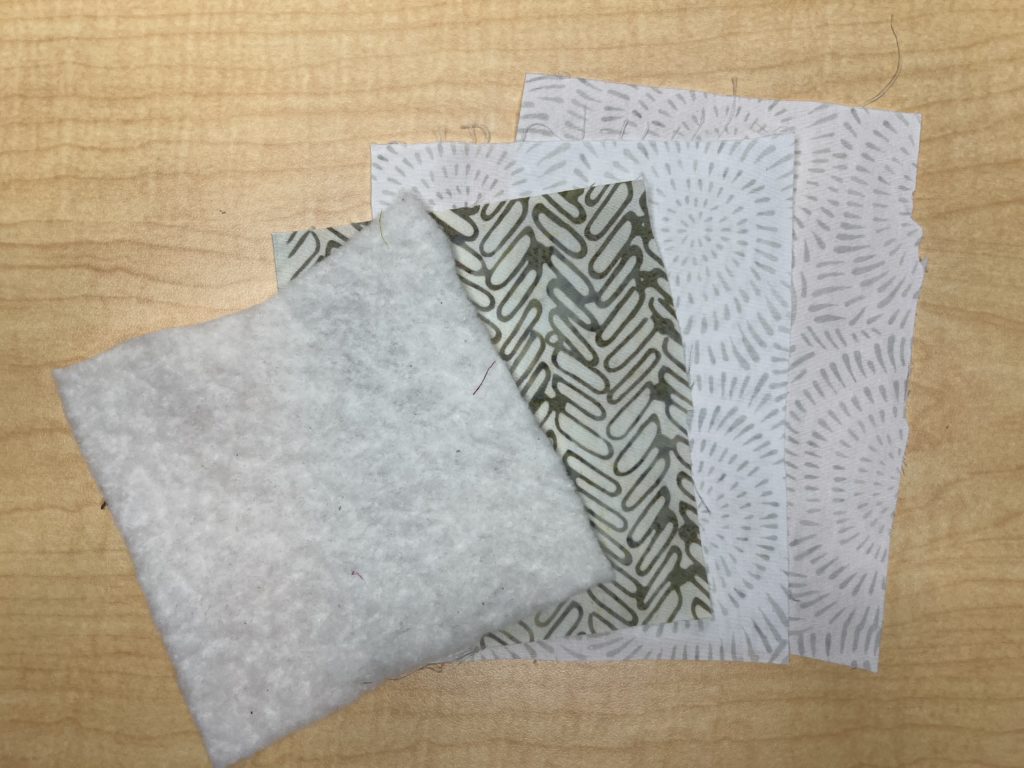
You basically need general quilting supplies to make your faux Roman mosaic.
3 pieces of fabric, one for the backing, one for the top (in my case the black and red pieced top), and one for the design shape.
1 piece of batting
Paper backed fusible web for appliqué shapes
Thread
1/4″ seam foot for your sewing machine
Items That May Help You With This Project
You can find many of the items that I used to make this project in my Amazon Store.
As an Amazon Associate I earn from qualifying purchases.
How to Make a Faux Roman Mosaic
Firstly, lay out your backing fabric, batting, a top fabric just like you would when making a quilt.
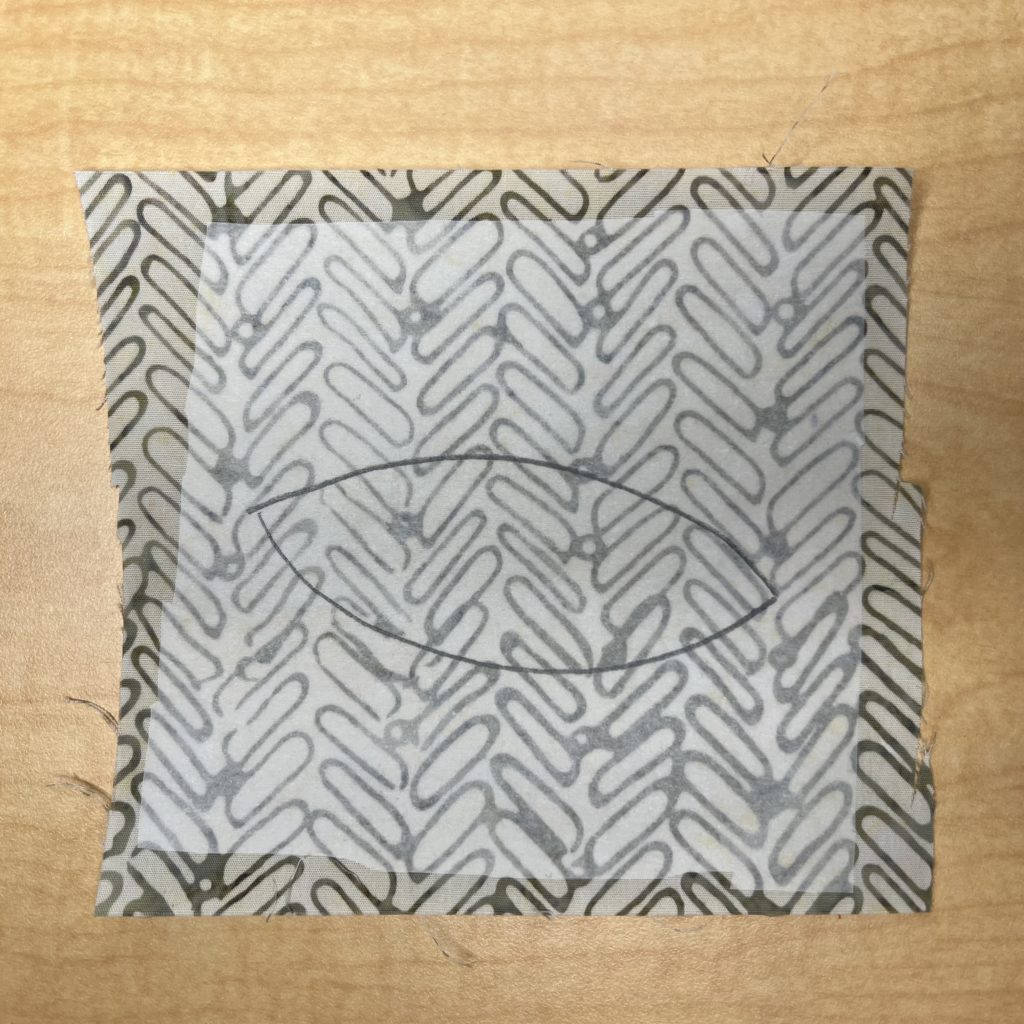
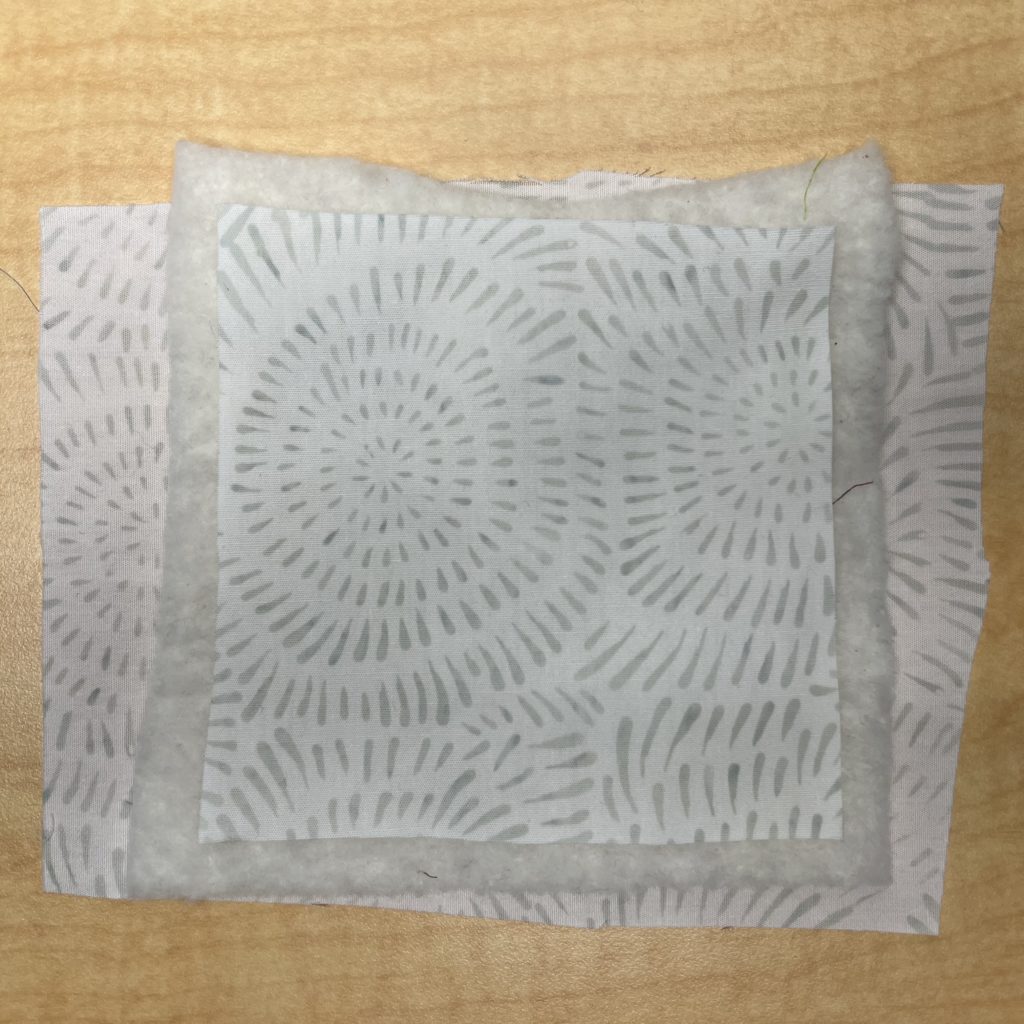
Secondly, following the manufacturer’s guidelines on your paper backed fusible web, adhere it to the back (wrong side) of the fabric you will be using for your design.
Then draw whatever shape you want on the paper backed fusible web. Alternatively, you can sketch out your design before you adhere the paper backed fusible web to your fabric.
Cut out the fabric shape.
Tip: If you are designing something directional, like a word, remember that it will be reversed when you put it on the fabric.
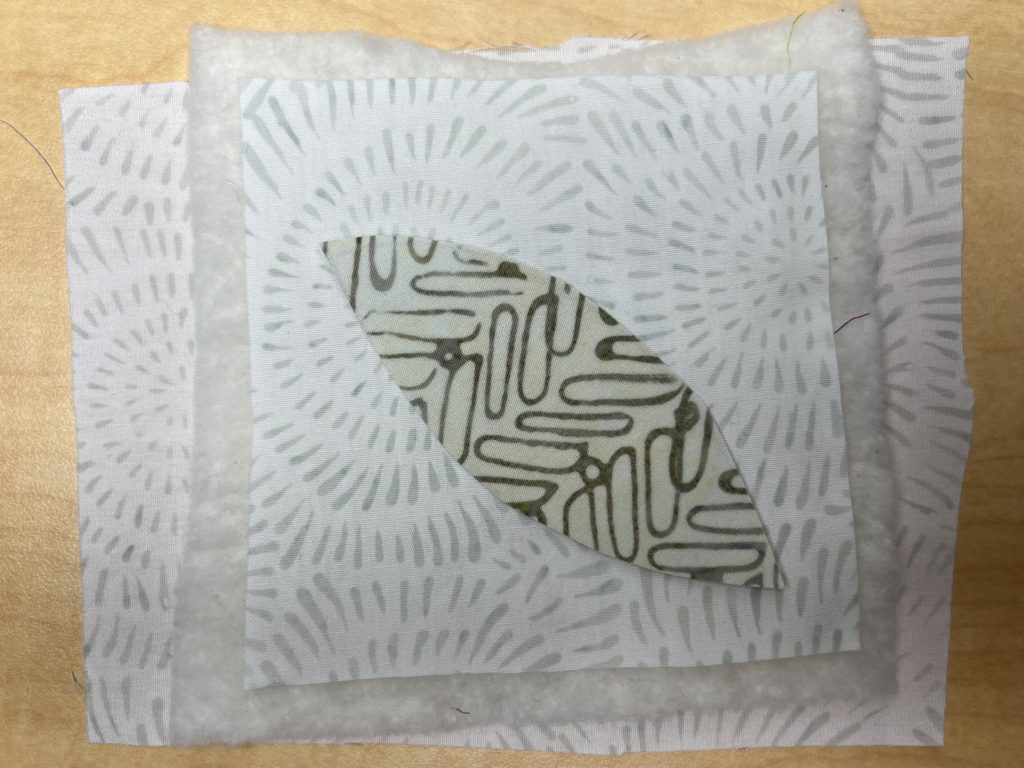
Thirdly, following the manufacturer’s guidelines, remove the paper backing and adhere the fabric shape to the top fabric.
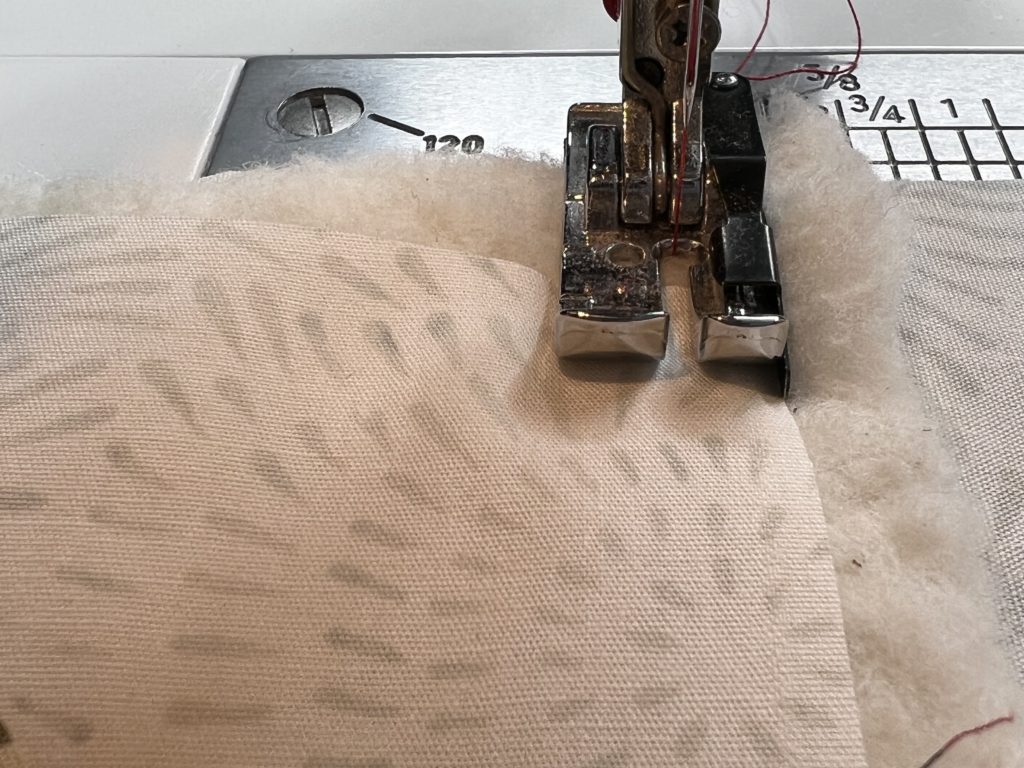
Now it’s time to do the mosaic stitching. Beginning on the right side, line up the 1/4″ seam foot edge to the edge of the fabric. Then stitch a straight line down, keeping the 1/4″ seam foot edge next to the edge of the fabric.
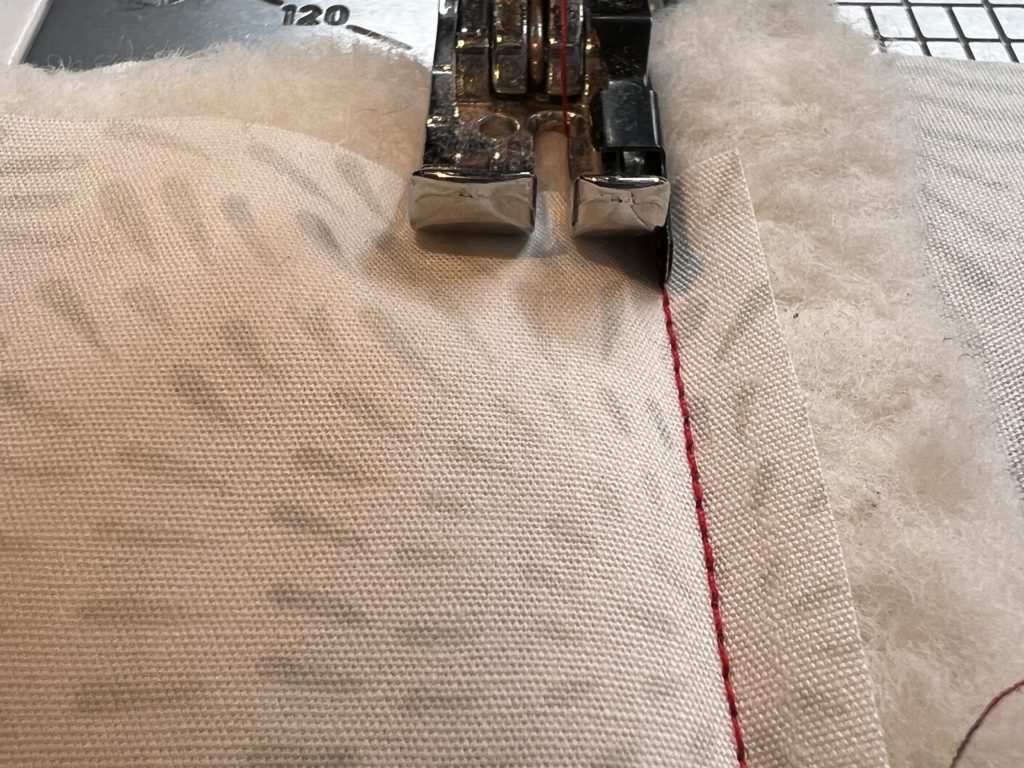
Go back up to the top of the fabric and lay the 1/4″ seam foot edge on top of the line you just stitched. Stitch down the quilt again.
Repeat until you have done this all the way across the project.
Finally, rotate the project and do the same stitching in the other direction to for a mosaic or grid pattern.
Finishing Your Mosaic
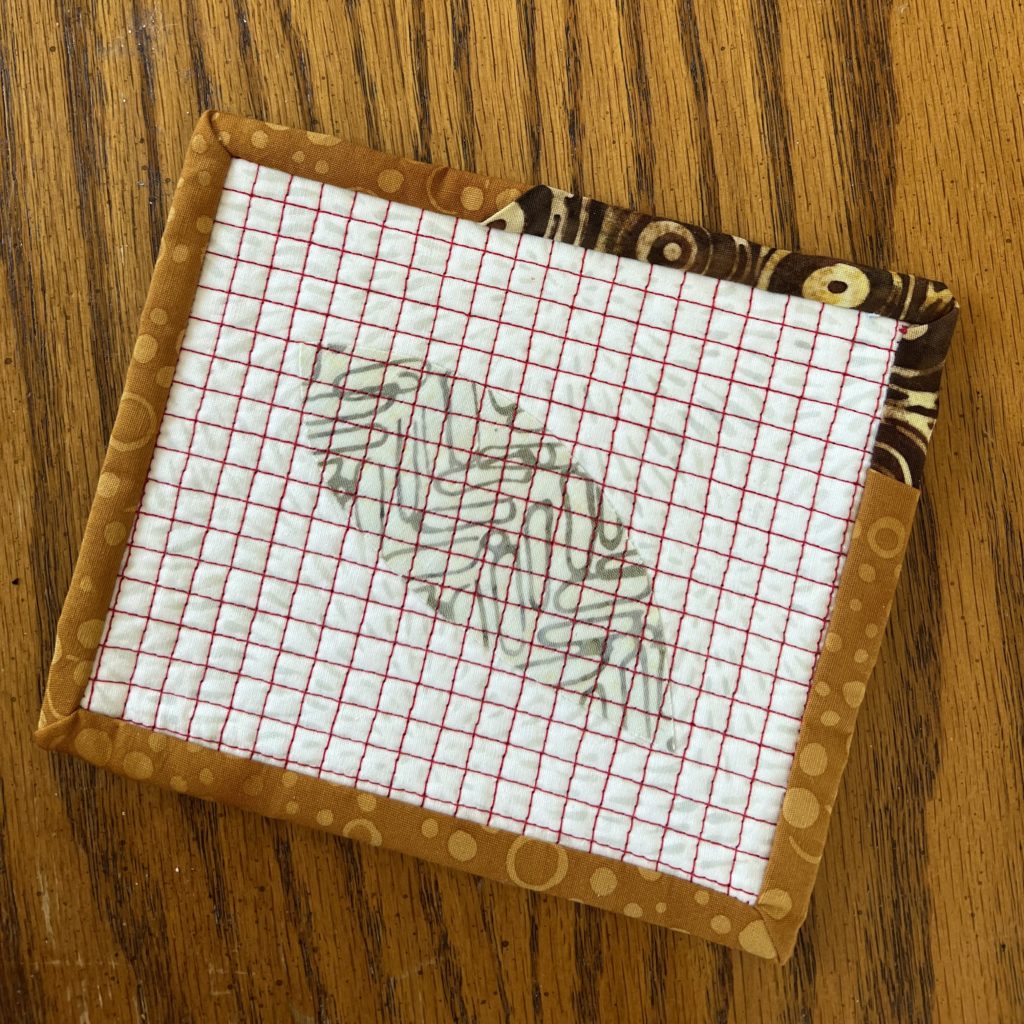
Cut away the excess batting and backing and even out the edges of your mosaic. Use a binding of your choice to finish up your faux Roman mosaic.
I think that this project would be so much fun to do with a child’s drawing or as a way to show off your own artistic skills. I hope you give it a try!
Happy Quilting! – Claudia
