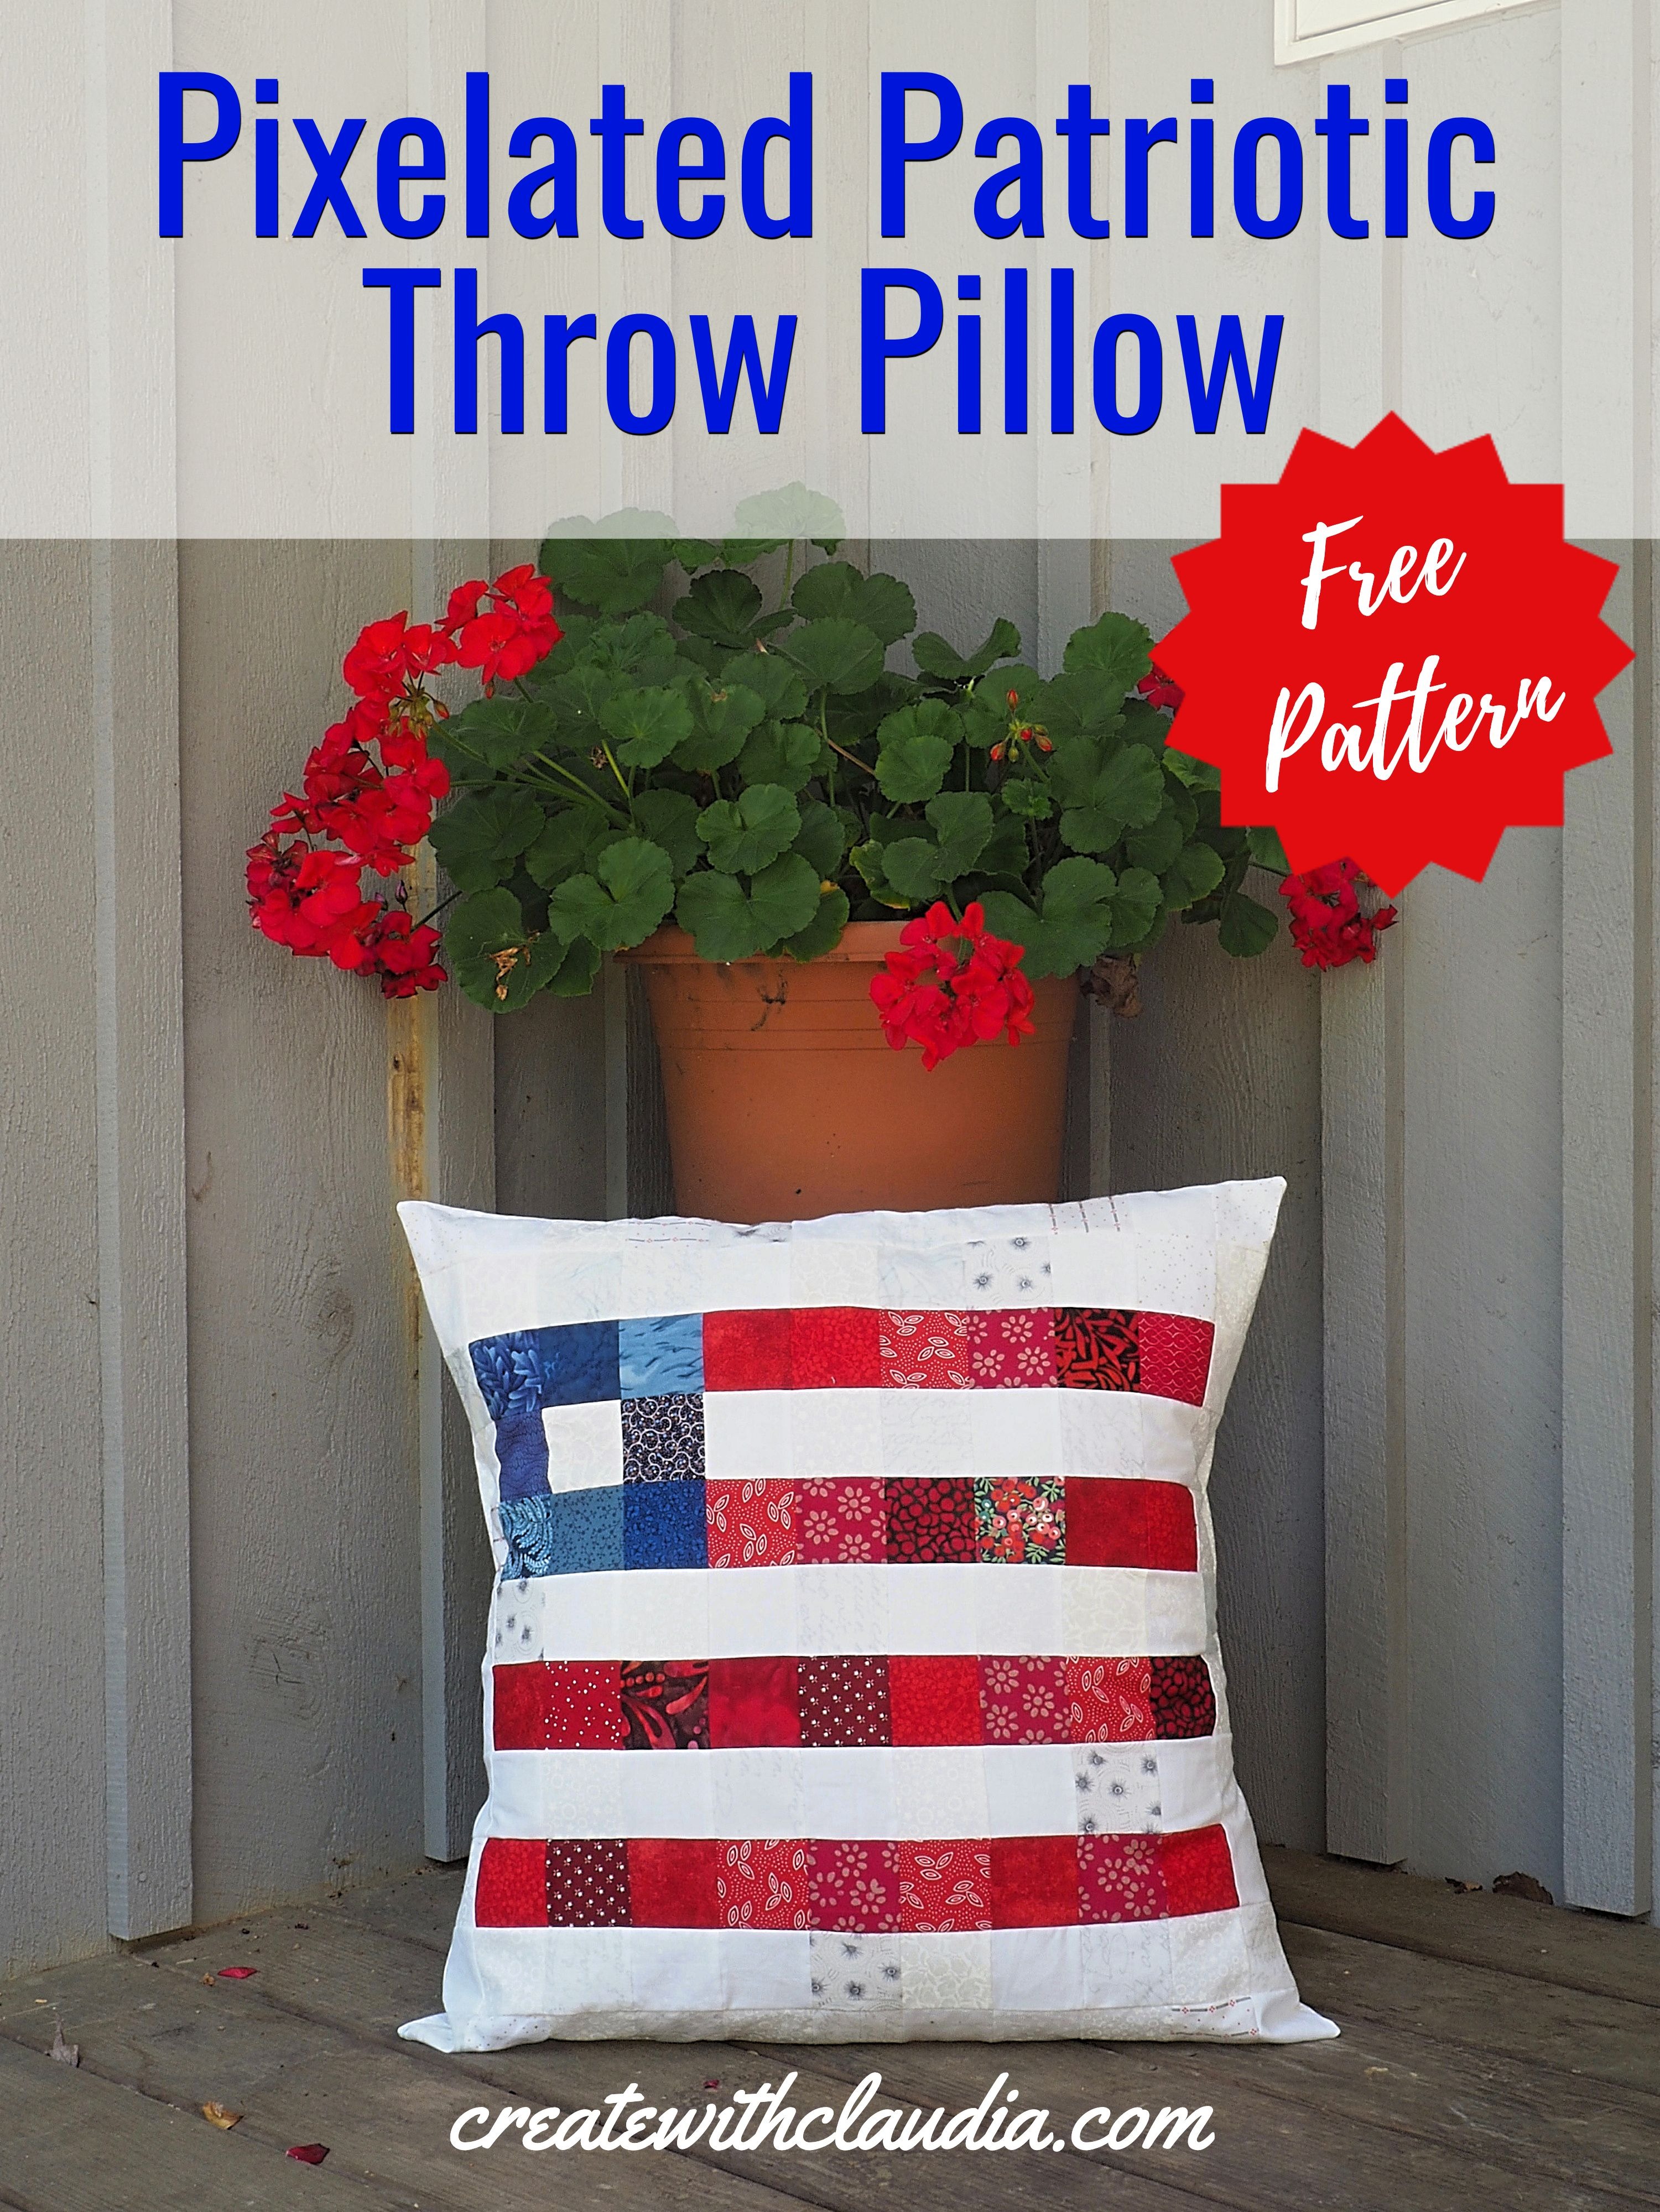
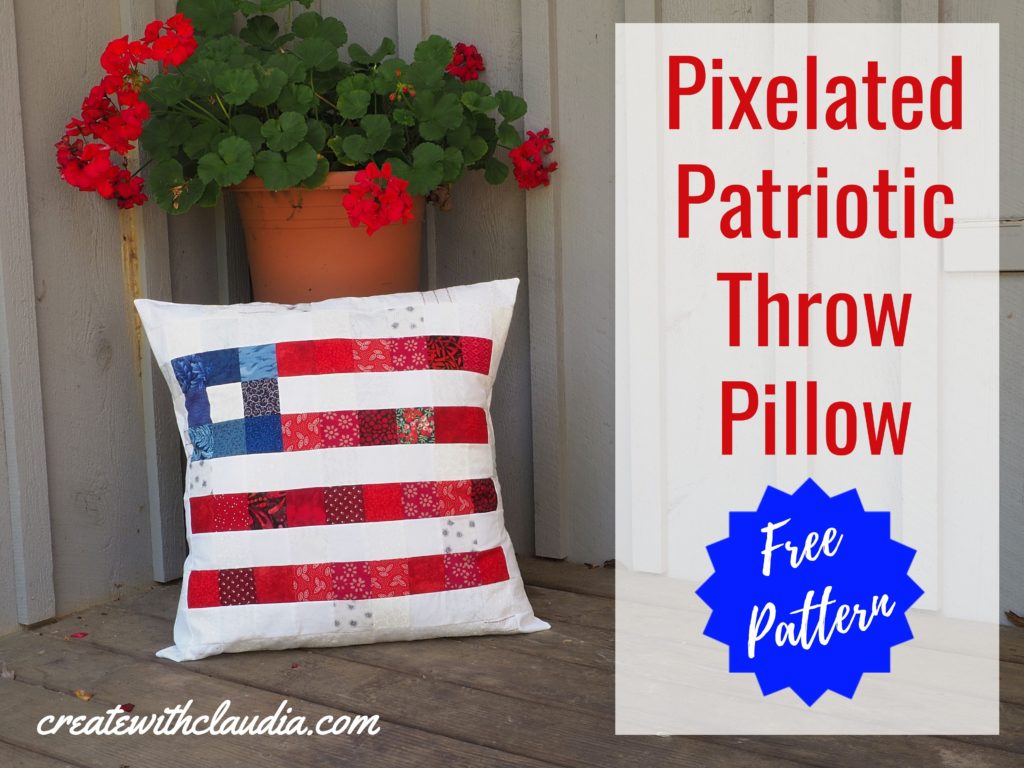
Pixelated Patriotic Throw Pillow Pattern
The summer months and red, white and blue just seem to go together. The kick off for the season is Memorial Day and then comes the Fourth of July, and no one can deny that both of those holidays are all about patriotism. Like many other people, every summer my house is adorned with the colors of the flag. From table runners to wreaths, I try to incorporate the colors in my living space. It’s the perfect time to bring out them out, and this pixelated patriotic throw pillow pattern fits right in.
It’s an easy pattern to follow, and all you need are a few supplies, some fabric scraps, and a little time.
Pixelated Patriotic Throw Pillow Pattern specs:
- Finished pillow case measures 22” square and will fit a 24” pillow insert (fits better with an insert that is not too thick)
- A scant 1/4” seam allowance is used
Supplies you will need:
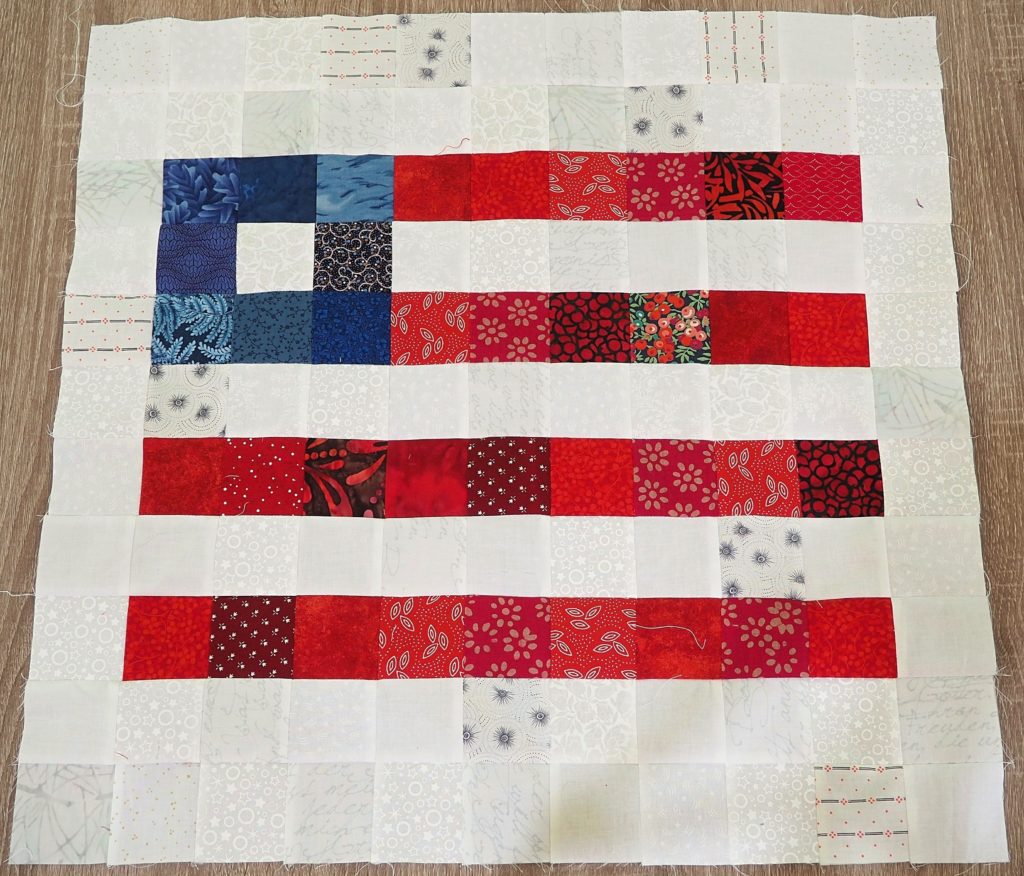
Front design of pillow case – Scrap fabrics cut into 2 1/2” squares (121 in all)
- Whites – 83 squares
- Reds – 30 squares
- Blues – 8 squares
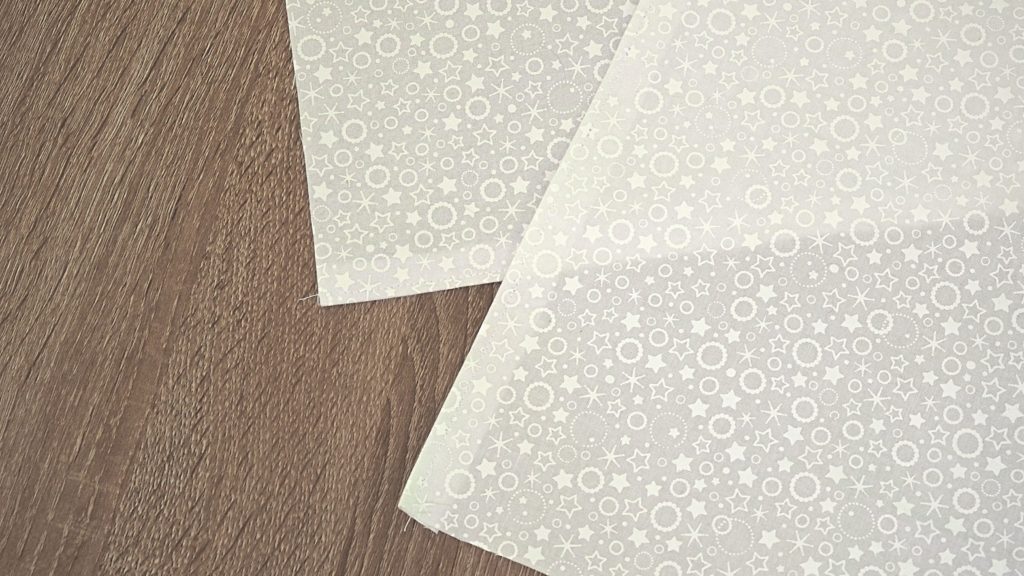
- For the back – 2 pieces of white, both cut 22 1/2” X 16”
- 24” pillow form – A flatter pillow insert works best
- General sewing supplies
Items You Can Use To Make This Project
You can find many of the items that I used to make this project in my Amazon Store.
As an Amazon Associate I earn from qualifying purchases.
Pattern
Step 1 – Lay Out the Design
On a large, flat surface, lay out your squares, following the pattern grid.
Step 2 – Prepare To Sew
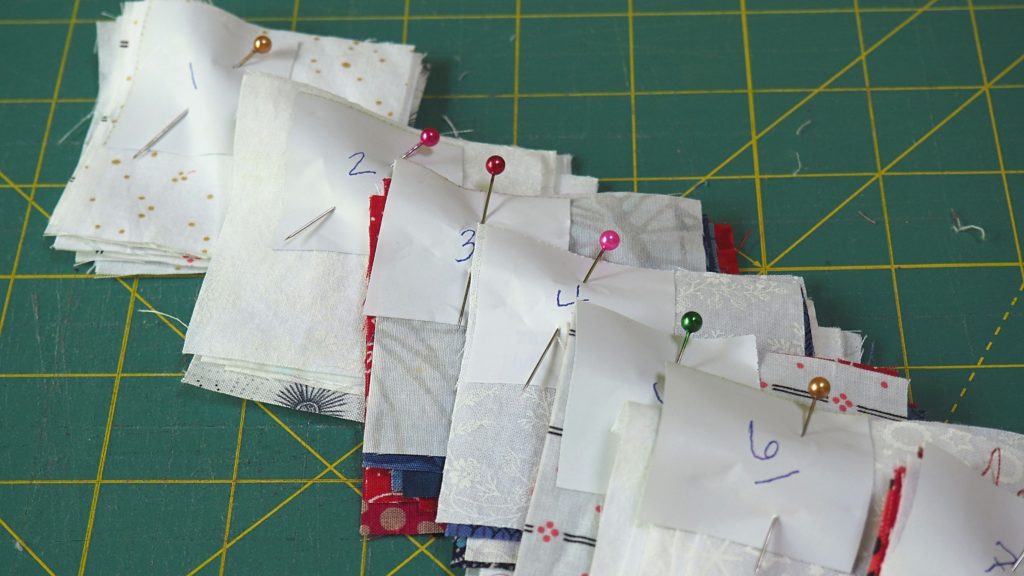
- Organize the fabric rows carefully, so the squares do not get mixed up.
- First, cut 11 small pieces of scrap paper, number them, and set them aside.
- Next, start with the top row (row 1), pick up the squares in order, and form a stack of squares for that row. Make sure the left piece of the row is on top.
- Finally, take the scrap of paper with the number 1 on it and pin it through the stack for that row. Pin it in the top left of the square so you’ll know where the top corner is.
- Repeat with the rest of the rows.
Step 3 – Sew The Front
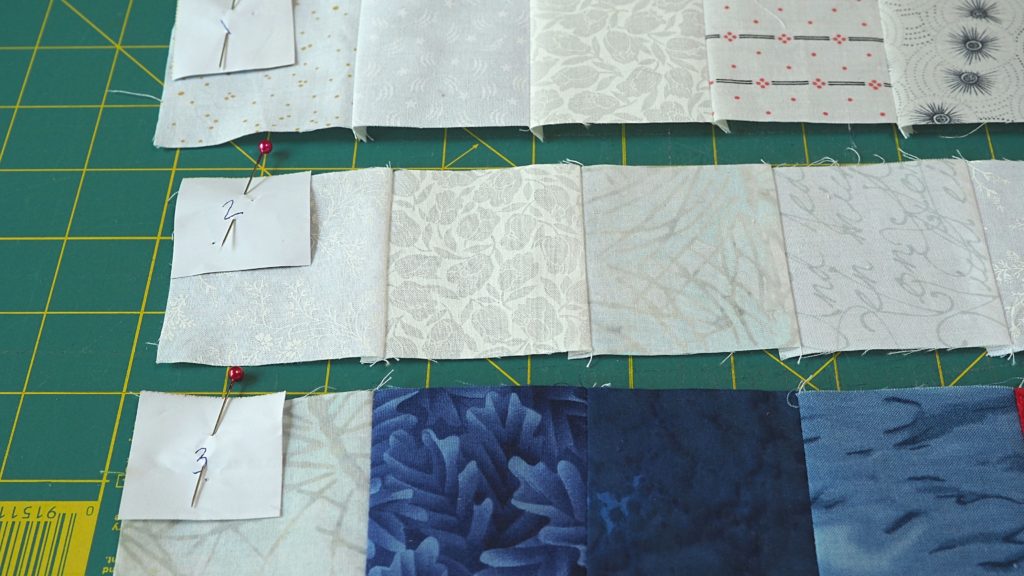
- Sew the individual squares together, row by row. Use care to keep them in the correct order. Leave the paper marker with the row number on it, pinned to the top left corner of the row so you know the positioning. Hint: When sewing the individual squares together I sew pairs together and put a pin in the left square so I know which way it gets joined to the other pair.
- After all of the individual rows are done, start sewing them together. Take care not to sew over the paper row number, but keep the labels in place until the front of the pillow case is done.
- Press the completed top. If you used the 1/4” seam allowance, your top should measure 22 1/2” X 22 1/2”.
Pressing tip: When piecing the individual rows, make sure to press each seam in the same direction and alternate that direction with each row. For example: Press row 1 seams to the left, row 2 seams to the right, row 3 seams to the left and so on. This will make it much easier to sew the finished rows together because you will be able to nest the seams.
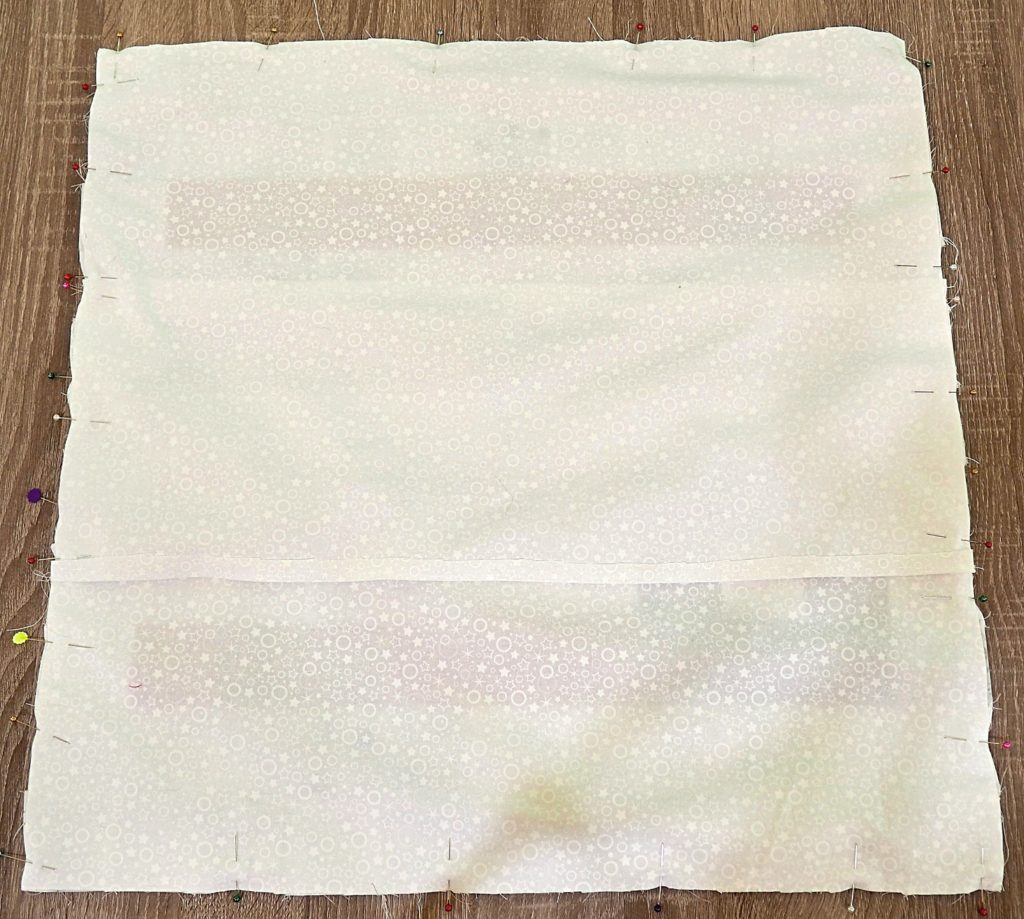
Step 3 – Prepare The Back
- Take one of the large pieces of back fabric and lay it, wrong side facing up.
- Fold over one of the long edges about 1/2” and press.
- Sew down the long edge.
- Repeat with the other piece.
Step 4 – Assemble The Pillow Case
- First, lay the completed front of the case on a flat surface, right side facing up.
- Then lay one of the back pieces, right side facing down, on top of the front piece, lining up the unfinished edges on the top and sides. The finished long edge will be in the middle of the pillow.
- Next, lay the second back piece, right side facing down, with the unfinished edges lined up on the bottom and sides. The finished long edge will be overlapping the other piece of the backing.
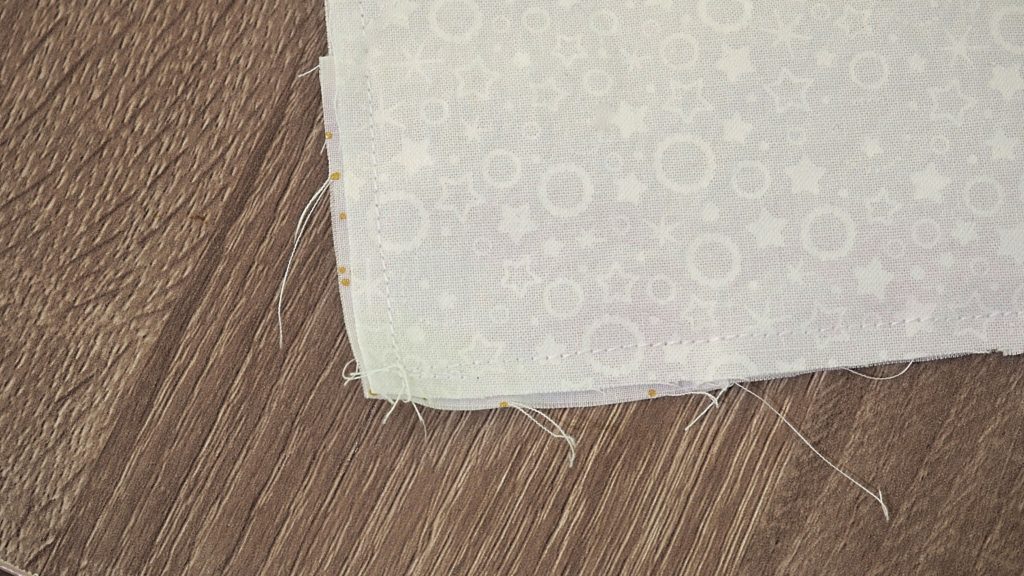
- Pin along all four sides together, around the outside of the entire case.
- Sew around the outside, using a 1/4” seam allowance. For extra stability, backstitch along the edges of the opening of the case.
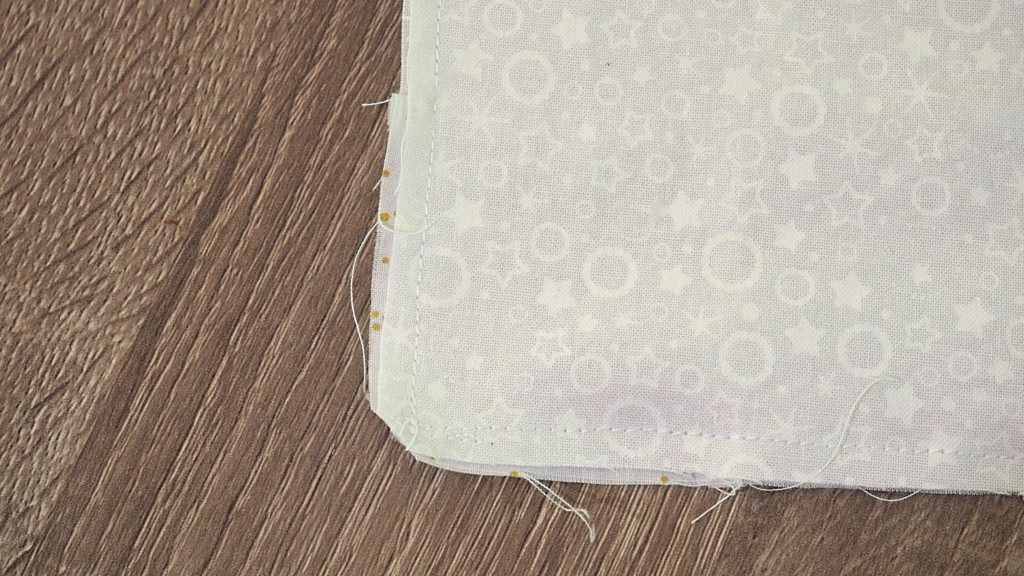
- Finally, trim off the corners, taking care not to snip any seams.
Step 5 – Finish the Pillow
- Turn the case right sides out. Make sure to carefully push out the corners.
- Insert the pillow form.

Pixelated Throw Pillows for Every Occasion
This pixelated patriotic throw pillow pattern is easy and looks great in any room. Why not show off your patriotism by making one for yourself or a friend?
One of my favorite things about this pattern is that it is another one of my scrap buster projects. I keep chipping away at my stash, and so far these pixelated pillows have been doing a good job at using up some of it.
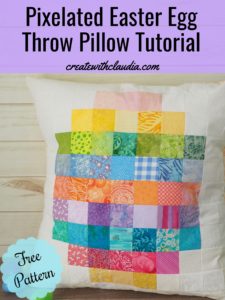
This flag the fourth pattern in my pixelated holiday throw pillow pattern series. I’ve already done Valentine’s Day, St. Patrick’s Day, Easter and now the Fourth of July. Up next is Halloween and since it’s a ways off, I have plenty of time to think of something super spooky!
I can’t wait to bring it to you.