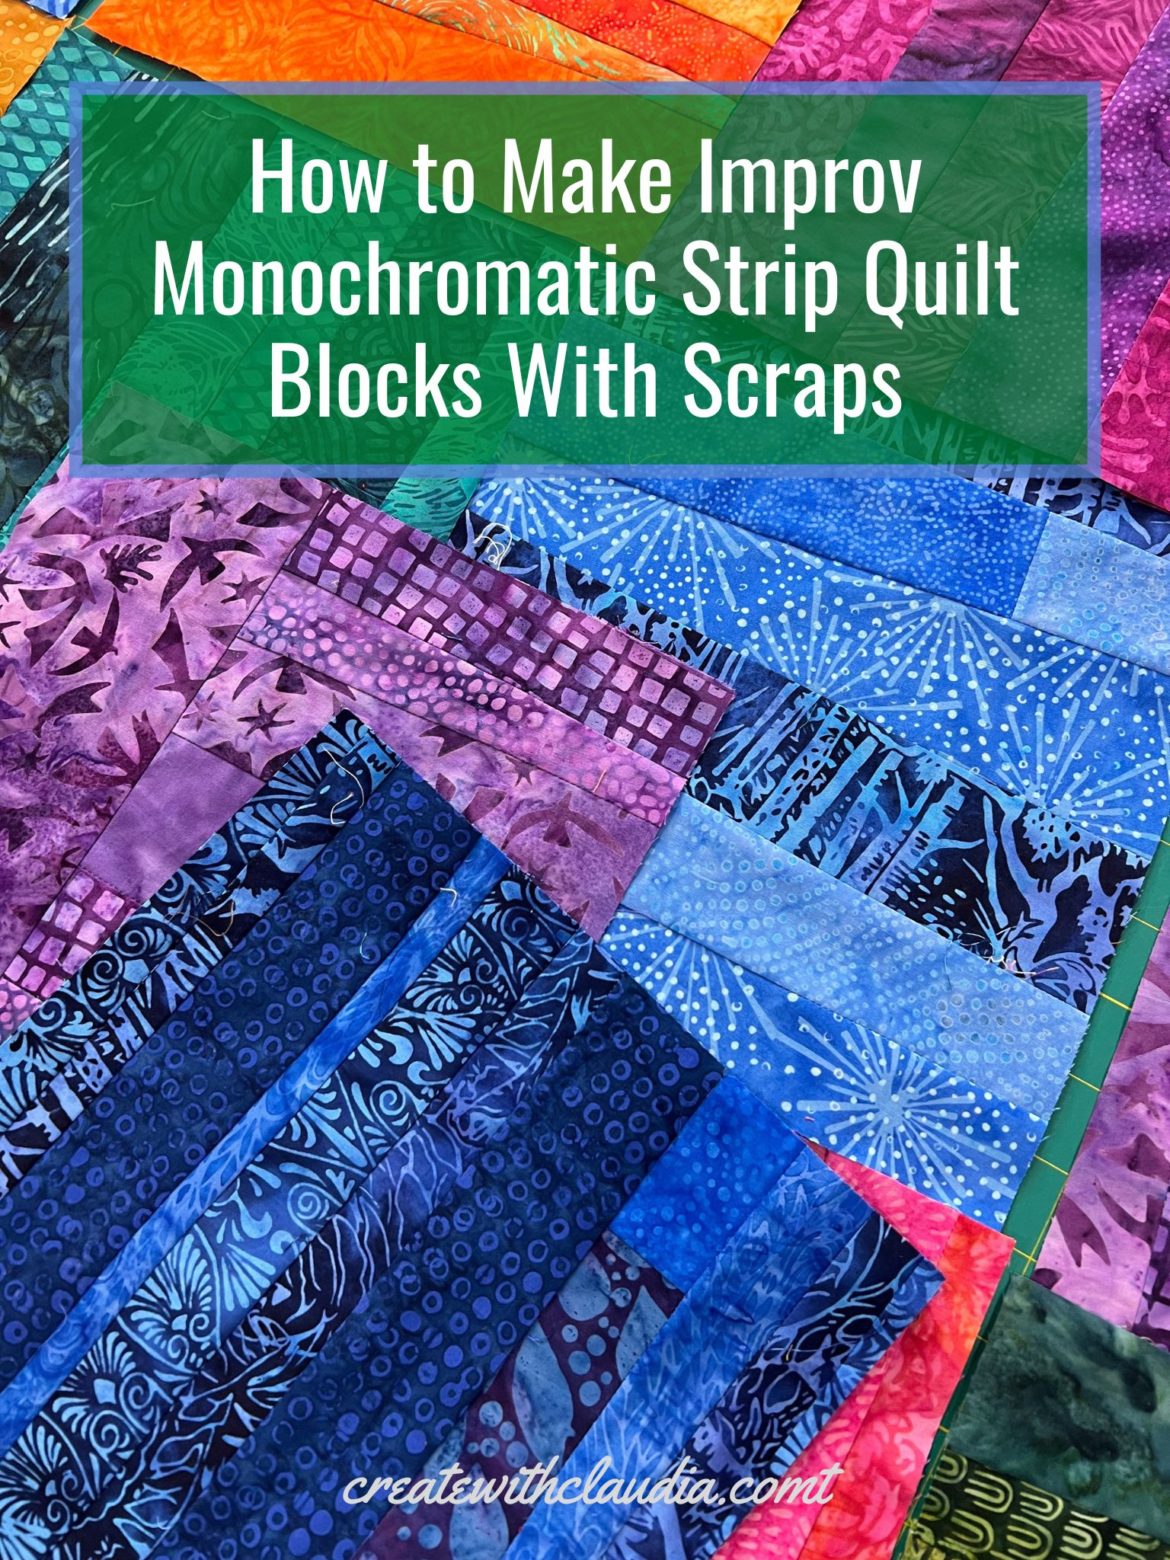
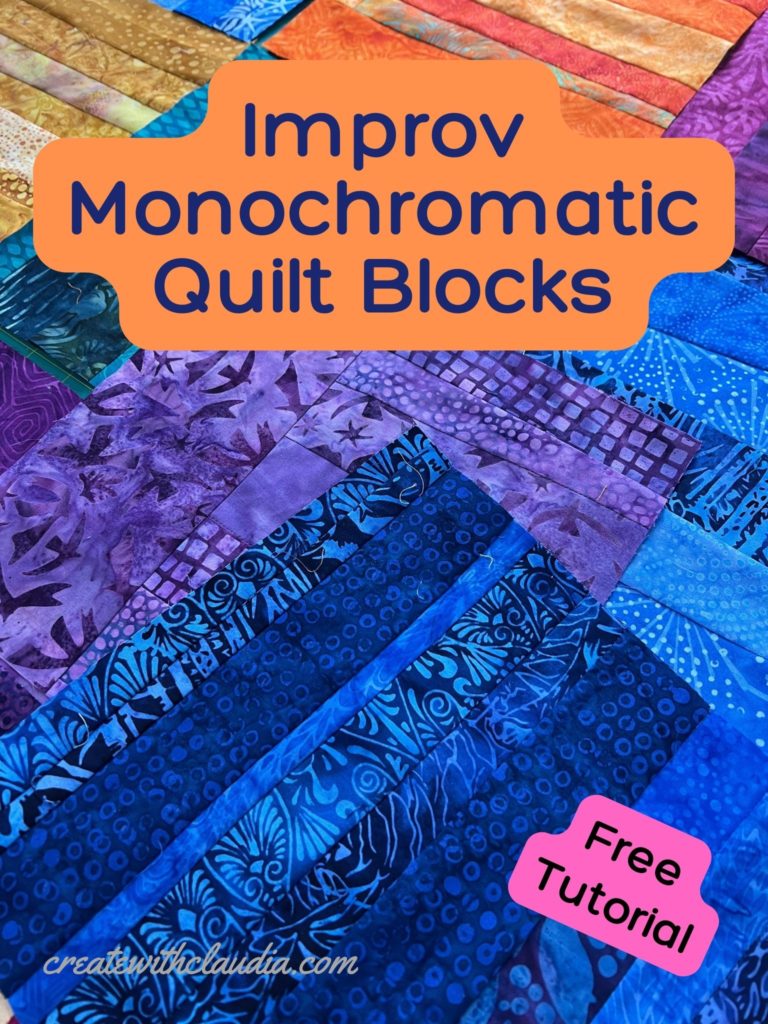
How to Make Improv Monochromatic Strip Quilt Blocks with Scraps
Sometimes I like to do some easy, no-brainer sewing and this blog will show you how. Perfect for all of those left over strips you have from trimming blocks and fabric, you can learn how to make improv monochromatic strip quilt blocks with this easy method.
Don’t throw out all of those strips that you have when you are making a quilt. It doesn’t matter how wide or narrow they are, you can use them. Best of all they make a striking quilt block. Those quilt blocks put together make a gorgeous quilt or other item.
My Inspiration For This Technique
A few years ago I did a video called How to Create Yardage From Your Scraps and it is still one of my most popular videos. In it I use scraps of all shapes and sizes to make large pieces of fabric. It’s basically like crumb quilting.
I took that method a step further by combining strips that I had from various projects.
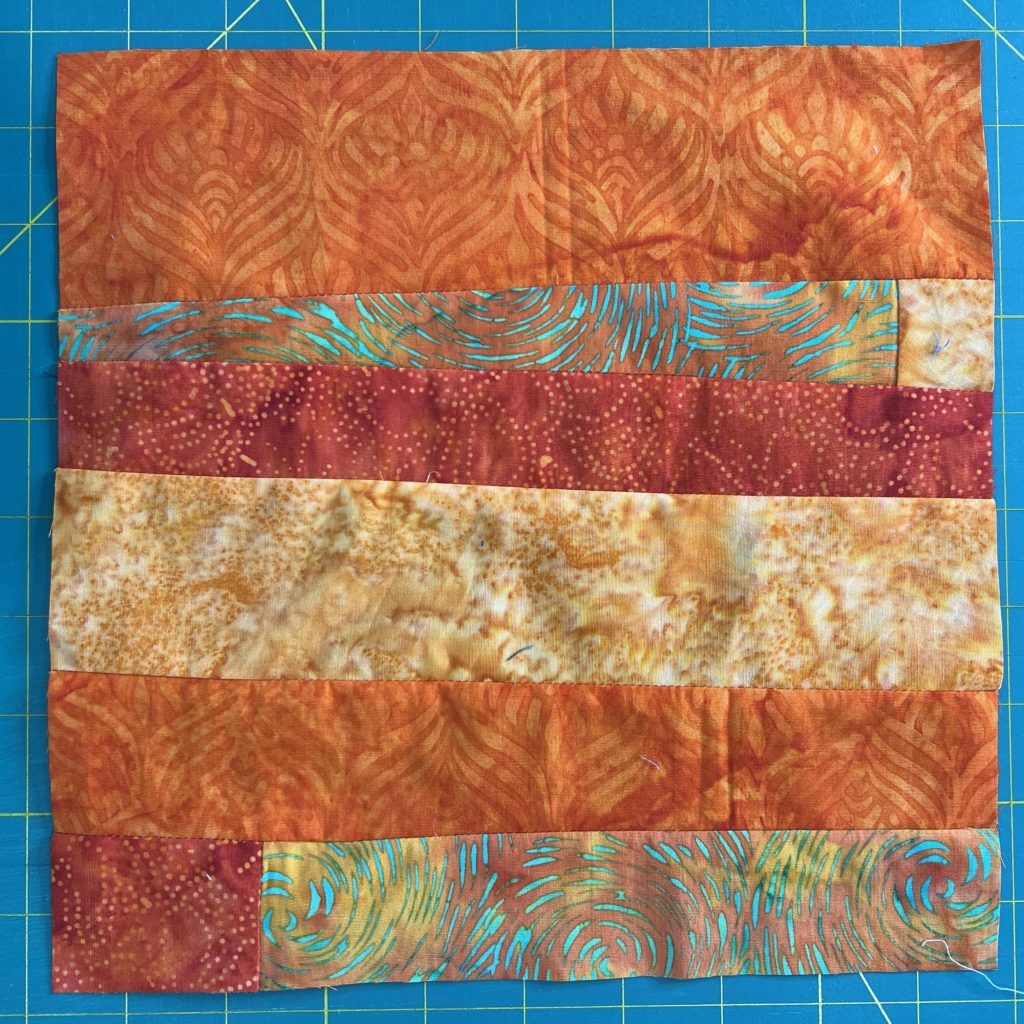
How to Make Improv Monochromatic Strip Quilt Blocks with Scraps – Video Tutorial
For my video tutorial and photos I used strips left over from various Island Batik ambassador projects I have done. I wanted to make a jewel tone quilt and they were perfect. An added bonus if you use batiks with this method is that you don’t have to worry (too much) about a right and a wrong side of the fabric. Just sew and go! I don’t even worry about how straight the pieces are or how long they are.
The goal here is to have fun with your fabric!
This tutorial is episode #14 of my Working Our Scraps Off YouTube series and it may just be one of my favorites so far.
What You Will Need
Strips of fabric, wide and narrow – Preferably longer than the block size you want to end up, but not necessary.
General Sewing Supplies
Square Quilter’s Ruler (I love my larger 15″ square one that you can find in my Amazon shop.)
I have curated a list of some of my favorite supplies over at Amazon. You can find everything you need in my store here.
As an Amazon Associate I Earn from Qualifying Purchases
Let’s Make Some Improv Monochromatic Strip Quilt Blocks
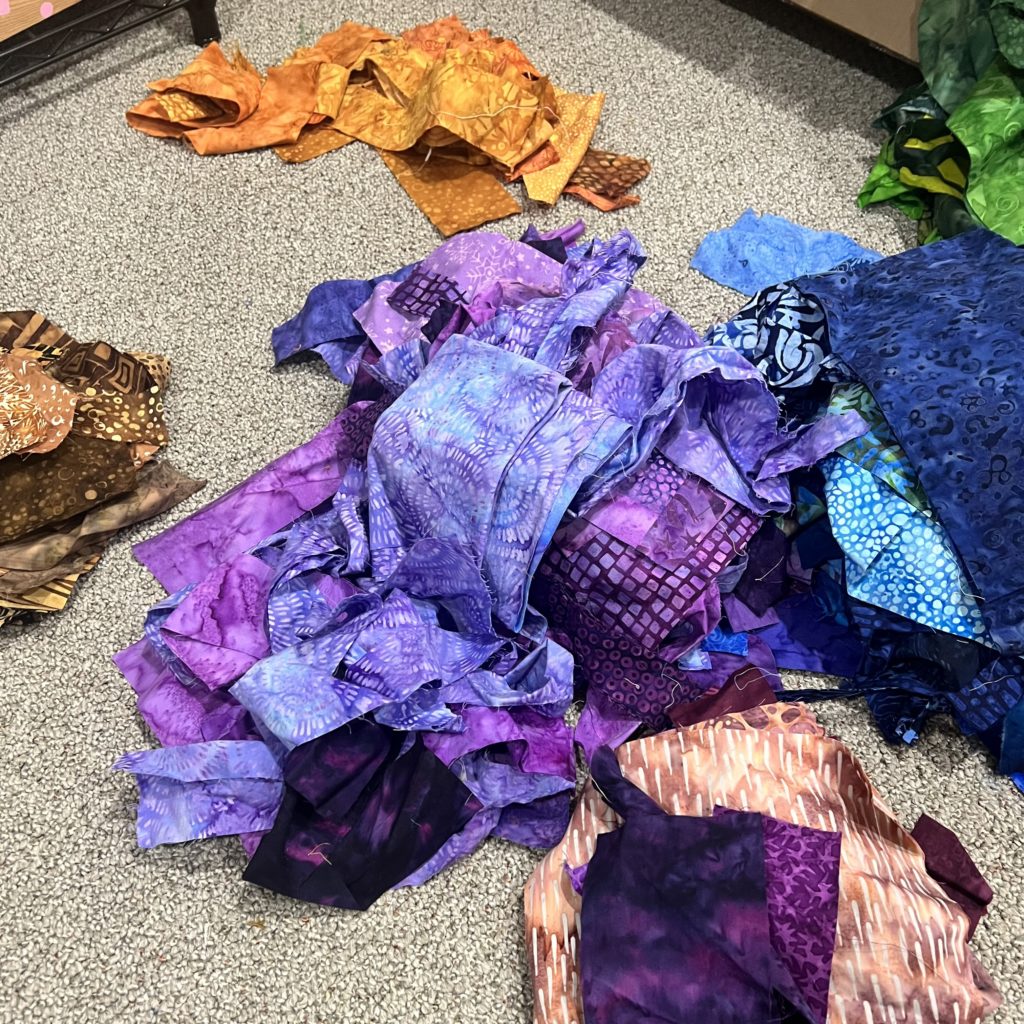
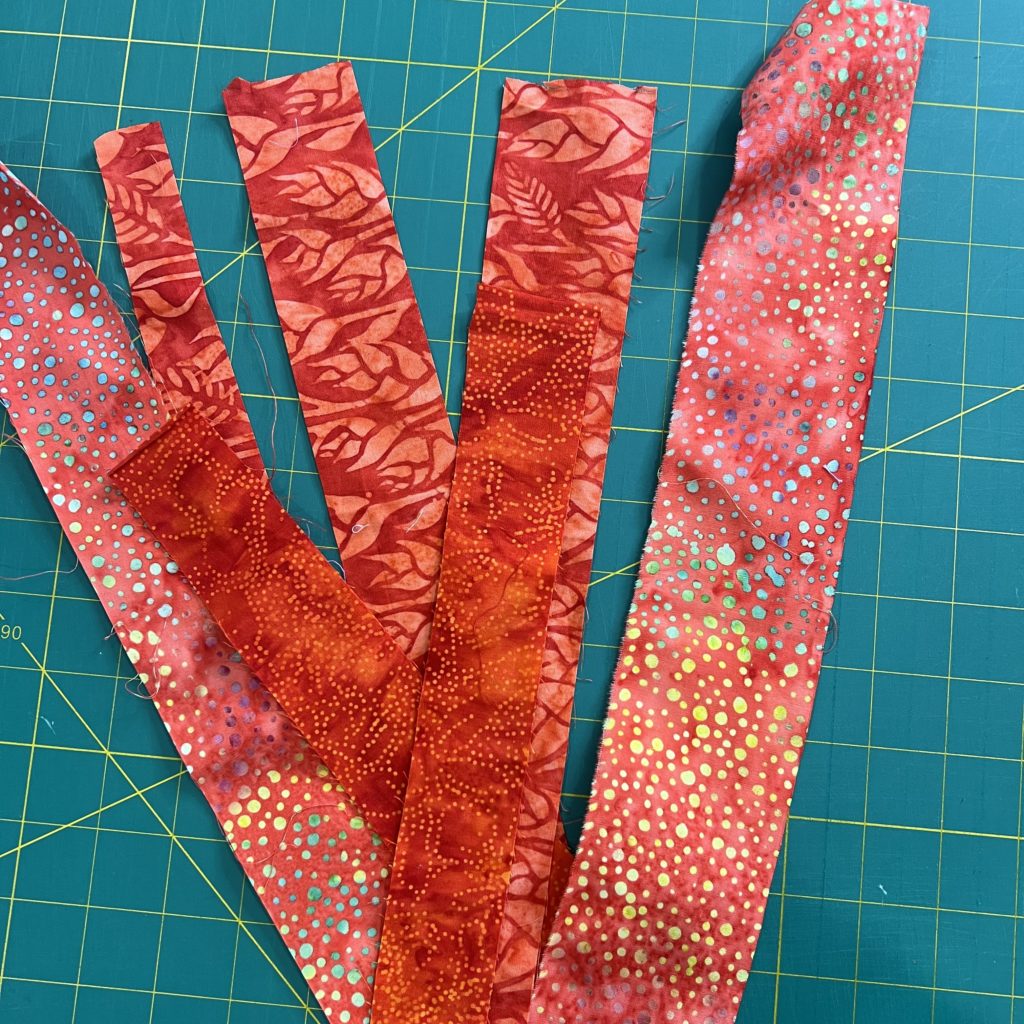
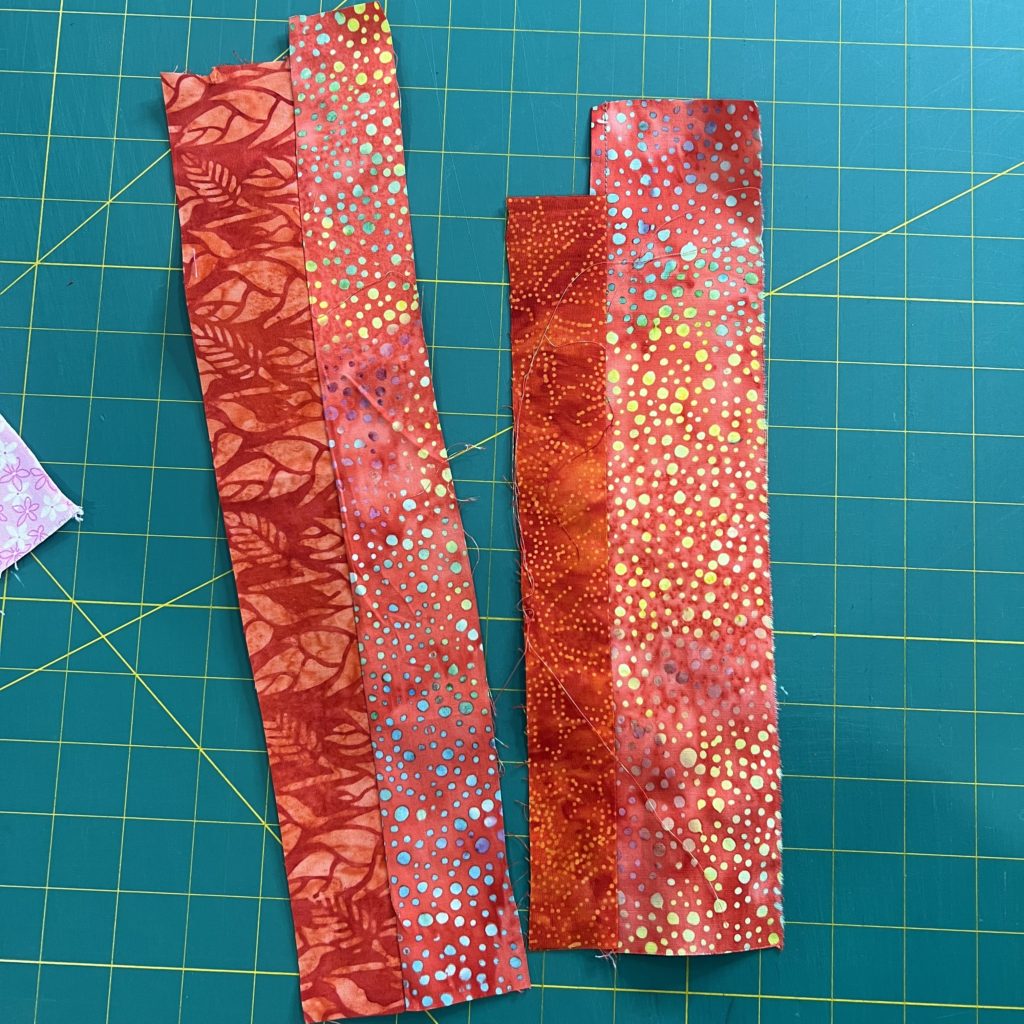
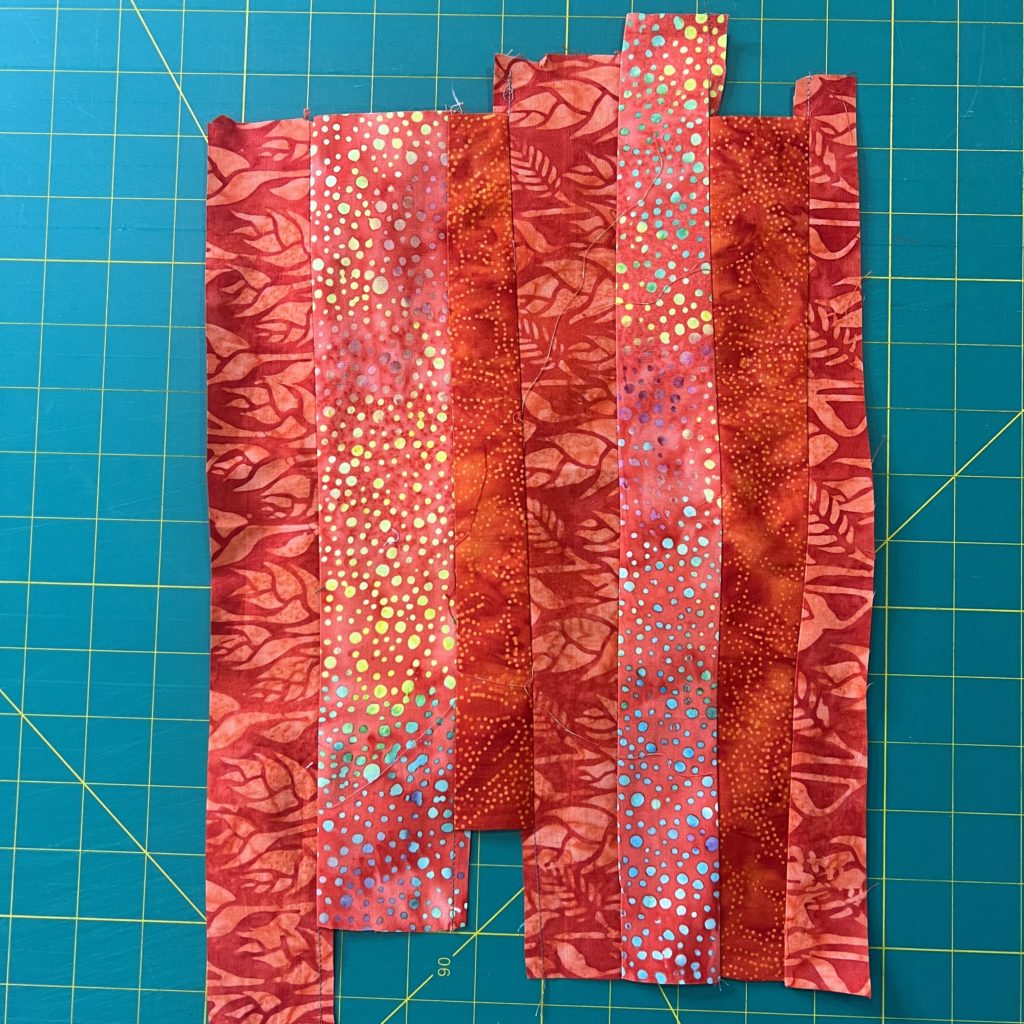
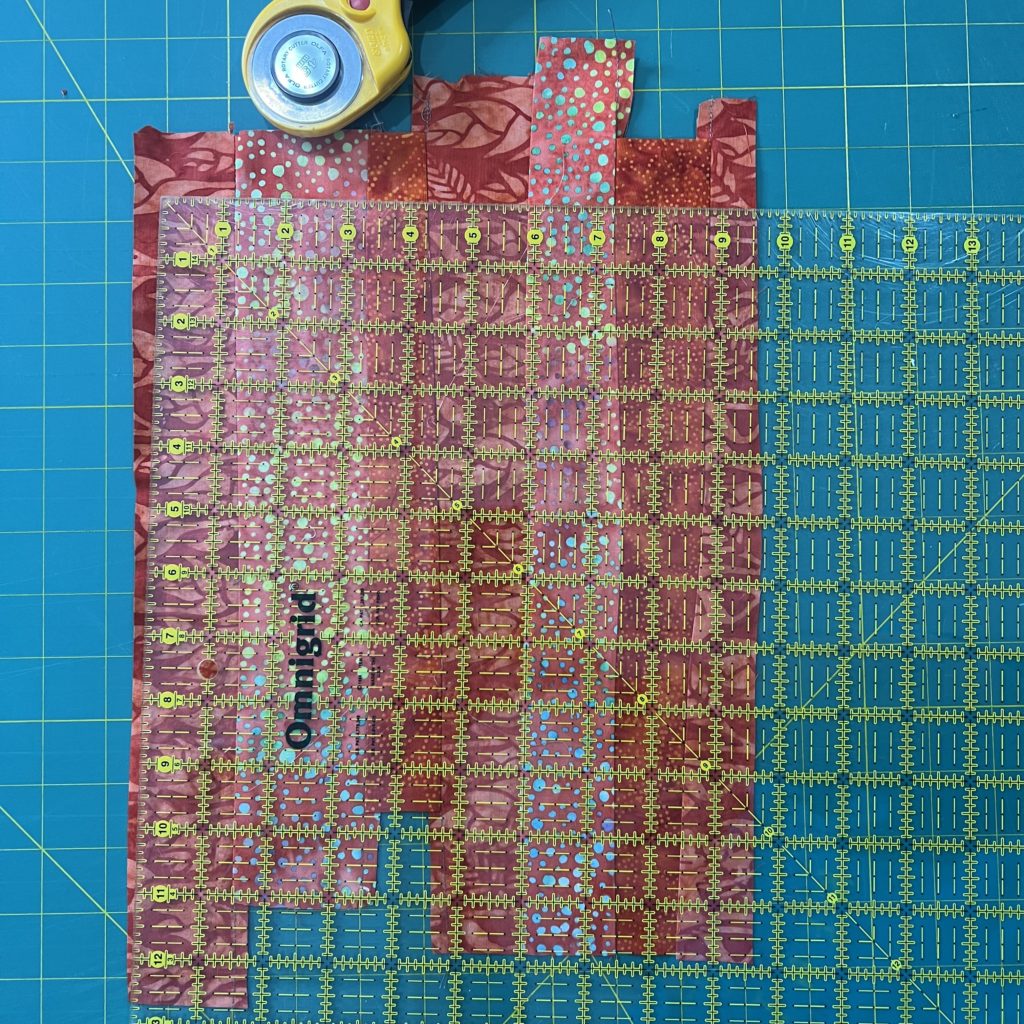
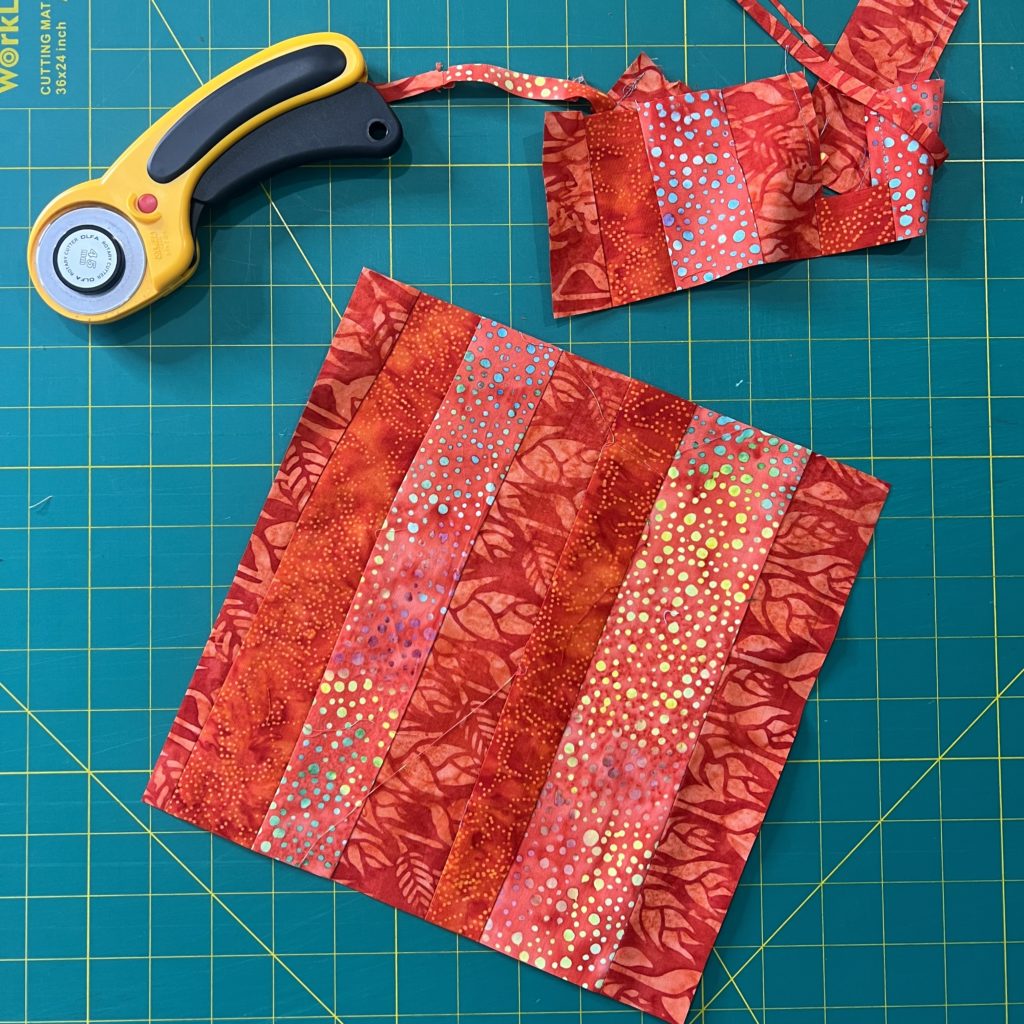
First, determine what block size you want. In my case I wanted a 9 1/2″ block.
Gather up your strips and press them. Sort them into various color families.
Then, if needed or desired, trim down your strips to the width you want. It is completely up to you how wide or narrow you want your strips. If a strip is not long enough, just add another strip to the bottom. It doesn’t need to be the same fabric. Remember, this is improv so you can do whatever you want. Just pretend you are a kid again and you have a big box of crayons that you are playing with.
Pair up strips and start sewing down the long edge. Next, sew the pairs together. Continue until you have one unit larger than the block you want.
Take your square ruler and position it on the square of fabric wherever you want. I don’t even worry if my seams are straight. In fact, I like a little off-kilter look to my improv blocks. Trim to the desired size and presto! You have a block.
Ideas for Putting Your Blocks Together
Things I love most about this technique:
- It is perfect for scrap-busting
- The only measuring to worry about is when trimming your block to size
- It is completely freeing
Once I have enough blocks I will be sewing them together in alternate directions. However, play with your blocks and decide what kind of layout is your favorite. The idea of this block is just to have some fun with your fabrics.
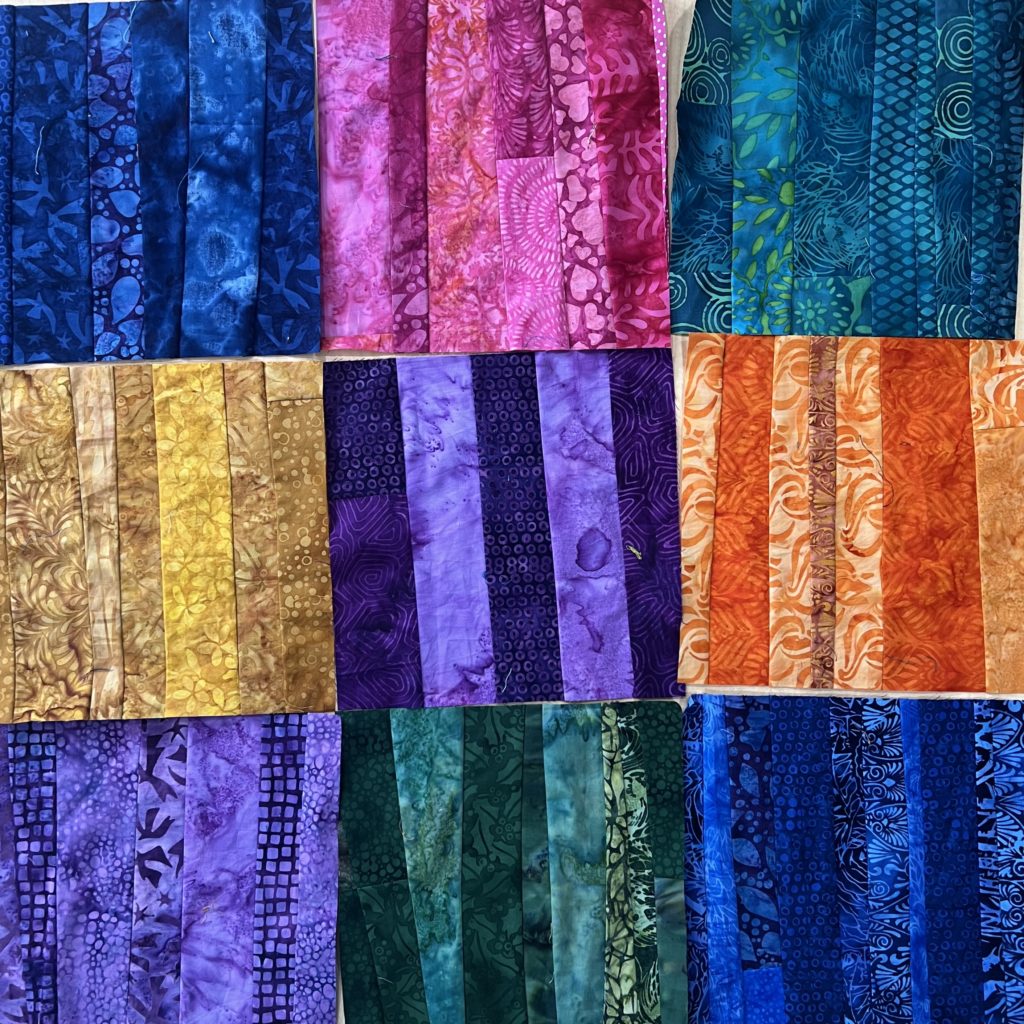
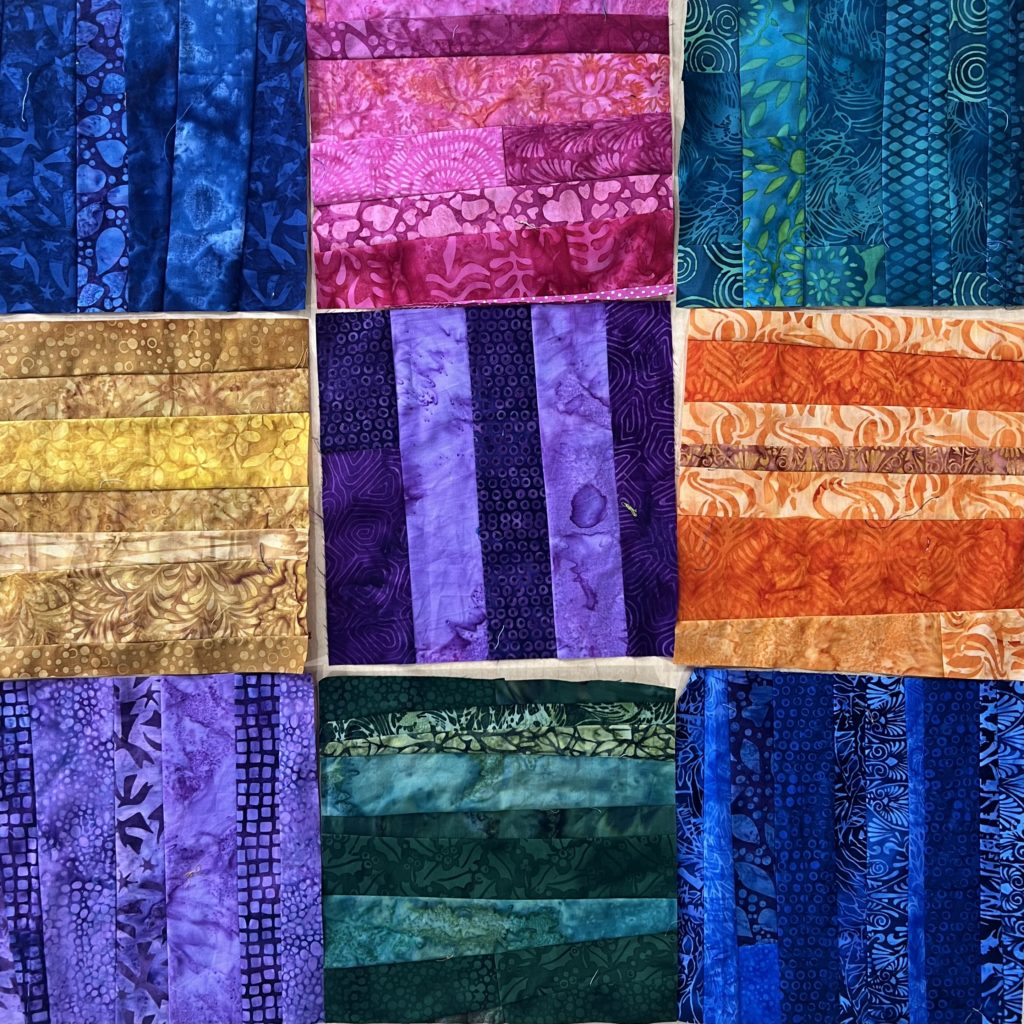
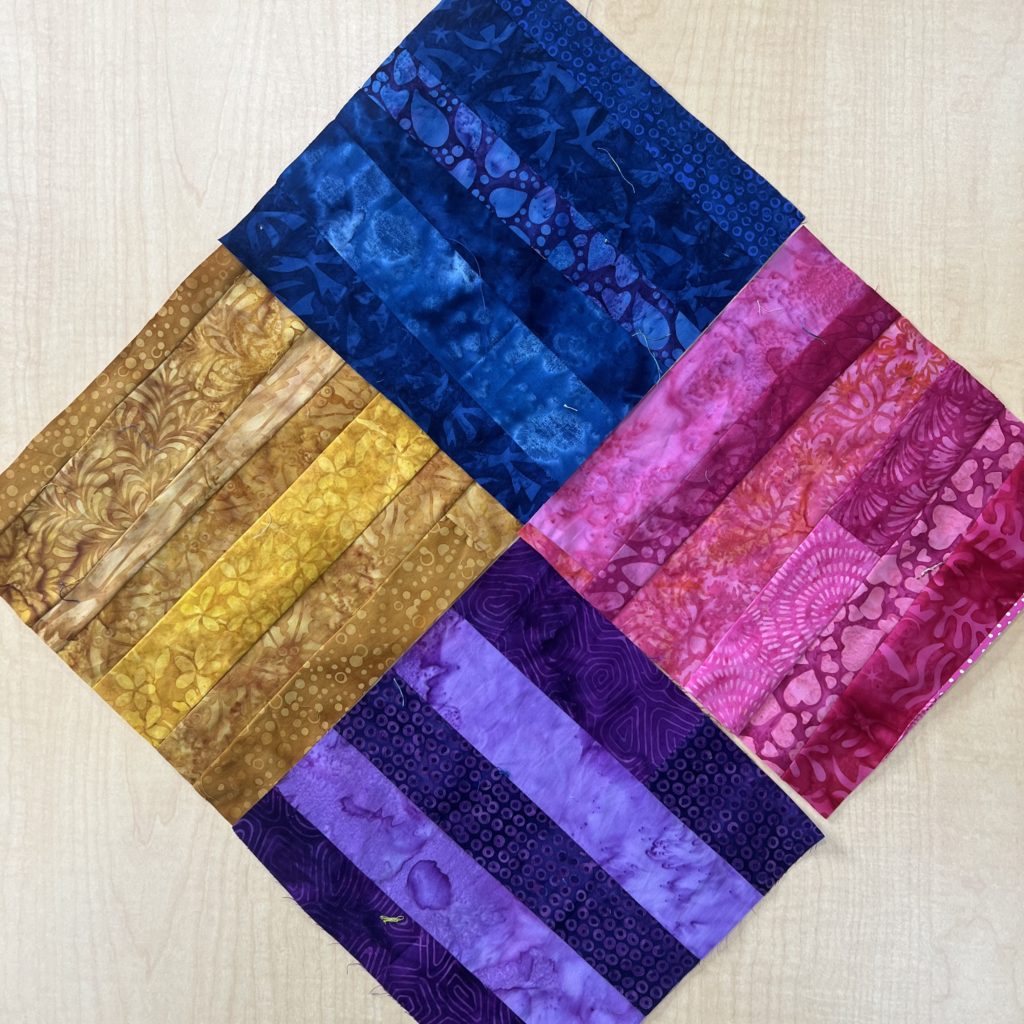
You can make quilts, table runners, pot holder, quilted clothing or just about anything else with these blocks.
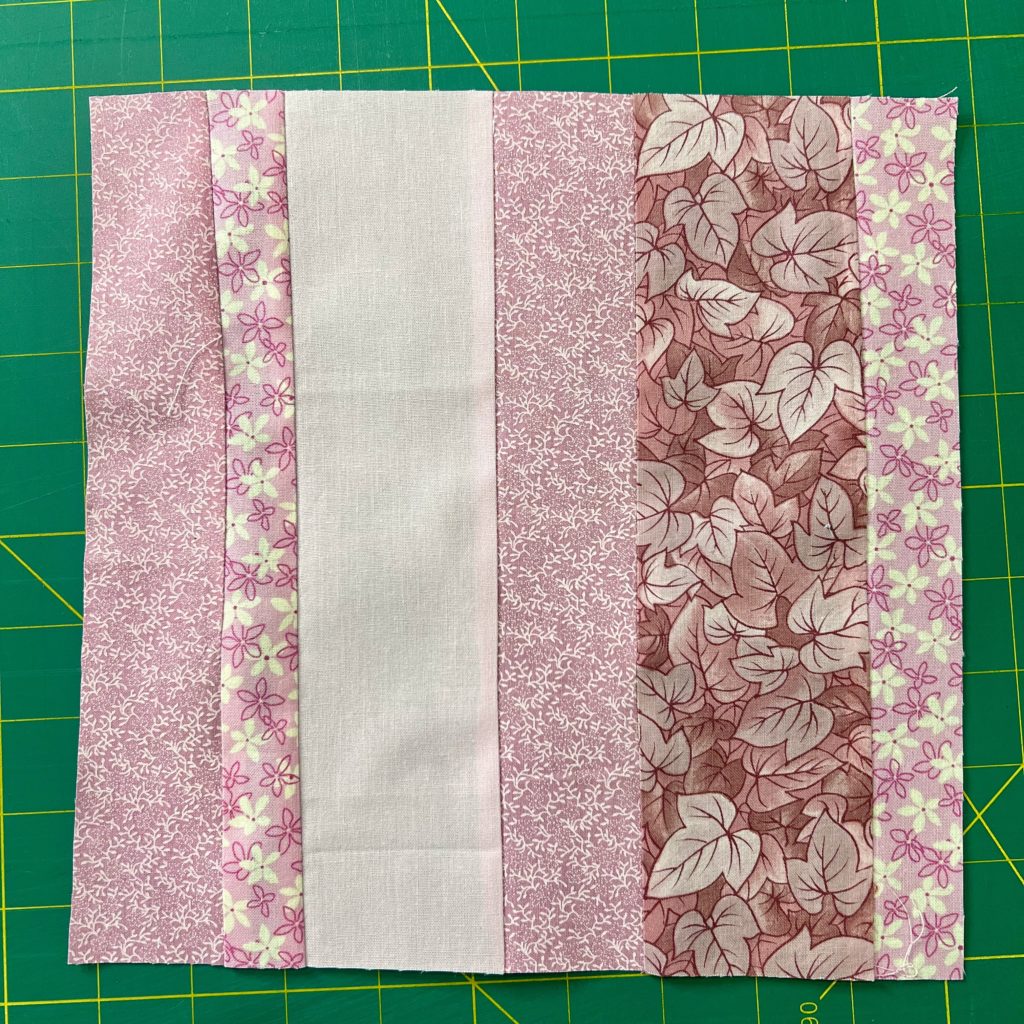
And if you prefer not to use batiks, any fabric will work with this method. Here’s one that I did in all pinks.
About my Working Our Scraps Off YouTube Series
Working Our Scraps Off is a YouTube video tutorial series. Each month I bring you a new scrappy project. You can find all of the other episodes here: Working Our Scraps Off Playlist.
I’m having so much fun with this video series that I started a facebook group for people who want to join me. It’s a place where people who want to find out ways to use those left over fabric scraps can come together and share their versions of the projects I demonstrate. Members share some of their beautiful scrappy projects too! I hope you’ll join us.
Remember, when posting pics of your work, make sure to use the hashtag #workingourscrapsoff so everyone can see your beautiful and scrappy creations.

