
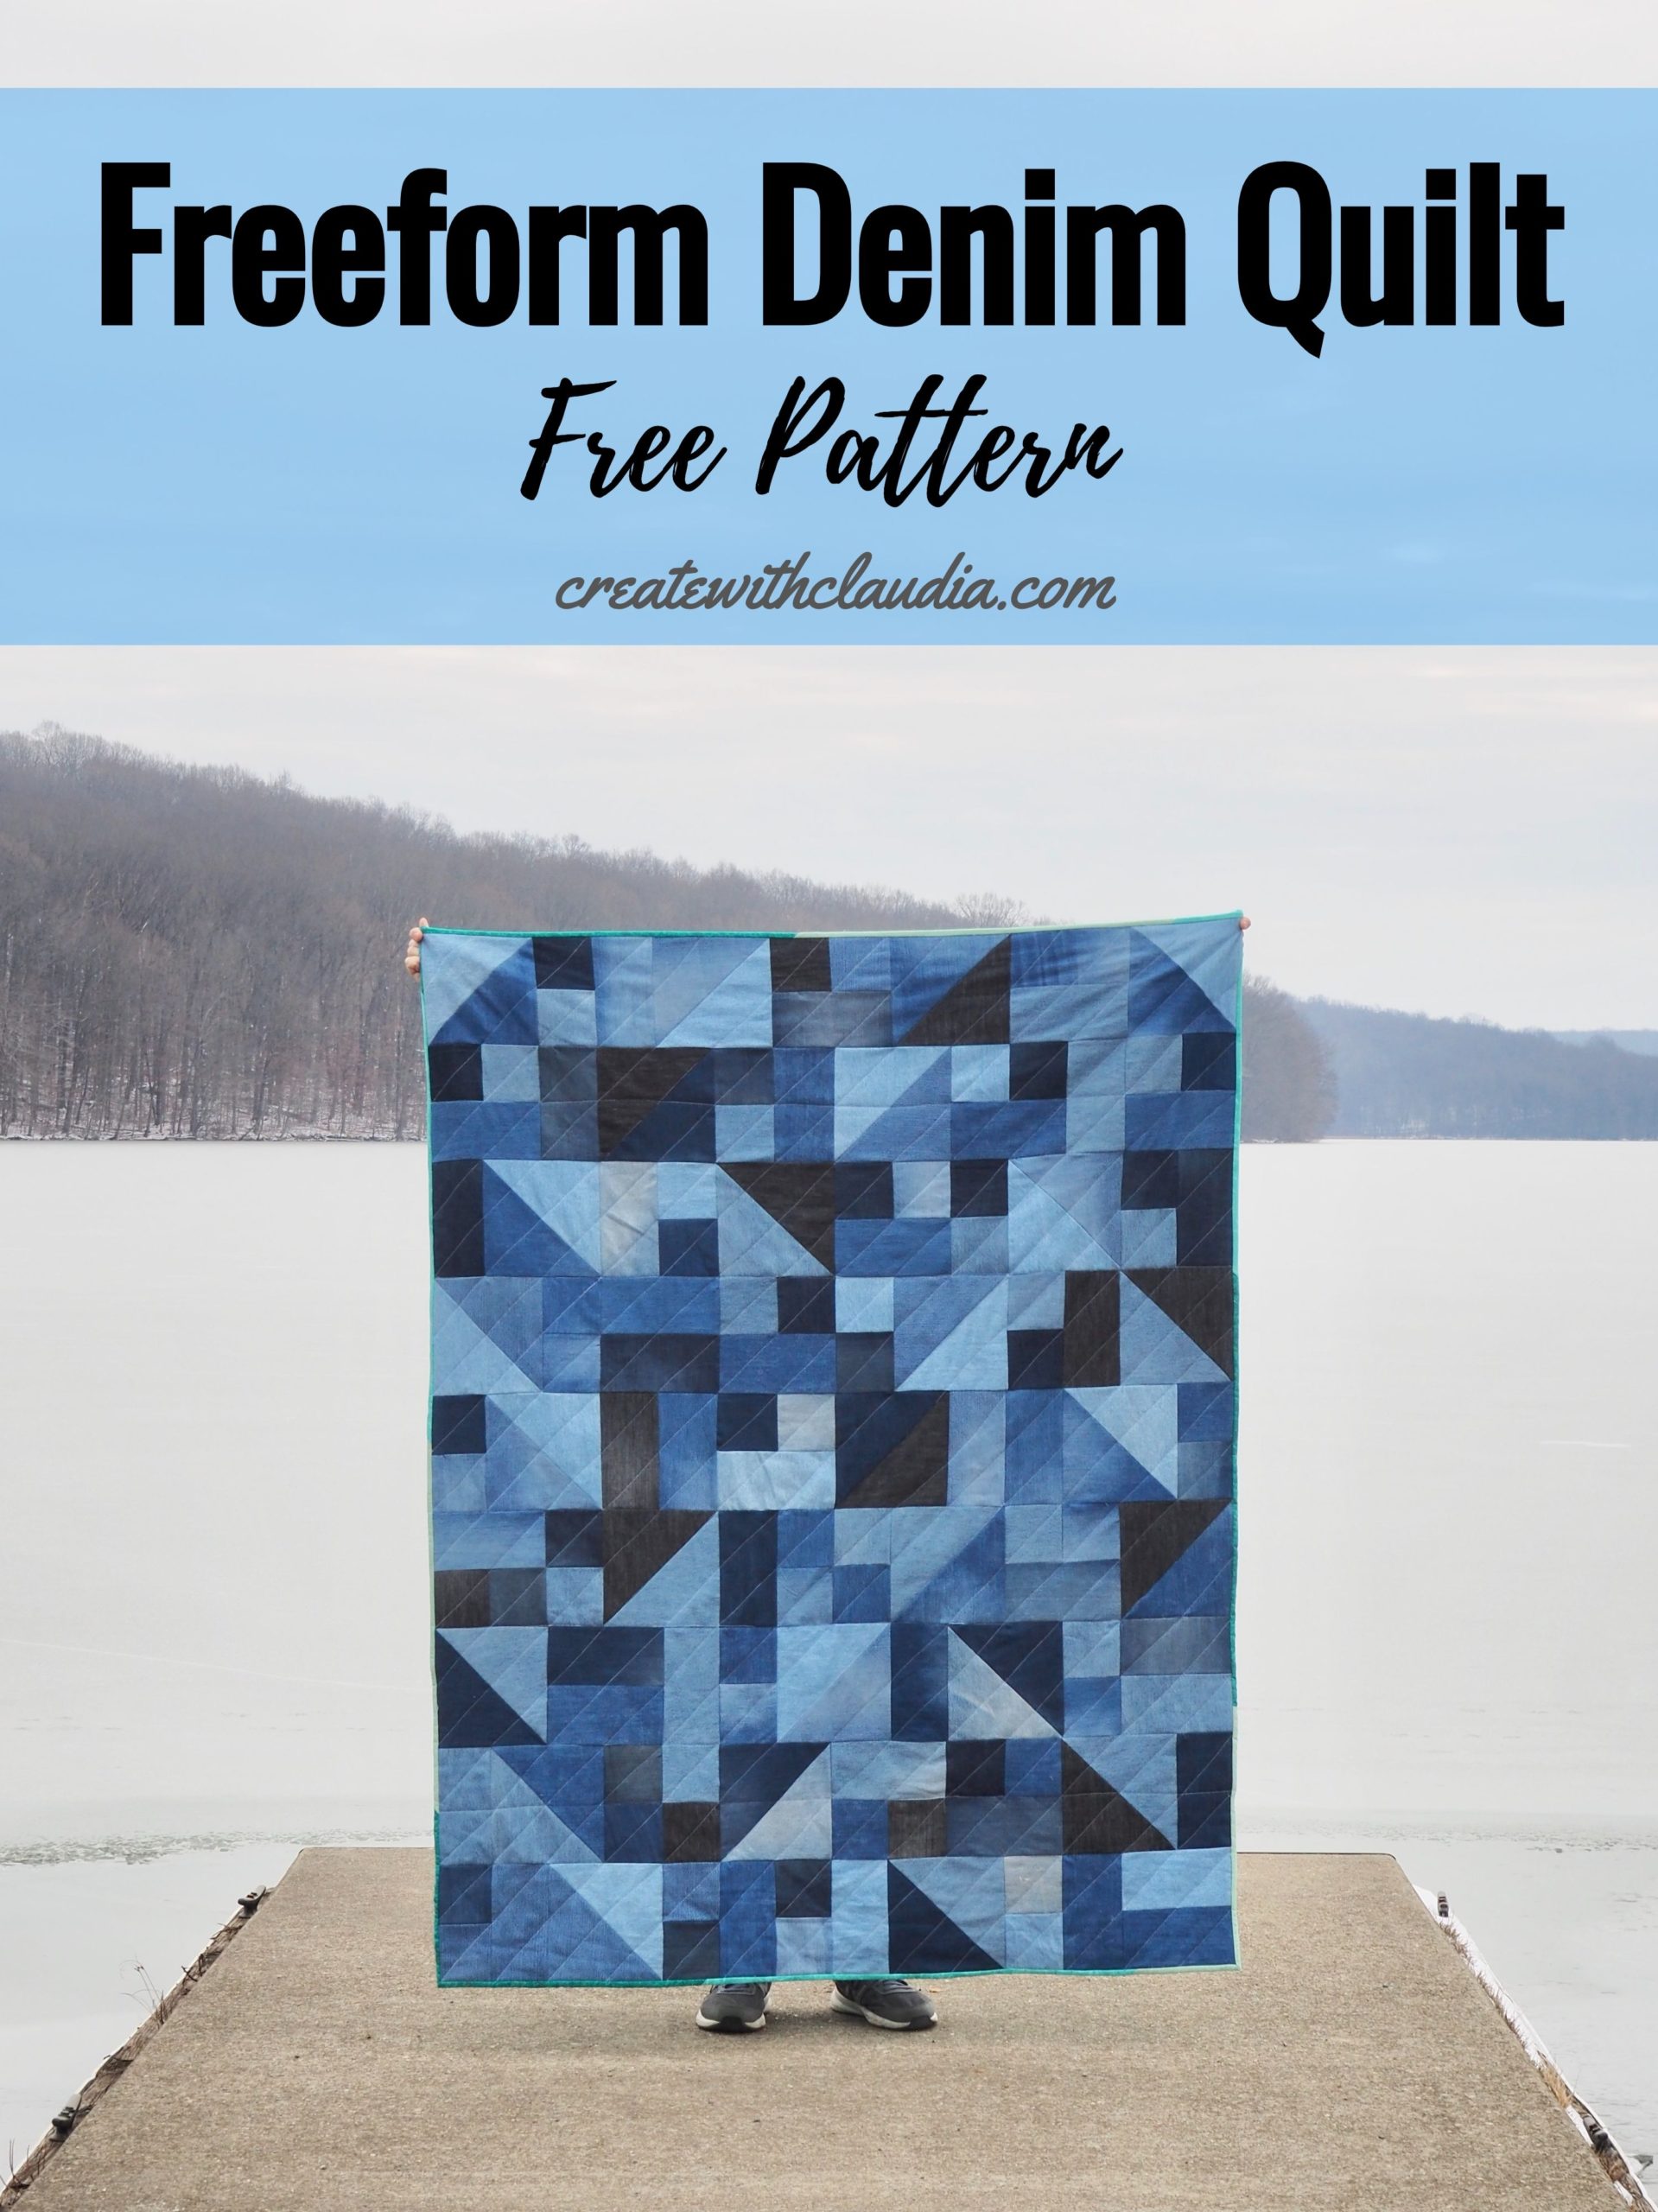
Freeform Denim Quilt Pattern
A while ago I did a video and article entitled 15 Tips for Sewing With Denim and I got a number of requests for the pattern for the quilt that was pictured. Originally, I didn’t do one because it was an improv quilt. However, I decided to go ahead and come up with something for it because I got such lovely feedback. Here is my freeform denim quilt pattern.
There is a part of me that doesn’t really want to call this a pattern. It’s more like instructions or guidelines.
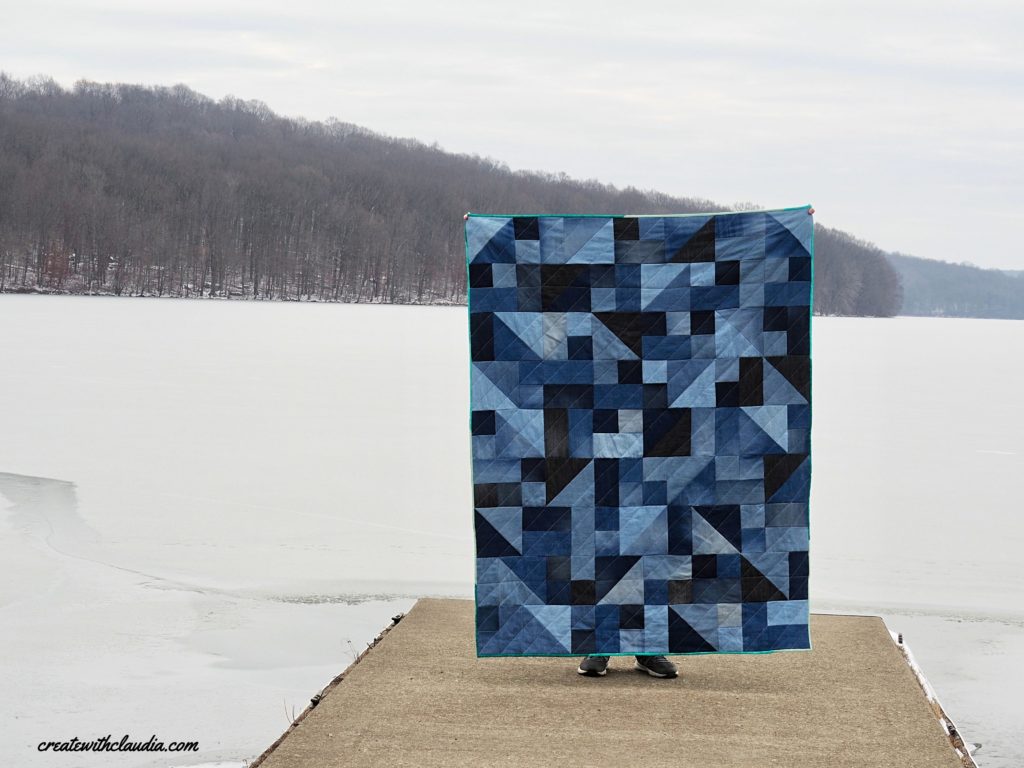
As you’ll see, this quilt is made up of 3 different units, a larger half square triangle, smaller squares and some rectangles. These units are then turned into rows of equal lengths that then get sewn together. Other than that, the layout is up to you.
It’s fairly easy to make, although it’s a thick and heavy quilt, so you’ll want to make sure you are using tools and techniques that are good for sewing with denim.
*DOWNLOAD THE FREEFORM DENIM QUILT PATTERN PDF HERE*
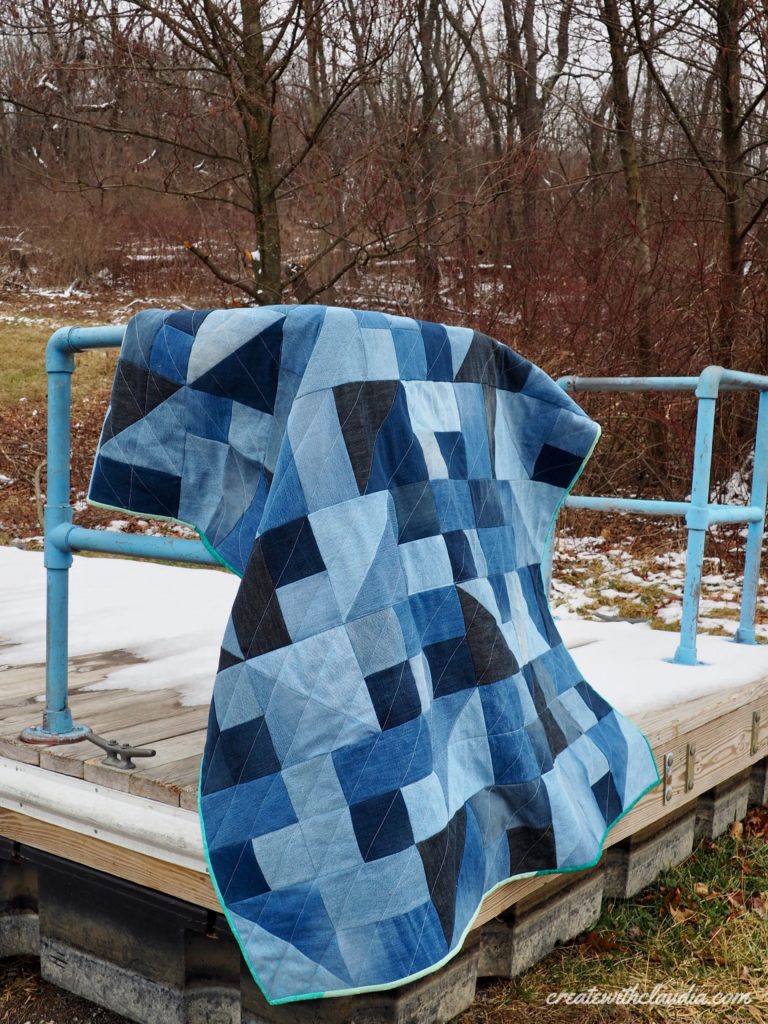
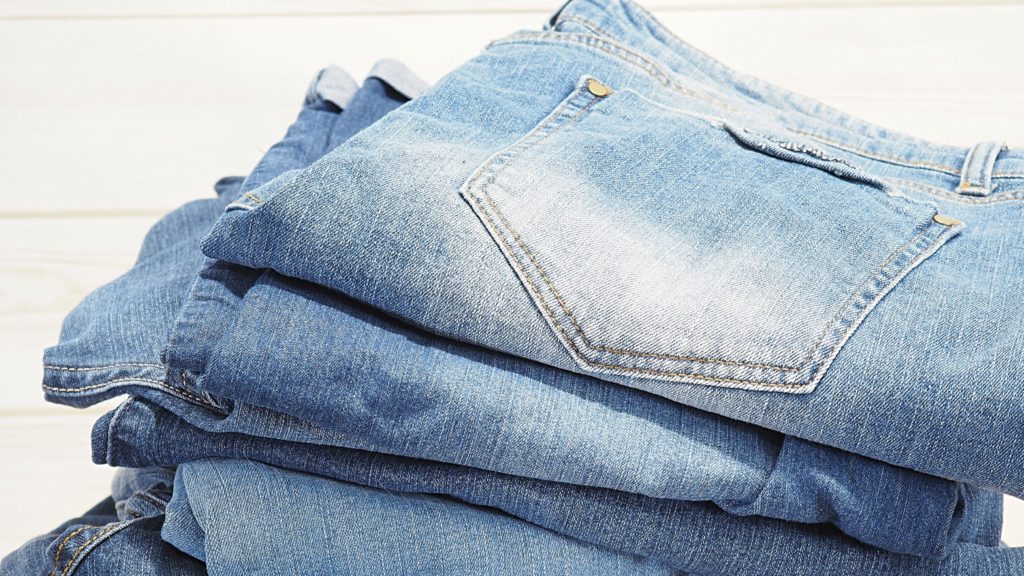
One of my favorite things about this quilt is the movement that the various shades and types of denim give it. I have saved a lot of blue jeans over the years, and it’s so much fun to make useful projects out of them. Side note…I had no idea how many dark pairs of jeans my family had!
Freeform Denim Quilt Video Tutorial
For visitors who like to watch video tutorials, I made one for this quilt.
Quilt Specs:
- Finished quilt measures approximately 56” x 72”
- 1/4” seam allowance is used
- Backing used was fleece
- Binding used was 100% cotton
- Batting used was a lightweight cotton
Things to consider:
- This is a heavy (about 7 pounds) and warm quilt, so you may not want to include batting, especially if you are using a fleece for the back.
- The quilt is thick to sew through.
- Because this is an improv quilt, the amount of fabric needed can vary, depending on which types of units you plan on using.
All amounts and cutting instructions given here are based on the layout shown.
Fabric Needed
- Denim: Pieces totaling about 4 ½ yards, no piece smaller than 4 ½ inches square, and some as large as 9 ¼” square
- Backing: 4 to 4 ½ yards – Based on fabric with a 42″ width of fabric. Adjust according to width of fabric you will be using.
- Batting (optional): 4 yards
- Binding: As needed, depending on your method of binding
Other Supplies Needed
- Strong sewing machine needle, good for sewing through denim
- Heavy duty scissors for cutting through denim
- Larger rotary cutter
Tools That May Be Helpful With This Quilt
You can find many of the items that I used to make this project in my Amazon Store.
As an Amazon Associate I earn from qualifying purchases.
Assembly
Cutting
- 39 rectangles cut 4 ½ inches by 8 ½ inches
- 62 squares cut 4 ½ inches by 4 ½ inches
- 28 squares cut 9 ¼ inches by 9 ¼ inches
My instructions for taking jeans apart will help you get the most fabric out of them.
Make the Half Square Triangles
First, make the half square triangles. To do this you will need the large squares measuring 9 ¼ inches.
Draw a diagonal line on the back (wrong) side of one of the squares. This will be your sewing guide.
Line up the square with the drawn line on it on top of another one, with front (right) sides facing each other.
Using a ¼ inch seam allowance, sew along both sides of the diagonal line drawn earlier.
Cut down the center, along the line that was drawn earlier. You will have two blocks that now need to be pressed open. Because you are working with denim, I suggest pressing the seams open to reduce bulk.
Trim the blocks down so they measure 8 ½ inches by 8 ½ inches.
Repeat with other pairs of the large squares. When finished, you should have 28 half square triangles.
Layout and Sewing
Lay out the blocks in a way that is pleasing to you. There are nine rows in this quilt, and when sewn, the row should measure 56″.
Within each row, sew together the smaller pieces first, so that the units are all the same height. Then sew the row together. After you have sewn each individual row, join the rows together.
The diagram below gives you an idea of how to place the various blocks.
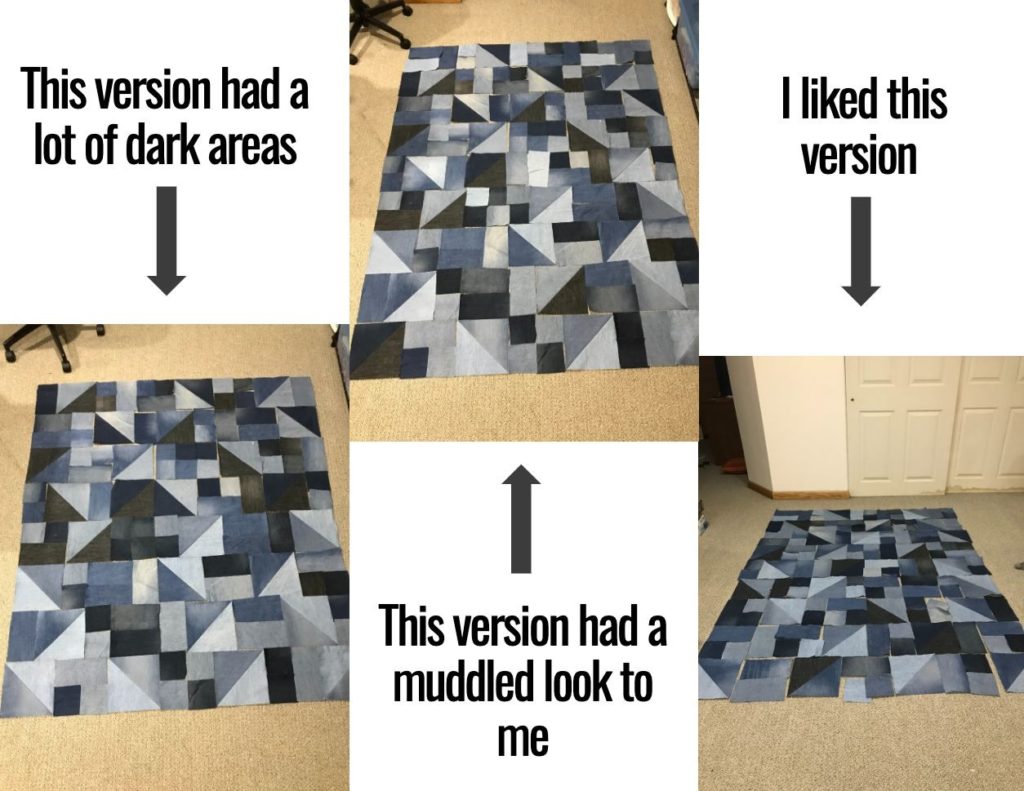
I tried out various layouts before I found one I was happy with. I took pictures of different ones to see what looked best.
Finishing Up
As noted before, I used batting and fleece for the back. You could change things up however you wish.
This was machine quilted and I have to admit that I did go through a couple of needles. This is tough to quilt, not only because of the weight, but also because of the denim, especially at the seams.
To finish it off, I went with a 3″ wide strip of fabric to make my binding because of the thickness. Normally I use a 2.5″ wide strip of fabric.
Sewing Tips:
- Stay organized: Once you find a look you like, it can be easily mixed up if you aren’t organized. Label your rows and keep the pieces in the row in order. The nice thing about this quilt is that it is forgiving if there is a mix-up.
- Consider Sewing Tools and Techniques: Denim is different than regular quilting fabric. It is much thicker, so use tools and sewing techniques to help you. For example, you may want to use a stronger needle that is made for sewing denim. This video on 15 tips for sewing with denim may help.
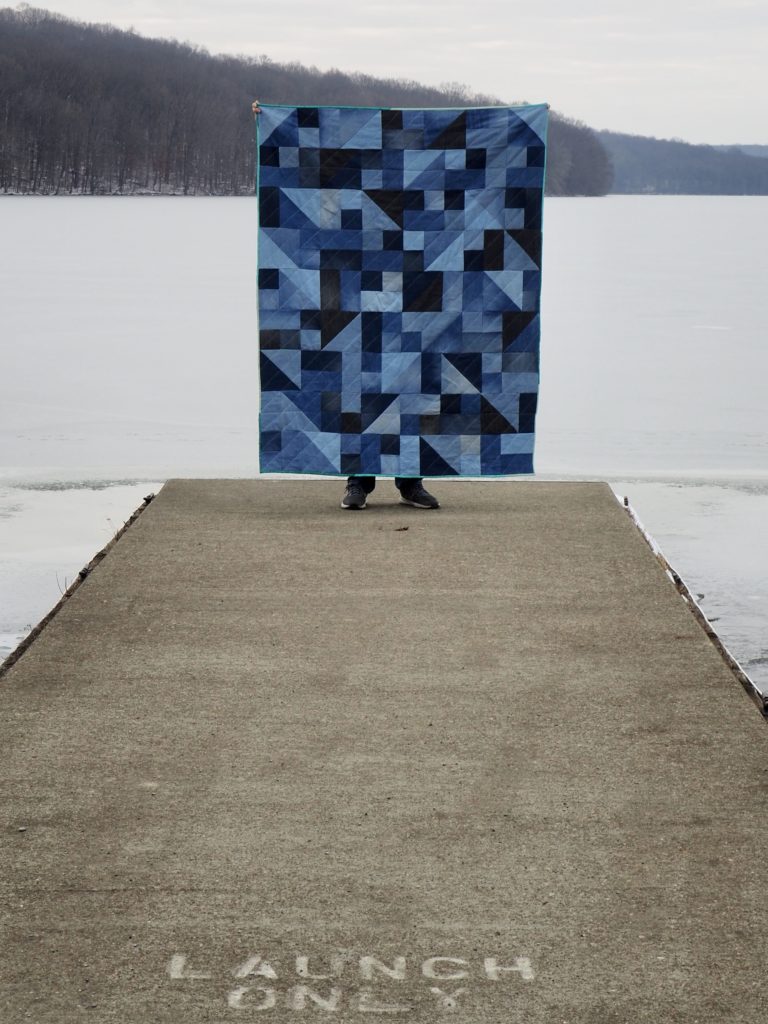
My Final Version of the Freeform Denim Quilt Pattern
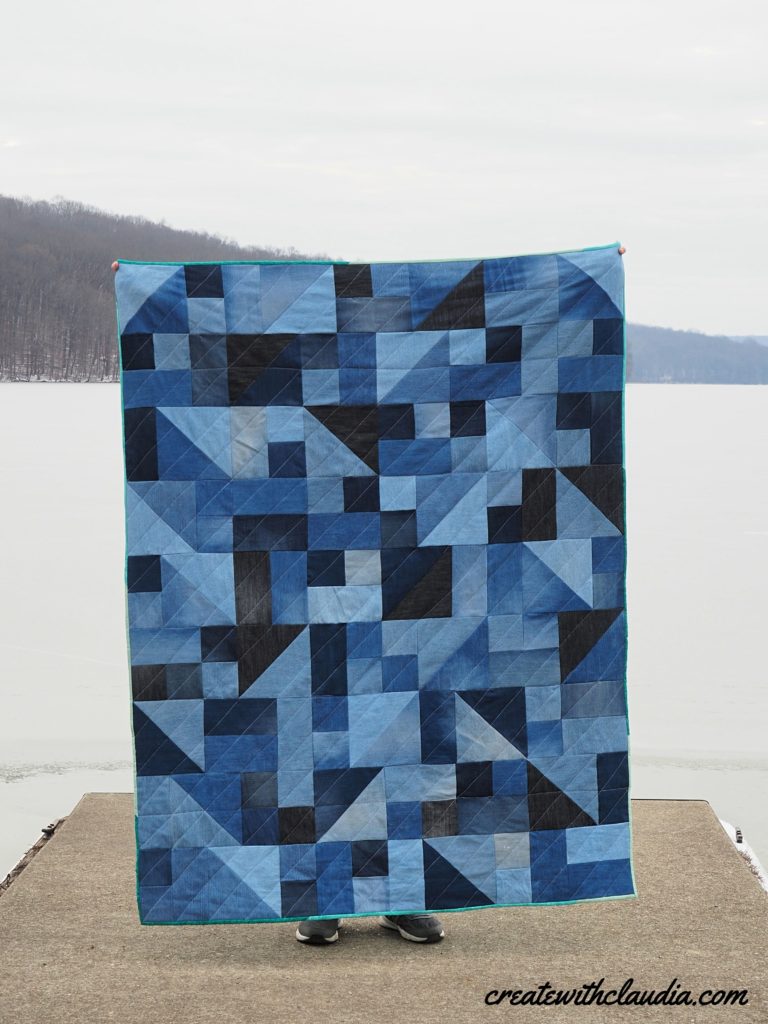
This is such a fun and eco-friendly way to make a quilt. I used up a lot of old jeans for it (with plenty of small pieces left for other projects). It’s definitely not a lightweight quilt. In fact it weighs about 7 pounds. I think it would nice as a picnic blanket in the summer.
I used the fleece backing, and included batting, because I wanted something nice and toasty for our cold winters. That may not be to everyone’s taste. However you decide to make this, have fun.
Happy Quilting!

11 Comments
Nonna Andie Eggering
June 19, 2020 at 8:58 AMThanks so much for all the useful information and the pattern. I have always said I was going to make a denim quilt and thanks to you I can move forward on it.
createwithclaudia_7j76hs
June 19, 2020 at 12:47 PMThat’s great. I hope you enjoy the process. Thanks for letting me know.
Kathy in WV
June 19, 2020 at 10:56 AMVery nice…thanks so much. I left a comment on YouTube. I have many pairs of my mom’s jeans. I will definitely make one. Perhaps I’ll go even bigger as we have an old, very cold house in the winter. I enjoy your videos very much even though I seldom comment. Please know your efforts and offerings are appreciated!
createwithclaudia_7j76hs
June 19, 2020 at 12:46 PMI did see and respond to your comment on YouTube. I really appreciate it and think it’s a lovely idea to use your mom’s jeans. This quilt will definitely keep you warm! Thank you for your kind comments.
Susan
July 1, 2020 at 12:45 PMThank you for the “pattern”, instructions and tips. I have a bin full of old jeans and have had a denim quilt on my bucket list for a while. I am going to give this a try.
createwithclaudia_7j76hs
July 2, 2020 at 6:41 AMGreat! I’m glad you’ll be giving it a try!
Annicka
March 20, 2023 at 7:13 PMI love this pattern! I’m very new to quilting. I want it to be just a little bit bigger 60×80 in how would I go about doing that? Do I just add more on the end of each row or make the pieces bigger? Thanks!
createwithclaudia_7j76hs
March 22, 2023 at 8:11 AMYou could make it larger either way. I would probably add a row or two depending on how large you wanted to make it. Making large pieces may be tricky depending on the size of jeans you how.
Tina K
January 14, 2021 at 10:45 AMThanks so much for this! I am using my husbands cast-off jeans to make him a quilt using your pattern. It is turning out wonderfully. I am a newbie quilter and quilting this on my domestic machine with the six inch throat is challenging, but I have found it do-able with a simple diagonal stitching pattern like how you quilted yours. It is my first quilt bigger than a baby quilt. After working with this heavy no-cost fabric, I am ready to jump in and make a quilt using store-bought fabric. (If I can wrangle this heavy stuff through my machine I am confident I can do so with a less heavy quilt.) Thanks for both the design inspiration and for giving my quilting confidence a boost!
createwithclaudia_7j76hs
January 15, 2021 at 5:22 AMGlad to hear and thanks for letting me know that you like this pattern. It is definitely heavy. Have fun on your new quilting hobby!
Melanie Bronson
January 25, 2021 at 4:46 PMHow do you quilt your perfect straight lines on your quilts when quilting your quilts? Do you draw them on or something?