
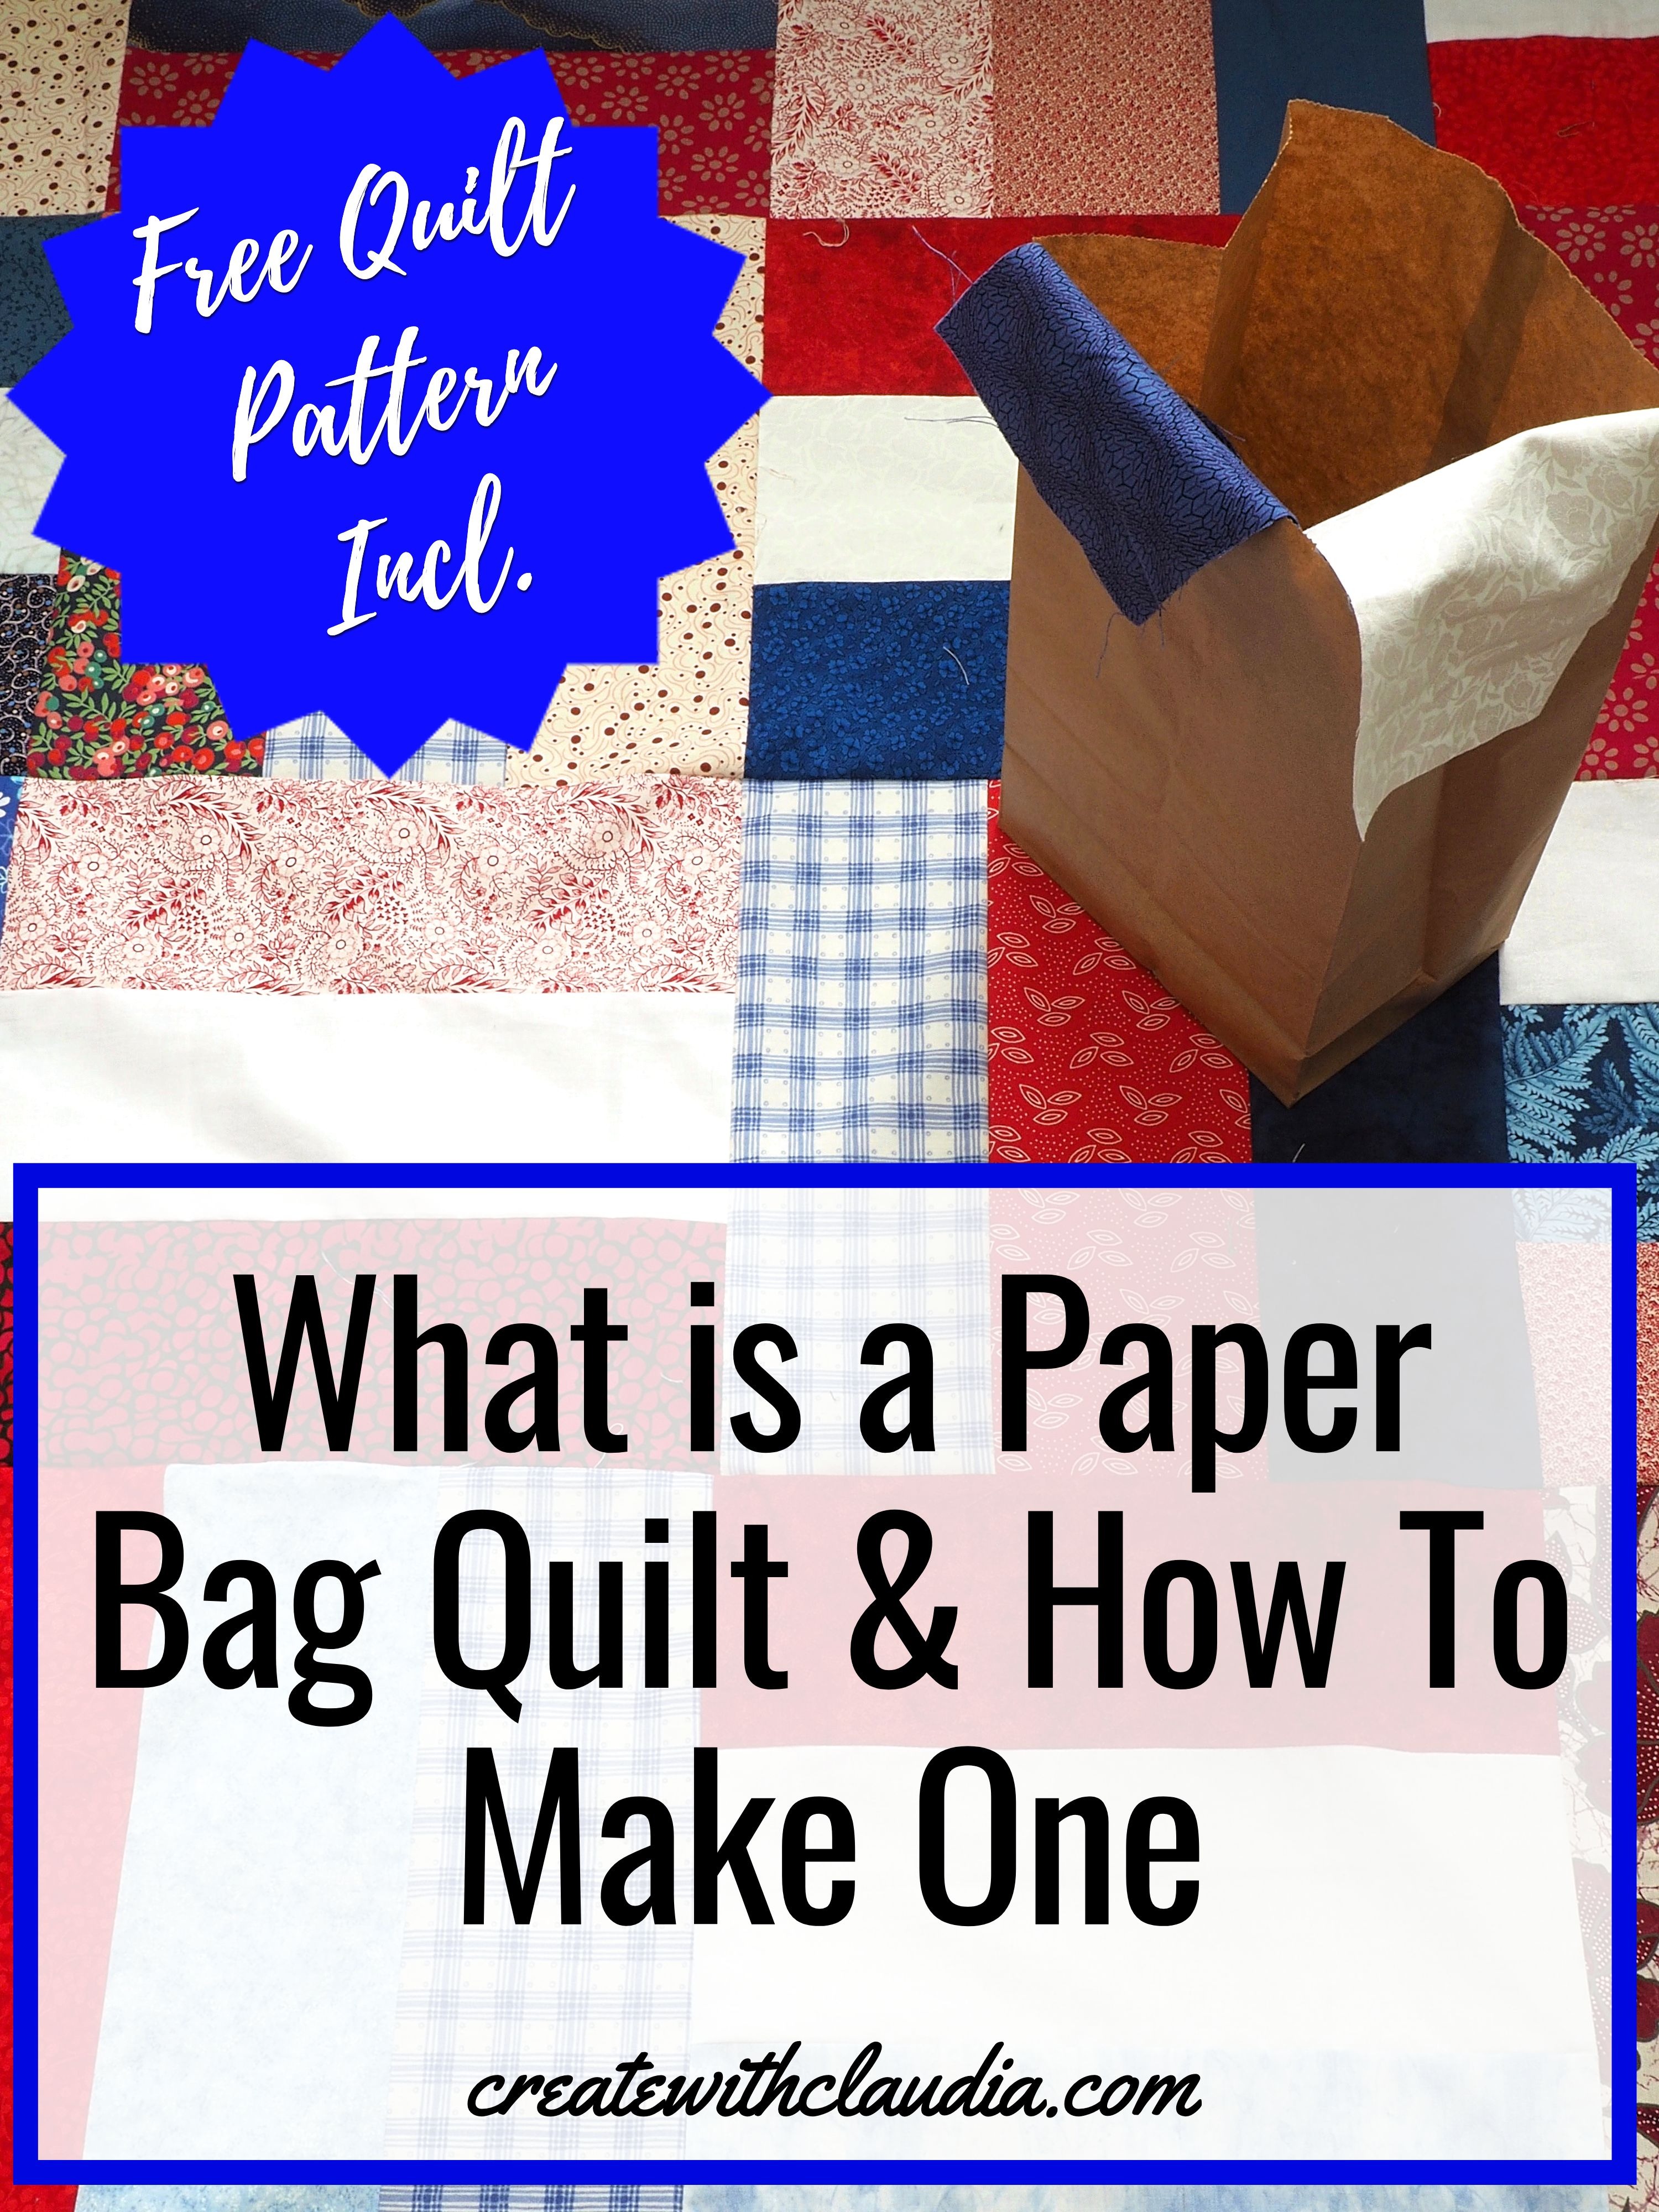
How to Make a Scrap Quilt Using the Paper Bag Method
Have you ever lost your sew-jo? Let’s face it, we all get into a sewing slump from time to time. I know I do. To help me snap out of it, I try to find projects that are a little different. I join quilt challenges or sew some small projects. But my favorite way to make quilting interesting again is to make a paper bag quilt. Yes, I know it sounds a little weird, but you read that right. At this point you are probably getting curious, so here is how to make a paper bag quilt.
Essentially, this method turns scrap quilt making into a fun game. It’s easy and, depending on the pattern and quilt size you choose, you can put together a quilt top in a day or so. You don’t need to worry about what fabrics go well together, or where blocks should be placed. The only rules to follow are your own.
A paper bag quilt is just like making a standard pattern, except that you change how you choose the fabric pieces. Every block is a surprise and you never know how it is going to turn out.
Guidelines
To make a paper bag quilt you need to make a few decisions before you begin.
- Choose a Pattern – A simple pattern is best for this method.
- Decide How Many Bags You Need – This will depend on the pattern you choose.
- Choose Fabrics – Once you have chosen a pattern and calculated fabric requirements, make sure you have all the fabric you need.
Items You Can Use To Make This Project
You can find many of the items that I used to make this project in my Amazon Store.
As an Amazon Associate I earn from qualifying purchases.
How to Make a Paper Bag Quilt
First, press and cut all of the fabric pieces in the sizes needed.
Next, depending on the pattern you choose, you may need to divide your fabrics into separate bags. For example, if you are using light and dark values, you would need two bags, one with light ones and one with dark ones. If you are making a charm quilt, you only need one bag.
Here are some examples.
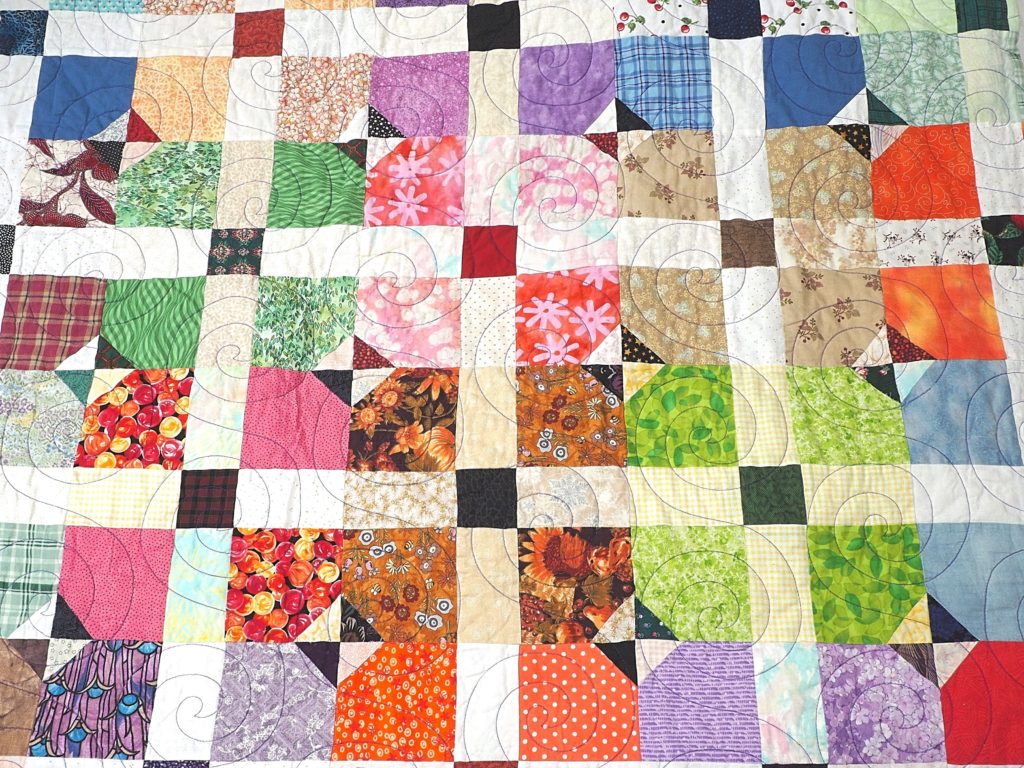
For this quilt, I needed bags for every color, and each piece was cut so that when I pulled it out it could be cut in half and used twice in the block. Each block was a different color.
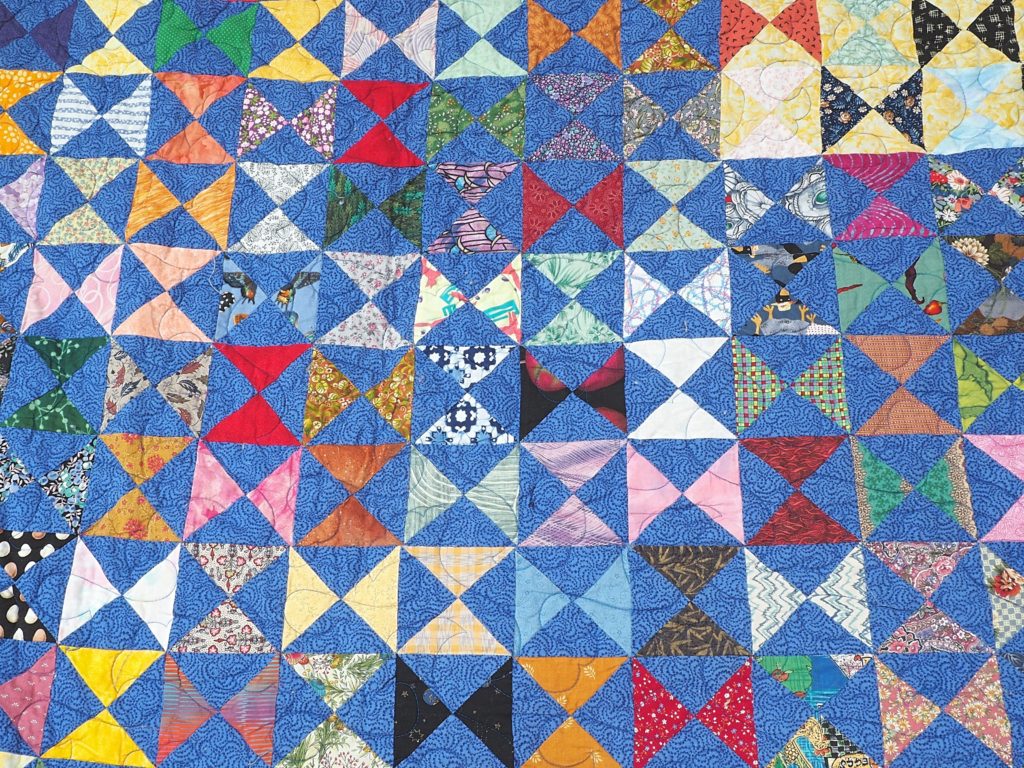
The blue fabric in the broken dishes scrap quilt above was the main fabric, and the fabrics in the paper bag were squares large enough to make the block. I only needed one bag for this project.

When my daughter was young, she helped me with the nine patch quilt above. All of the jewel tone fabric squares were put into a bag and she pulled them out for me. I only needed one paper bag for this quilt.
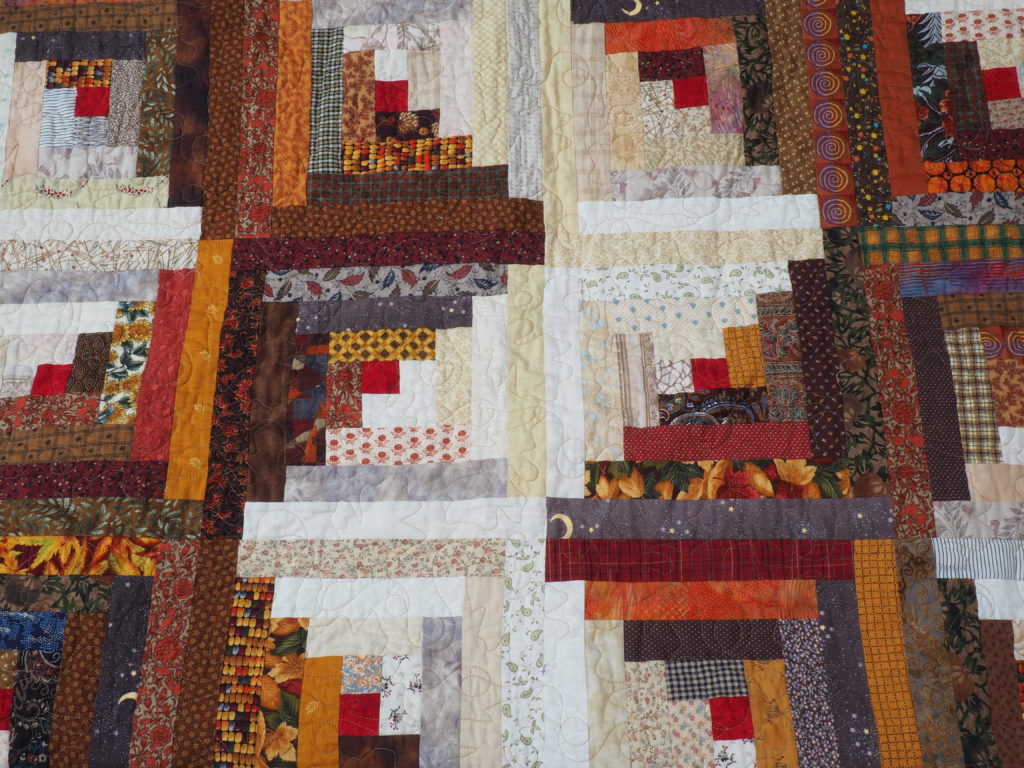
You can use the paper bag quilt method with many patterns. This scrappy autumn log cabin was made using it. I needed 16 bags, 8 for the various beige strip sizes and 8 for the various brown strip sizes.
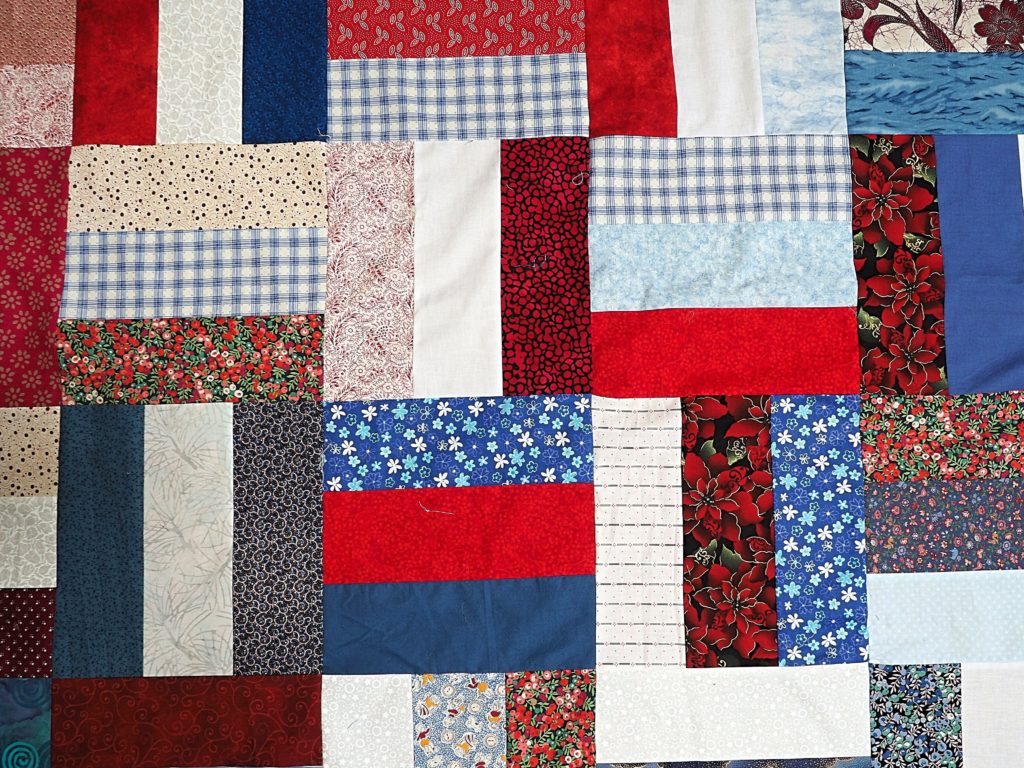
Only one bag was needed to make this patriotic quilt.
The Fun Part
Once the bag(s) are ready, it is time to assemble the blocks.
Without looking, pull the fabric piece(s) you need out of the bag and sew them together like you normally would. The only difference is that you don’t see what you are getting until you have taken it out of the bag. There is no making sure that the fabrics look good together. You use what you get. It’s the ultimate scrap quilt.
Once you have sewn all of the blocks together, they need to be assembled into the top.
Put all of the blocks into a paper bag (or larger container that you can’t see through) and pull out what you need to start assembling your block. Again, the only difference between a standard quilt top assembly process and this method, is that you don’t peek when you pull the blocks out of the bag.
Finally, choose your batting and backing, and finish the quilt however you like.
It’s a completely random and liberating way of quilting. I normally take a lot of time choosing just the right fabrics for my quilts, so making a quilt like this is a bit of a relaxing challenge. But it sure is fun. I get excited with every piece of fabric I pull out, seeing which one I get. I may not always like the piece I pull, but I don’t change it, and the block ends up looking just fine.

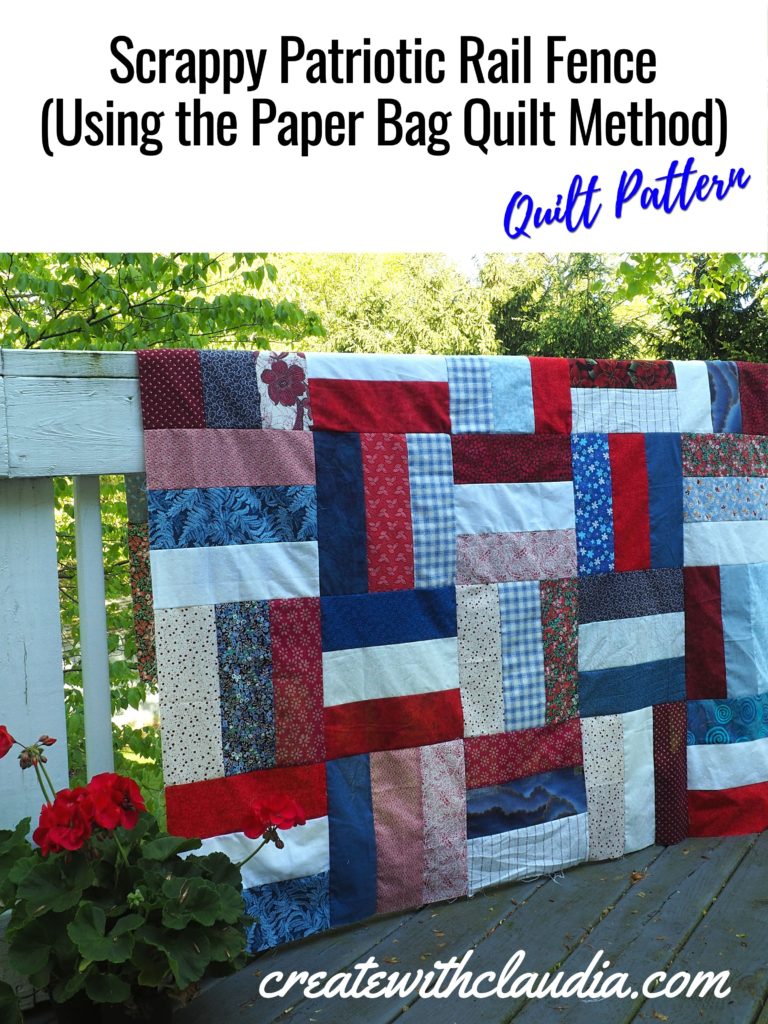
Free Quilt Pattern Using This Method
Try it for yourself with this easy Scrappy Paper Bag Rail Fence Quilt Pattern. Don’t be scared to try it in other colors too.

2 Comments
Betty H
May 16, 2019 at 11:19 AMI made a log cabin quilt using the paper bag method. Mine was scrappy with only two bags, light and dark. I didn’t cut the strips to length, just trimmed as I went. I pulled strips from the bags and once used set aside until all strips had been used once, then put them back in the bag and started the process over, working chain style on several blocks at a time. I allowed myself two rules, no same color touching and no same fabric in the same block. As you said, it was very liberating and fun!
createwithclaudia_7j76hs
May 16, 2019 at 4:58 PMThanks for stopping by. I like that idea of trimming as you go along. That would save on cutting time and the chain sewing is always a good idea.