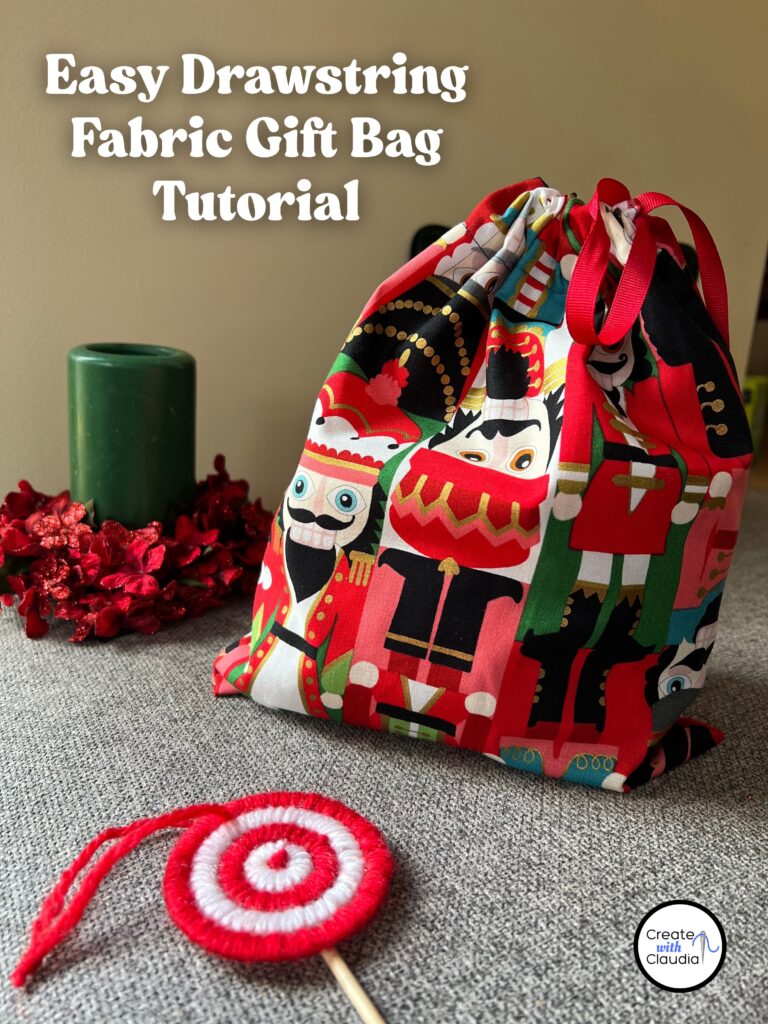
Easy Drawstring Fabric Gift Bag Tutorial
If you are looking for a unique way to give gifts this holiday (or for any occasion), look no further than this easy drawstring fabric gift bag tutorial. These bags can be made in pretty much any size and shape. They also take hardly any time at all to sew. I like these bags because they are almost like a second gift and they can be reused over and over. They are also a fun way to show off your favorite festive fabrics.
Grab a cup of coffee, gather up your favorite piece of fabric, some general sewing supplies and a ribbon and start sewing up some of these charming bags.
Watch the Tutorial Here
Let’s Make a Bag
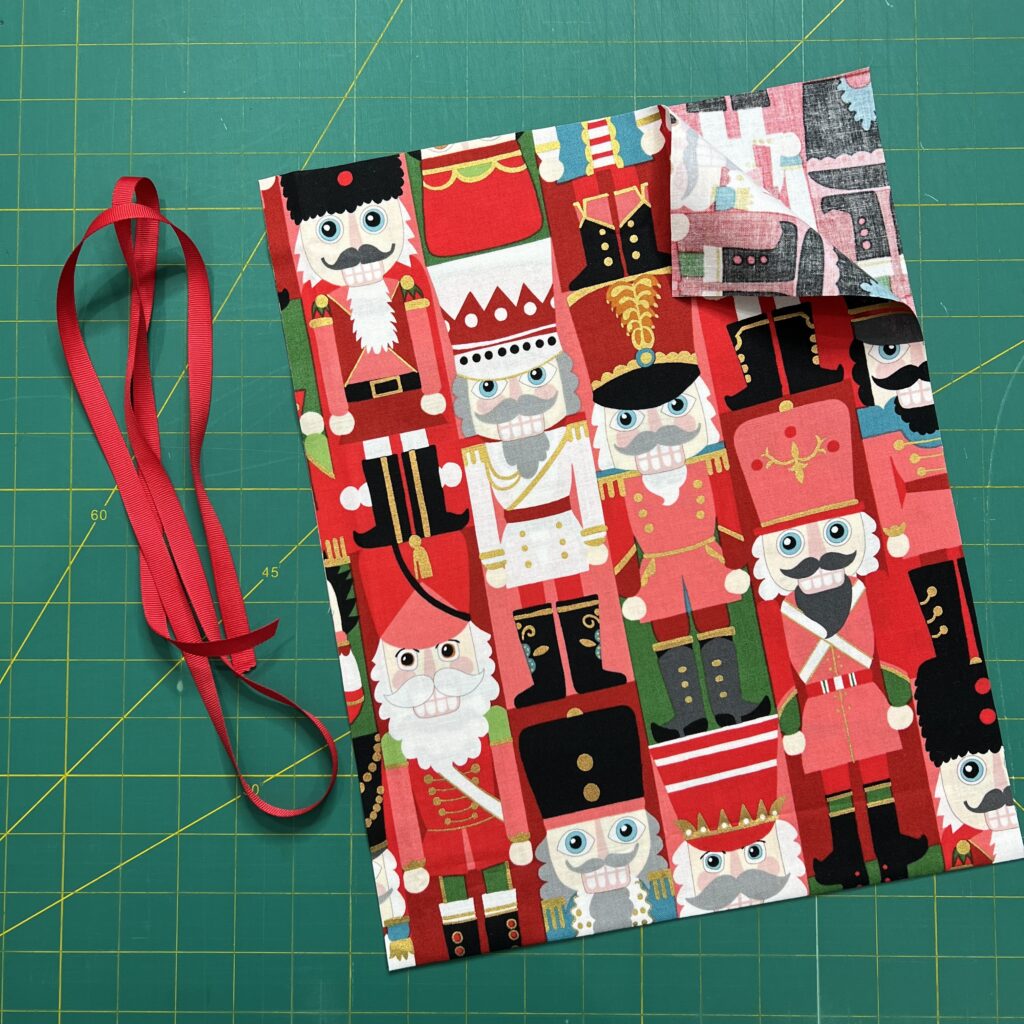
Pick out the fabric you would like to use. Fold it in half and press nicely. Make sure the piece of fabric is at least 2 inches larger than the gift you will be putting in it. Cut a piece of ribbon more than double the width of both pieces of fabric. For example, if the fabric at the top of the bag is 10″ you will need about 25″ so you can get a nice bow.
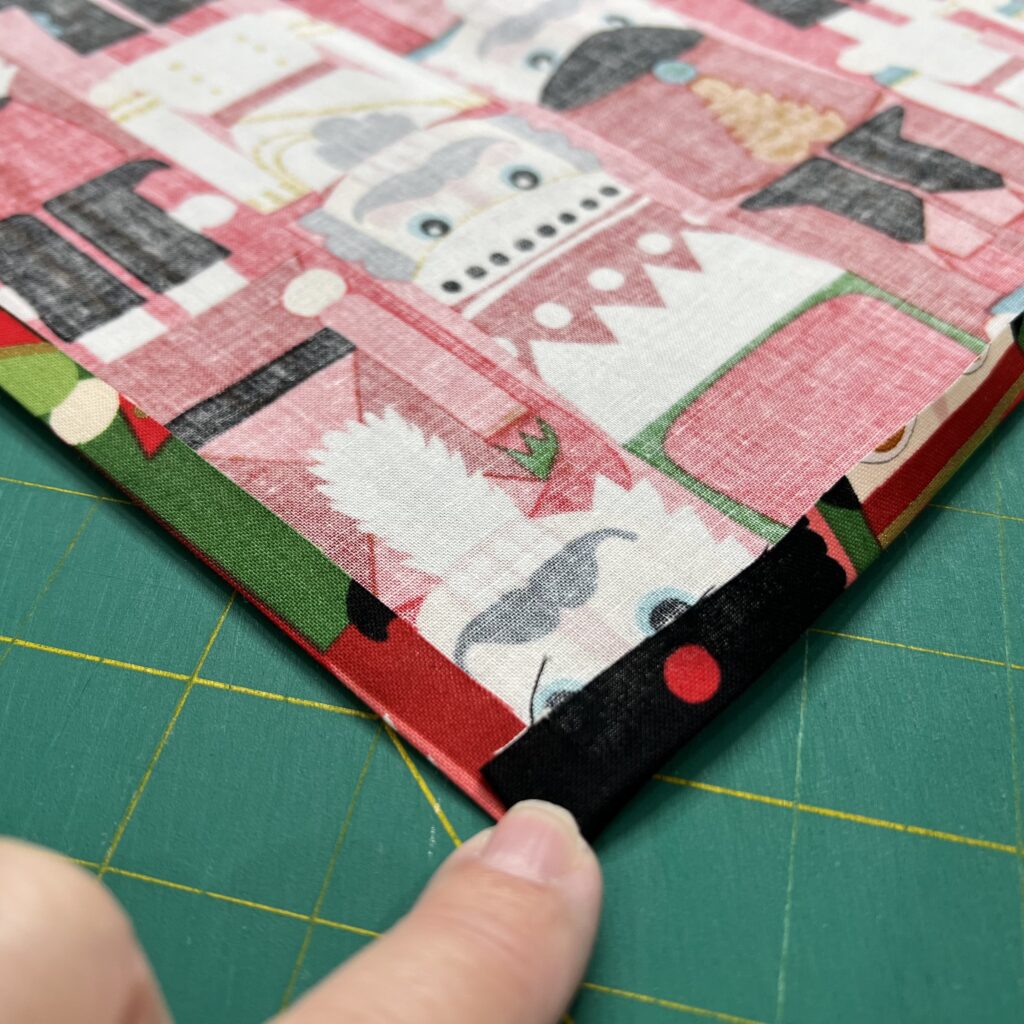
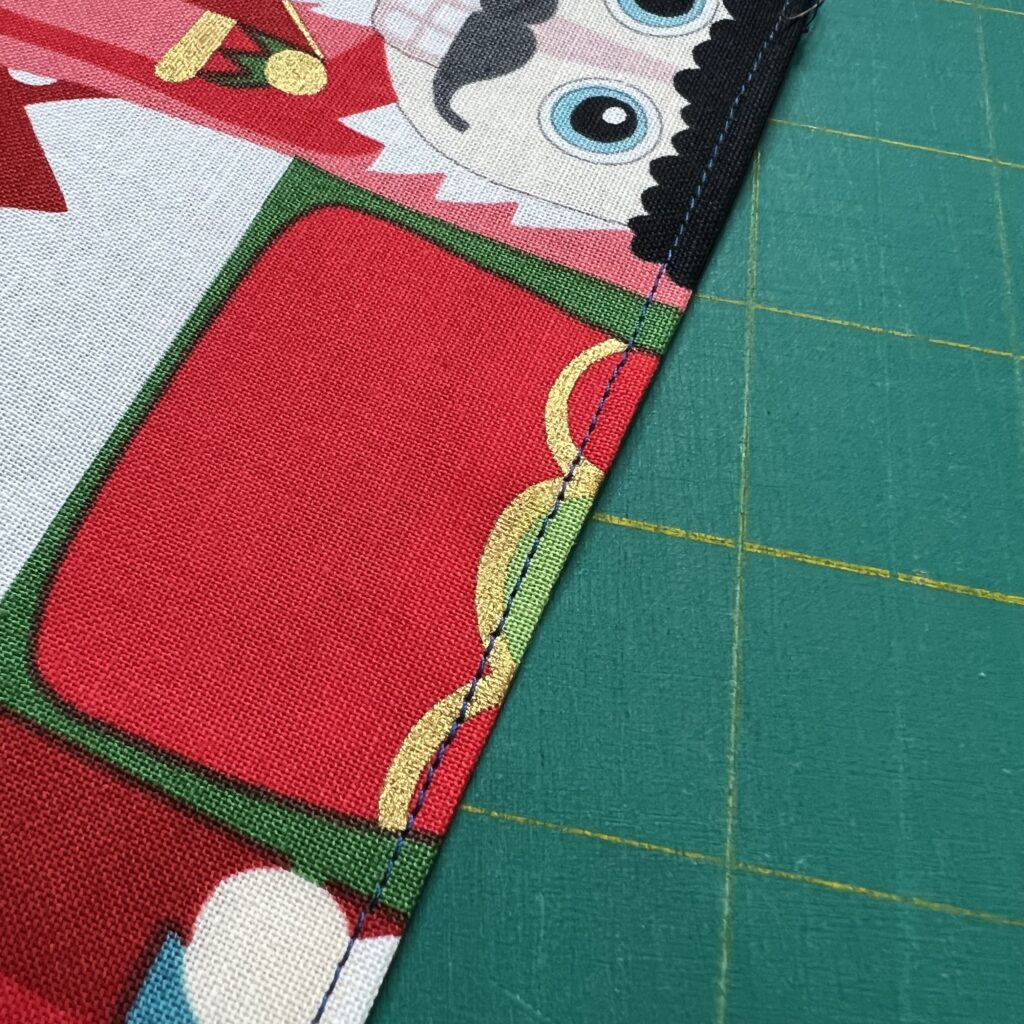
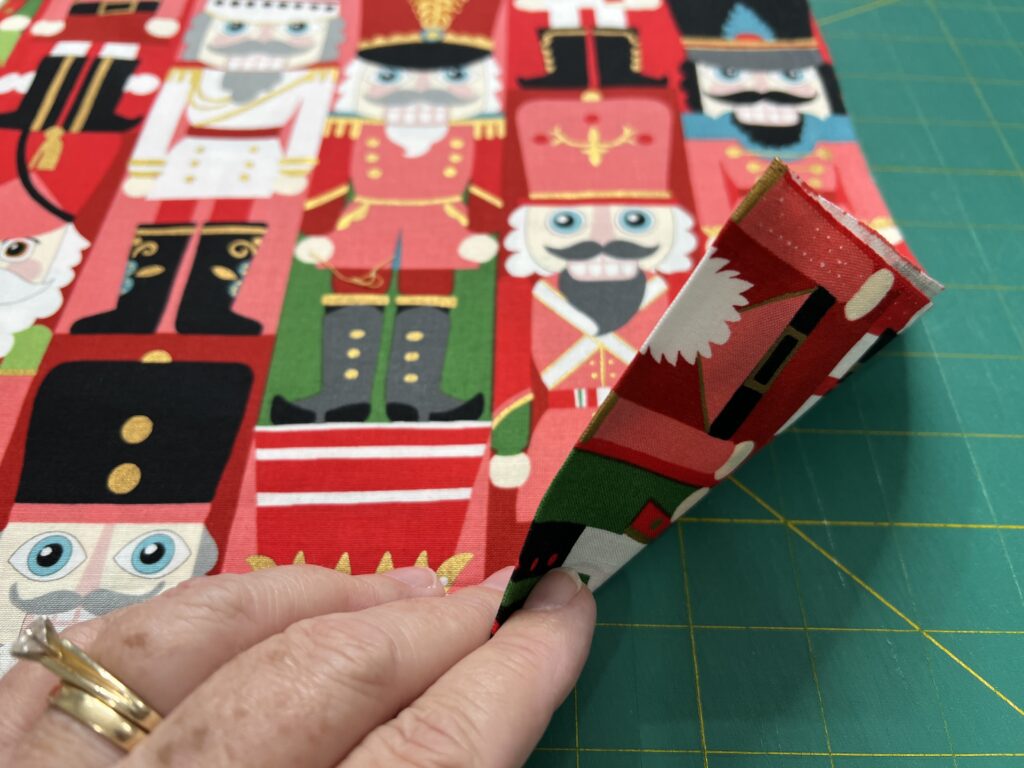
Fold over all four edges of the fabric and stitch around the edge using a 1/8″ seam allowance.
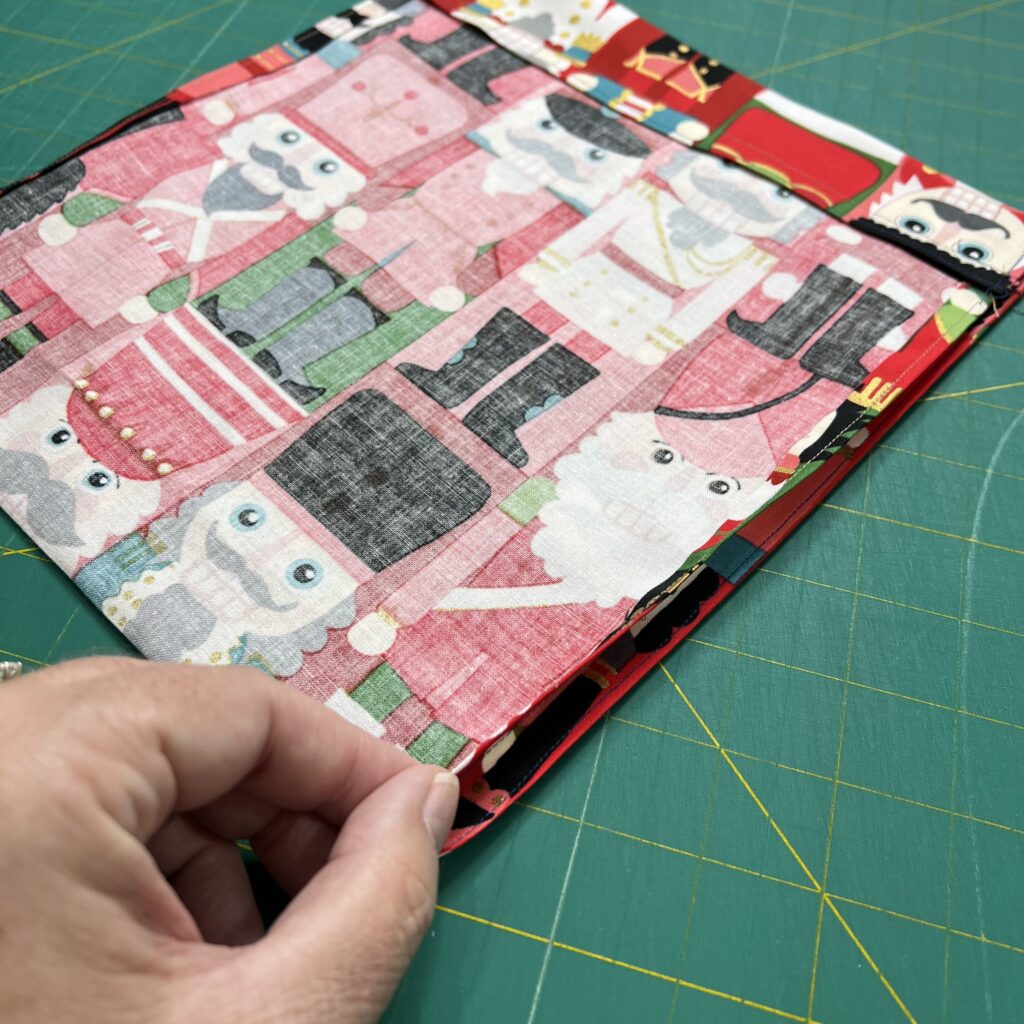
Make the sleeve for the ribbon by folding over the top edges of both ends of the fabric. I fold my edges over about 2″. Sew the edges down.
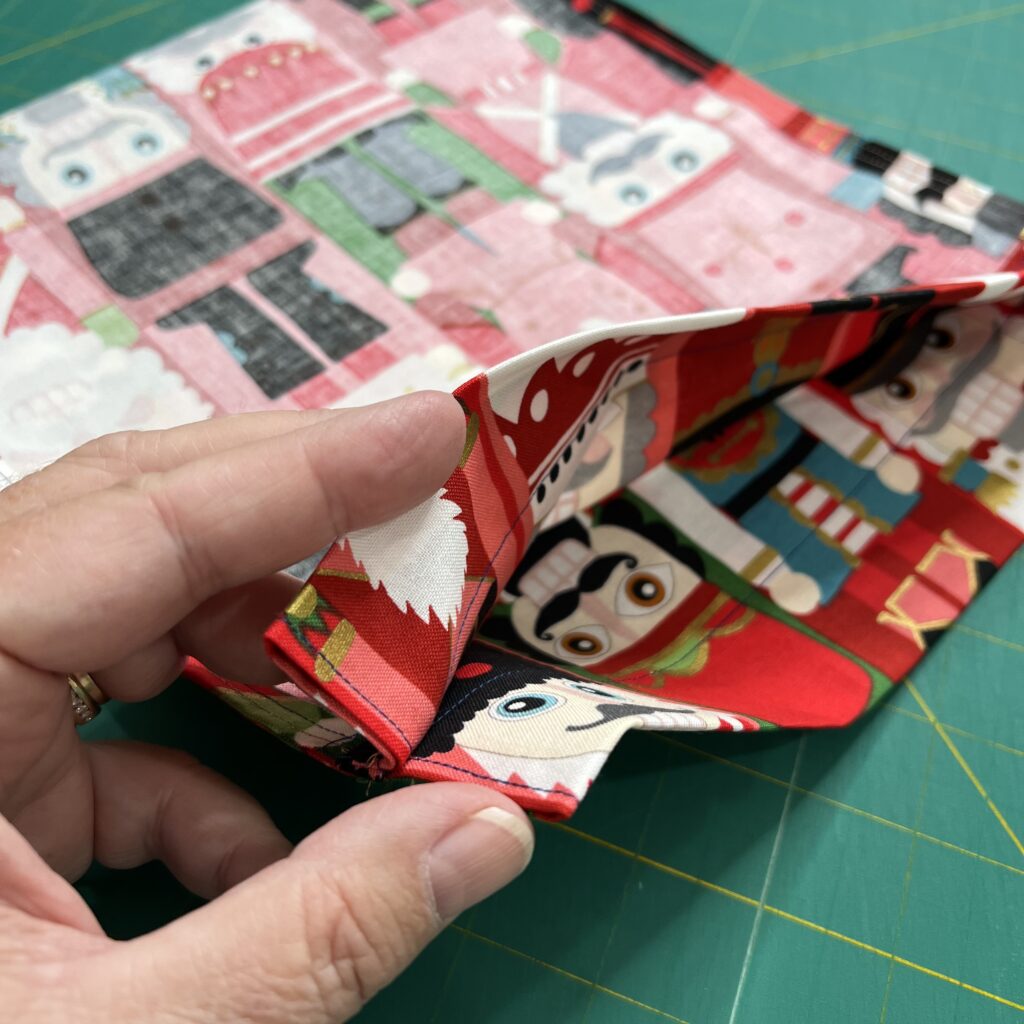
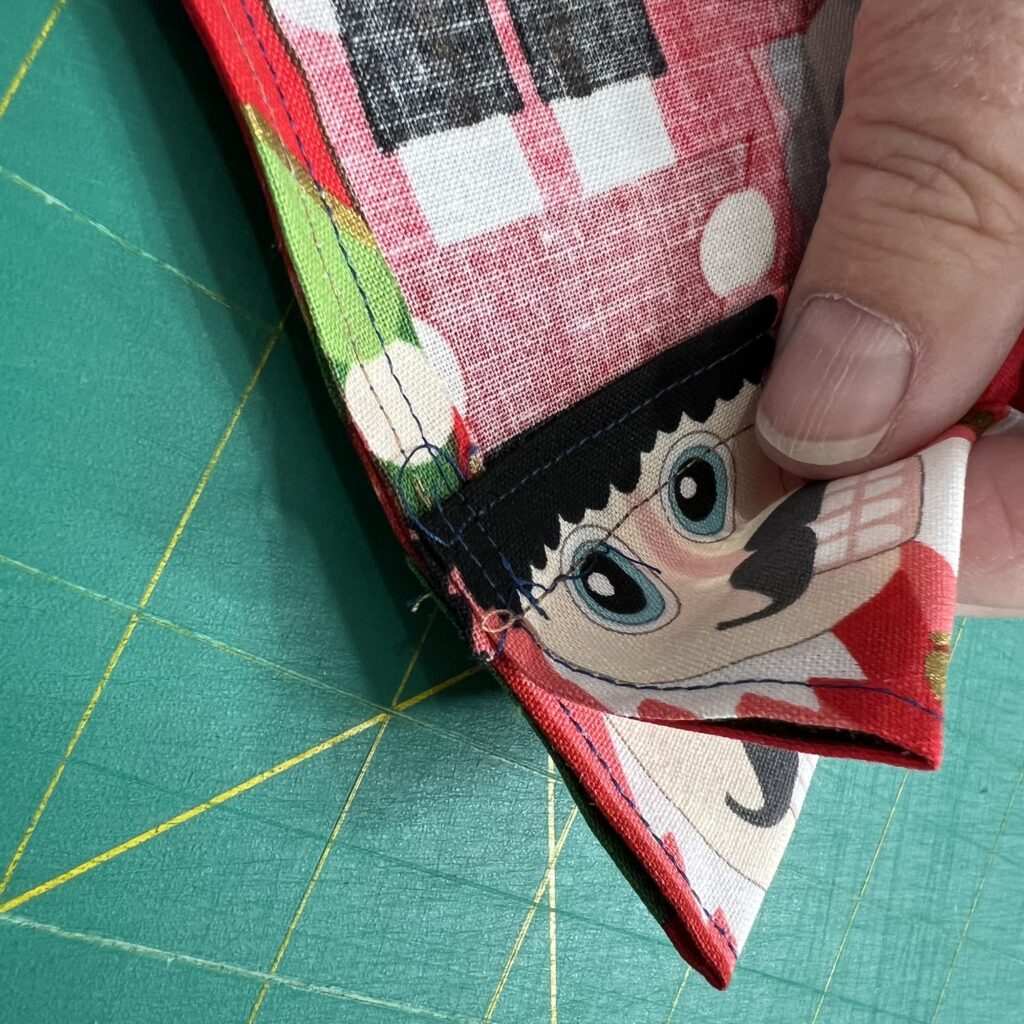
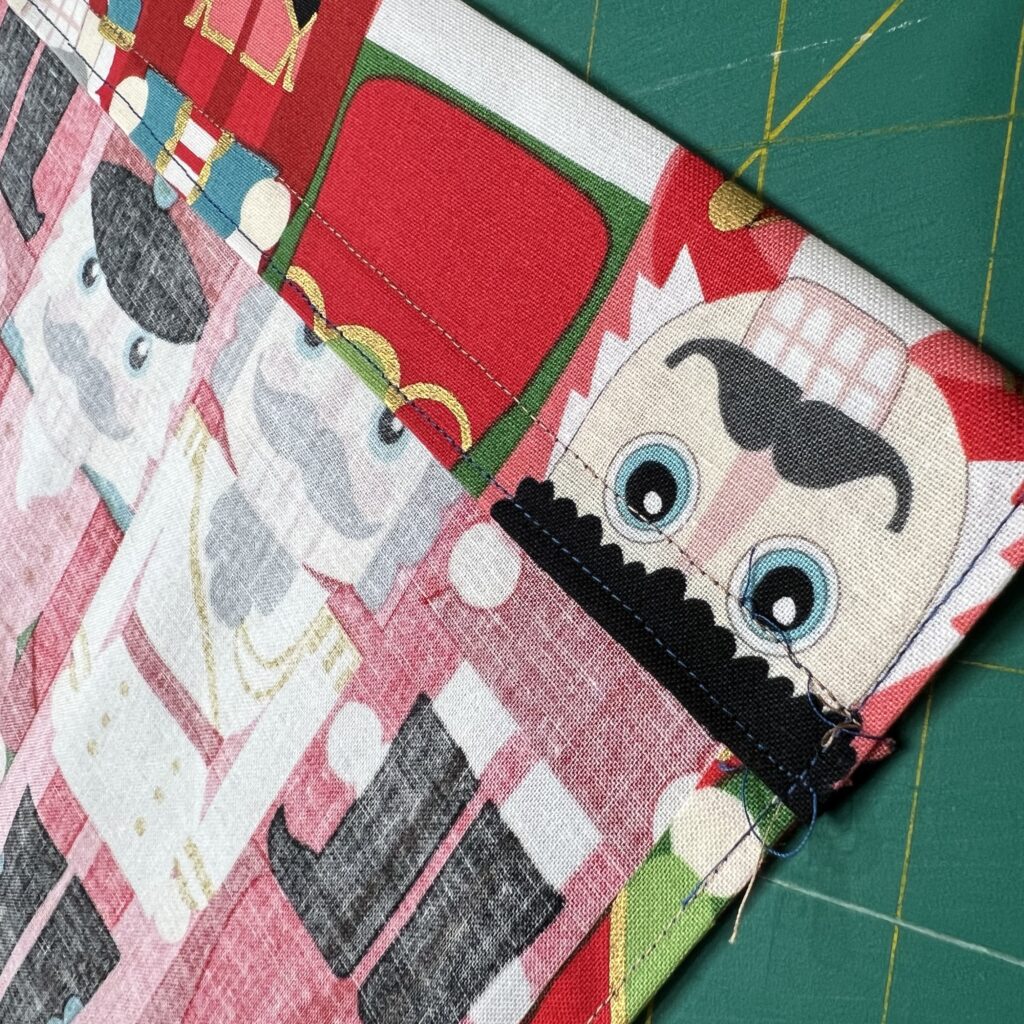
Refold the fabric with right sides facing. Sew along the left, bottom and right sides. Do not sew all the way to the top edge. Stop at the edge of the fold. Backstitch at the edges of the fold.
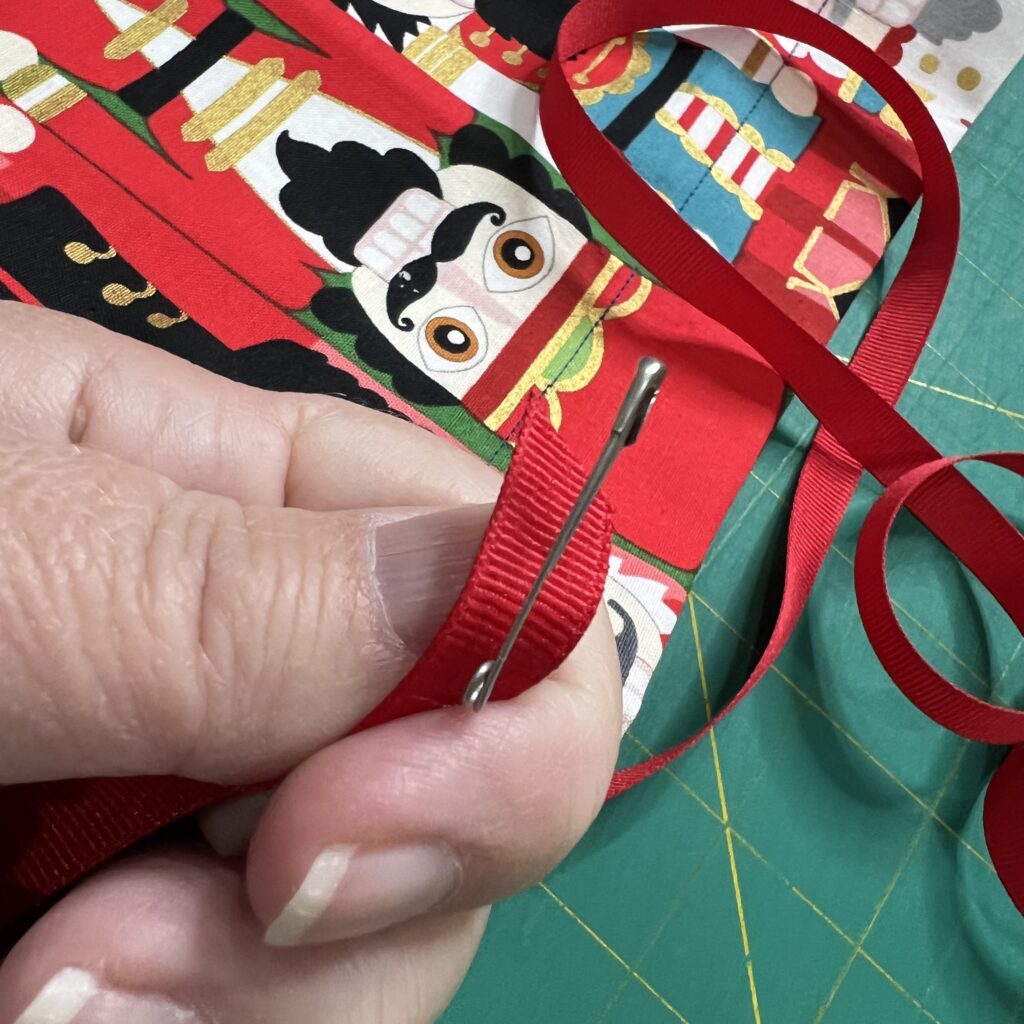
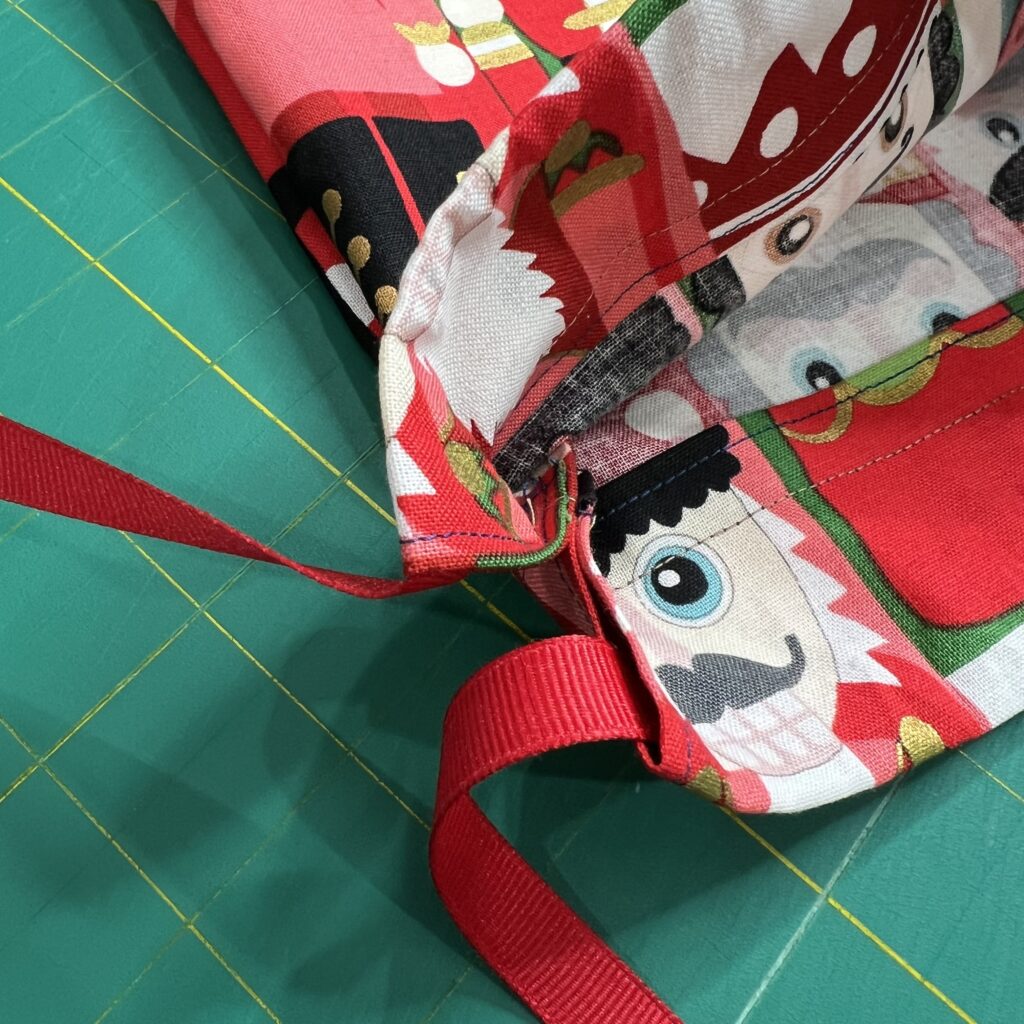
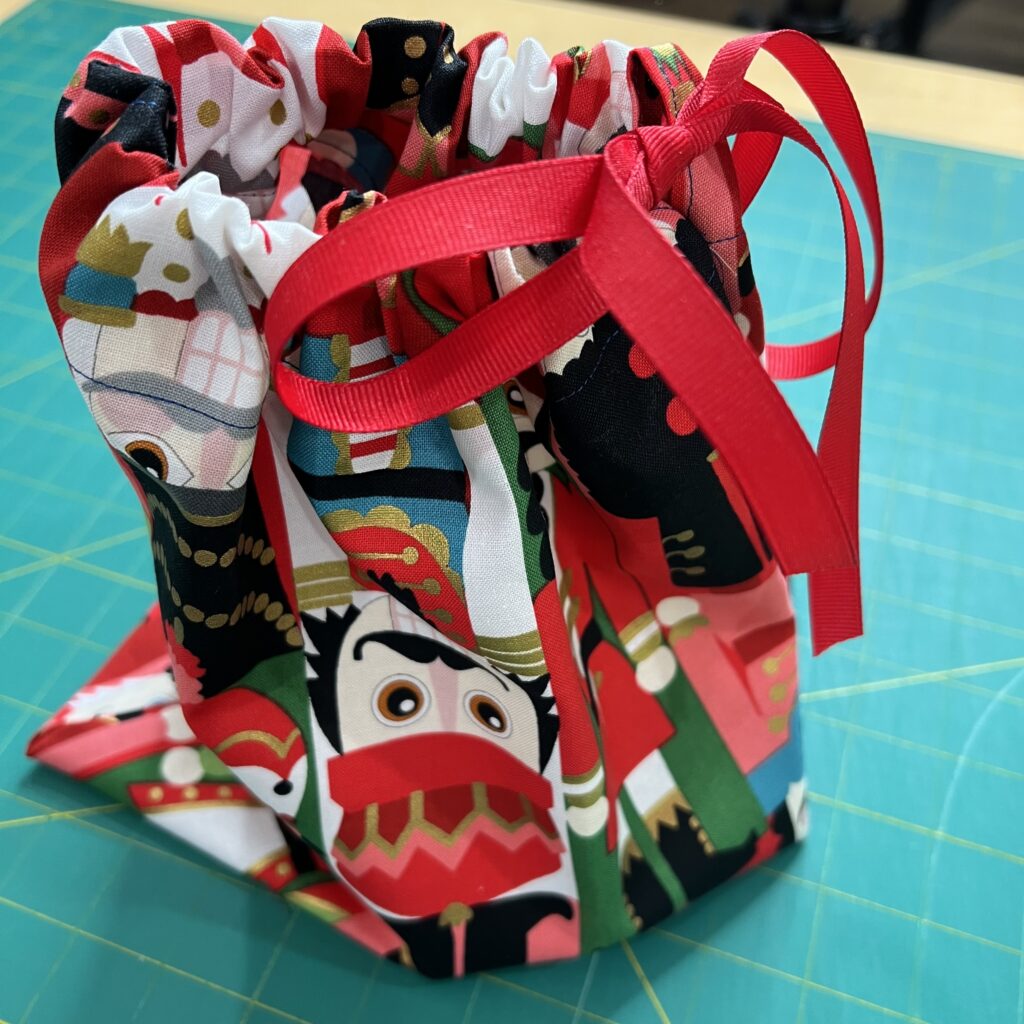
Add a safety pin to one end of the ribbon and feed it through the opening. Pull tighter and it will draw the bag closed.

Who wouldn’t love to get a gift in a bag like this?! I know I would.
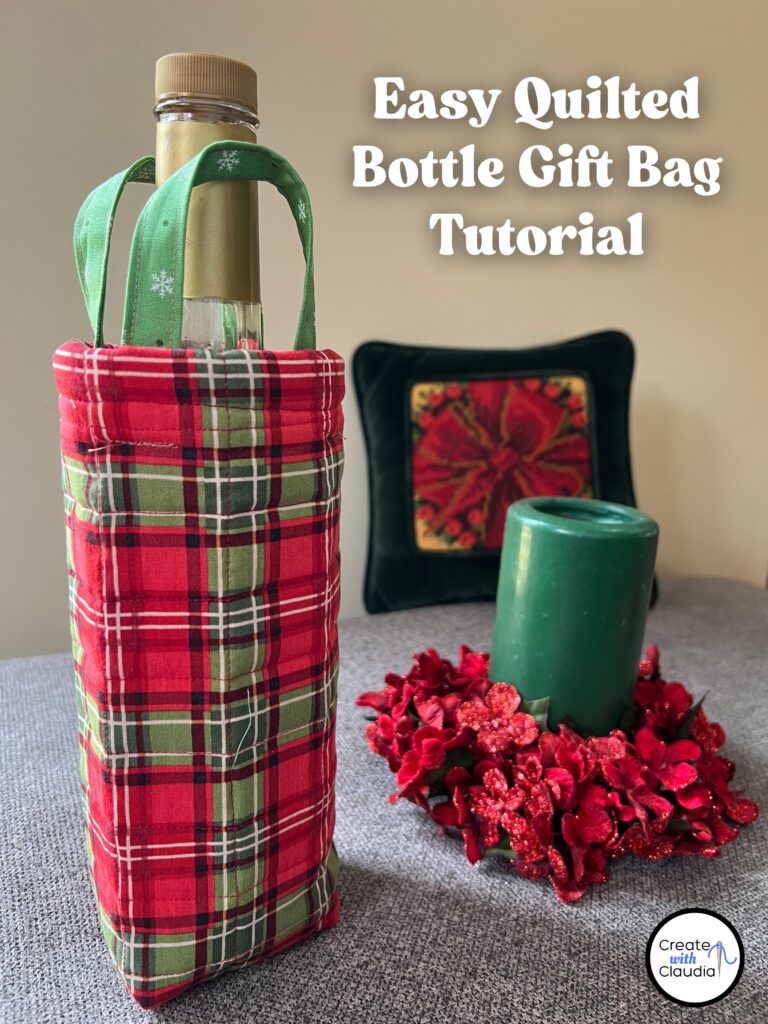
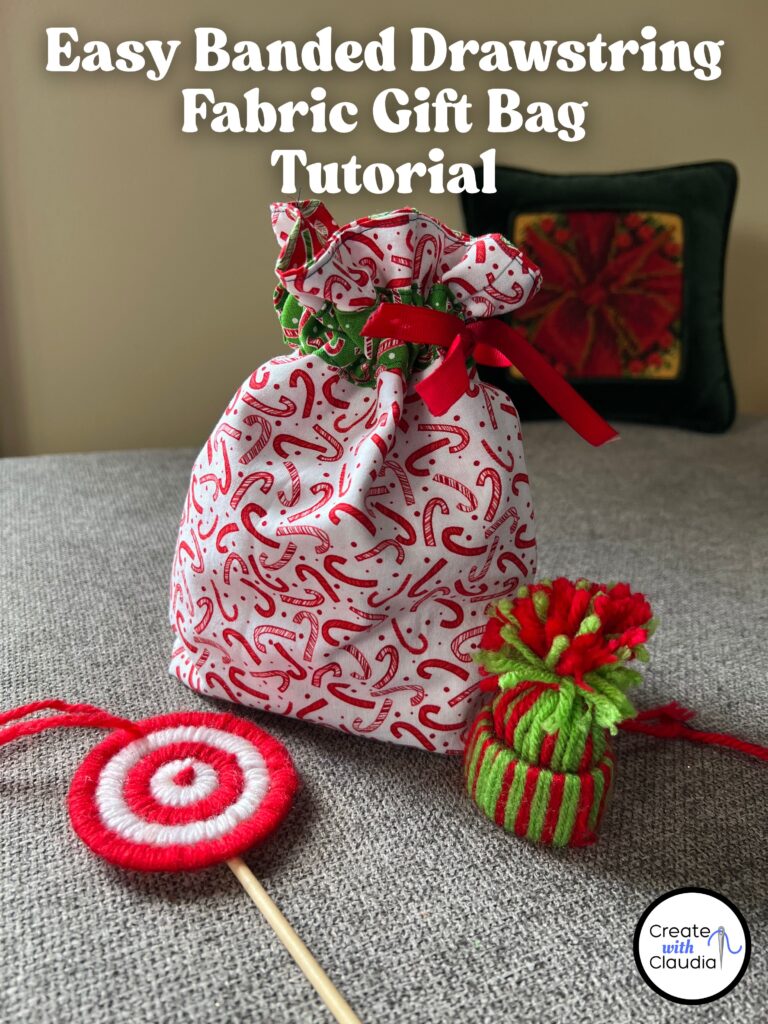
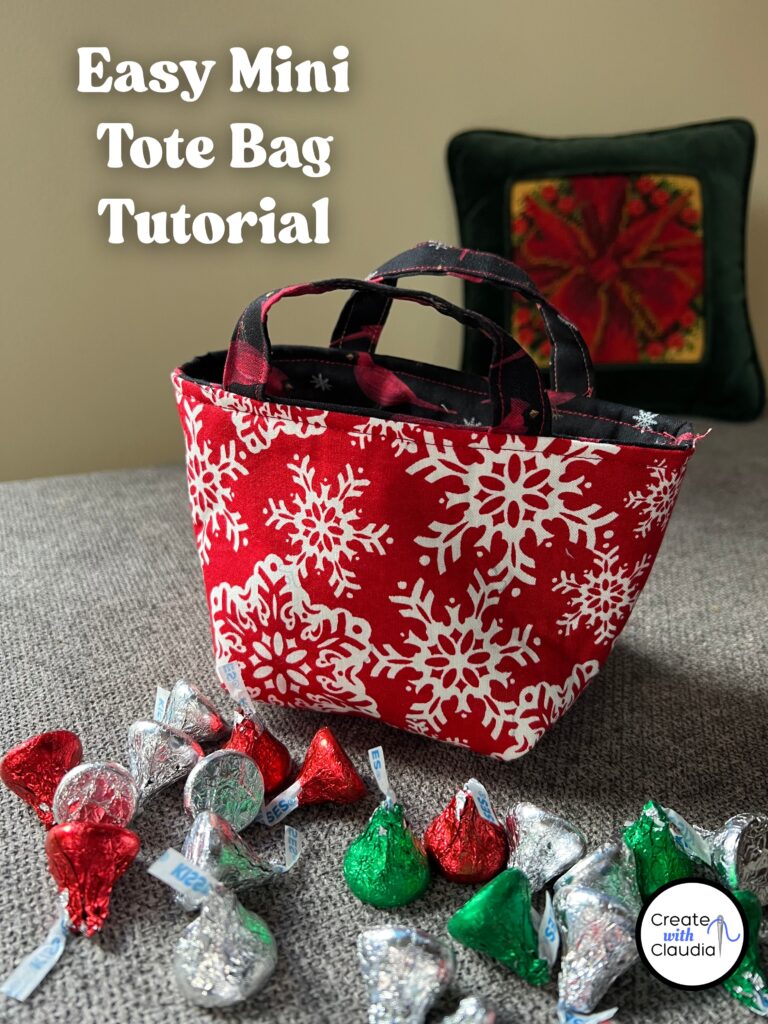
This easy tutorial is part of a round up that I did featuring six easy fabric gift bags. Here are the rest of them and there is something for almost every kind of gift. Click on the photo to take you to the tutorial.