Easy Banded Drawstring Fabric Gift Bag Tutorial
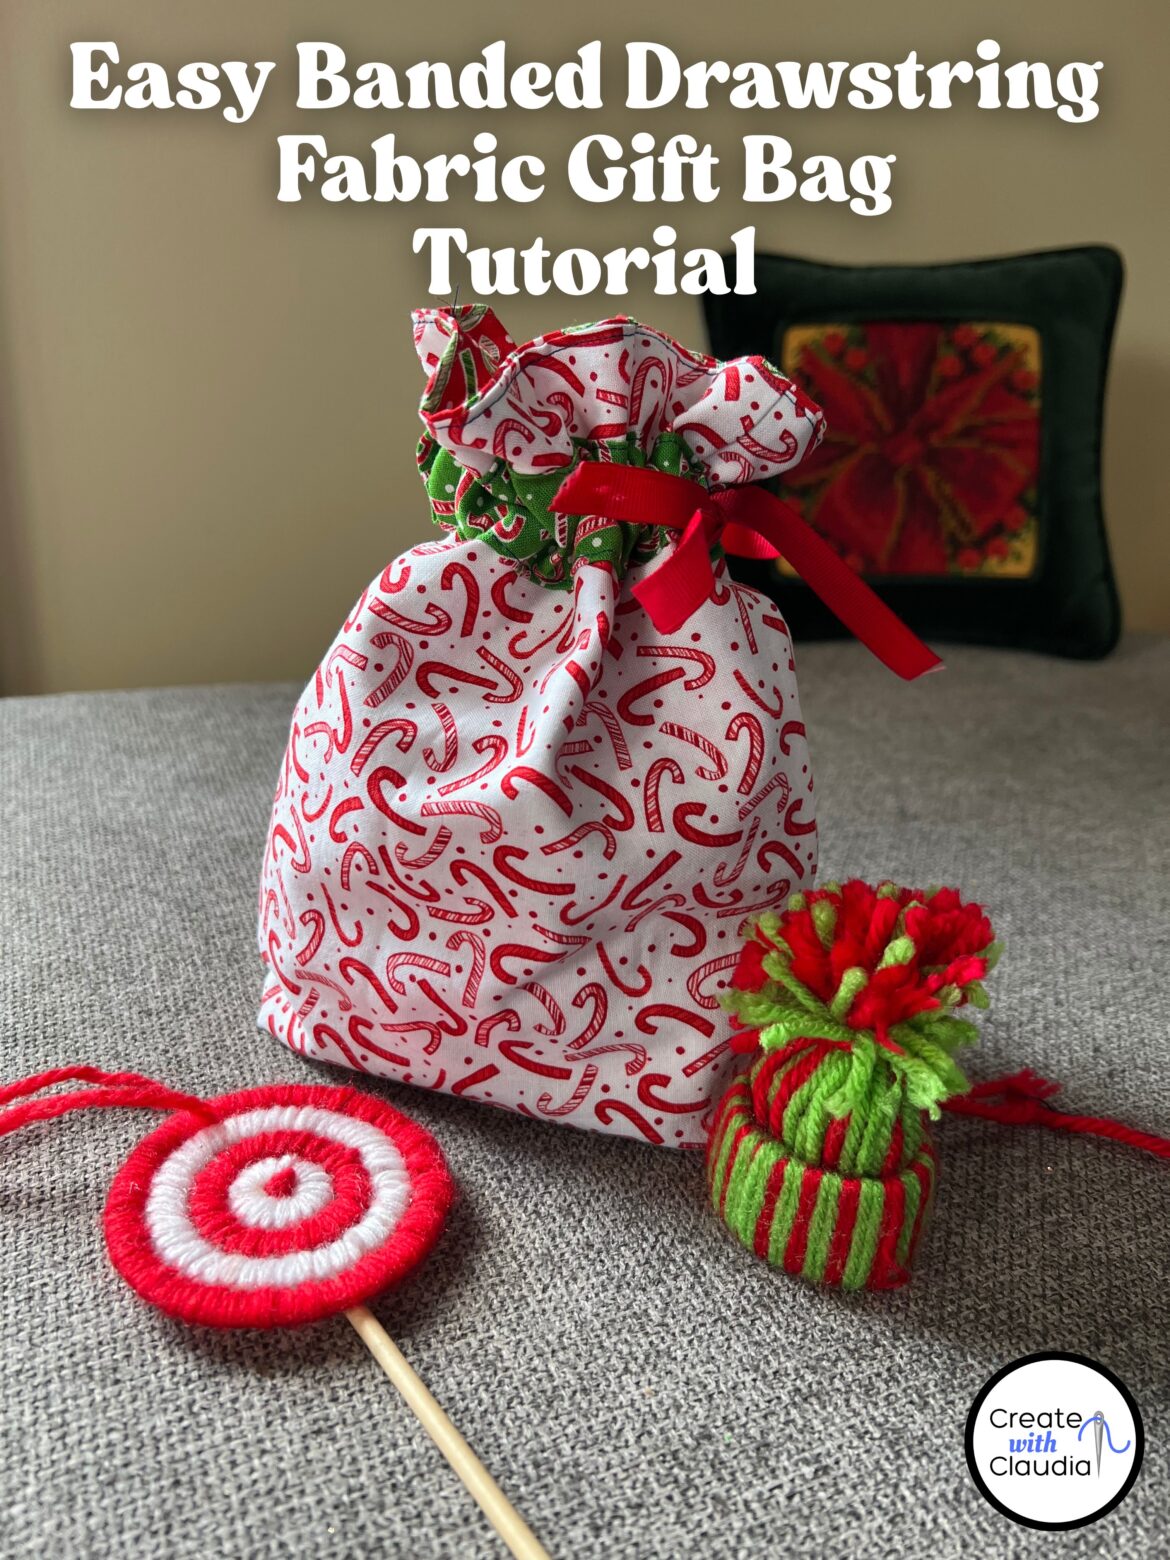
I always like presenting my gifts to friends and family in unique ways. This easy banded drawstring fabric gift bag is one of those ways. Not only am I using fabrics I have on hand, it’s a great way to reduce waste. I can reuse these bags as often as I want. The person who gets the gift can also keep it and use it. What could be better?!
Christmas was the reason I made my bag, however with a quick change of fabrics, these can be made for any occasion. They don’t take much time and look great.
My Video Tutorial
Let’s Make the Bag
You’ll need the following supplies to make this bag. Important: You can make this bag any size so all of these measurements can be adjusted accordingly.
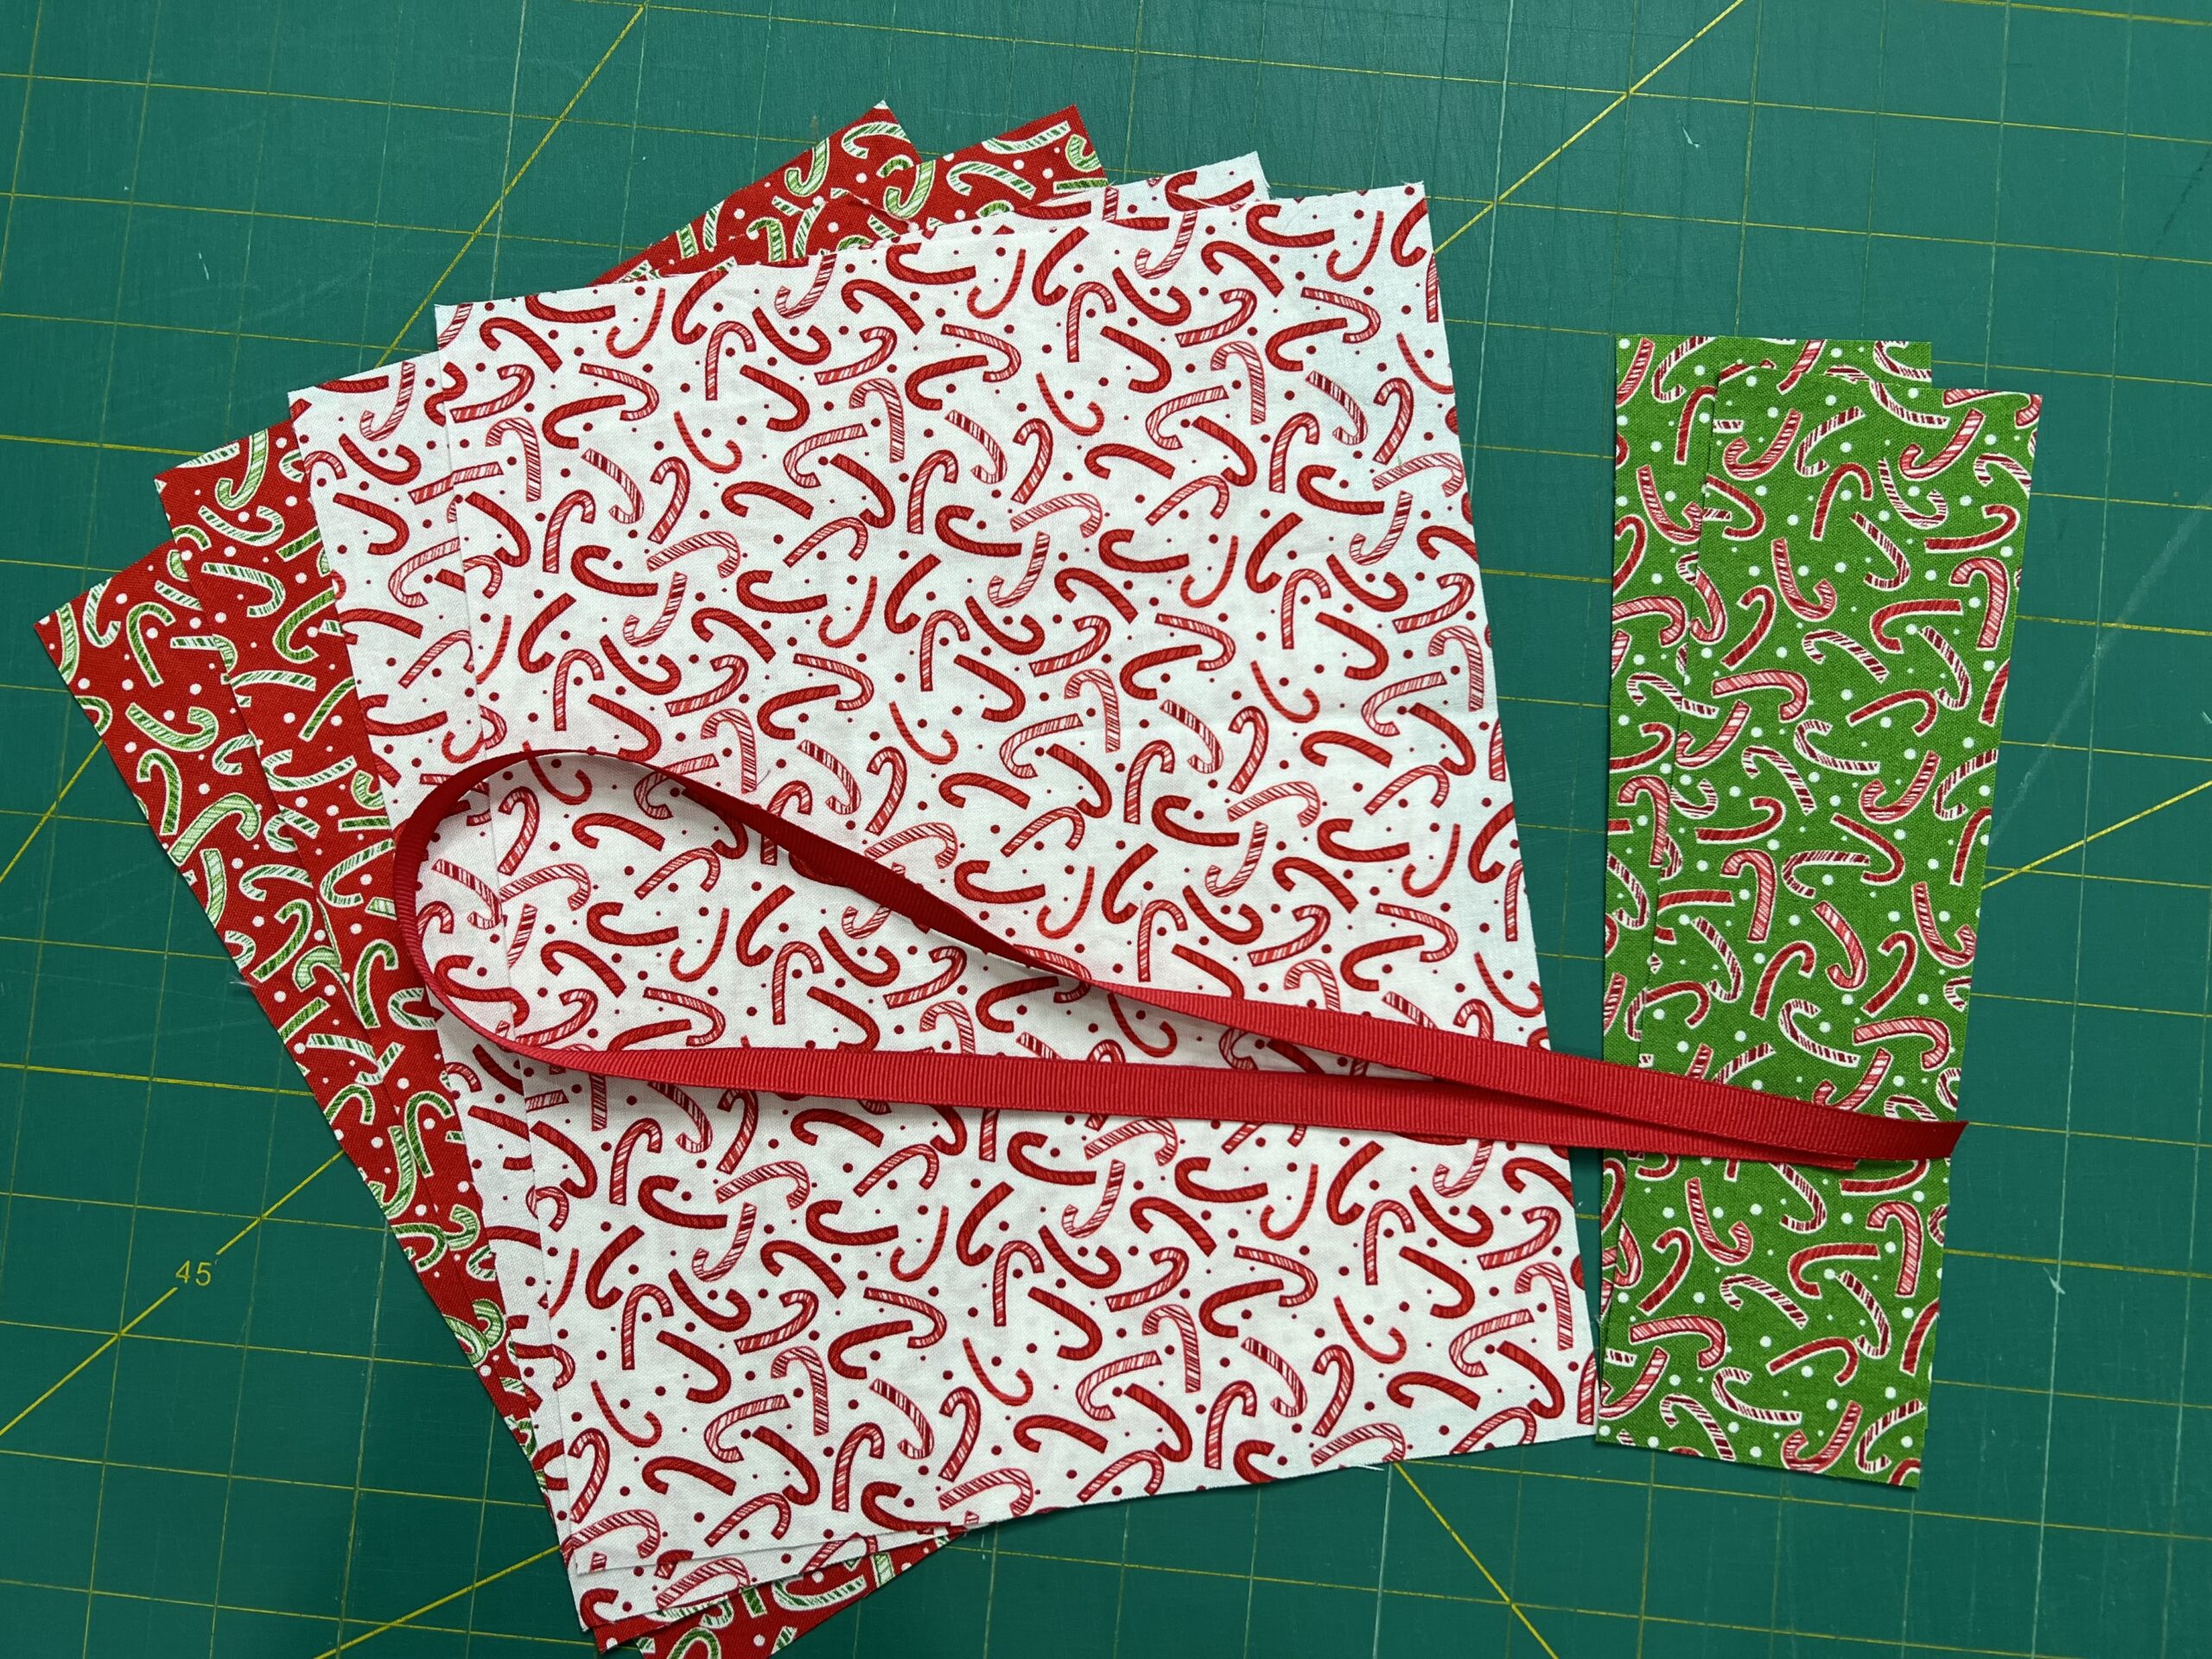
- Outer Fabric – 2 pieces 8″ x 10″
- Lining Fabric: 2 pieces 8″ x 10″
- Band for the ribbon: 2 pieces 2 1/2″ x 8 1/2″
- Ribbon: 1 piece no wider than 1″ and about 25″ long (longer or shorter as desired)

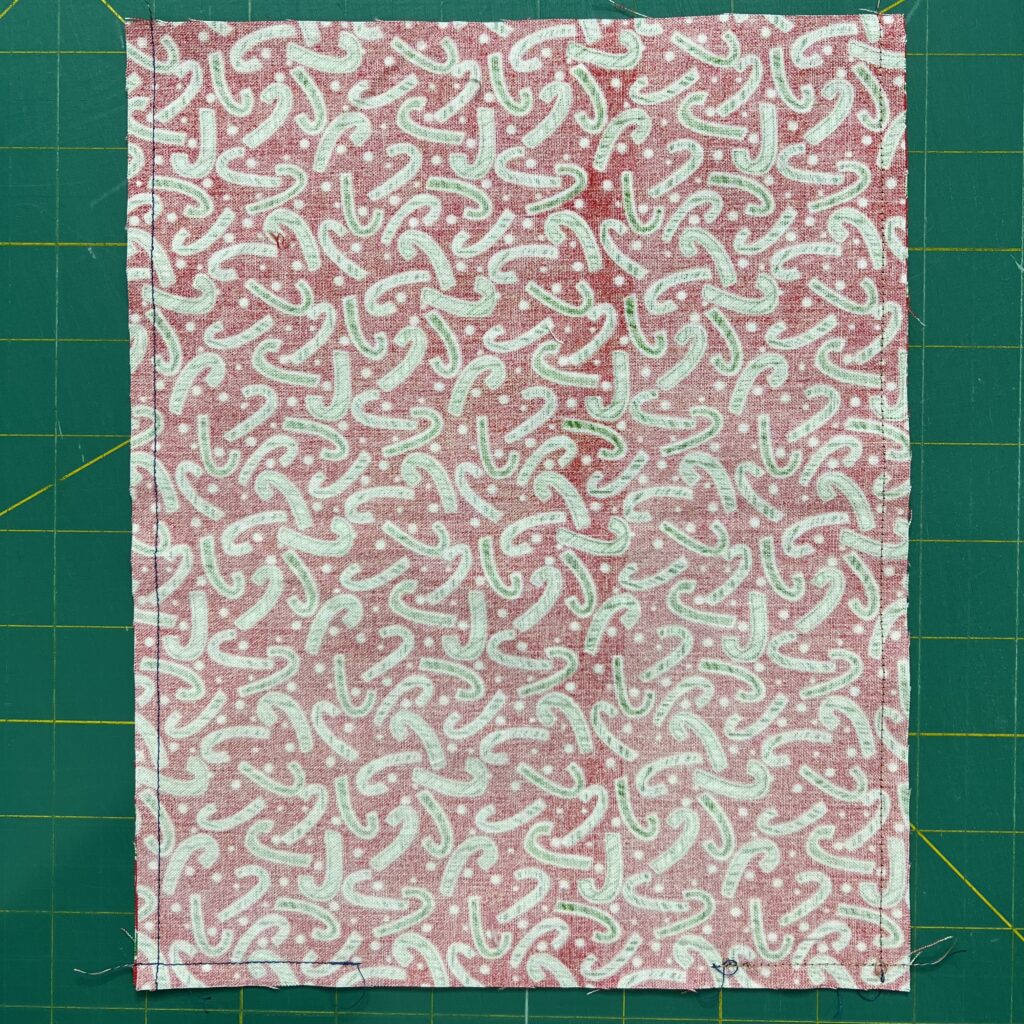
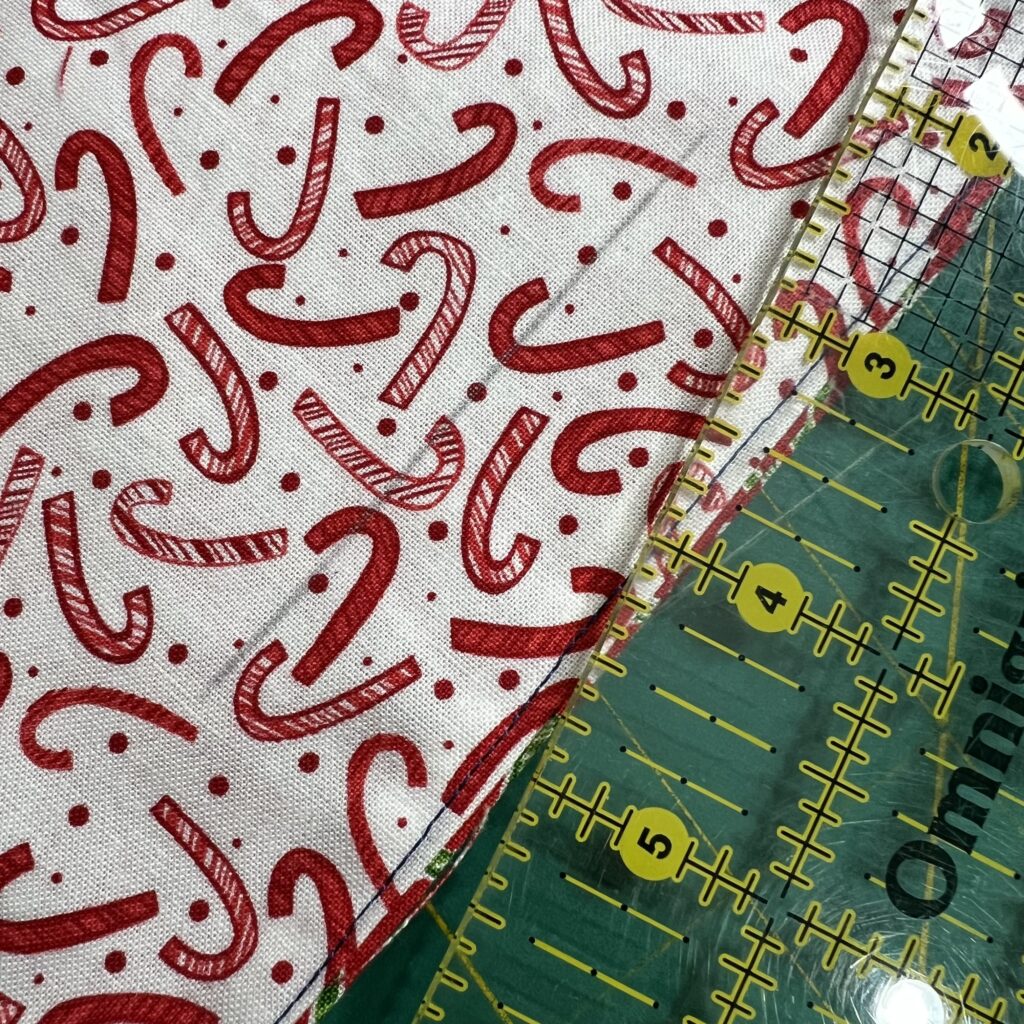
Line up the two outer pieces, right sides together and, using a 1/4″ seam allowance, sew the pieces together along three sides. Leave one of the shorter sides open.
Repeat with the two lining pieces. However, this time, leave a 2″ – 3″ gap on the bottom edge. This is so you can turn the bag right sides out. Backstitch where the gap begins because that will get a lot of pulling and could pull open.
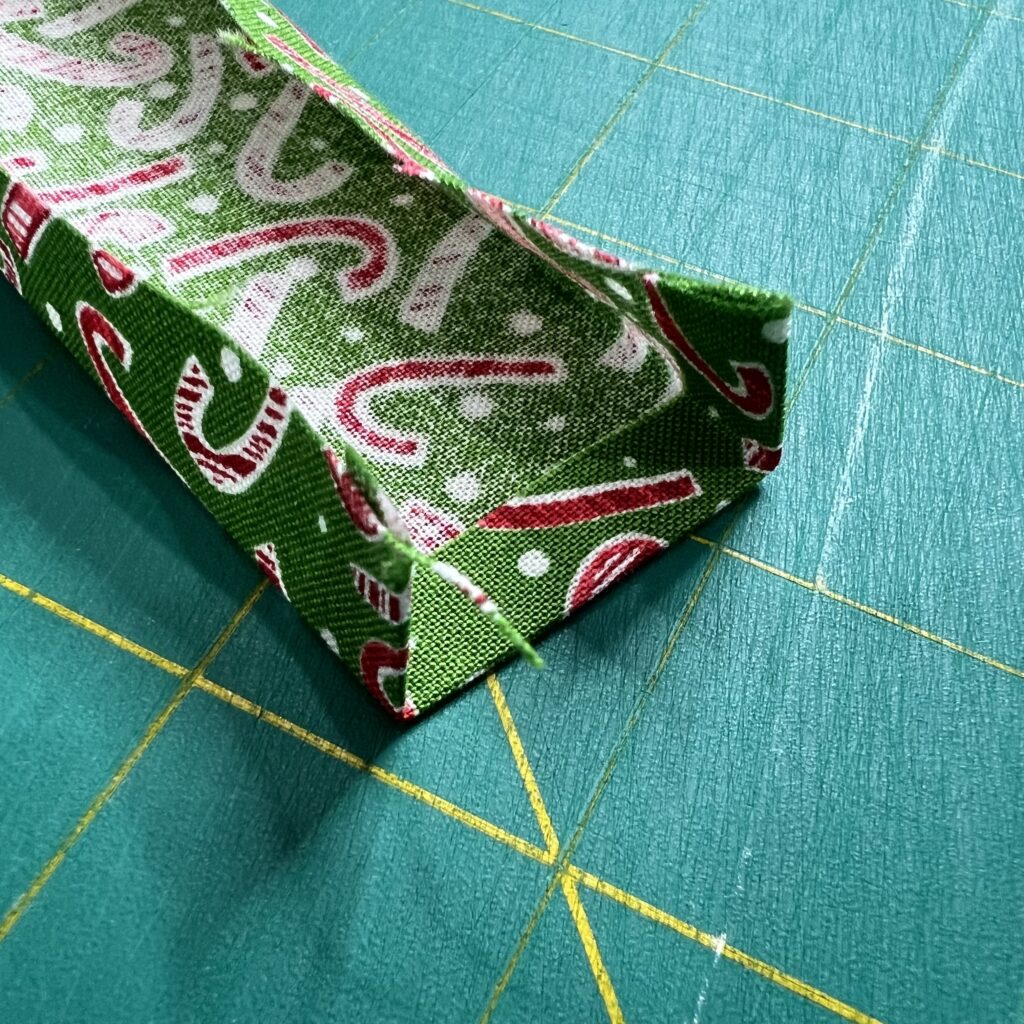
Box the Corners
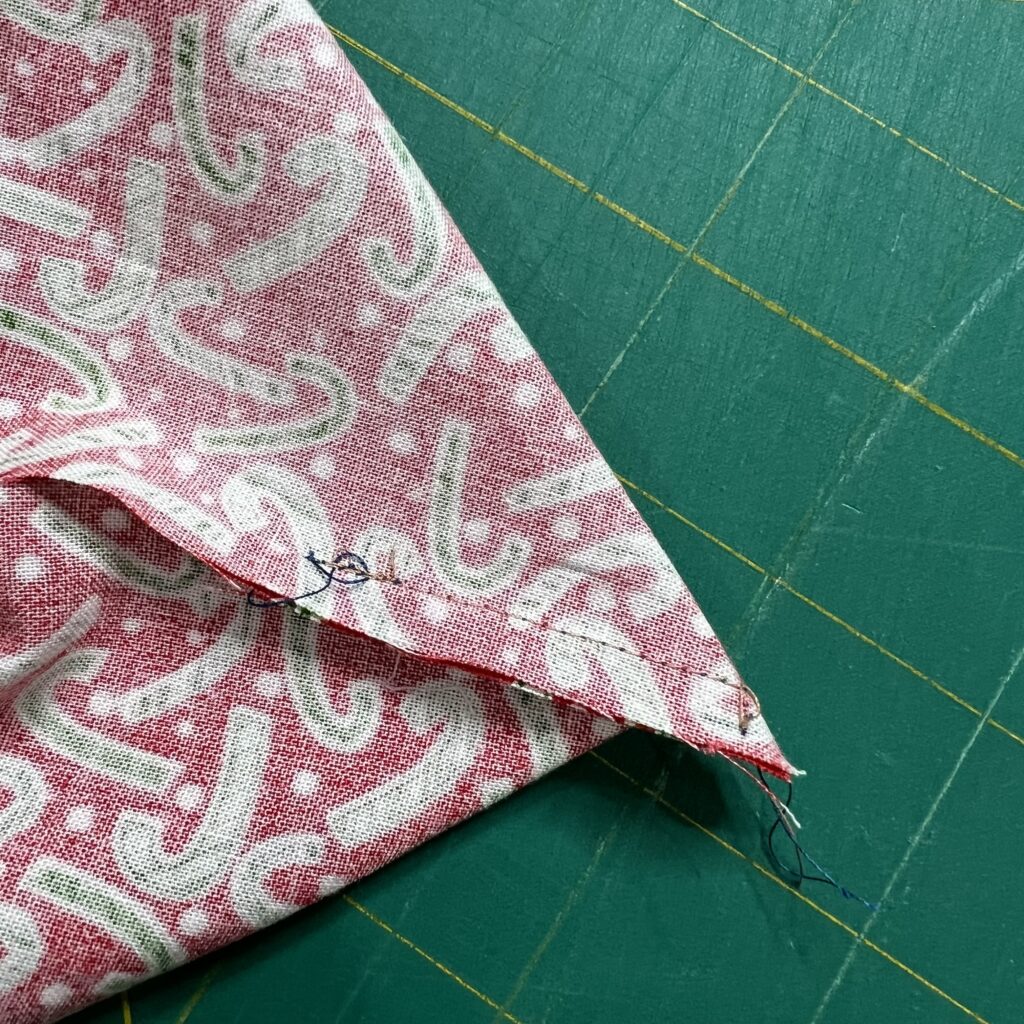
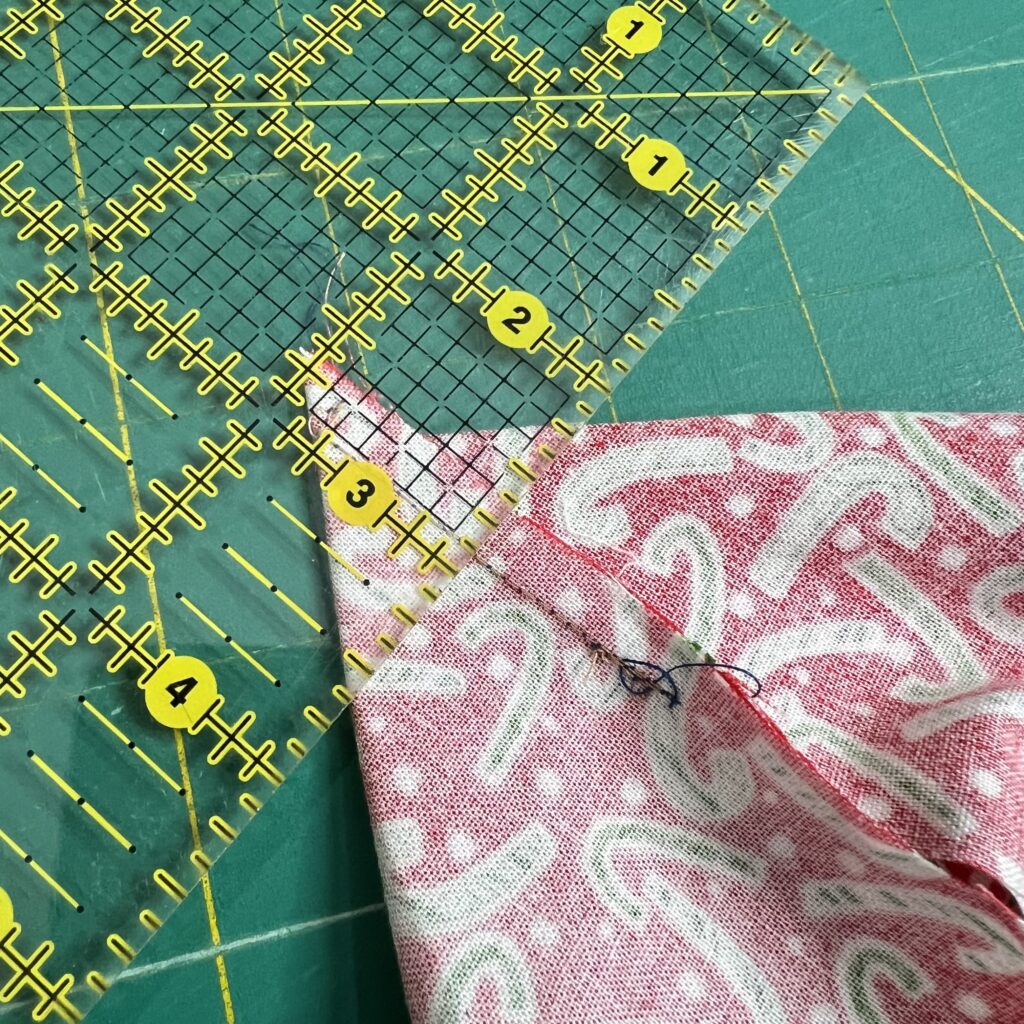
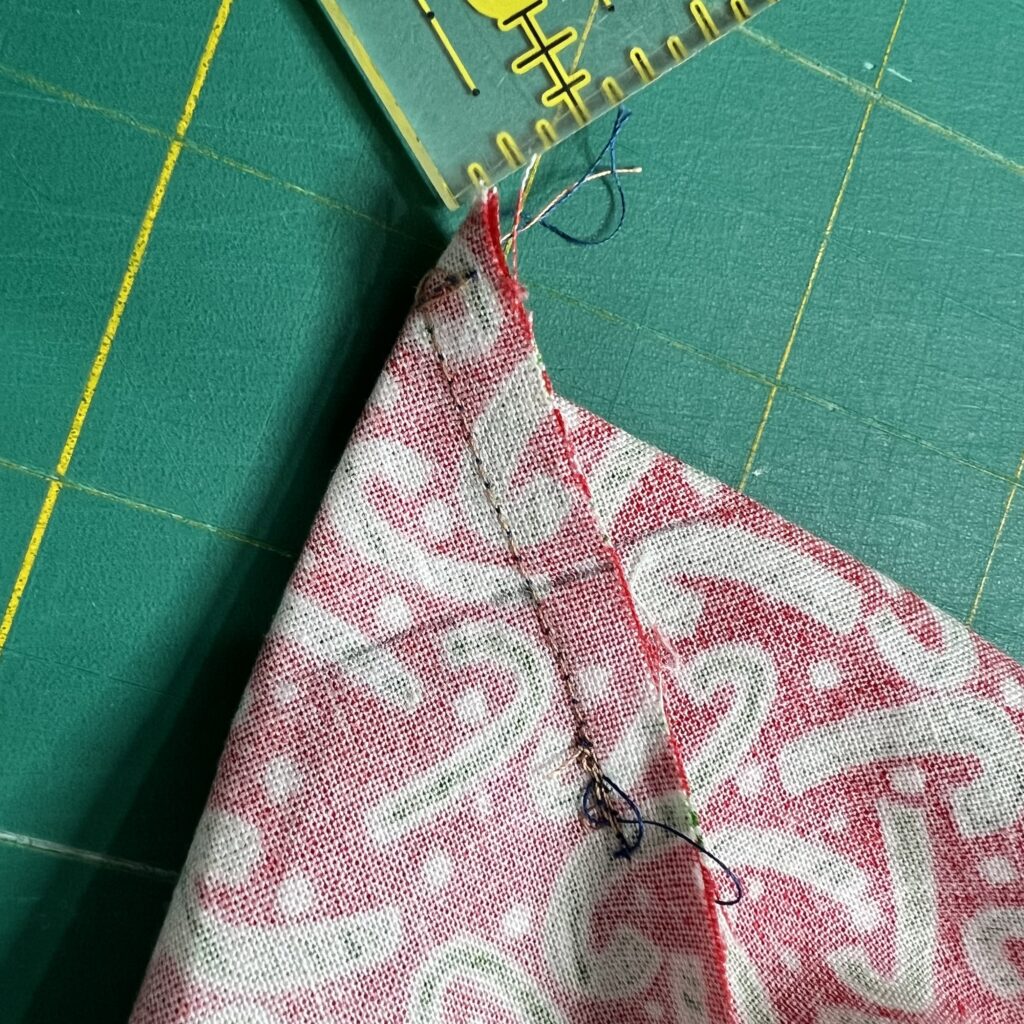
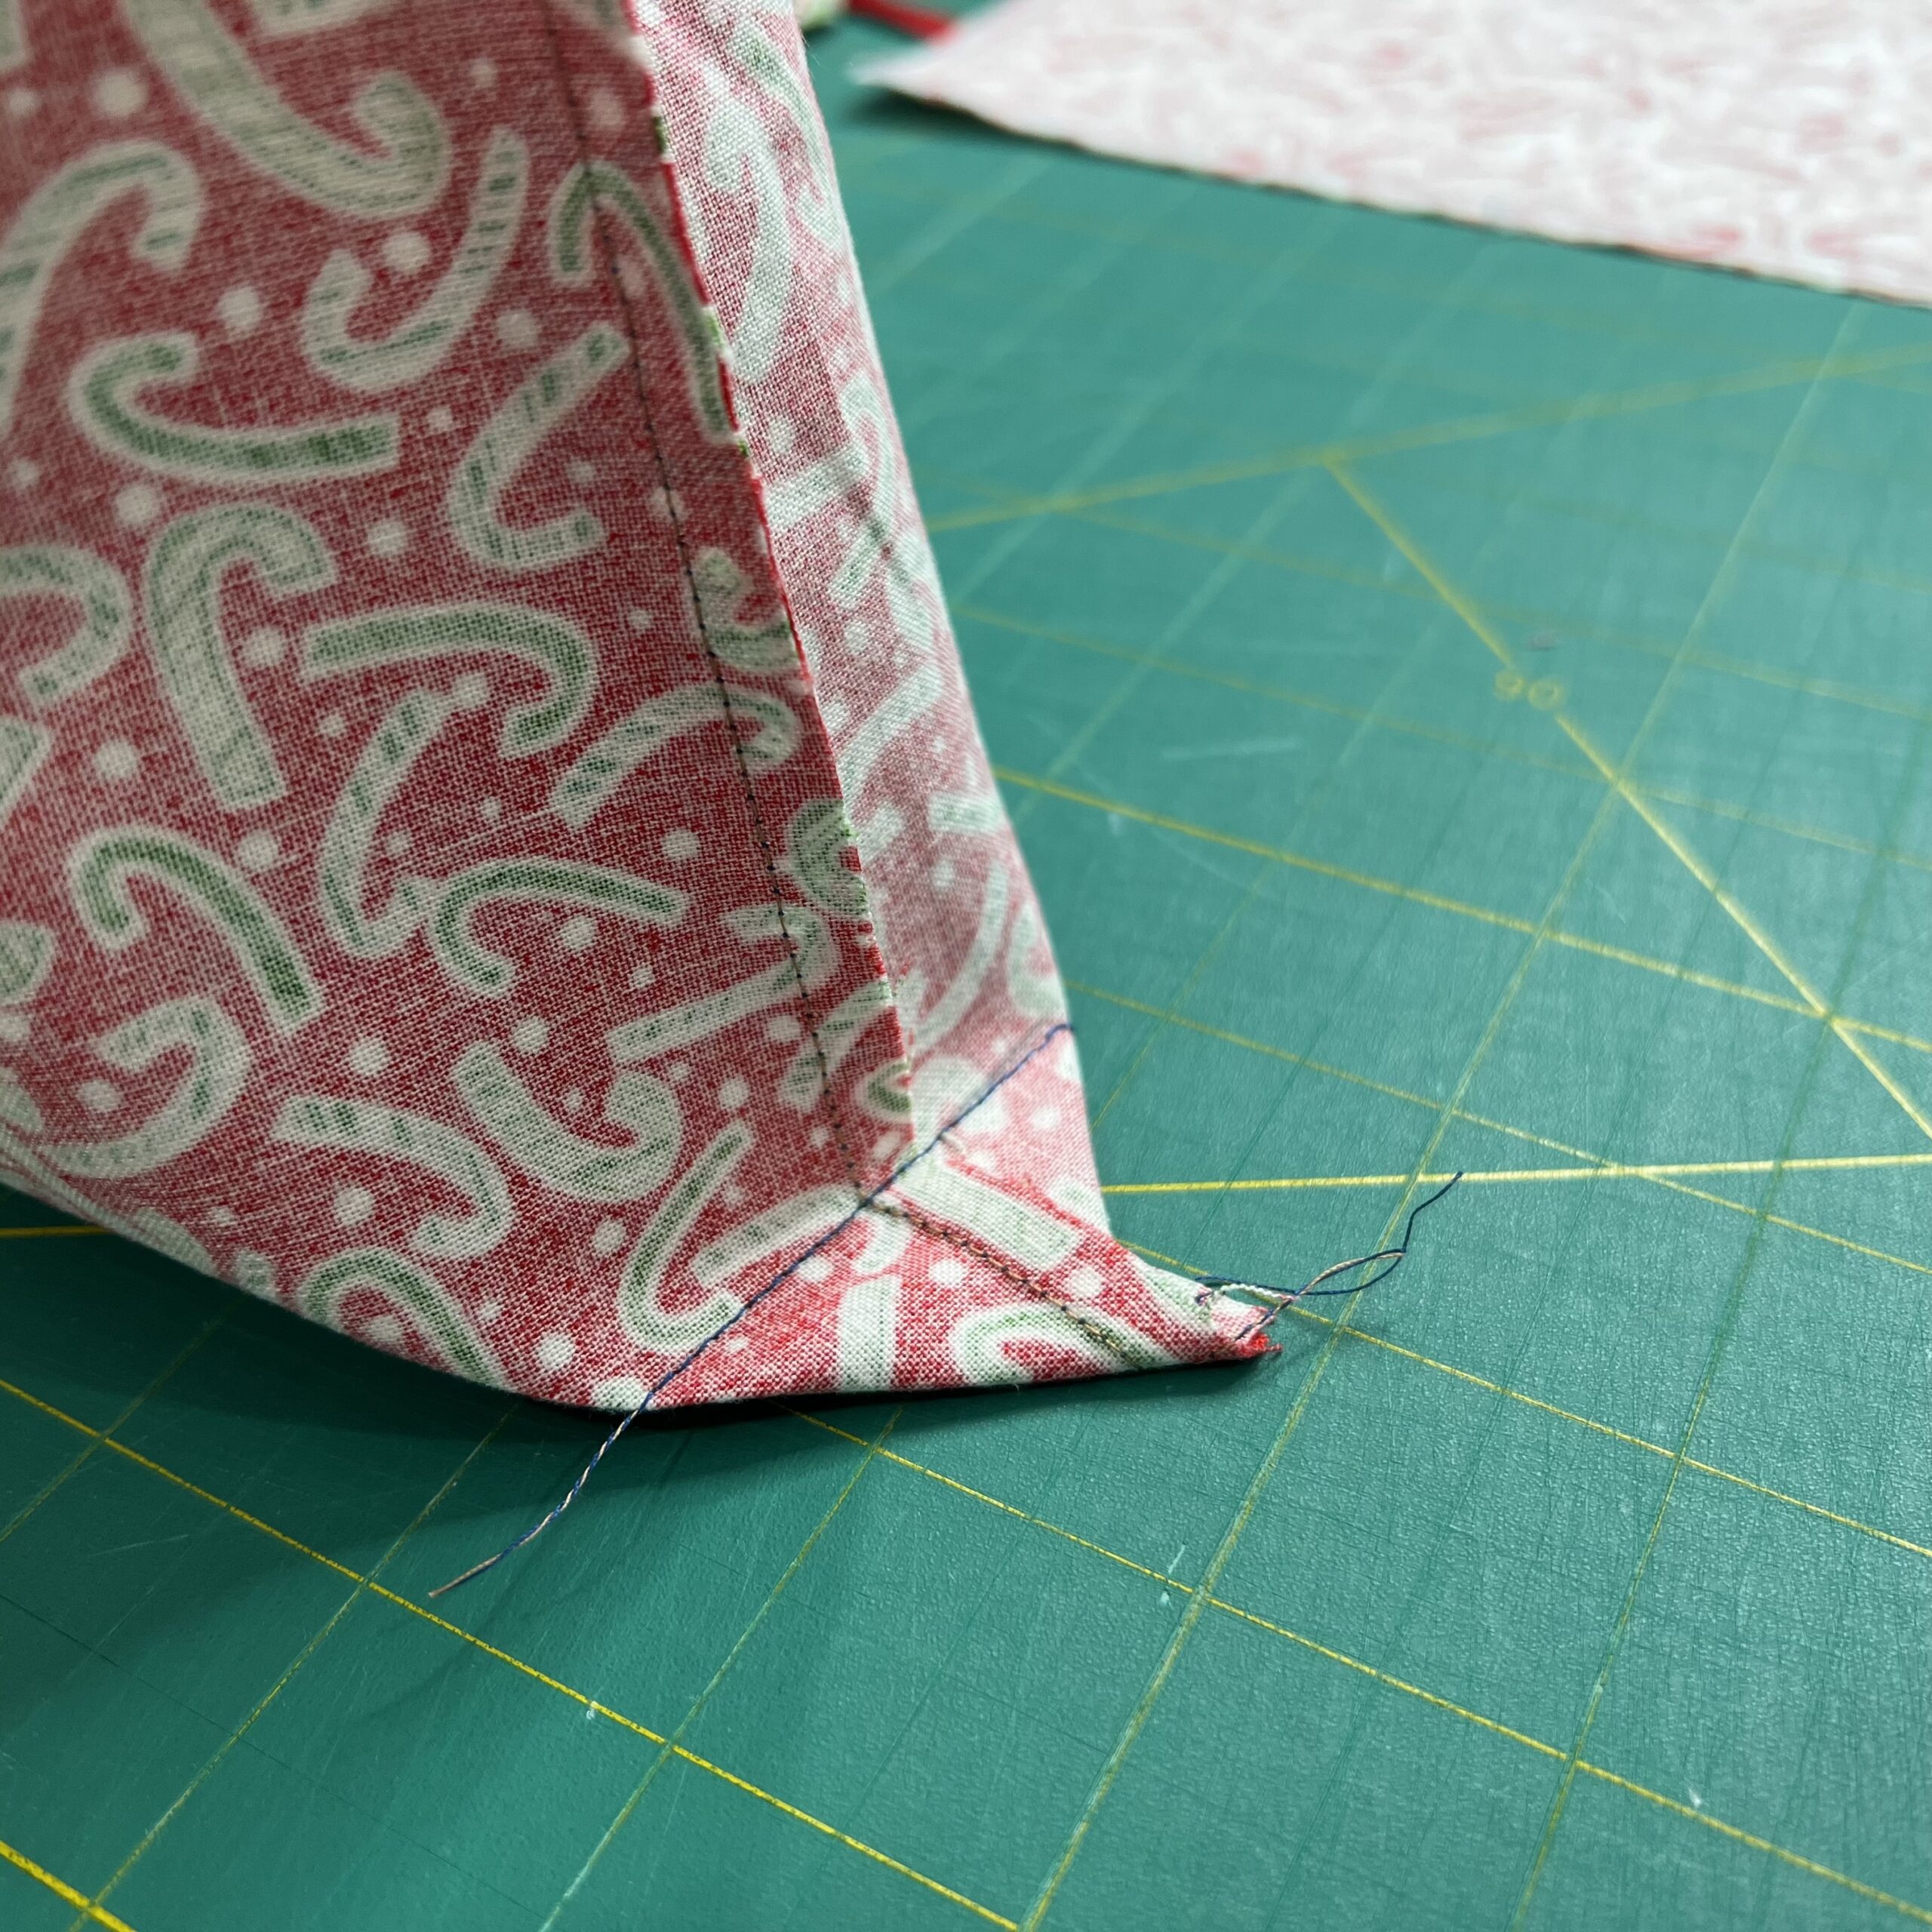
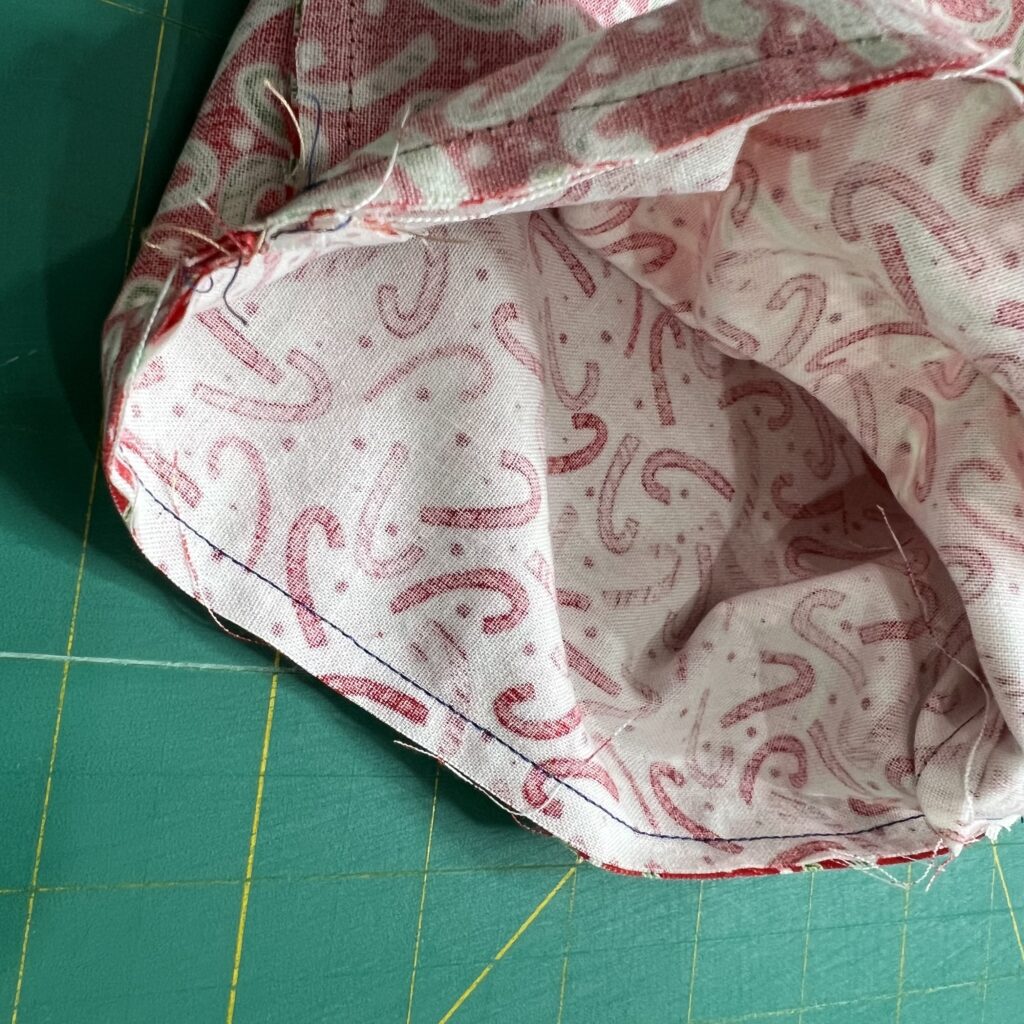
To box the corners, bring one of the outer fabric’s corner edges together and draw a line about 1″ from the point. Sew along the drawn edge. Do this on both corners of the bag. Repeat with the lining. Trim the corners.
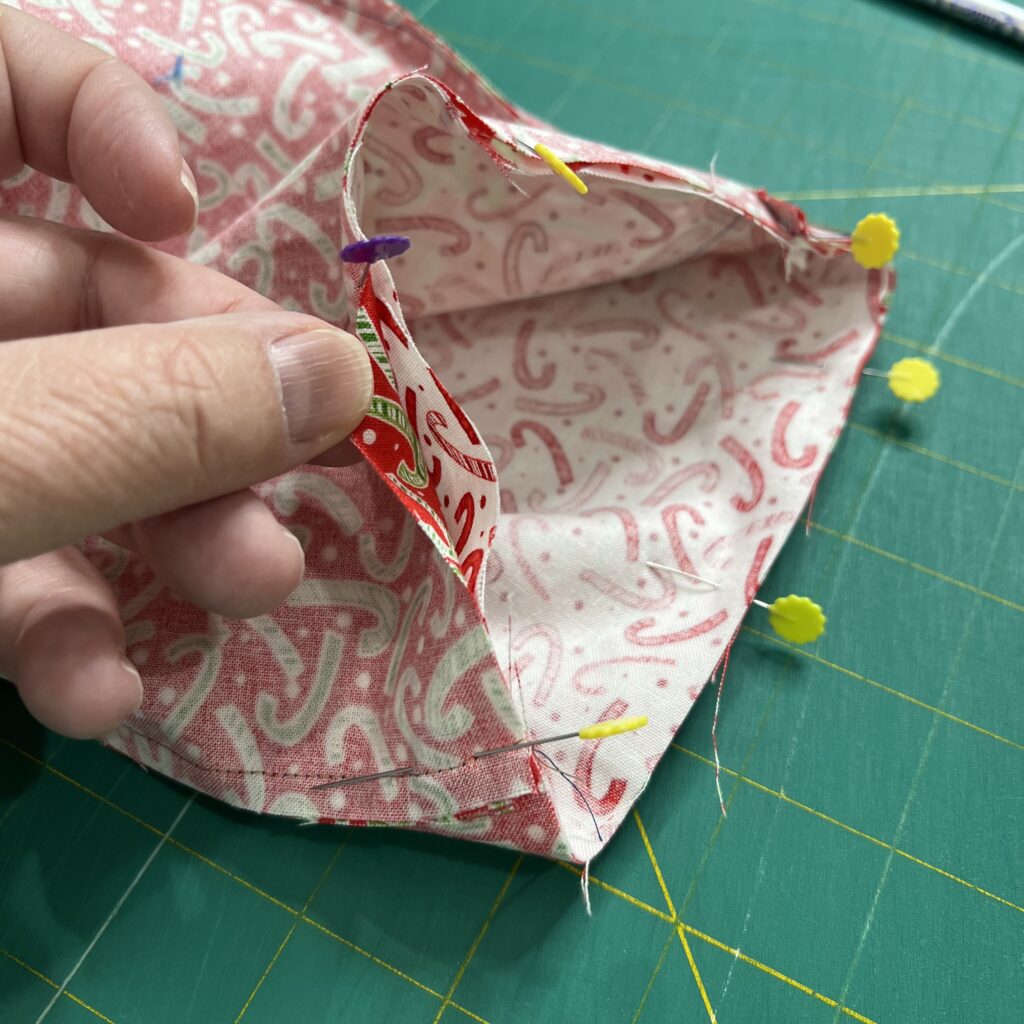
Turn the outer fabric section right side out. Insert the outer section inside the lining section with right sides facing.
Line up the edges and the seams and pin. Using a 1/4″ seam allowance, sew along the top edge.
Turn the bag right sides out through the hole left at the bottom of the lining piece. Stitch the hole closed using a scant 1/8″ seam allowance.
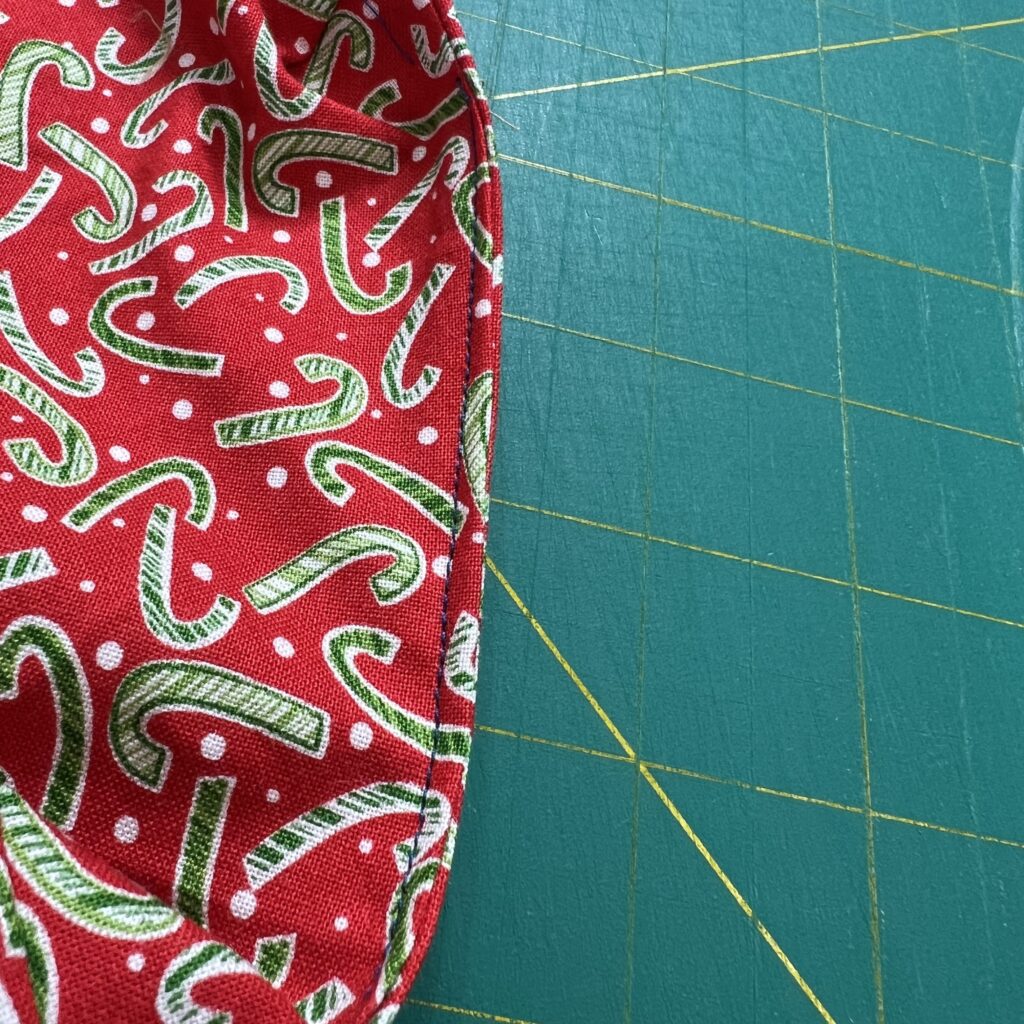
Then topstitch around the top of the bag using a scant 1/8″ seam allowance.
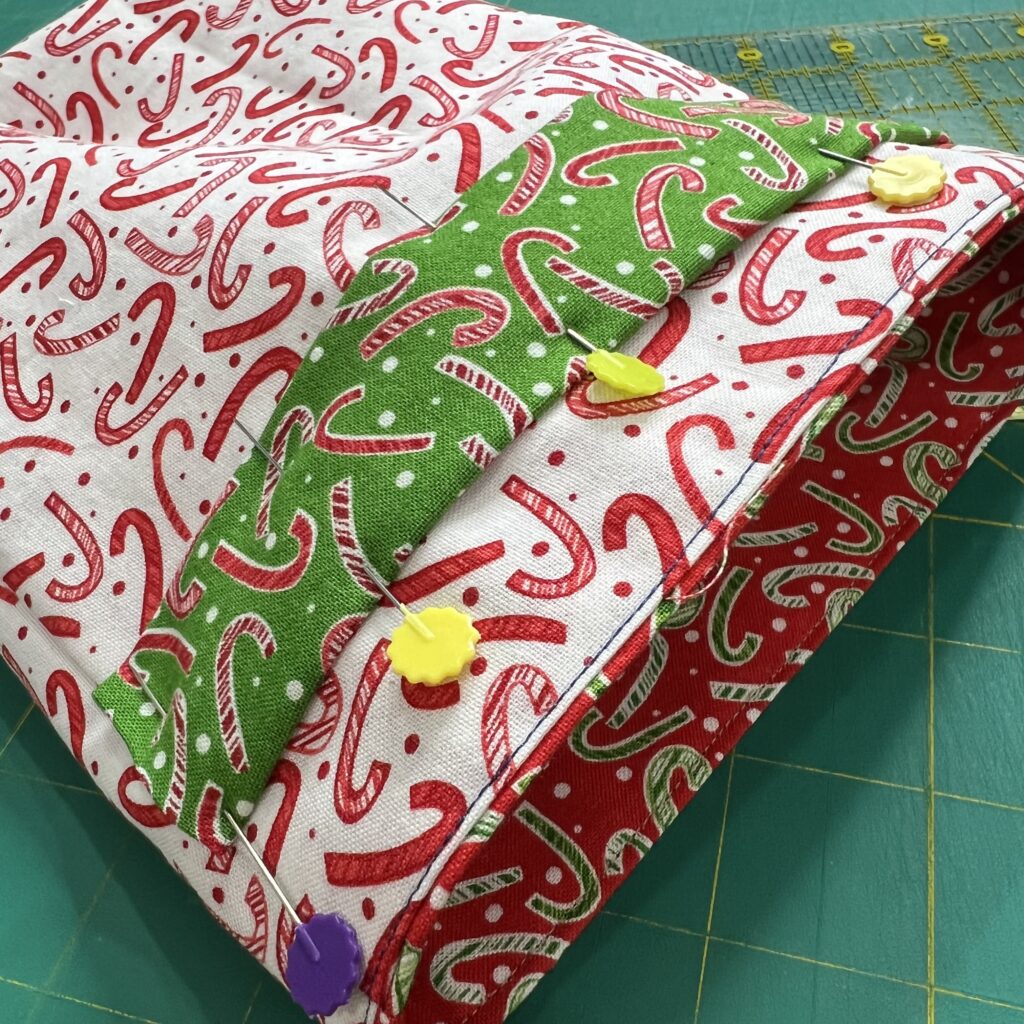
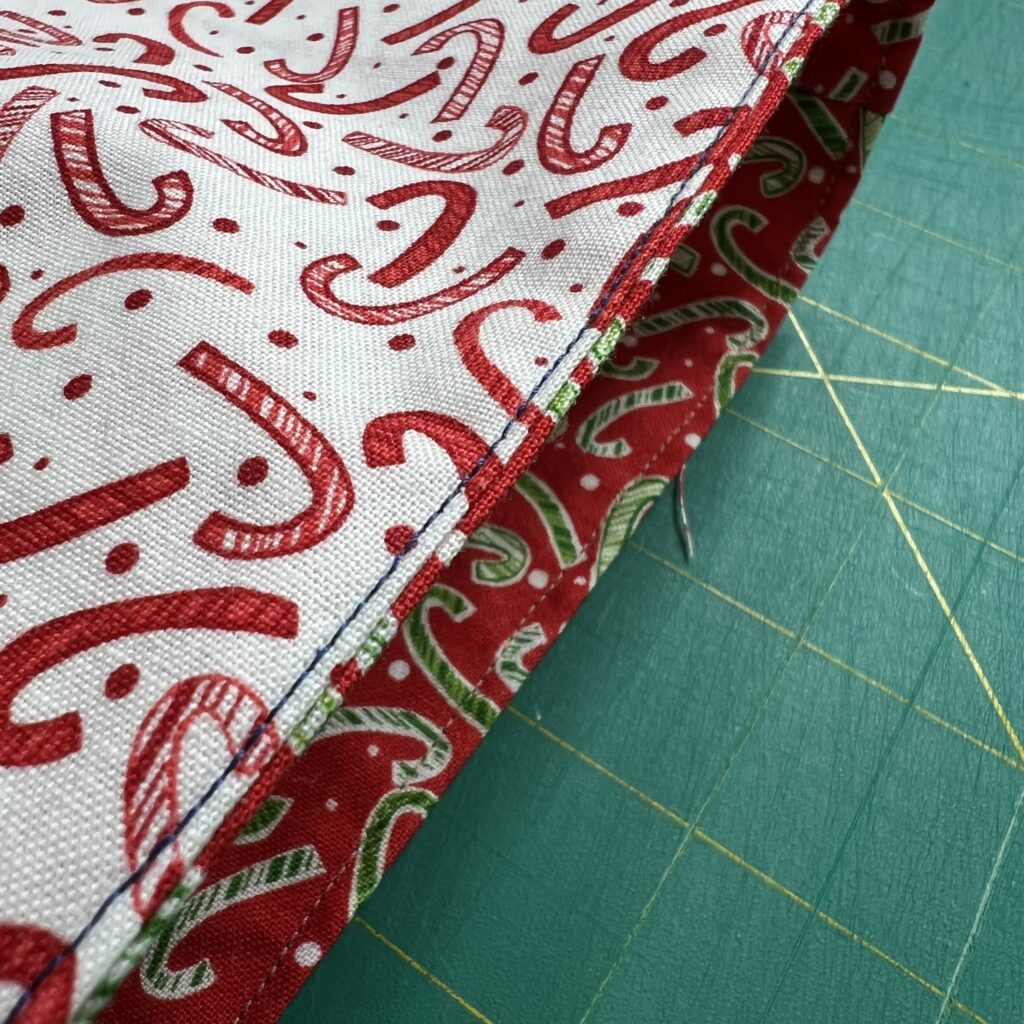
Prepare the strips of fabric for the band by folding and pressing the short and long edges in about 1/4″. Mark the outside of the bag about 1″ from the top edge.
Pin the strips onto the outsides of both sides of the bag. The edges should match the seams of the bag. You may need to adjust the length of your strip. Pin the top edge of the strip to the drawn line.
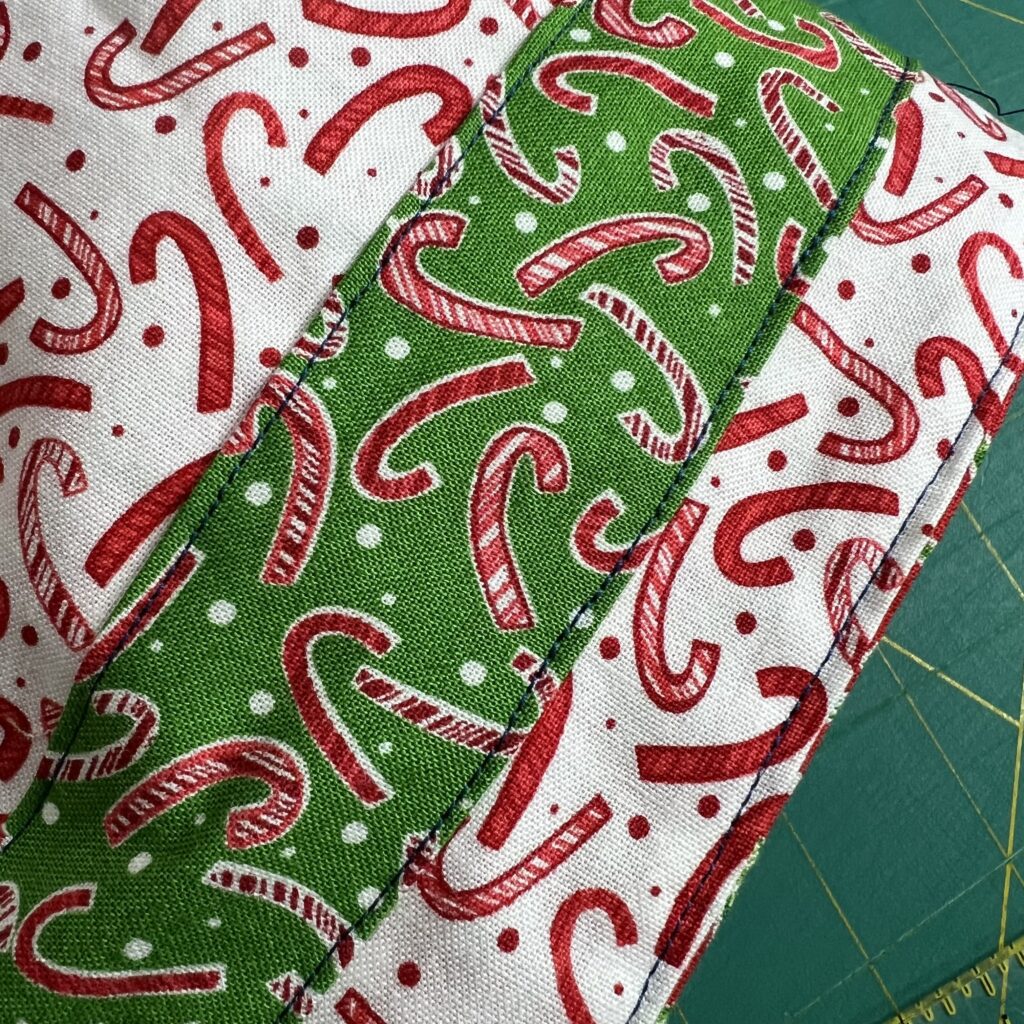
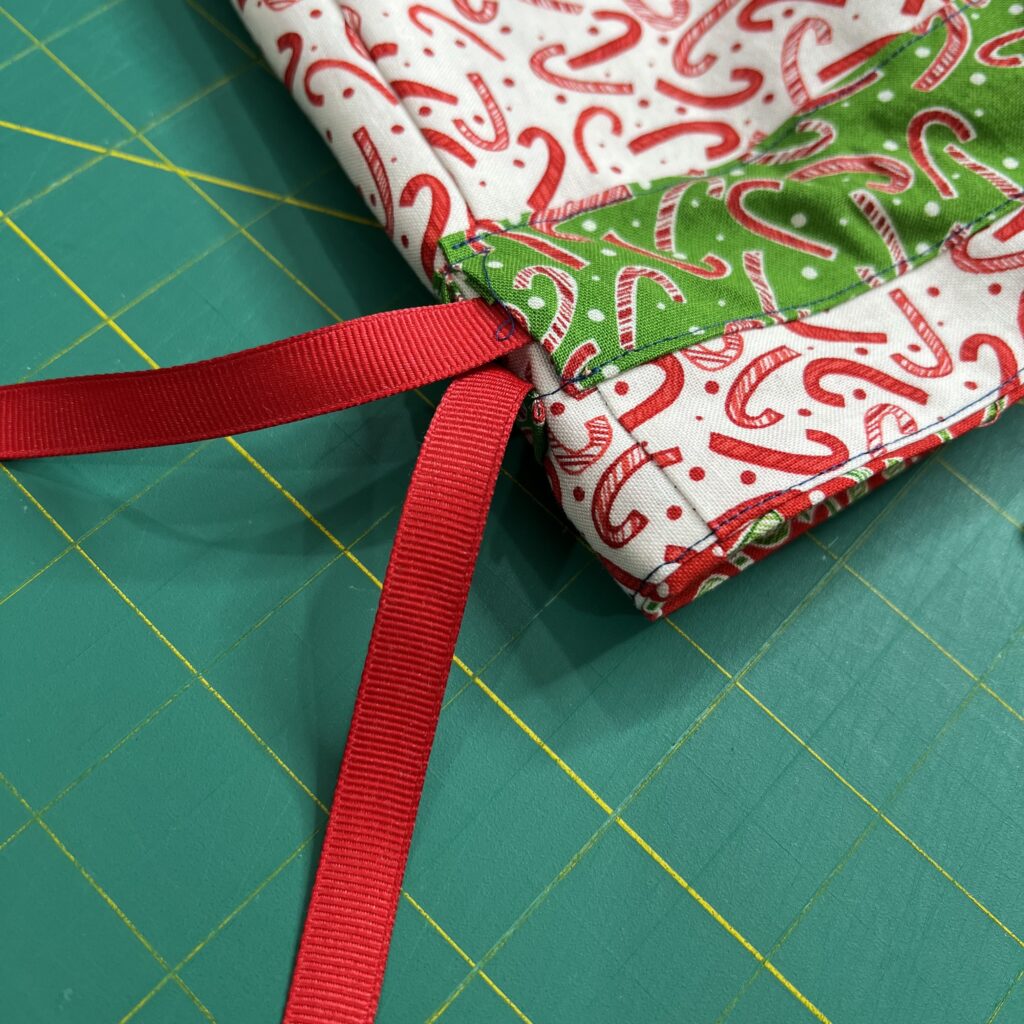
Sew a scant 1/8″ along the top and the bottom of the strips, being careful not to sew the bag shut.
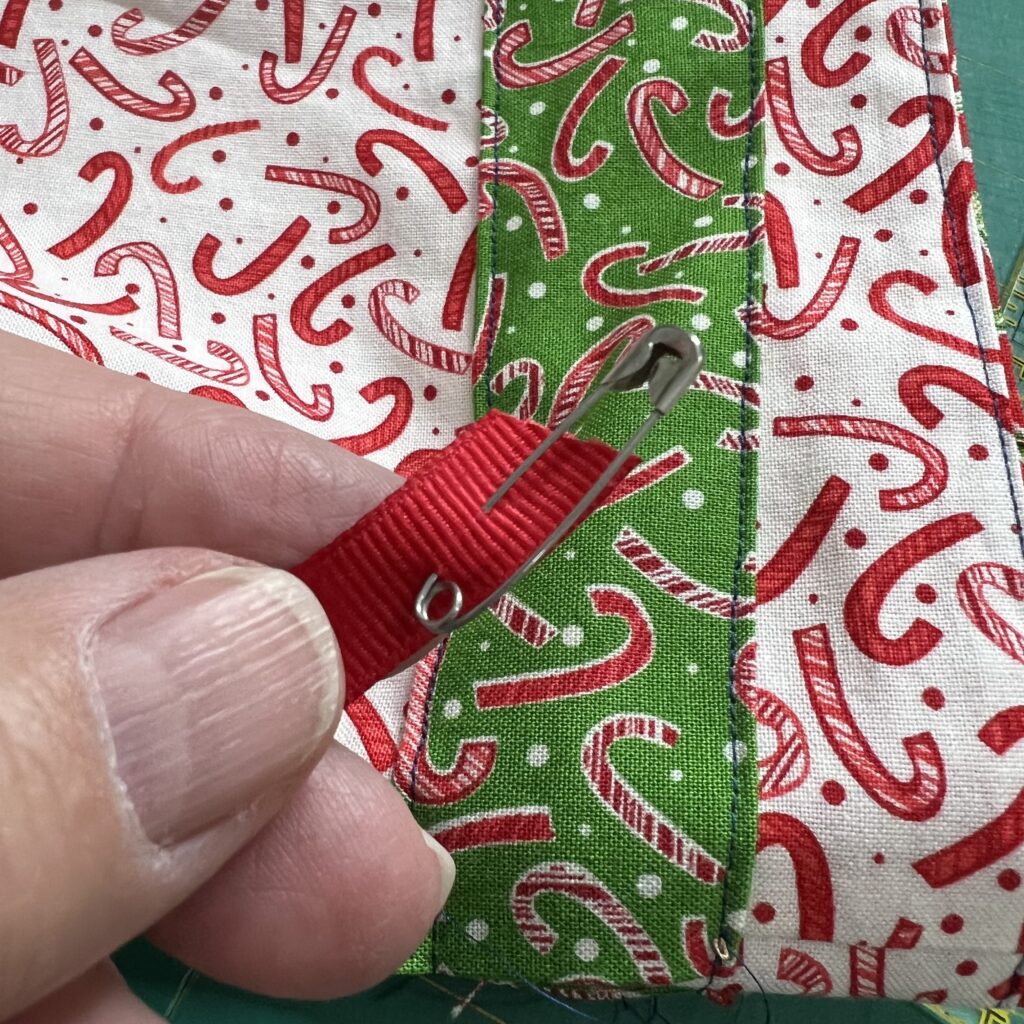
Use a safety pin on one end of the ribbon to pull it through the band.
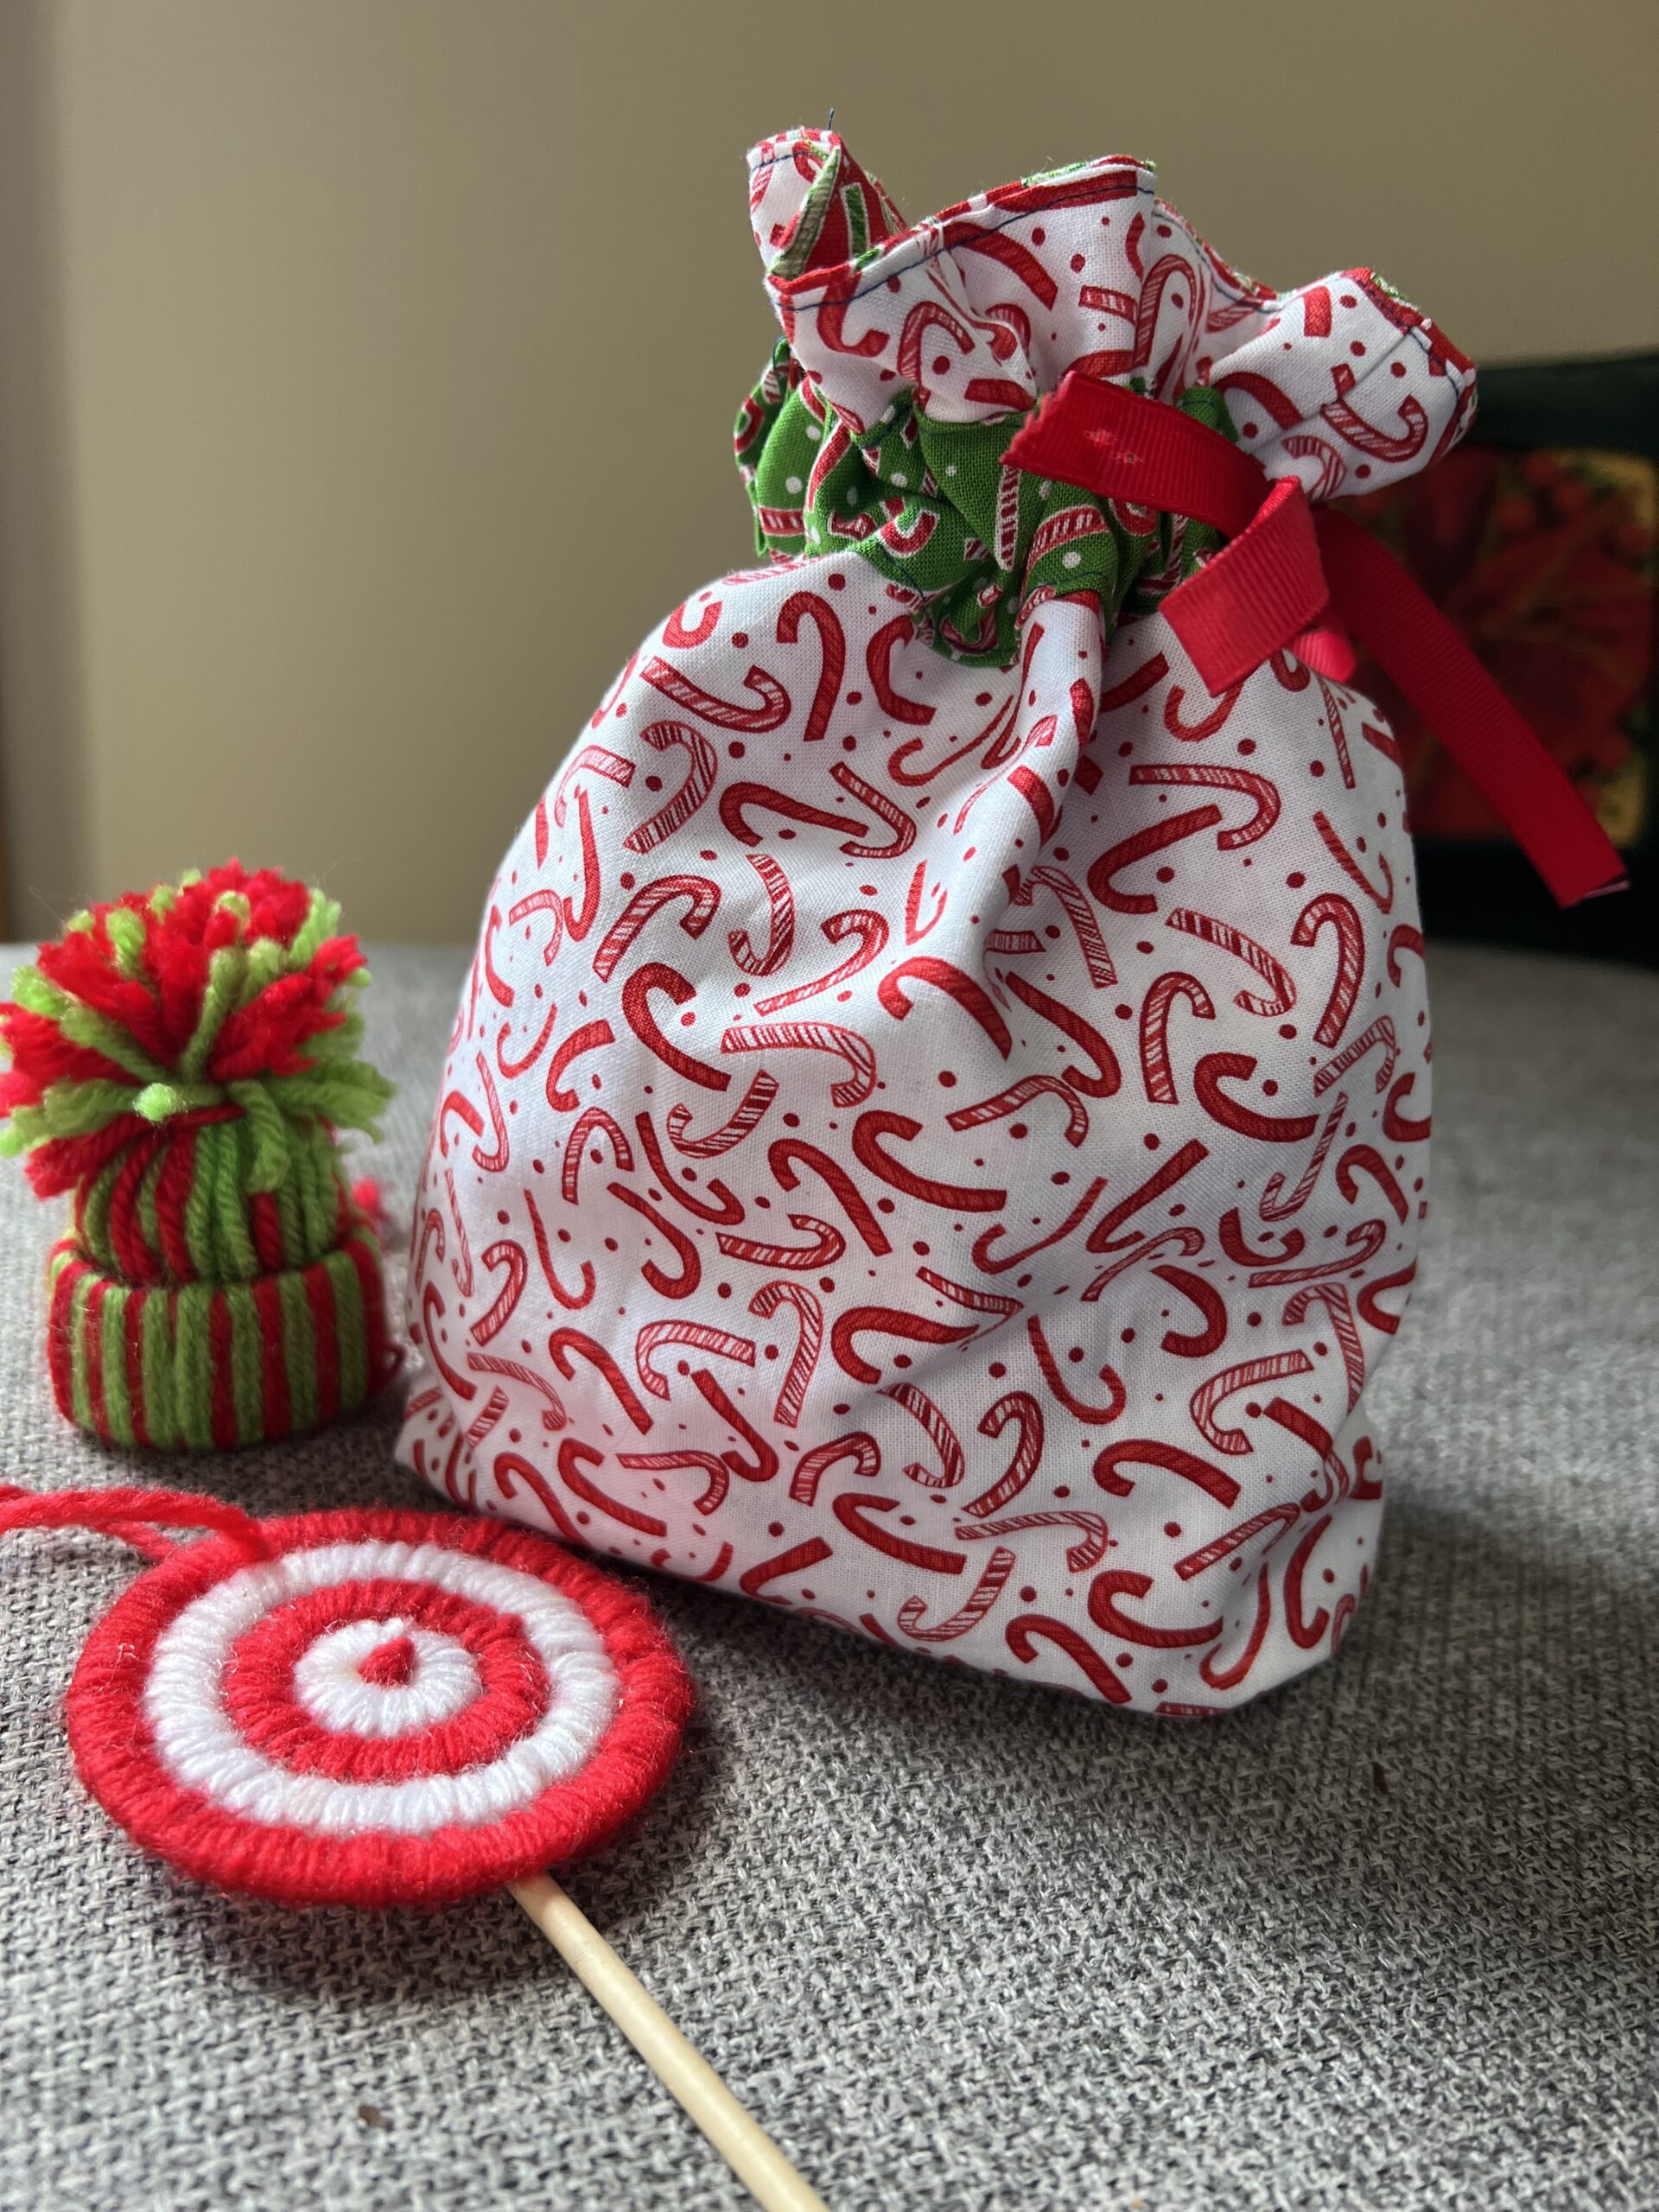
The bag is ready! I like this version of a drawstring bag because the band for the ribbon adds a nice decorative touch.
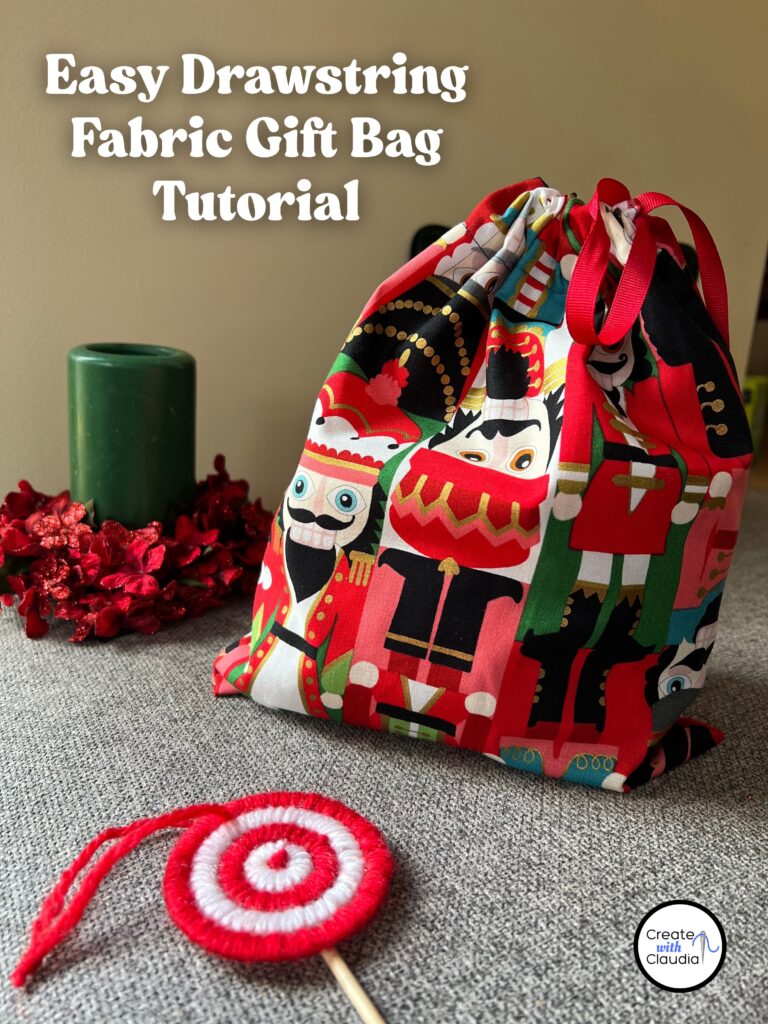
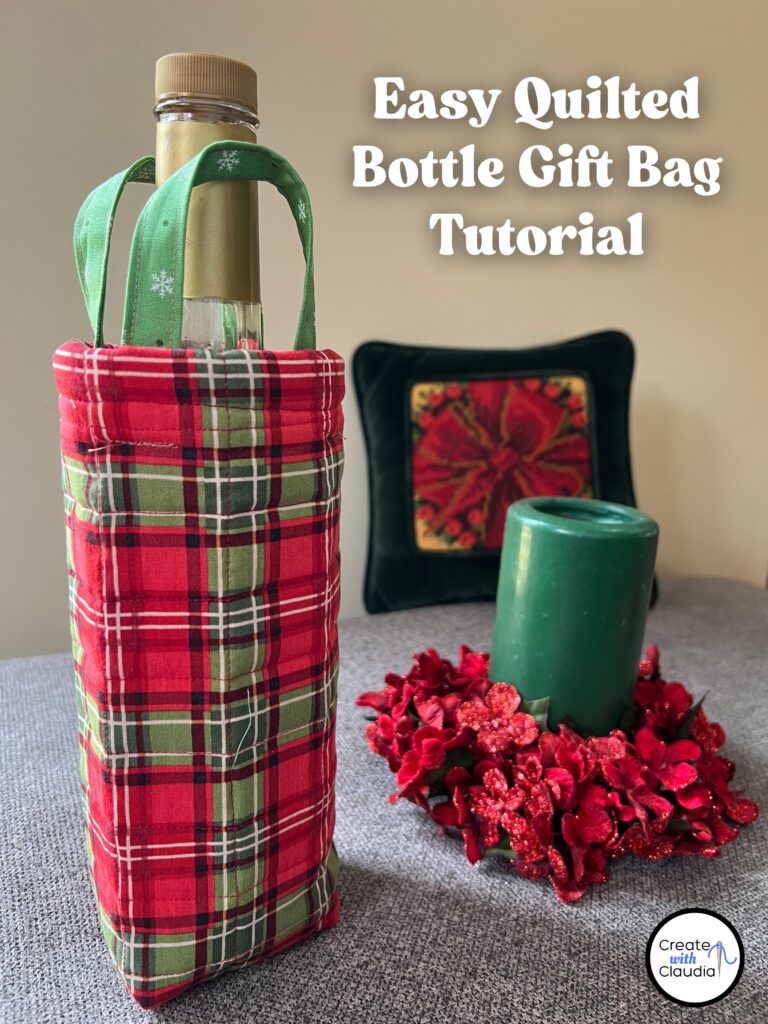
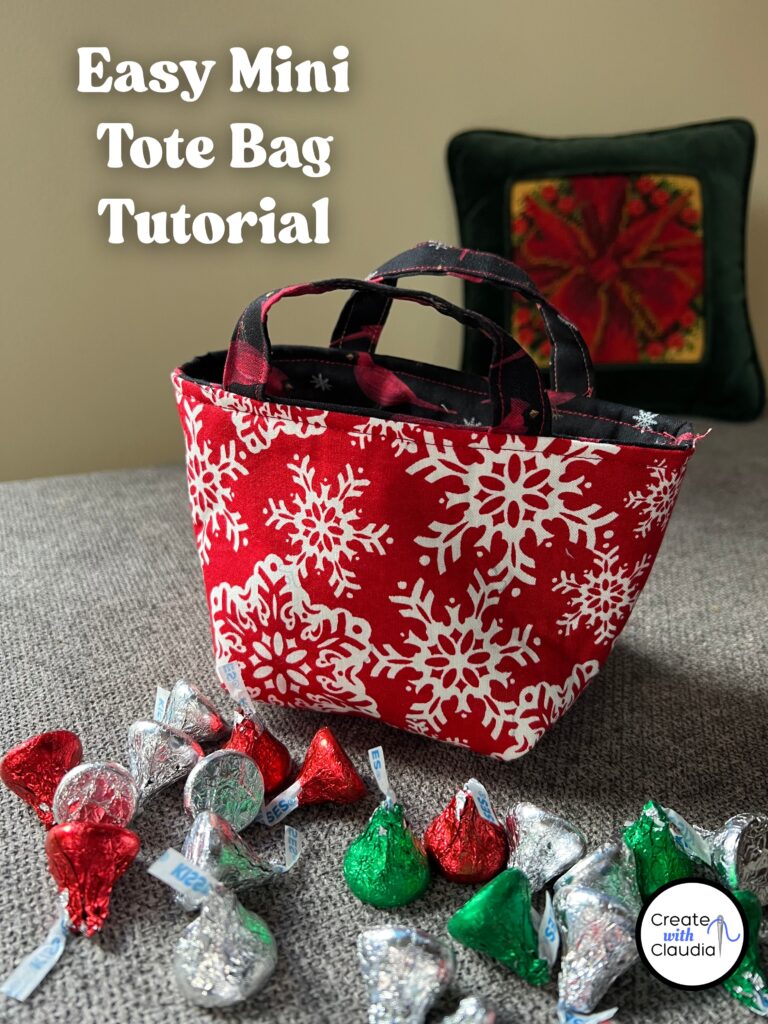
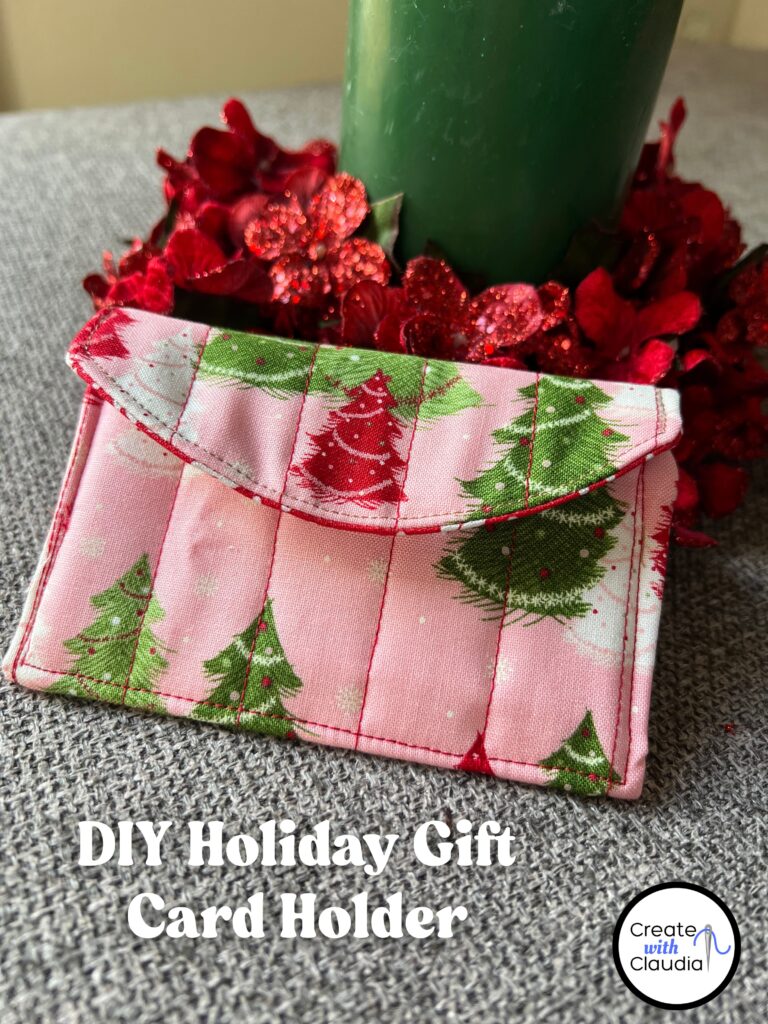
This easy tutorial is part of a round up that I did featuring six easy fabric gift bags. Here are the rest of them and there is something for almost every kind of gift. Click on the photo to take you to the tutorial.