
Puff Quilt Blog Hop
Hi Everyone! Welcome to my first post as a 2023 Island Batik Ambassador. This is my third year and I am just as excited and honored to be doing this as I was on my first year. Four times a year the ambassadors participate in a blog hop. We are asked to make a particular type of quilt and are assigned one of Island Batik’s new lines to work with. This time it is all about texture. Enjoy my stop on the puff quilt blog hop!
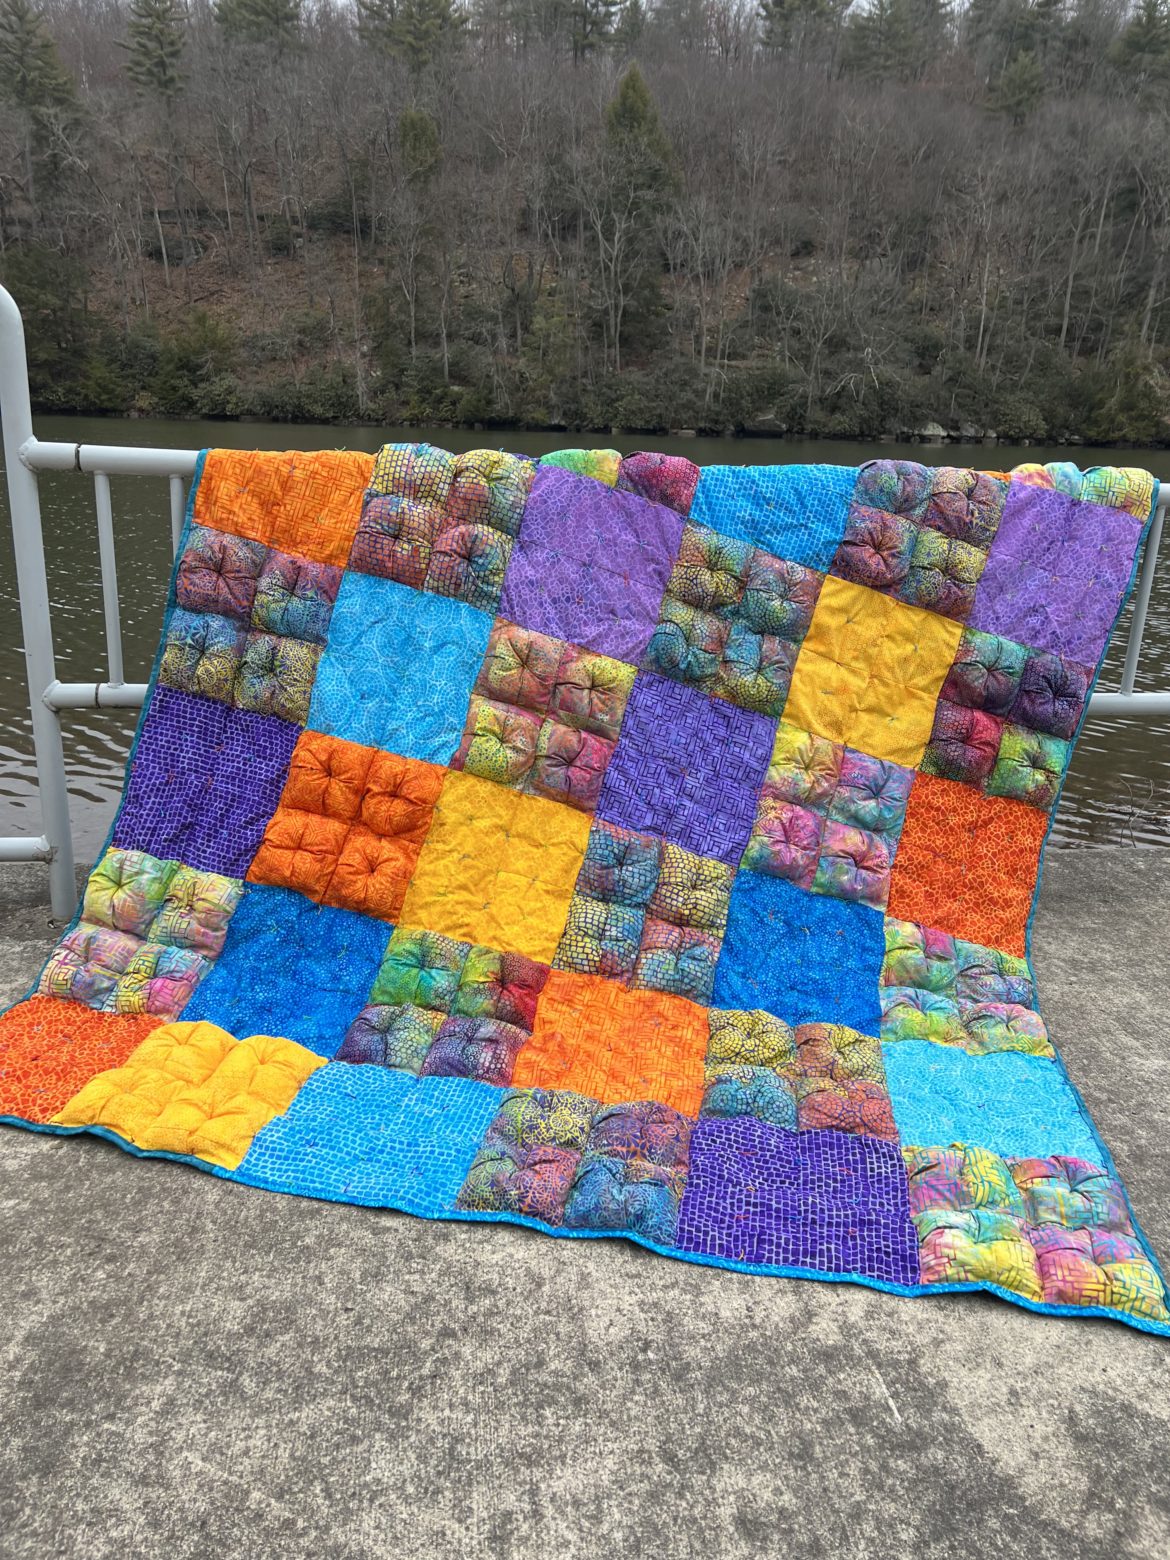
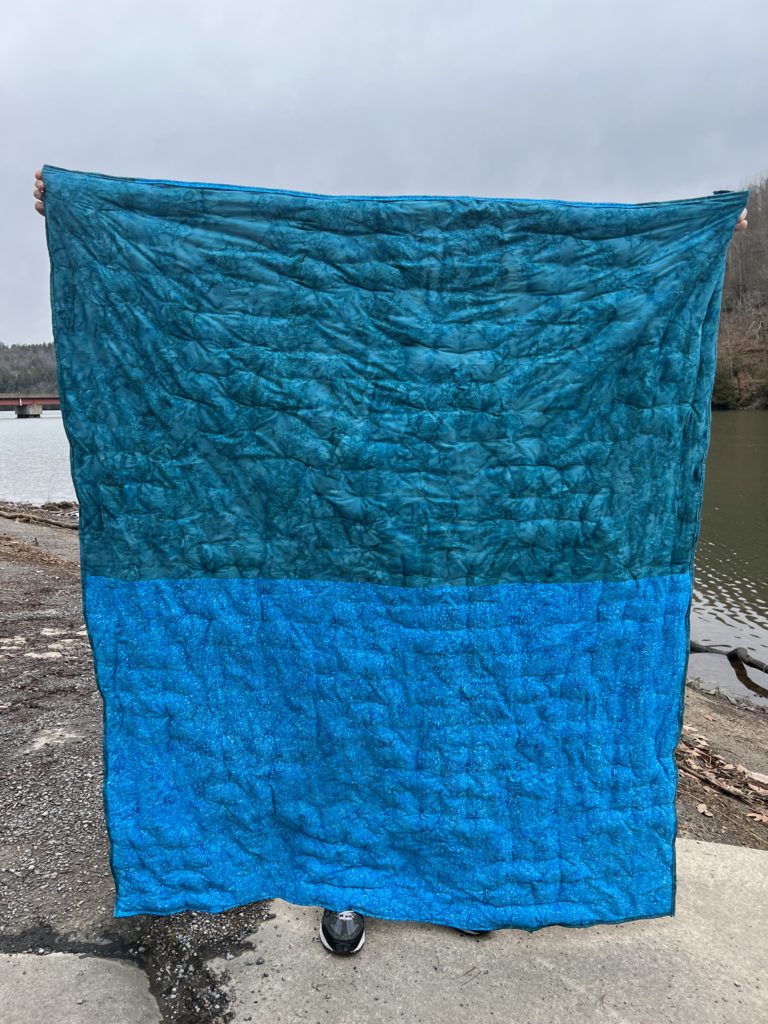
My husband and I took my quilt for a drive on a cold and dreary day and found a fun spot to take some photos. If you are ever up in Northwest PA and like to ride bikes then you may to check out the Rail 66 County Trail. It passes through some lovely country. We decided to take my quilt pictures on this old caboose. I think the beautiful jewel tones in the fabrics brightened up that grey day!
Disclosure: Items in the post were provided by Island Batik, Hobbs Batting, Aurifil Thread and Schmetz Needles.
About My Puff Quilt
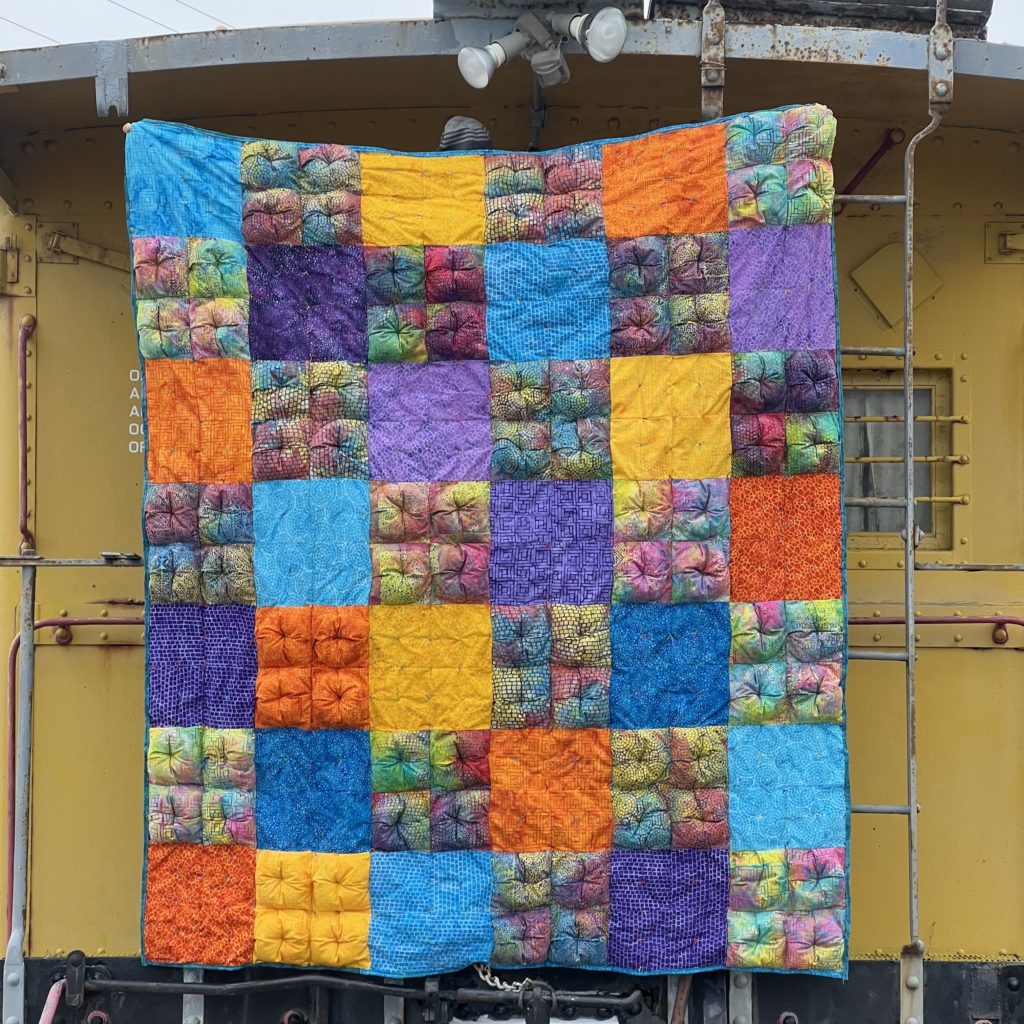
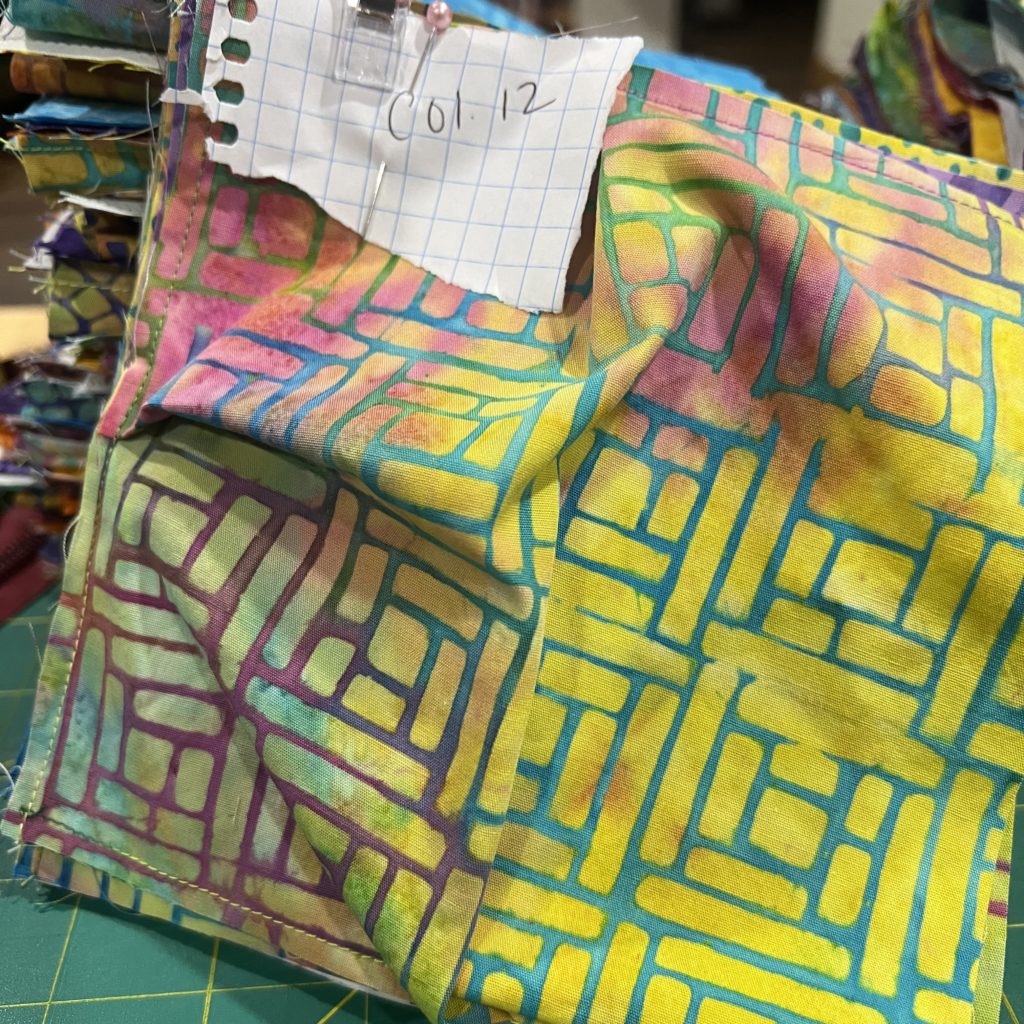
I designed my quilt in Electric Quilt 8. It is a simple design using all 20 of the fabrics in the fabric line I was assigned. Because I really wanted to show off those fabrics I decided to make a grid using 4 squares of each fabric and making it into a larger four-patch.
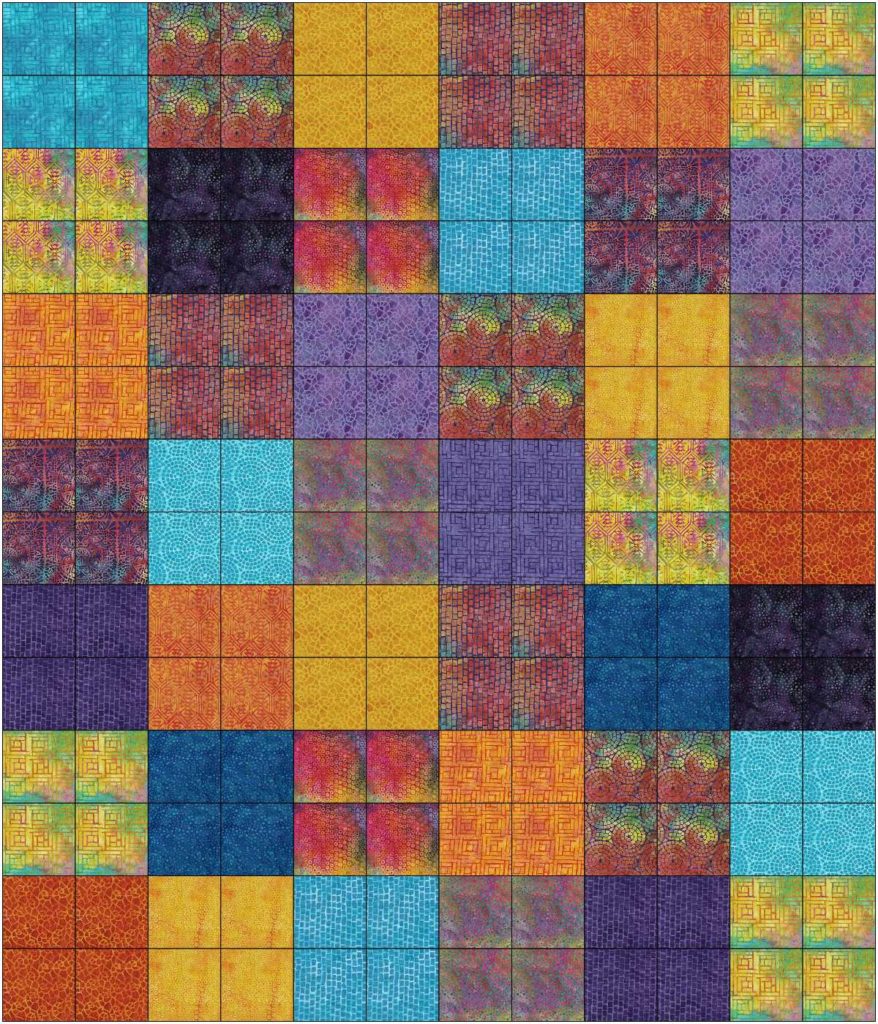
The other thing I wanted to do was not have every single square a puff. I alternated between the four-patches. That showed off those fabrics and gave it some more dimension (not that a puff quilt needs more dimension!).
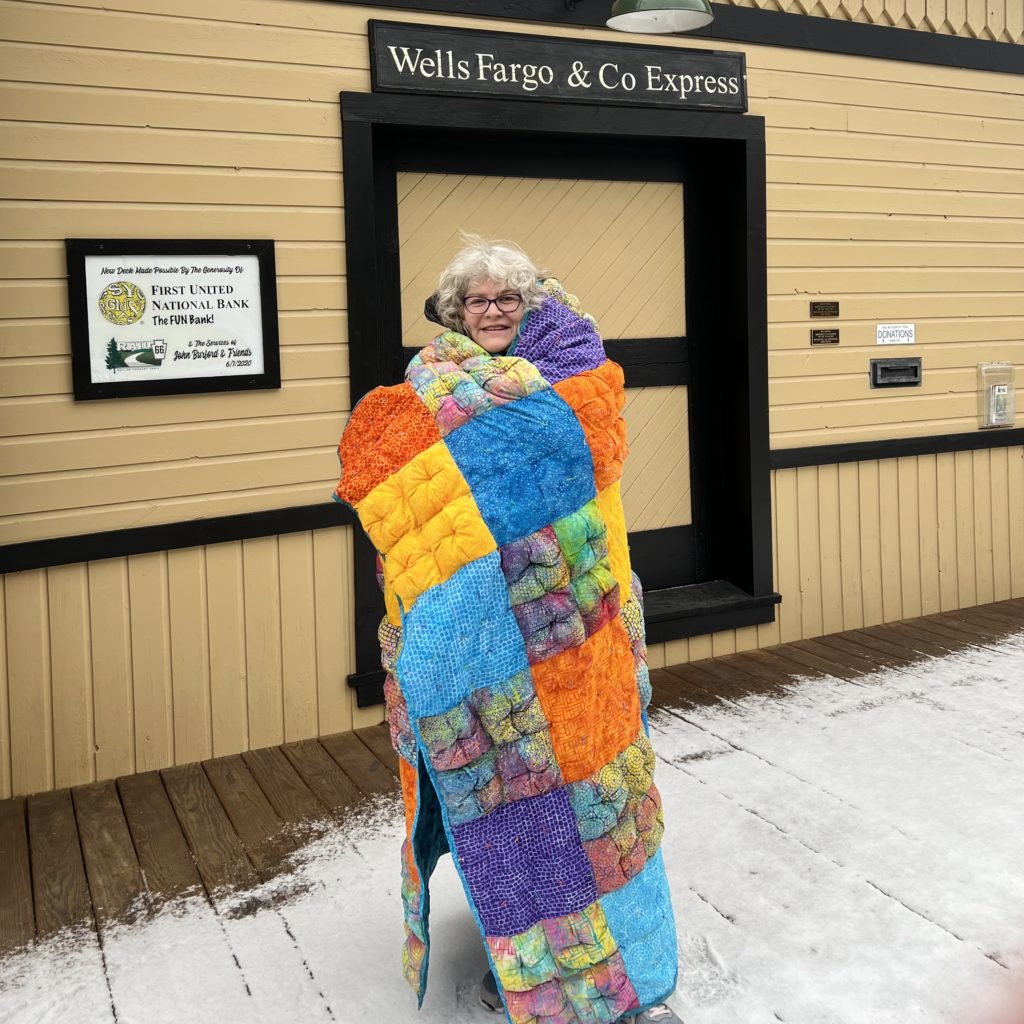
My quilt is layered with batting and backing which makes it a bit heavier and makes it incredibly cozy and warm!
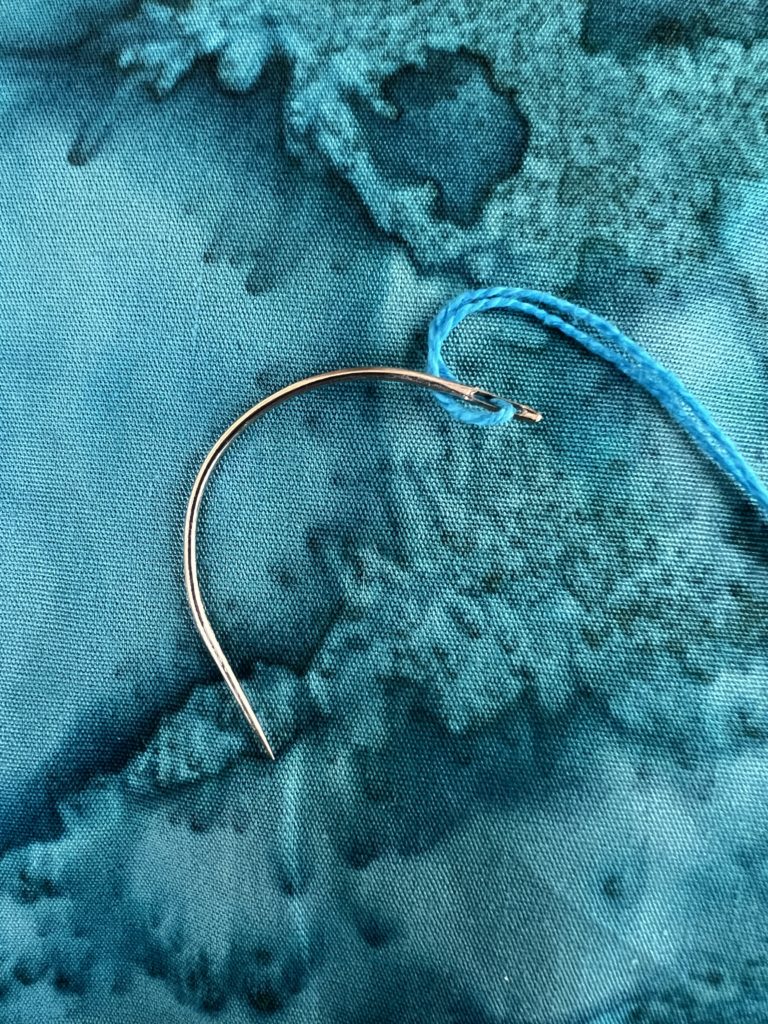
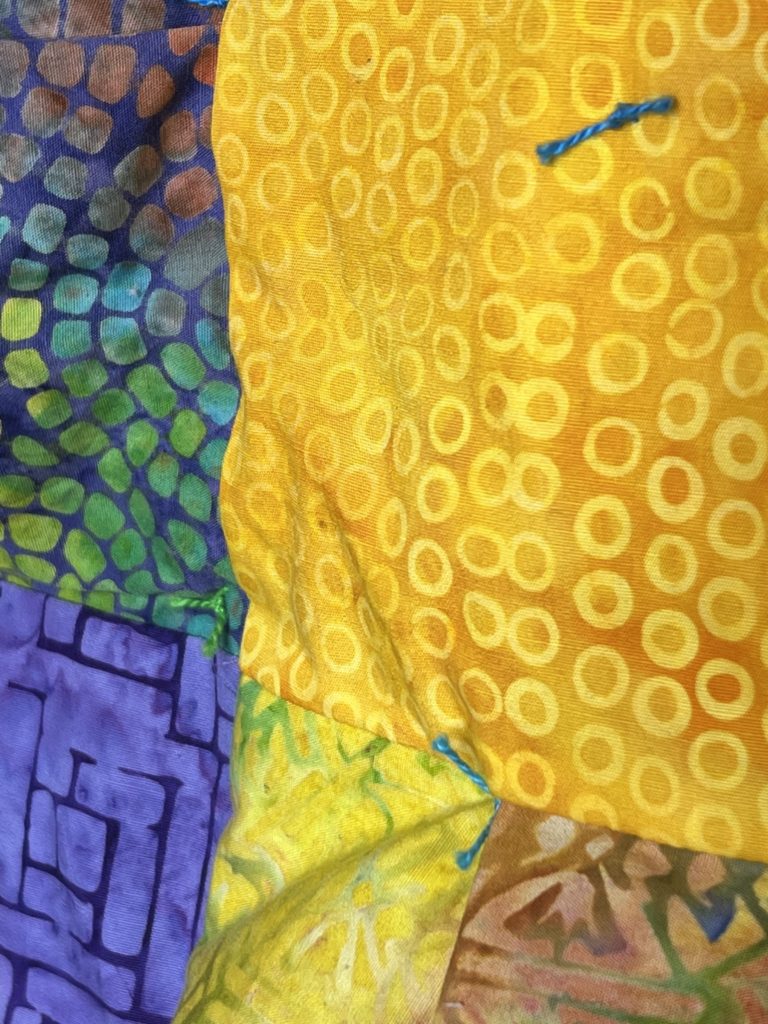
Lastly, my quilt is hand tied. I normally would not do that, but machine quilting is not one of my strong points and this quilt would have been hard for me to machine quilt. I have plenty of perle cotton thread in colors that matched the fabric perfectly. Because it is hand tied and my puffs were fairly large I decided to hand tie them in the center for a different look.
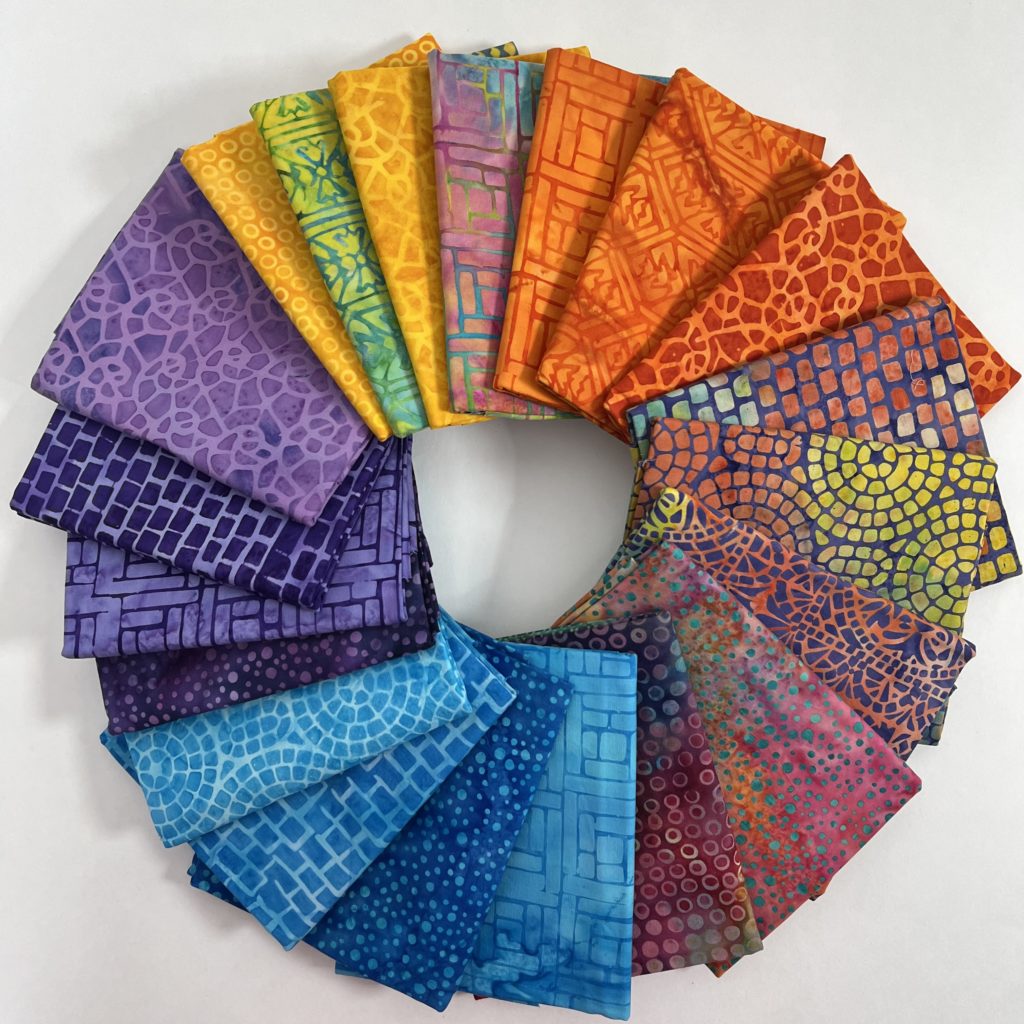
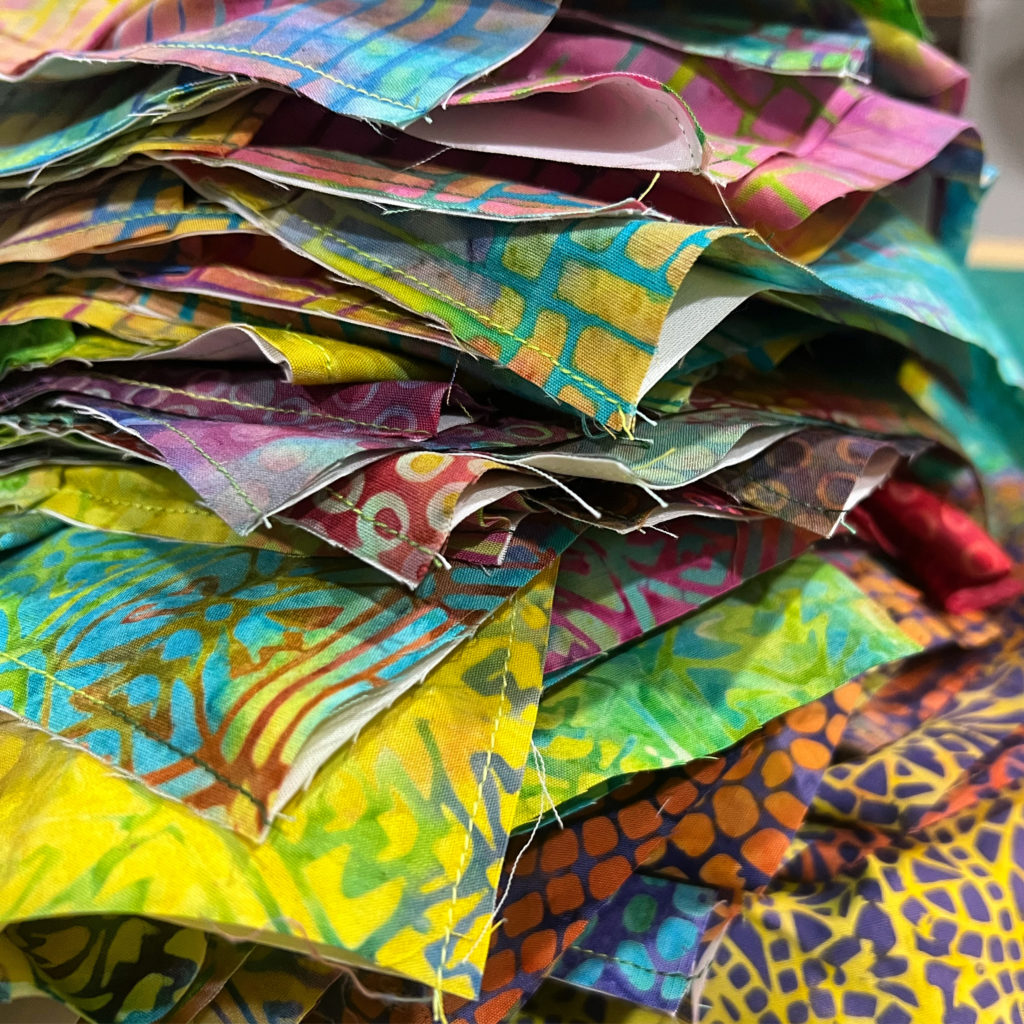
The Fabric
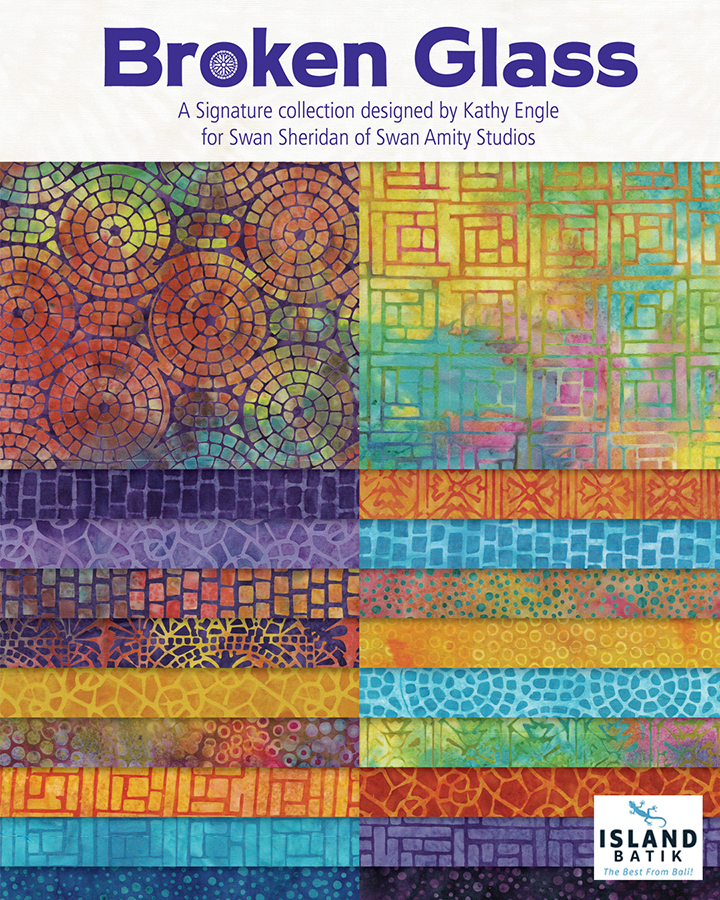
I was given the new Island Batik line called Broken Glass. It was designed by Kathy Engle for Swan Sheridan of Swan Amity Designs.
Just look at those colors! Every one of them is so beautiful! Look for this line in your local quilt shop. It comes in both yardage and precuts.
Making My Quilt
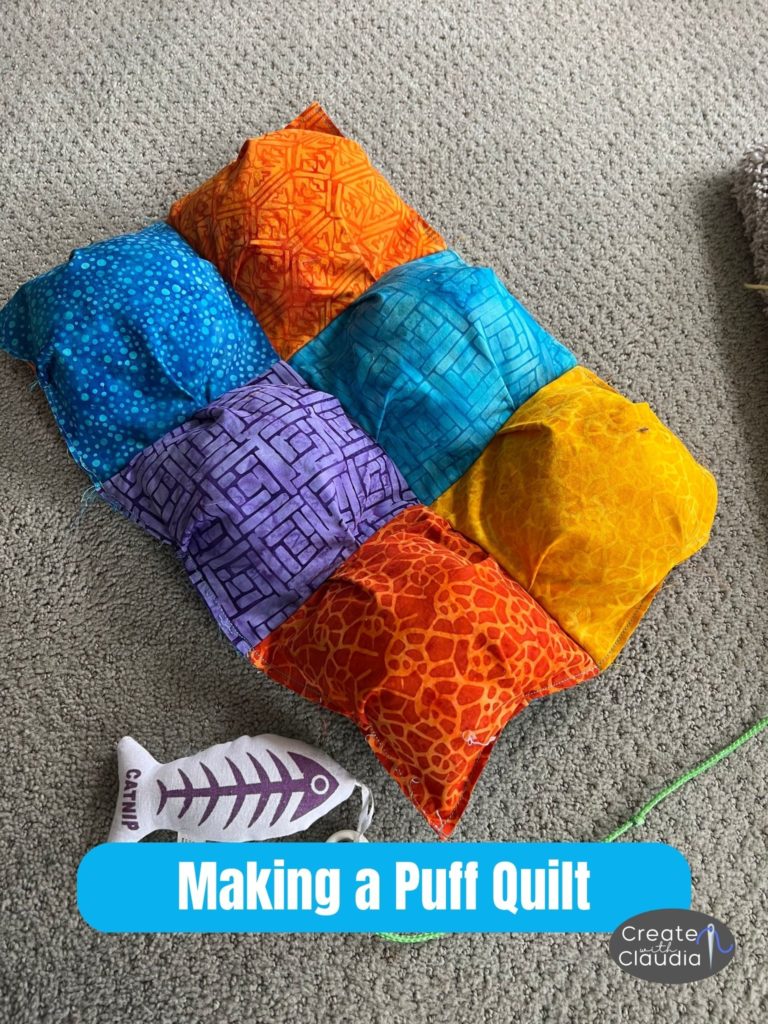
When I first heard about the puff quilt blog hop I was a bit nervous. I had never made one and was not sure where to begin. I looked at numerous tutorials and decided to combine a lot of them. Because some of squares are not puffy it was a bit different.
The first thing I did was prepare the squares that were going to get filling.
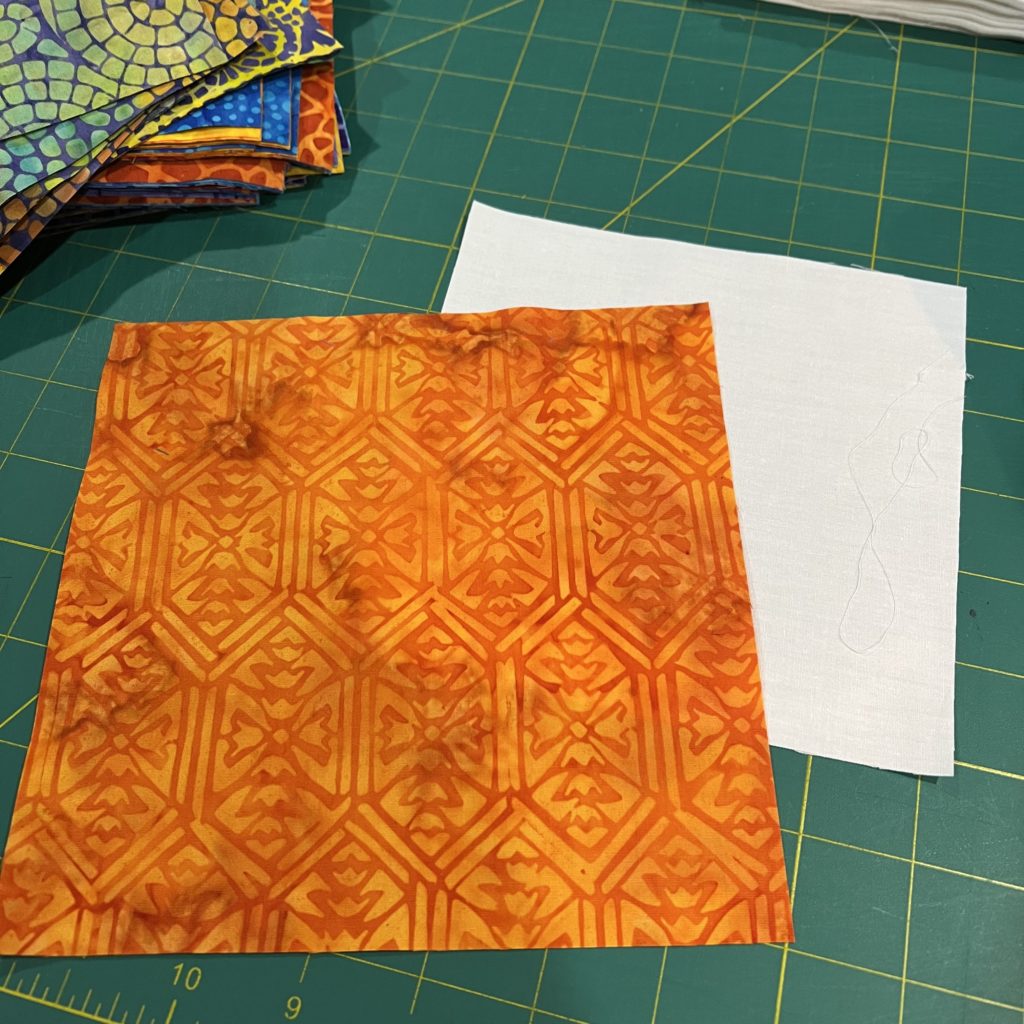
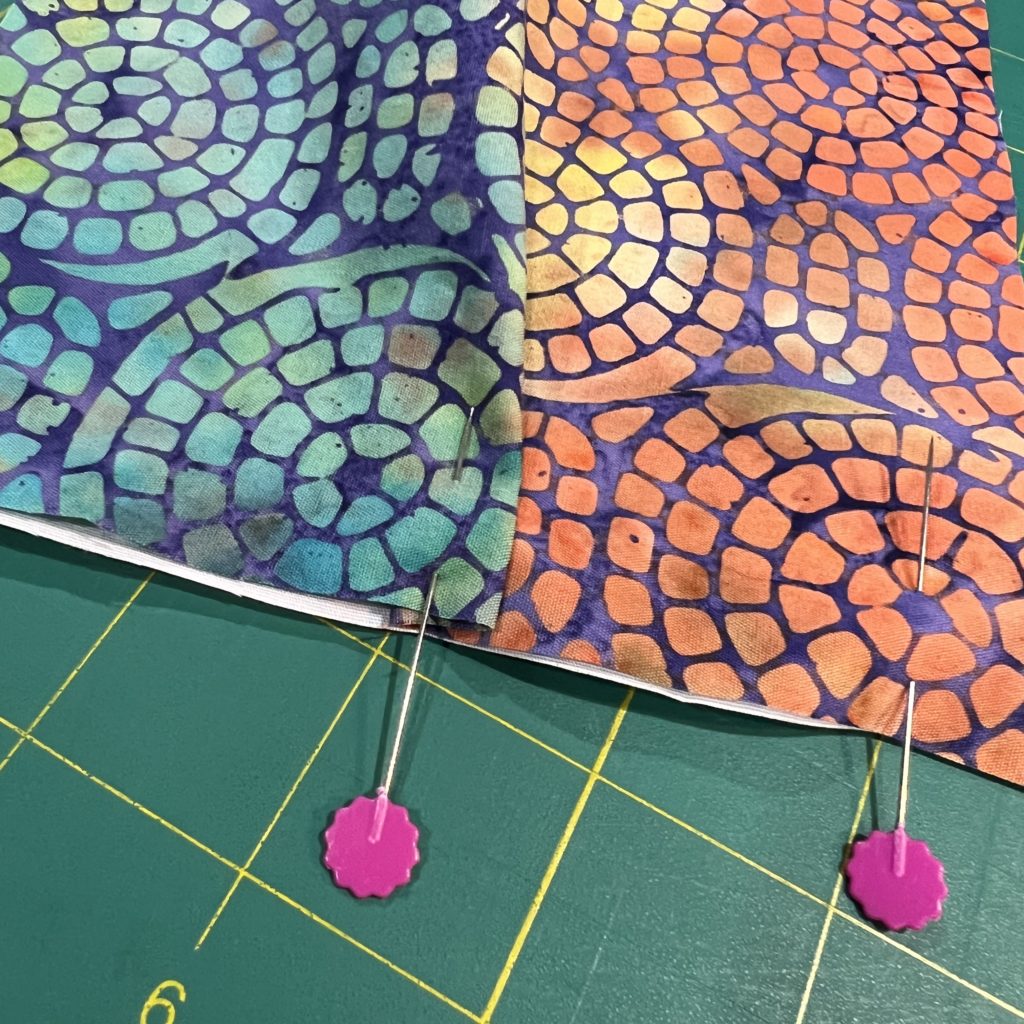
The puff squares needed backing so I used Island Batik scraps in whites and off whites. My top square was an inch larger than the backing so I had to make gathers. Then I started chain piecing, making sure to only sew three sides of each square. The open side is where the stuffing goes.
After that, I laid out my squares and sewed the columns with the opening on the puff squares facing towards the right.
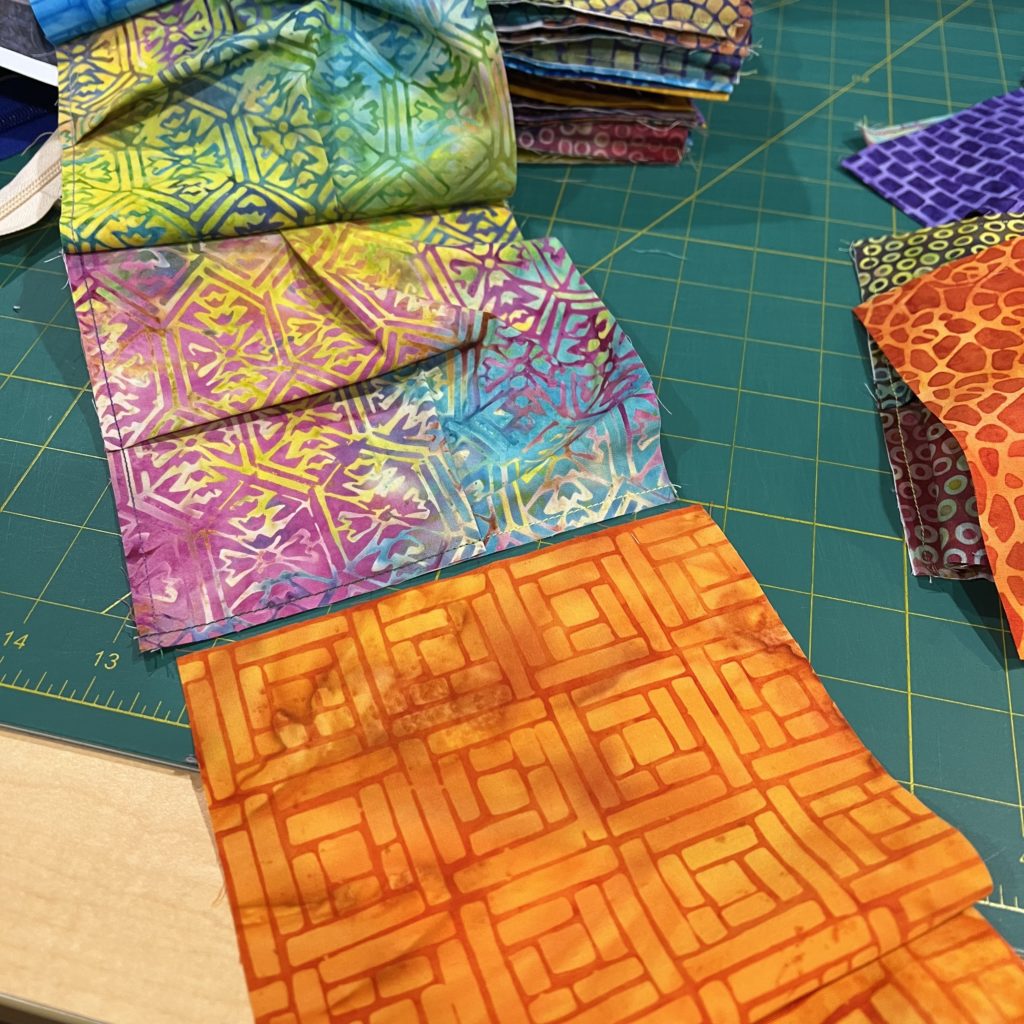
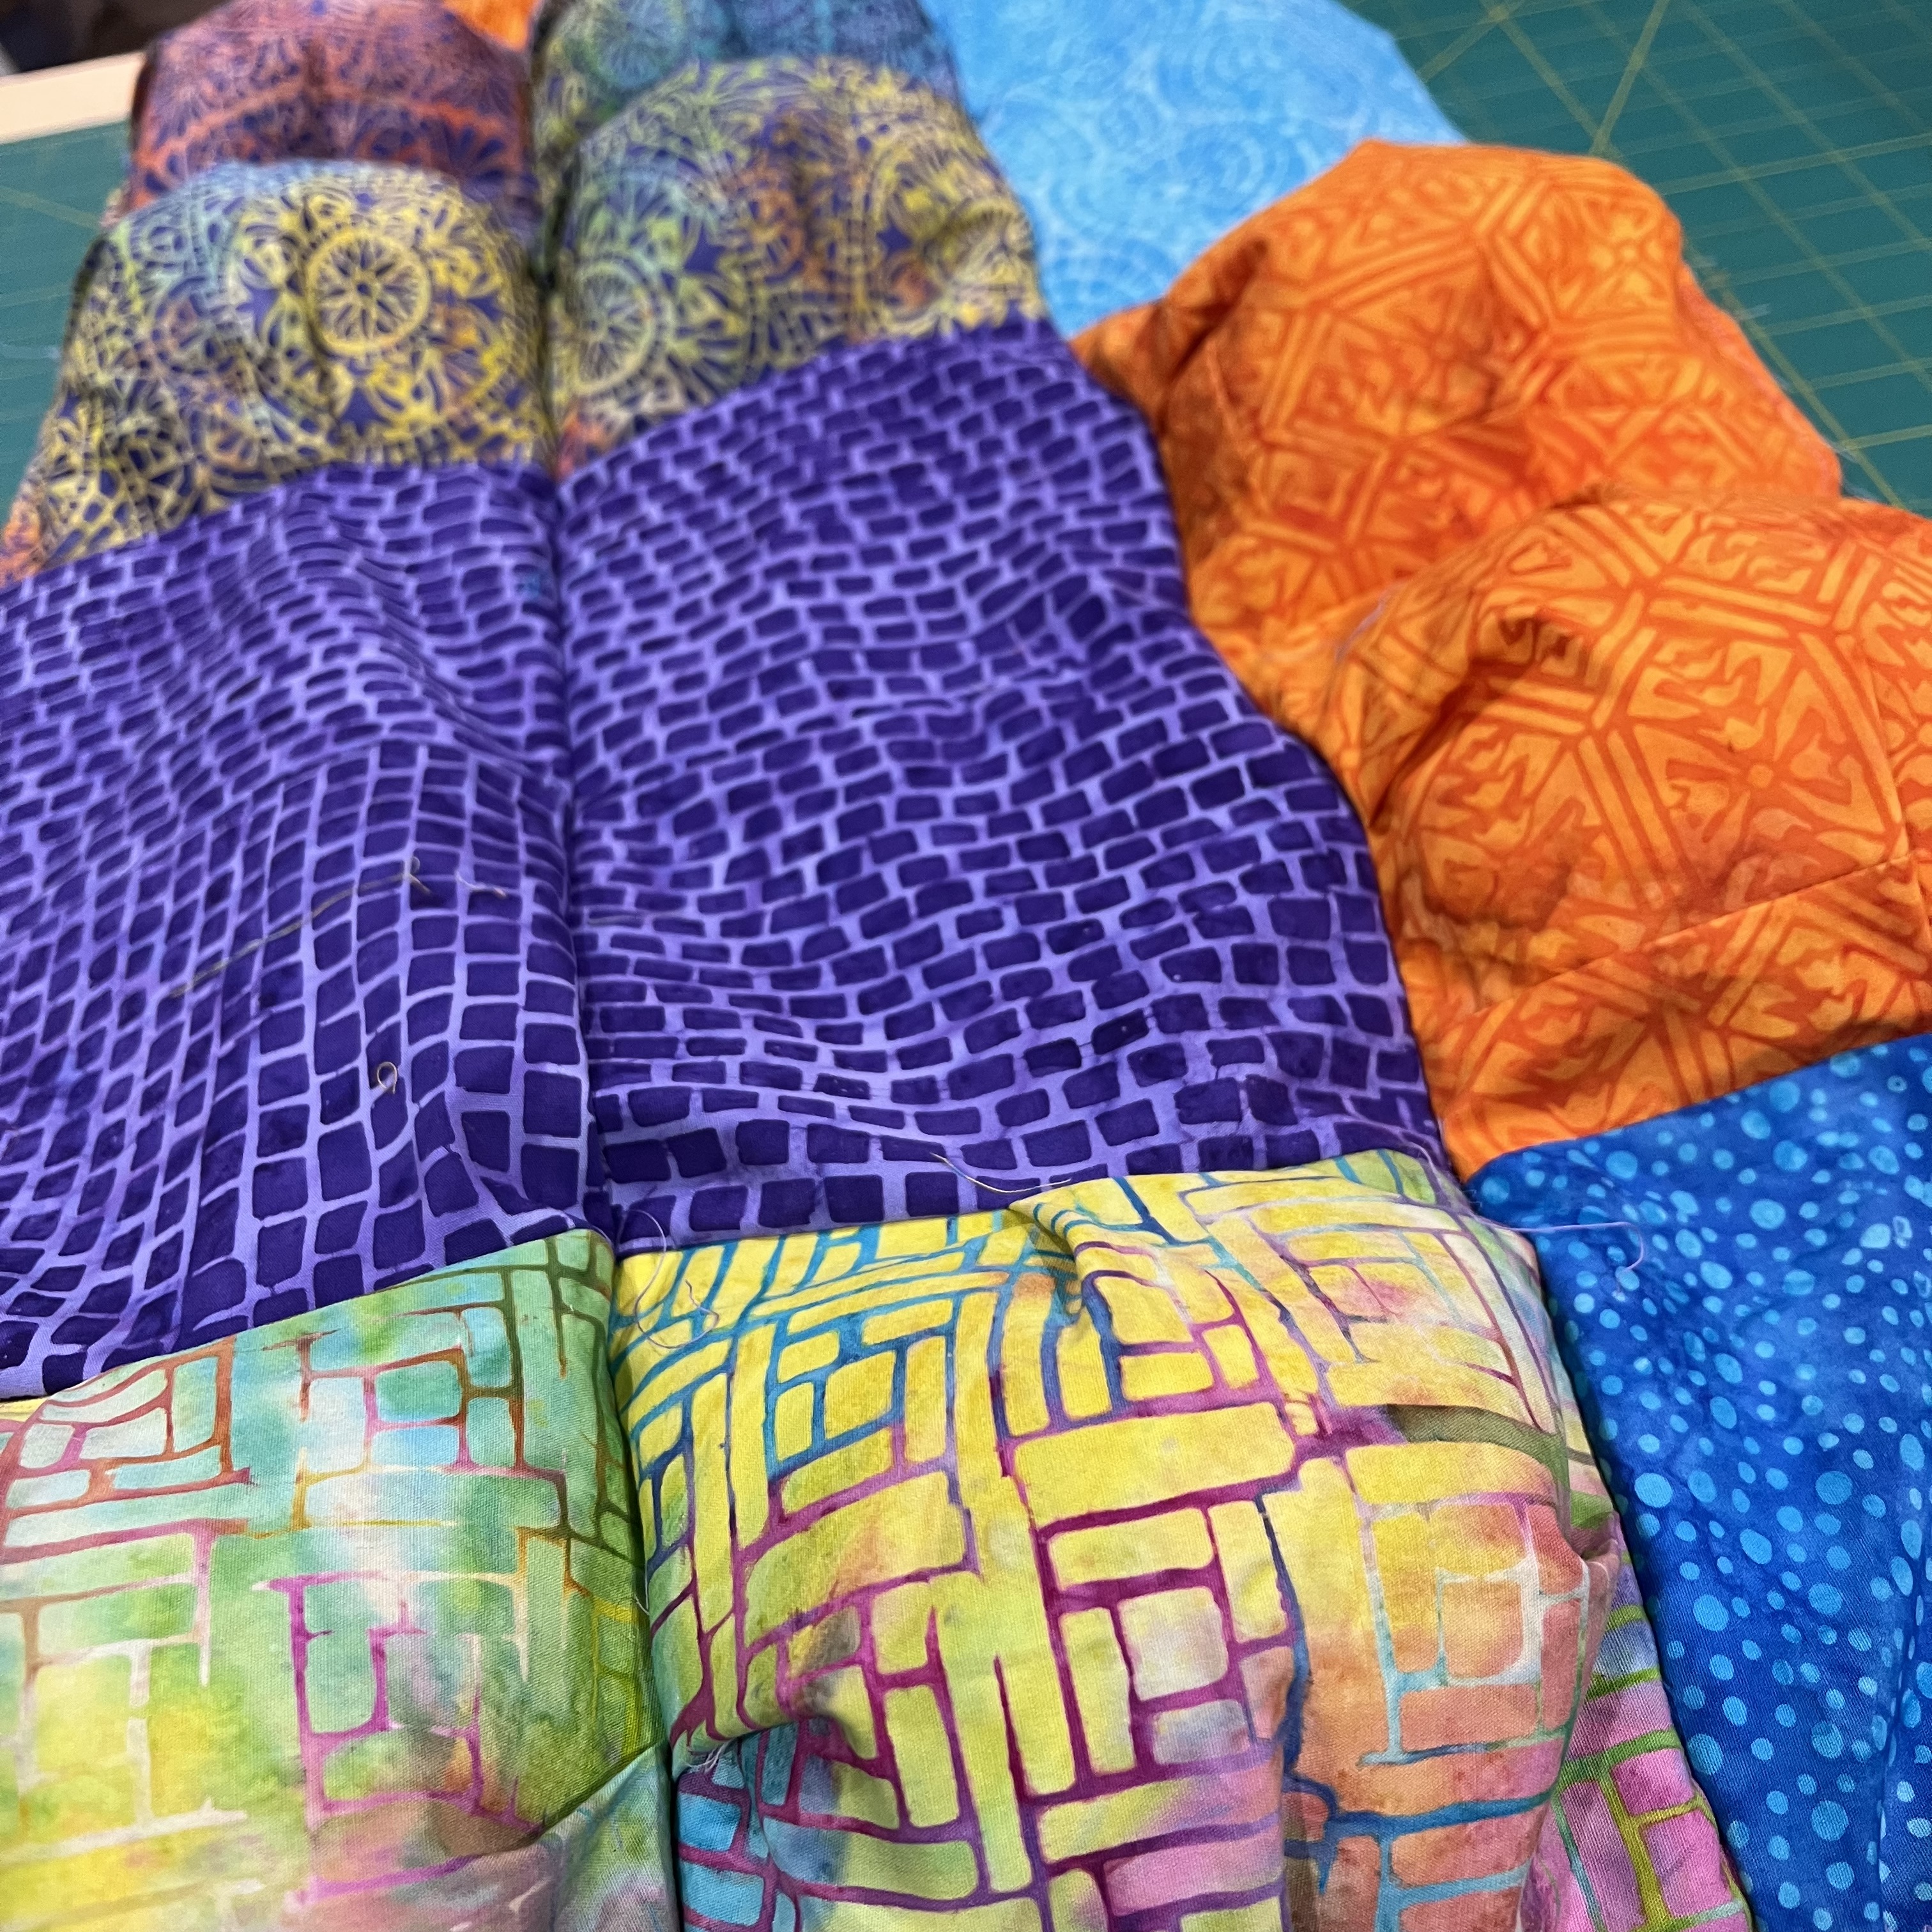
Working with the left column first, I stuffed the puffs and then sealed them using an 1/8″ seam allowance. Then I added the unstuffed second column to the first using a 1/4″ seam allowance, stuffed it, sewed it and added the next column. It may sound like a lot of work, but it actually goes pretty quickly.
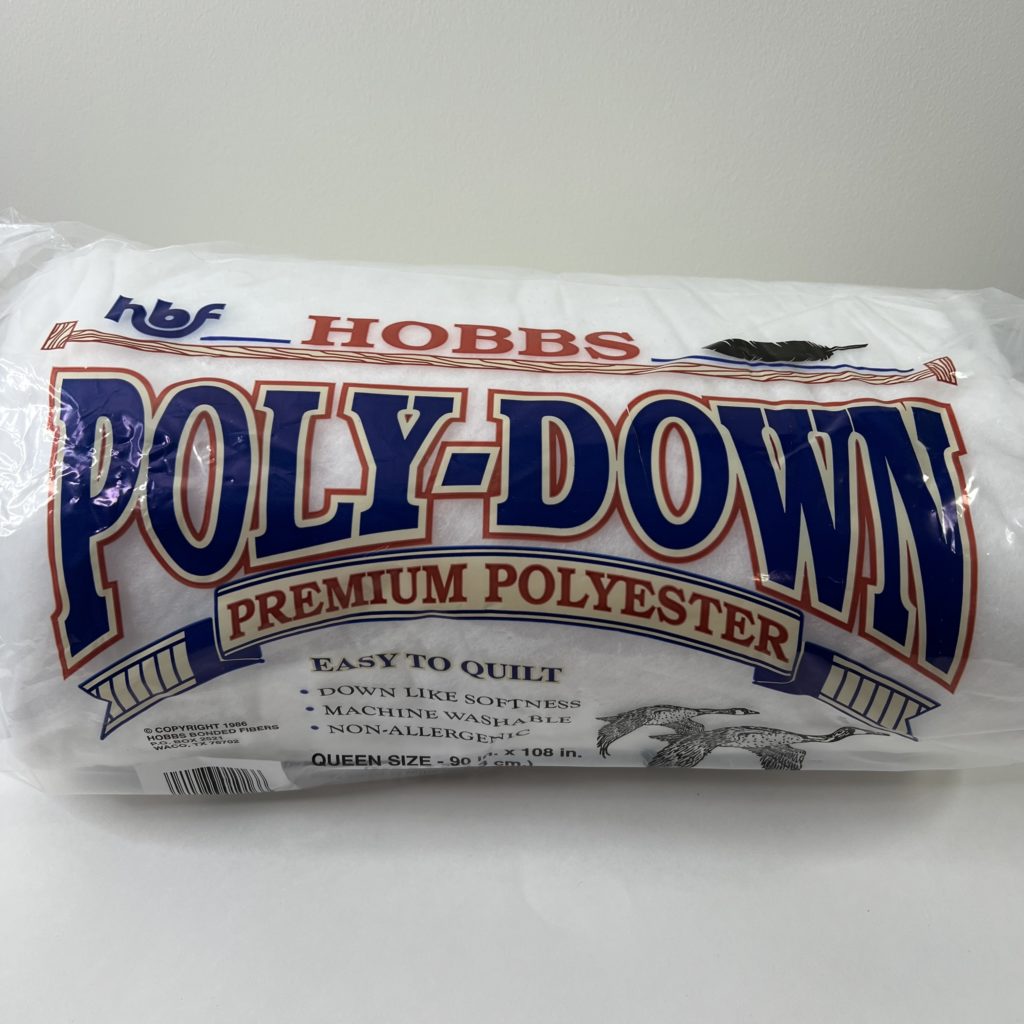
Once the top was done I added batting and backing. I used Hobbs PolyDown for the batting because I wanted this quilt to be super warm and cozy! I hand tied it and added binding to finish it all off!
Quilt Specifics
- Fabric line used on the front: Broken Glass designed by Kathy Engle for Swan Sheridan of Swan Amity Designs
- Fabric used on the back: Teal from Island Batiks foundation line called Tantalizing Teals and Foulard-Waterfall from their Blenders line.
- Batting: Hobbs PolyDown
- Filling for Puffs: Polyfill
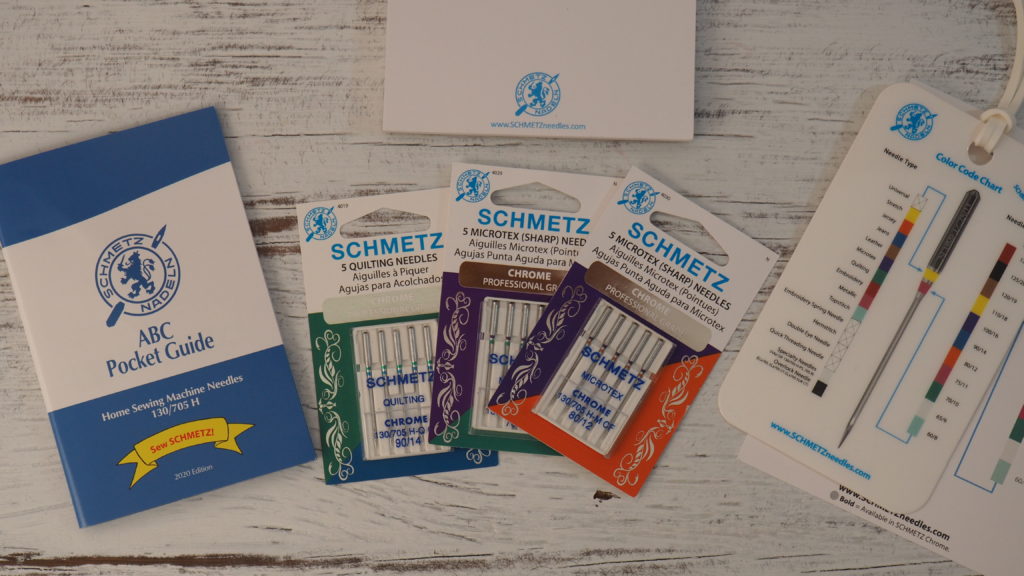
- Schmetz 80/12 Microtex Needles
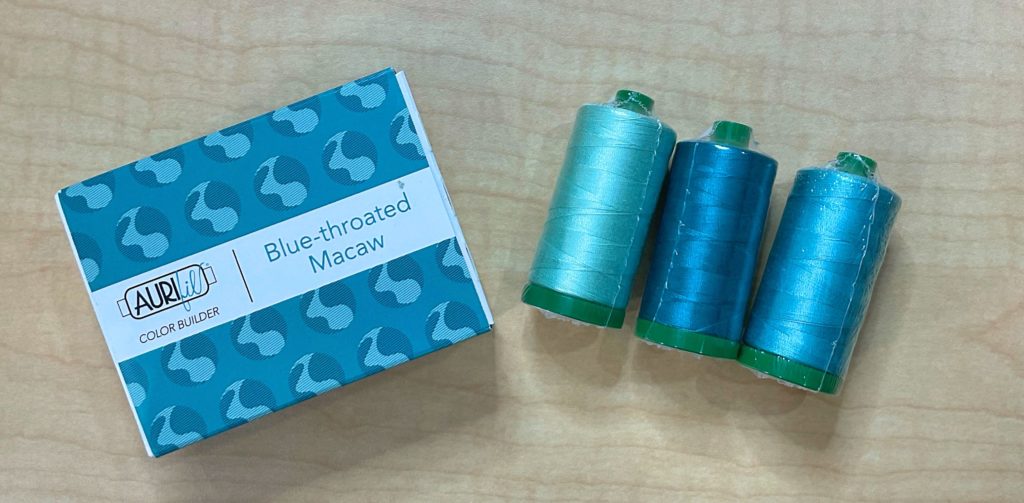
- Pieced using Aurifil thread 40 wt. Light Jade
As an Amazon Associate I Earn From Qualifying Purchases (at no extra cost to you)
Thank you to Island Batik and the industry sponsors.
Bonus Project
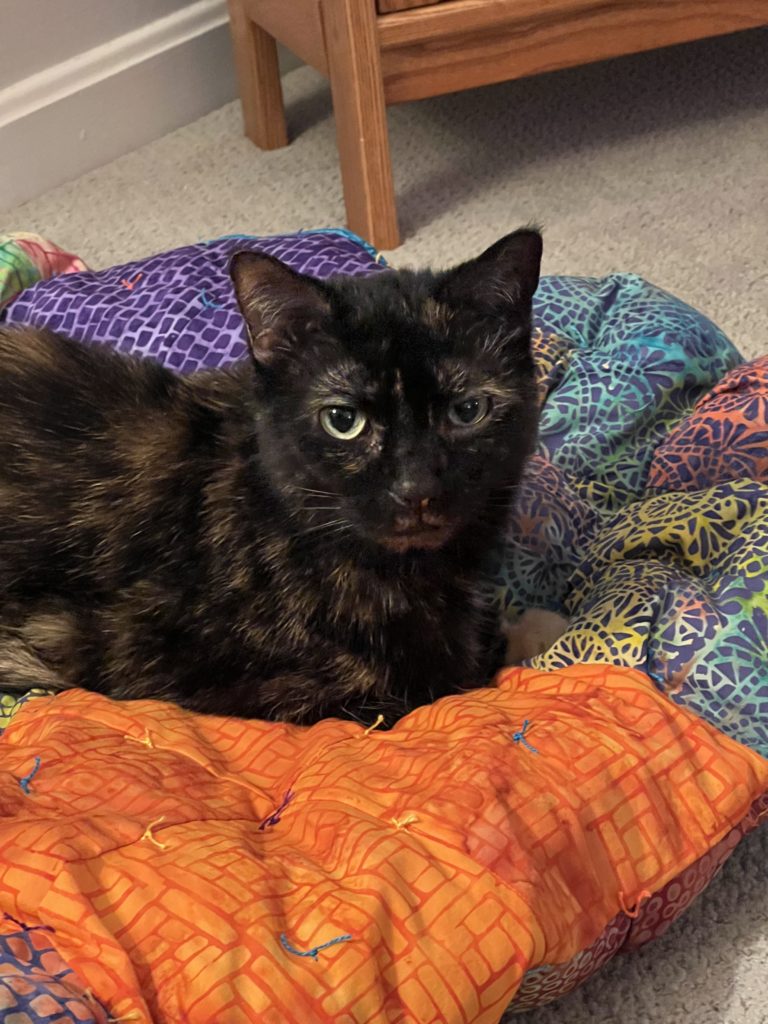
I always bring the quilts I make to show my mother and as soon as her cat got a hold of it she did not want to leave it. So I had to make her a little puff bed out of the fabrics I had left. It’s an easy project although it is not the ideal thing for a cat that likes to scratch and chew. It is much better suited as a blanket for a doll.
You can see how I made this little doll-size puff quilt in my tutorial.


26 Comments
Quilting Tangent
February 7, 2023 at 8:31 AMVery pretty quilt to keep your daughter warm. Cute kitty bed. Great tutorial, You make it looks very easy.
createwithclaudia_7j76hs
February 7, 2023 at 9:47 AMThanks so much! She’s away at college right now so we can use it! I may change my mind since it is so toasty and warm!
Joyce Carter
February 7, 2023 at 8:38 AMGood morning Claudia. I always love seeing what you design because you always come up with something different and amazing. Today’s quilt is so beautiful. I really love the fabrics in this collection.
createwithclaudia_7j76hs
February 7, 2023 at 9:48 AMThat is very kind of you to say Joyce. I appreciate it. This is a gorgeous line. Those rich and saturated jewel tones are lovely. Thanks for stopping by!
Darlene B
February 7, 2023 at 11:39 AMYour quilt is a variety of puff quilt that I haven’t seen before! Well done!
lee
February 7, 2023 at 11:52 AMBeautiful quilt! The fabrics are wonderful and Love how you did the four square and puffed/ not puffed!
Michele T
February 7, 2023 at 1:02 PMI would definitely try a small Puff Quilt for m’y daughter’s kitty… great idea!!!
createwithclaudia_7j76hs
February 12, 2023 at 6:52 AMThanks. Just watch out for all of the strings and things! My mom’s cat likes to scratch and I’d hate it if she started eating the stuffing!
Beryl Stoots
February 7, 2023 at 1:36 PMVery unique and beautiful!
createwithclaudia_7j76hs
February 12, 2023 at 6:51 AMThank you so much!
Patsy Cash
February 7, 2023 at 2:28 PMSo pretty, thank you for the tutorial!
createwithclaudia_7j76hs
February 12, 2023 at 6:51 AMThanks for stopping by!
Brenda @ Songbird Designs
February 7, 2023 at 2:31 PMClaudia this is gorgeous! I love how you alternated the solid squares with the puffs! Great job!
Anorina
February 7, 2023 at 4:29 PMYour quilt looks fantastic Claudia. I love how you alternated puffs and I can see why your mum’s cat was intrigued 🙂
Lori Smanski
February 7, 2023 at 5:12 PMOh but your puff quilt is delightful. I love those squares that are not puffed to give the extra dimesons. Thanks for sharing. It is so fun on the back of the train.
Anna Brown
February 7, 2023 at 5:39 PMWow I love the idea of some puffed and 4 patch not…great job ty for sharing
createwithclaudia_7j76hs
February 12, 2023 at 6:51 AMThanks so much! I appreciate it!
Cindy Shelley
February 7, 2023 at 7:01 PMVery nice quilt. I like it not being all puffs!!!That was a great idea to alternate.
Jennifer Thomas
February 8, 2023 at 8:16 AMGreat pictures! Great quilt, Claudia! Plus I think your bonus project is perfect for a cat. My cats absolutely love the puff quilt I made. Have a great day!
createwithclaudia_7j76hs
February 12, 2023 at 6:50 AMMy mom’s cat actually started a quiet growl when I picked it up to take it home! Glad you like the quilt!
Kathryn
February 8, 2023 at 3:39 PMYou look all cozy wrapped up; beautiful job.
createwithclaudia_7j76hs
February 12, 2023 at 6:50 AMThank you!
Laura
February 10, 2023 at 12:40 PMYour version of the puff quilt turned out terrific! I love the texture and the design! I love the way that you photographed it, too! 🙂
createwithclaudia_7j76hs
February 12, 2023 at 6:47 AMThanks so much. I have a great helper (my husband!)
Eileen
February 11, 2023 at 12:58 PMGreat quilt, with great colors!!
createwithclaudia_7j76hs
February 12, 2023 at 6:47 AMThanks so much!