
My Puff Quilt Making Process
Every month I make a project for the Island Batik ambassador program. For this month we were given one of their new fabric lines and asked to create a puff quilt. Having never made one, I checked out lots of online tutorials and came up with a process that combines a bit of all of them. I thought I would show you my puff quilt making process. It isn’t difficult and, once you get going, it goes fairly quickly.
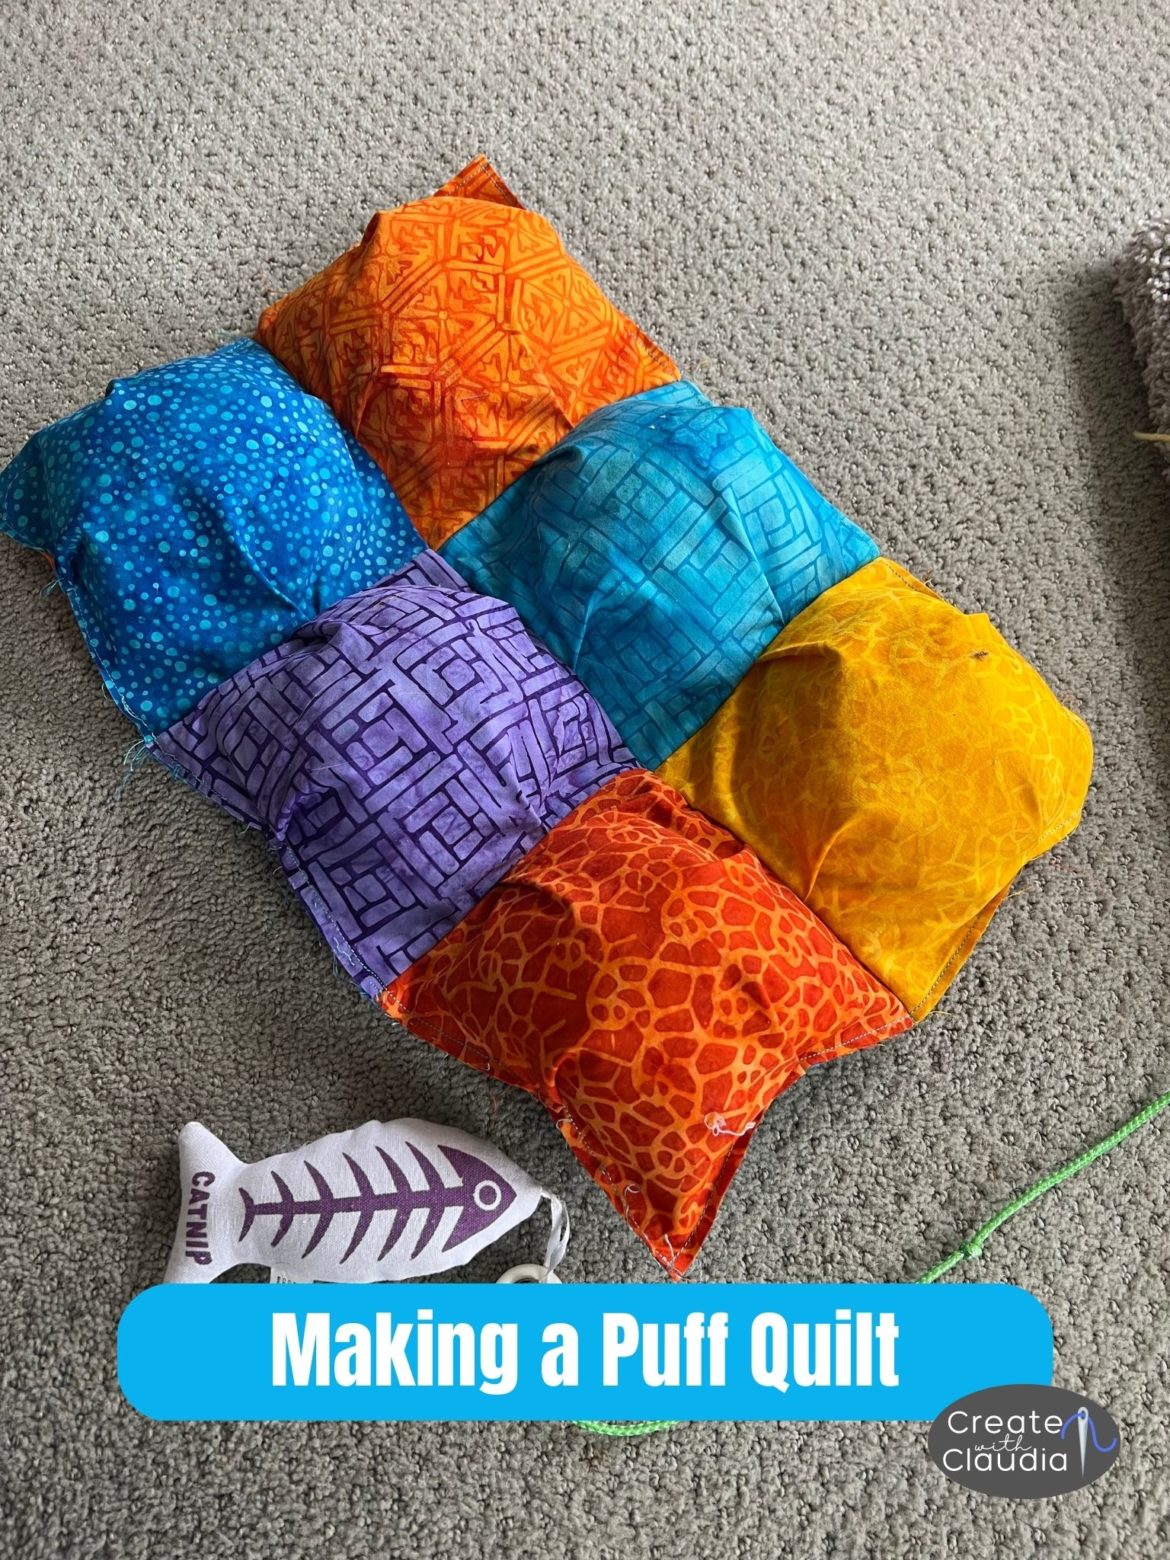
To demonstrate, I made a small quilt that would work for a doll or maybe even a cat. Important: This is not ideal for a cat because they will probably scratch it up and you don’t want them eating the stuffing.
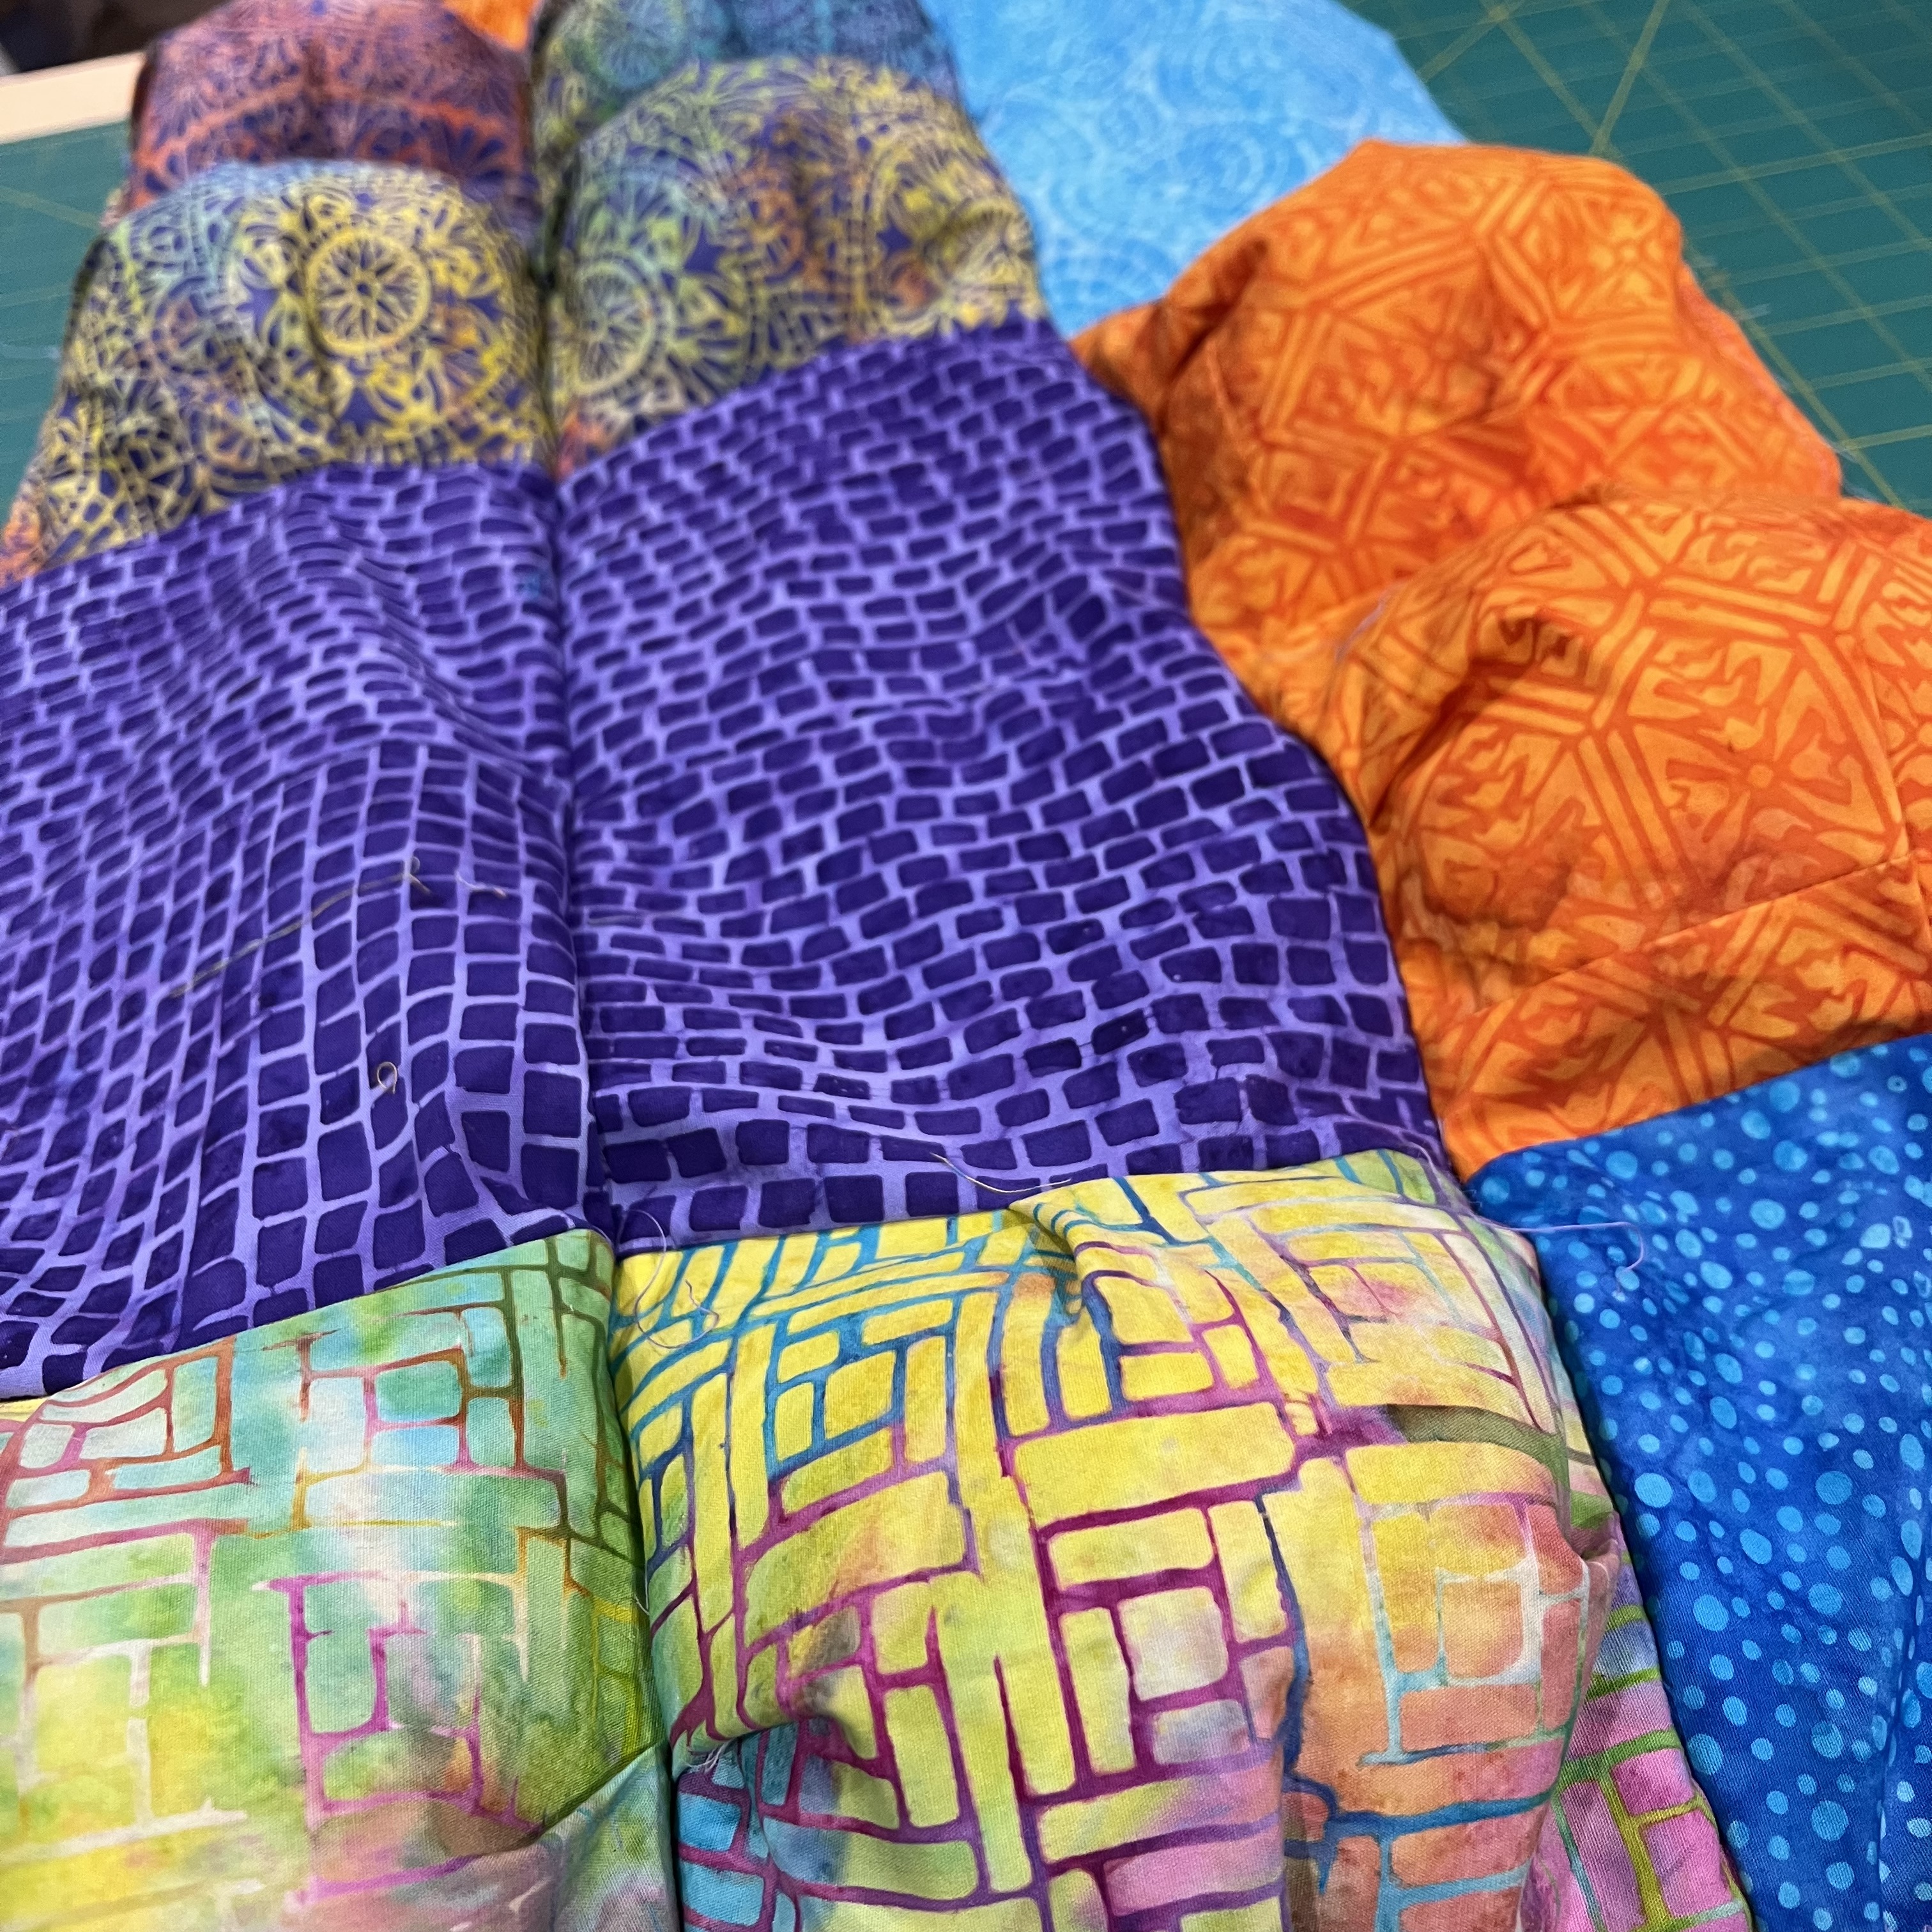
For my little quilt I used left over fabrics from Island Batik’s new line called Broken Glass. It was designed by Kathy Engle for Swan Sheridan of Swan Amity Studios.
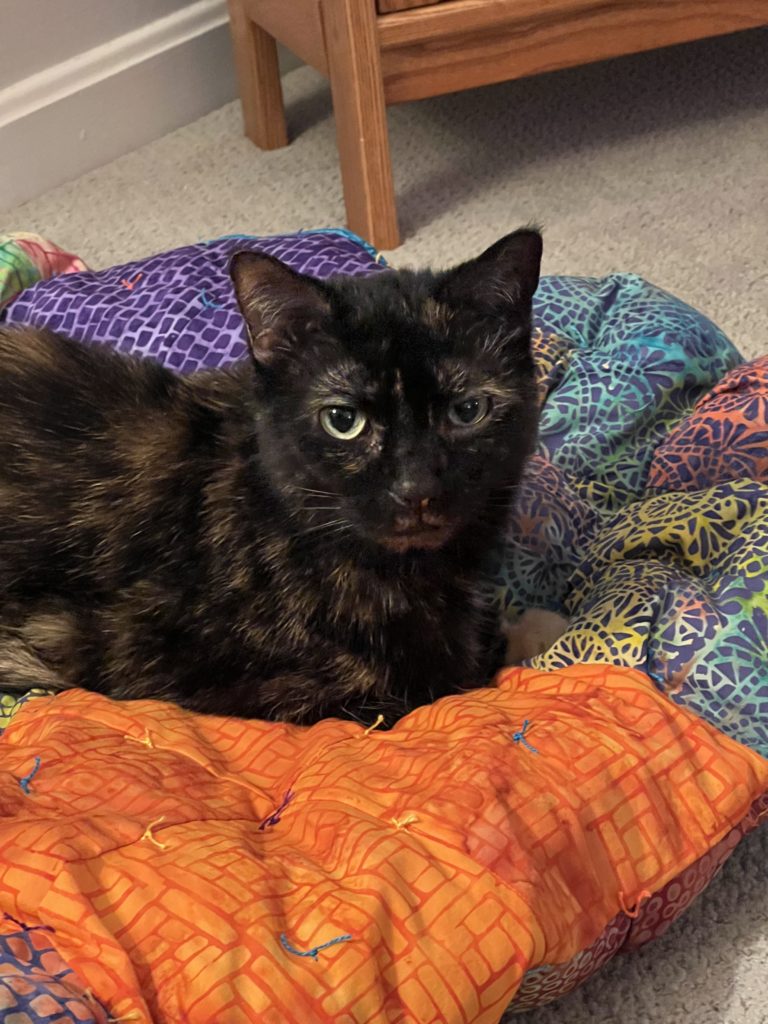
The reason I made this little cat bed/doll quilt was because of my mom’s cat Ivy. I always take my finished quilts to my mom to show her. As soon as I laid down the puff quilt I made for my Island Batik project, Ivy jumped on it and would not leave. My mom said I should make one for her, so that is what I did.
Here’s my puff quilt that inspired this puff-making post.
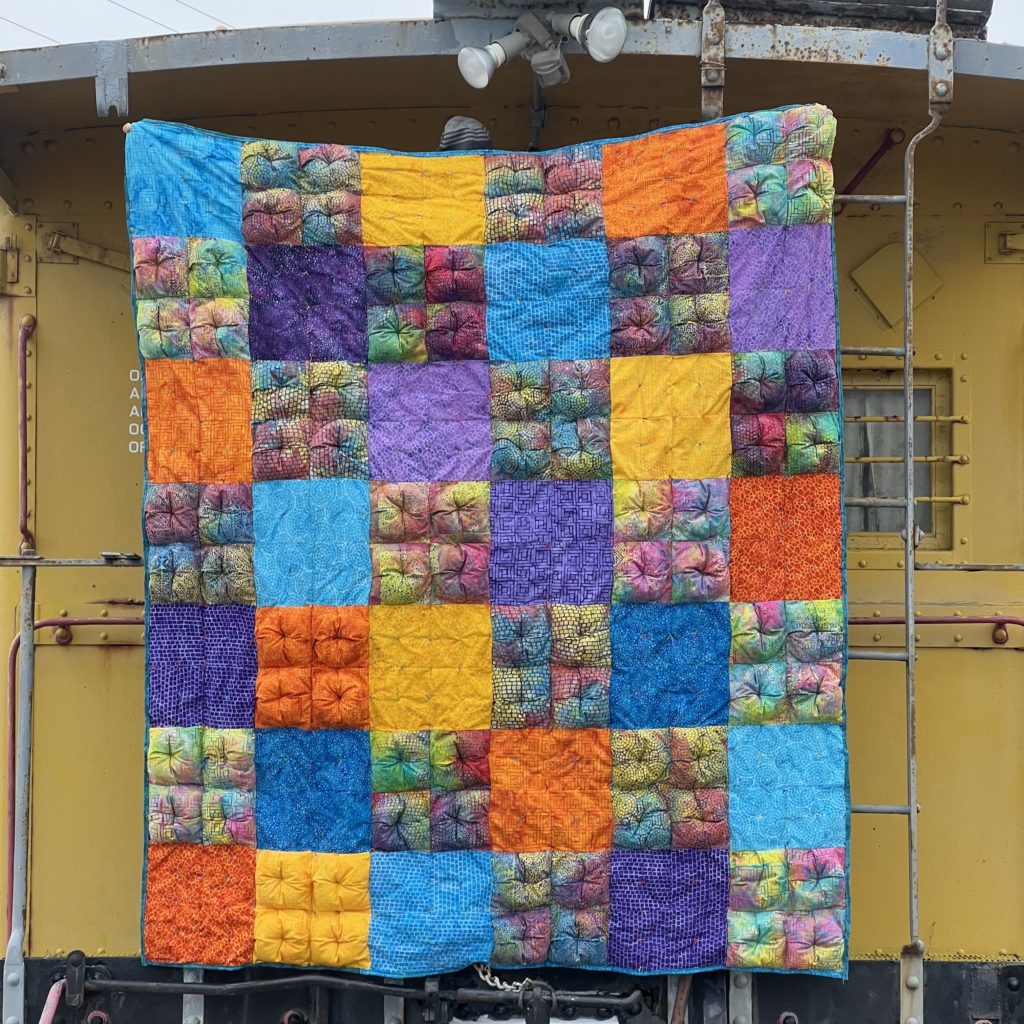
You can read all about my puff quilt in this blog post.
Disclosure: Items used in the post were provided by Island Batik, Aurifil Thread and Schmetz Needles.
My Puff Quilt Making Process
To make my little quilt I used the following items:
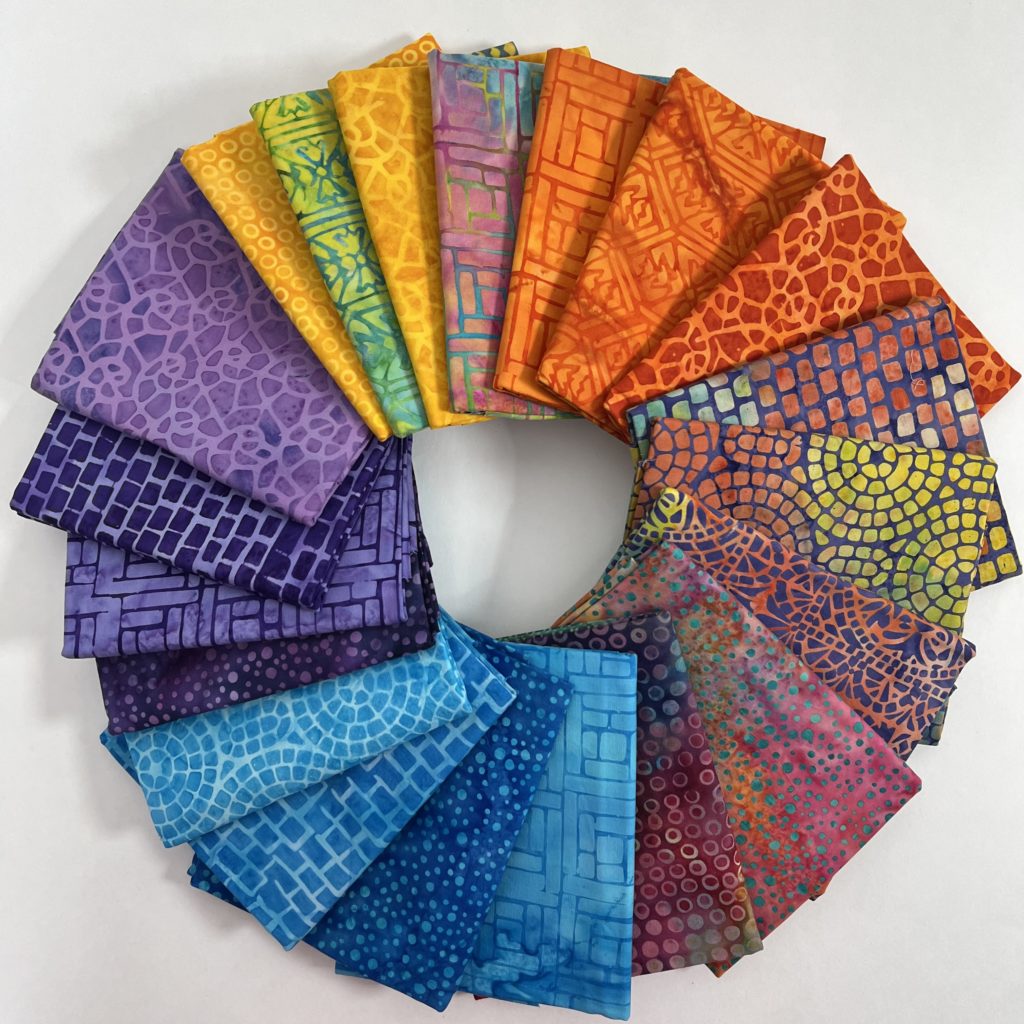
- Island Batik’s new fabric line called Broken Glass. It was designed by Kathy Engle for Swan Sheridan of Swan Amity Studios.
- Polyfill
- Aurifil Thread
- Schmetz Needles
In my larger puff I also added batting and backing. The batting I used was Hobbs PolyDown.
As an Amazon Associate I Earn From Qualifying Purchases (at no extra cost to you)
A Quick Recap of My Puff Quilt Making Process (You can watch the entire process in my video above.)
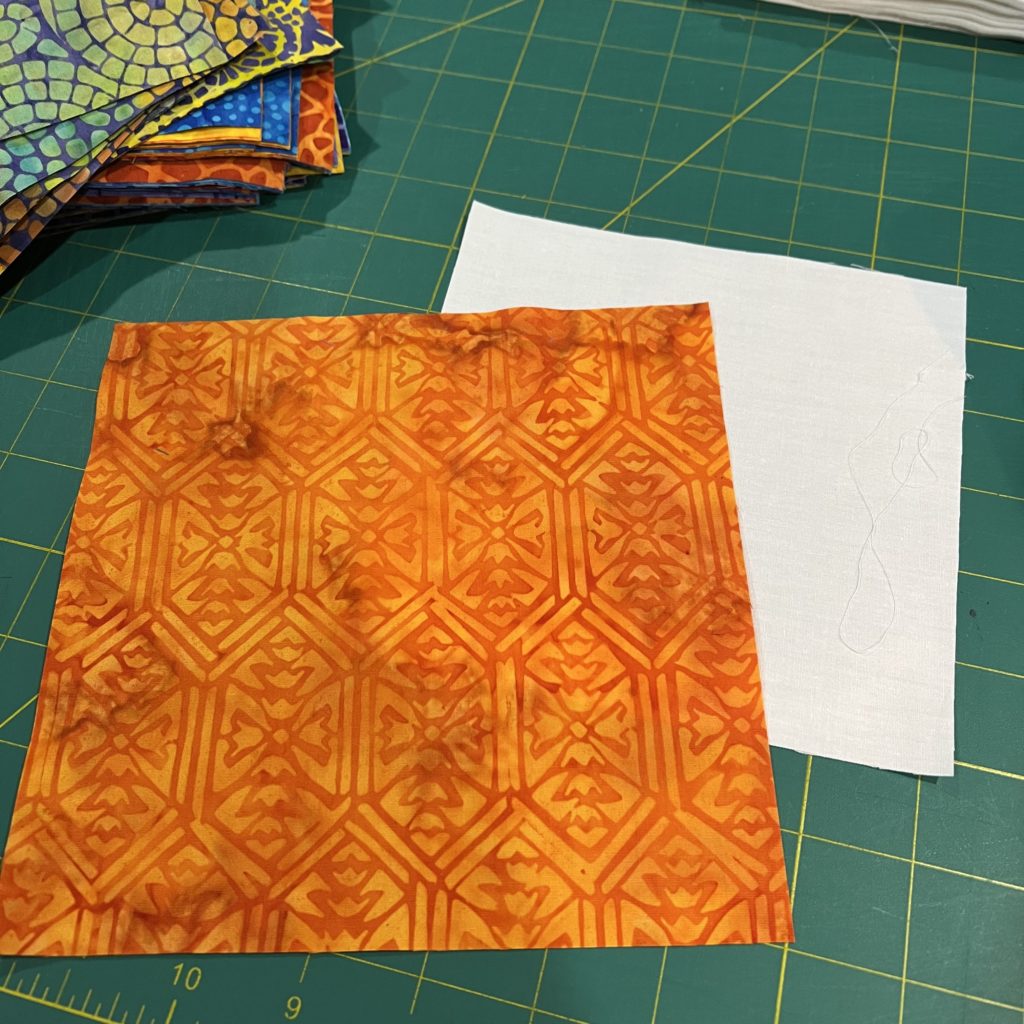
1 – Cut out 2 squares of fabric, the top one (the one that will show) should be an inch larger than the bottom one.
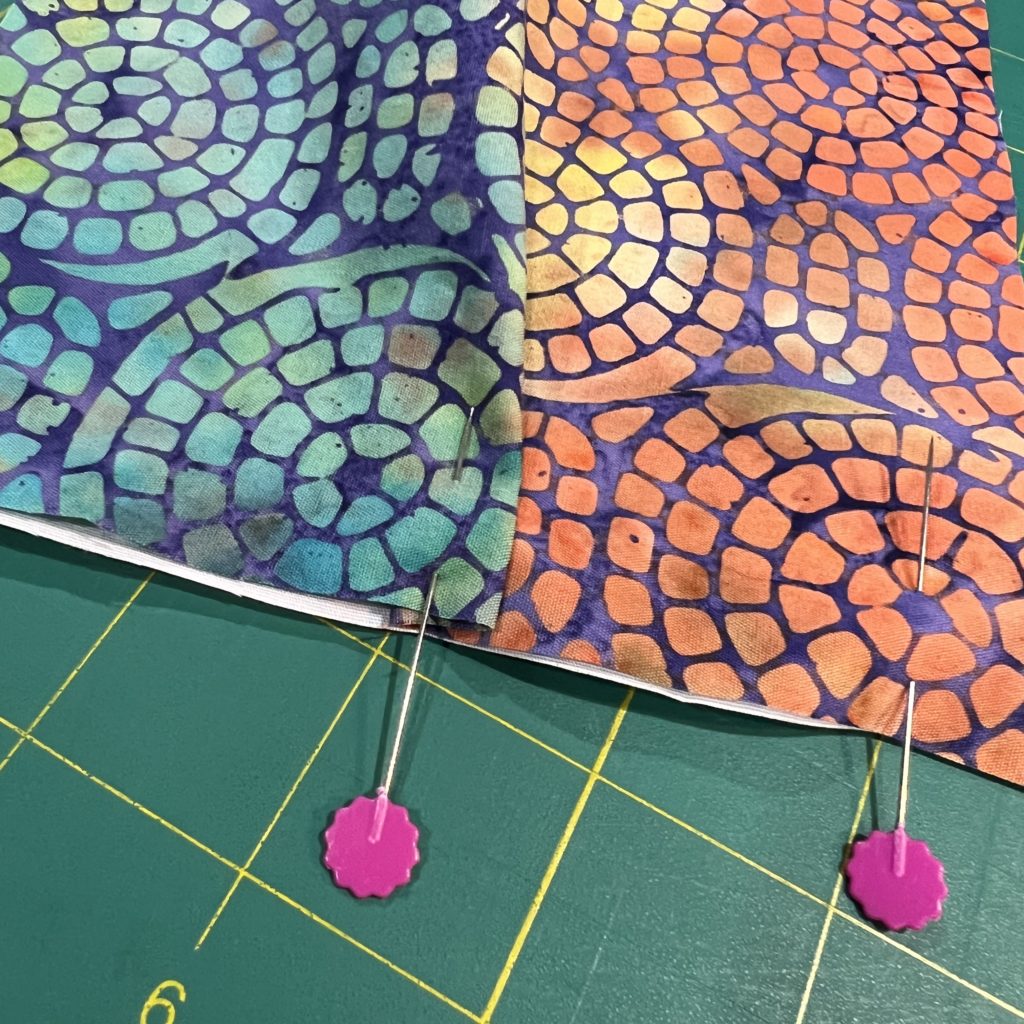
2 – Gather the fabric and pin so that the two edges of the fabric meet the edges of the bottom square. Using an 1/8″ seam allowance, sew down the side. Continue around 3 sides of the square. Leave one side open.
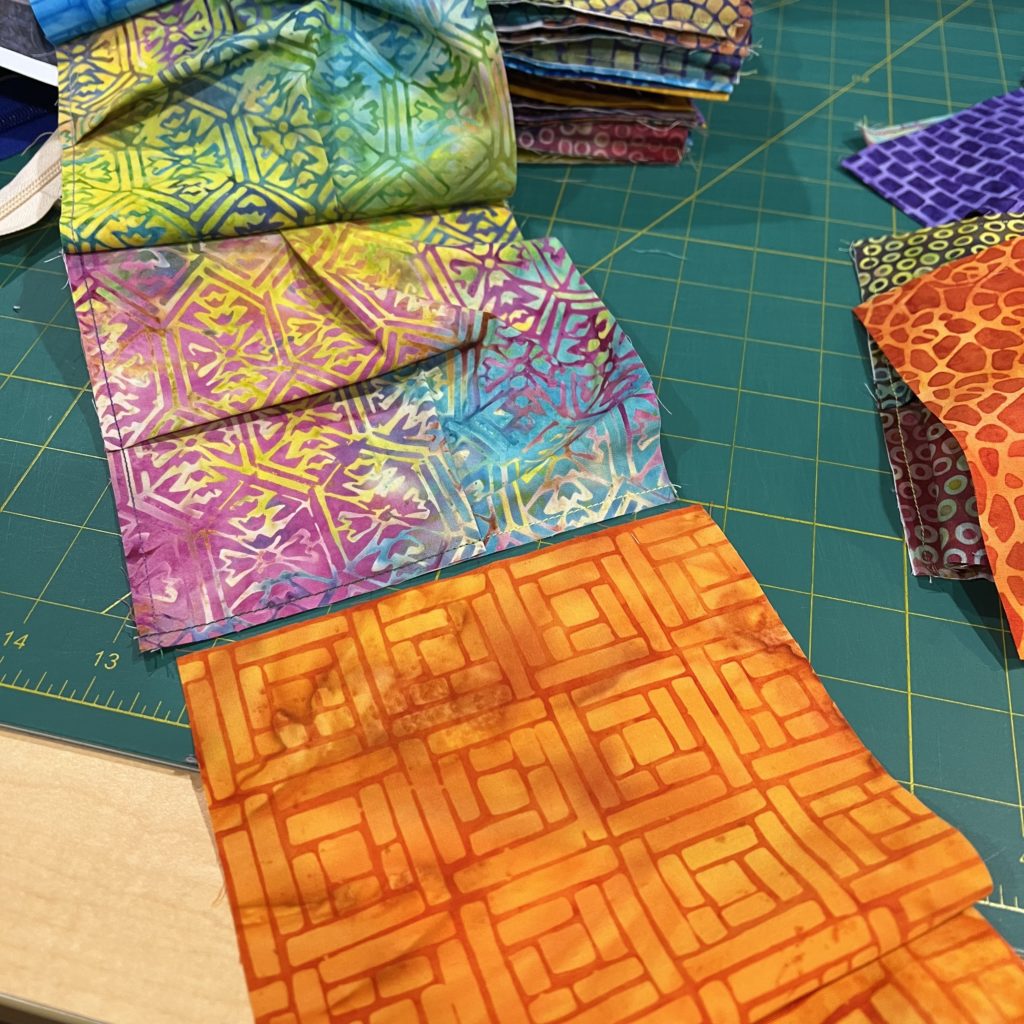
3 – Lay out your empty squares in columns.
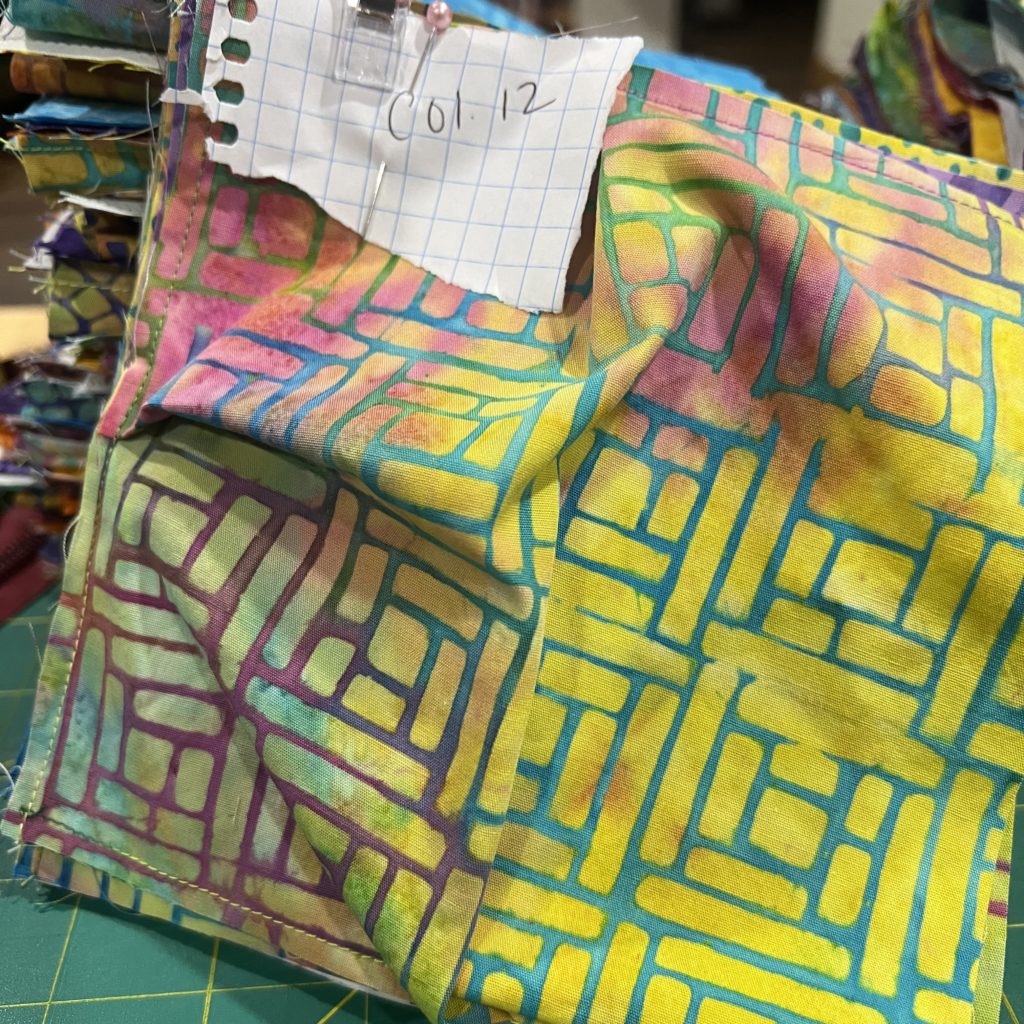
4 – Sew the individual columns together, making sure that the opening to the puffs is on the right side.
5 – Stuff the puffs of the first column and then, using the same method before adding the stuffing, sew the puffs closed, using the 1/8″ seam allowance. Add the next column to the right of the column you just stuffed. Use a 1/4″ seam allowance for this step. Add stuffing to this column and close up. Continue adding columns until you are done.
Add batting and backing if desired. I did not do this for the little version of the puff quilt that I made. However, the larger one has it.
Happy Quilting!
