
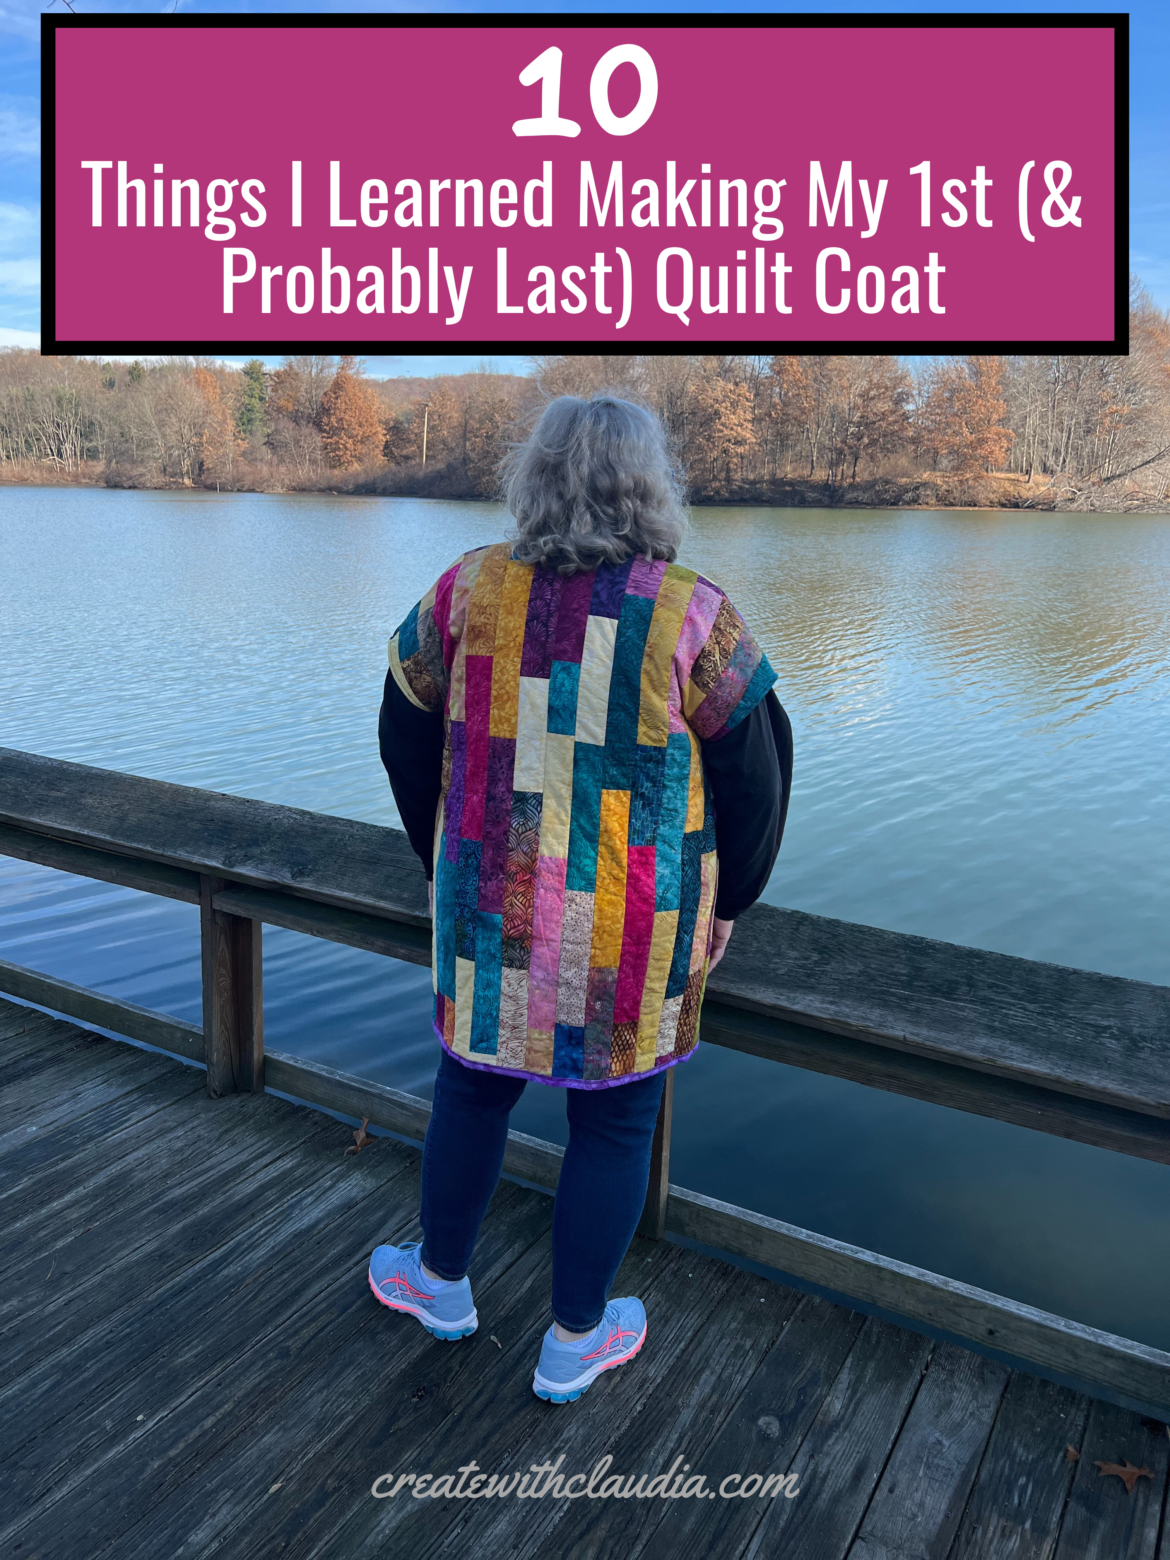
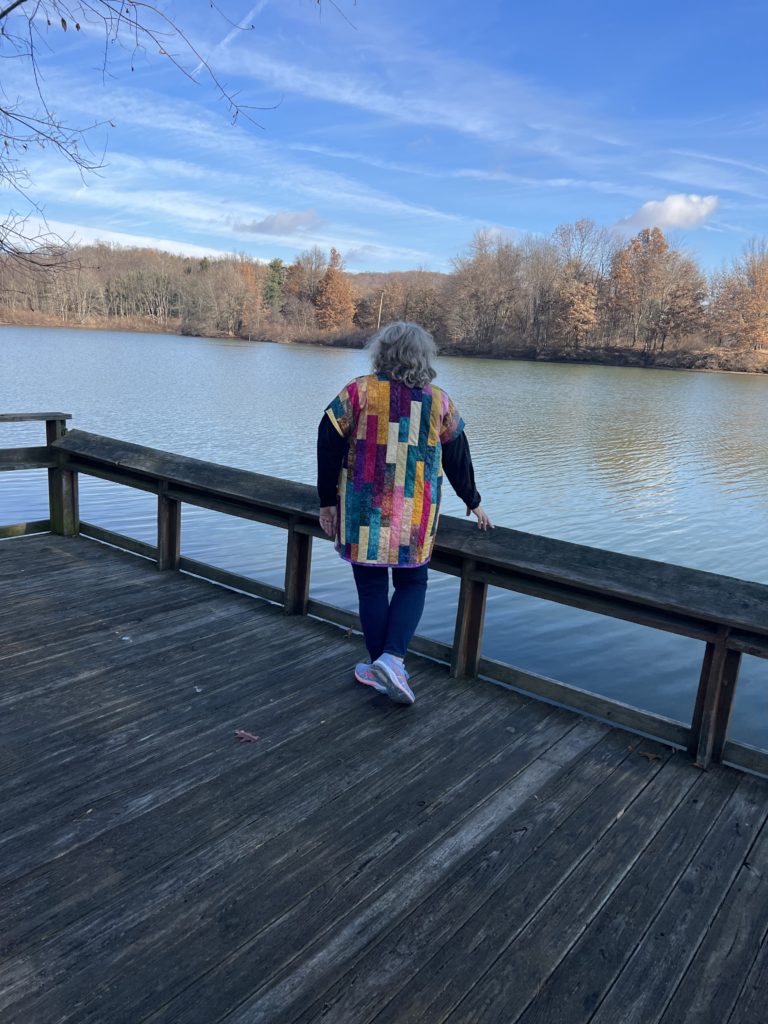
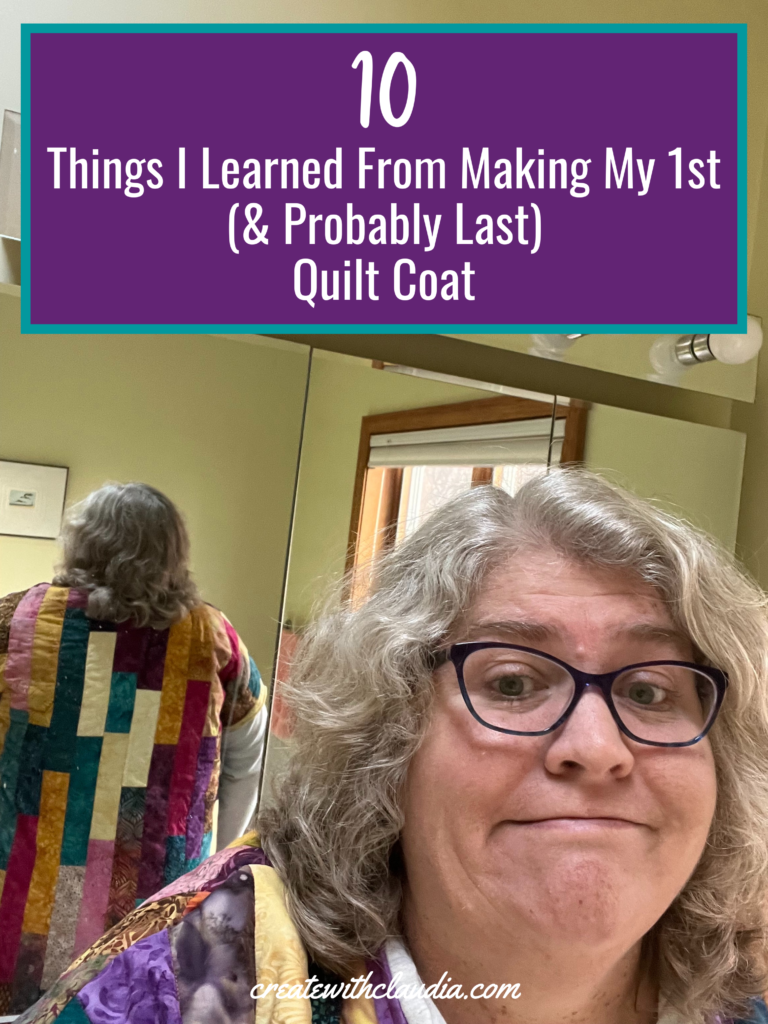
10 Things I Learned Making My First (and Probably Last) Quilt Coat
Am I the only who is seeing quilt coats everywhere right now? You can see them on awards ceremonies, all over social media, and on racks at stores. I can’t get over all of the different versions there are, and they are all beautiful. I am completely wowed by them, and it is because they are so popular that I decided to try to make one. The experience taught me a lot, and now I want to tell you about the 10 things I learned making my first (and probably last) quilt coat. Don’t let the title of the article fool you. Knowing myself, I probably will give a quilt coat another try, but I’ll definitely do it differently!
The Fabric
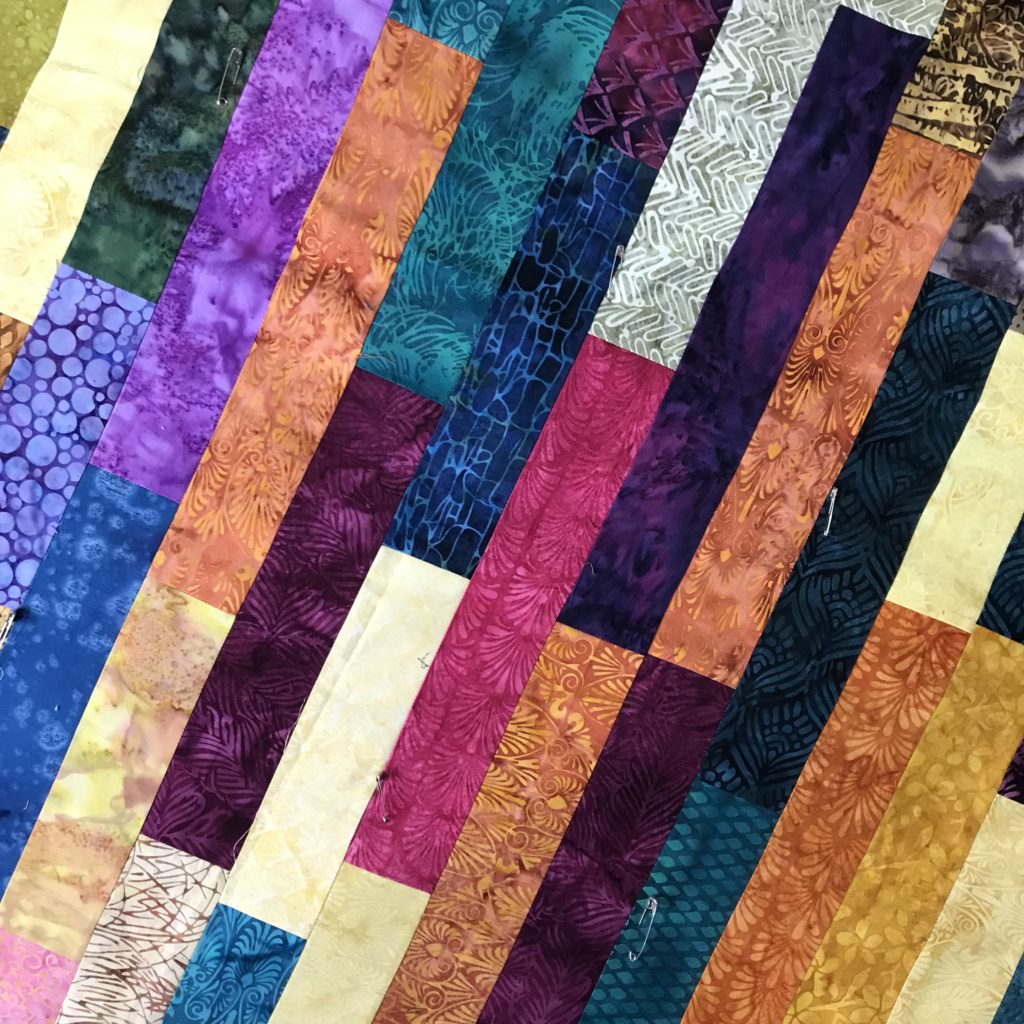
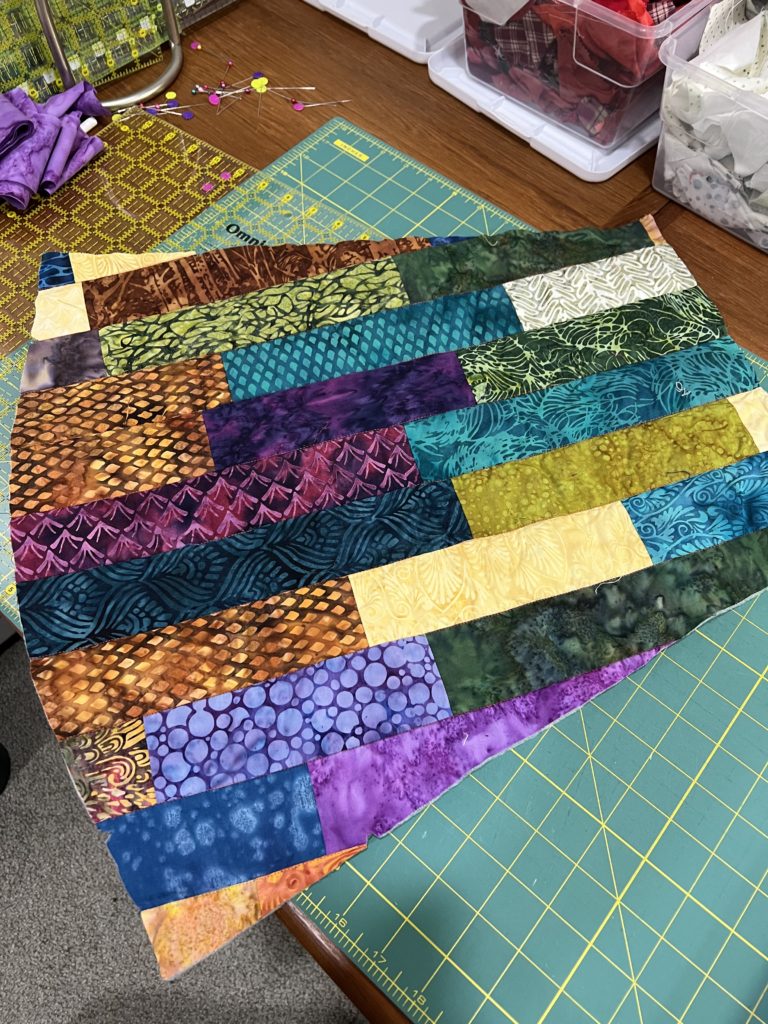
All of the fabrics I used were gorgeous fall and jewel tone batiks from Island Batik. Some were left over from my 2021 year as an ambassador, others were from my fabric stash. They were all from my scraps box and they were all cut into 2 1/2″ strips of various lengths. These beautiful and richly colored fabrics were just screaming to be used in a quilt coat.
Watch My 10 Lessons Learned Here
A Little Bit About My Approach to Sewing
I thought I’d let you know a few things about my approach to sewing so you would get an idea of what my thought process was going into this project.
First – I don’t sew clothes. I love making quilts and have been for more than 30 years, but I just can’t get the hang of sewing clothing items. I don’t even like hemming things.
This coat was my third attempt at making a piece of clothing. The first time I attempted to make a skirt, it was completely lopsided and I told myself, never again. There was a break of a few years before my second time when I tried to make a blouse. I got about halfway through and gave up. Fast forward two years and I thought I’d give it one more shot with a coat. I figured that the third time had to be the charm…right?! Mmm…not so much!
Second – I like to teach myself how to do things and I can be a bit stubborn about it.
Third – I’m not very patient and I tend to rush through things.
10 Things I Learned Making My First (and Probably Last) Quilt Coat
1 – Have Some Clothes Sewing Experience
I don’t think you need to have degree in fashion design, but at least know how to read a pattern. The one I bought was a coat pattern for beginners. It had lots of tips, and I still did not know everything I needed to know. I seemed to be constantly googling items to figure things out.
2 – Pick Out The Right Pattern
The pattern I bought was for knit fabrics, but I figured that there would be no problem interchanging fabric types. I used batiks that were quilted. I should have known better. Some patterns and some fabrics don’t mix very well.
3 – Measure, Re-measure and Read the Pattern Measurements
I highly recommend measuring yourself and comparing it to the measurements on the pattern. I went by the size range on the package and figured that it was my size, so it should fit. Wow was I wrong (yes, that is why my coat is now a vest).
4 – Read Some Quilt Coat How-Tos
One thing I am bad at is reading through a lot of directions. I love writing them for my tutorials, but I am notoriously bad about reading them. When I first started thinking about making a quilt coat I glanced at a few how-to articles, but I did not take them as seriously as I should. I recommend reading some of the great how-tos that are out there about quilt coats.
5 – Have Patience
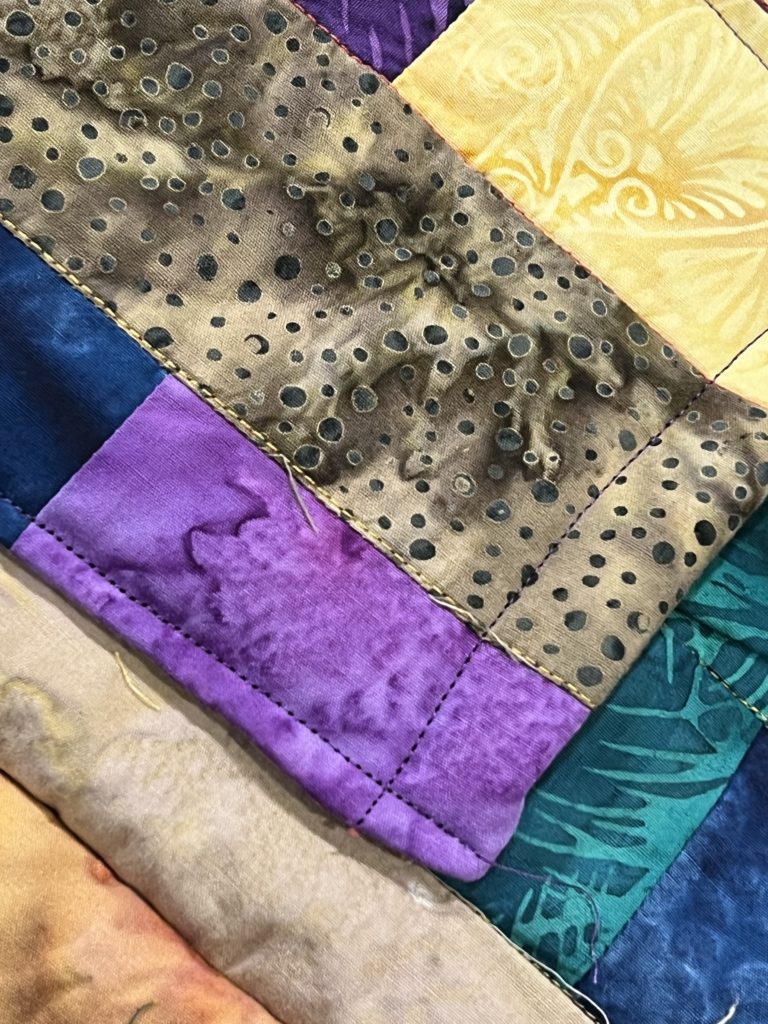
Remember when I mentioned that I am not very patient? Well, when you are making a quilt coat, you are going to need it. Take your time. If you could see some of my finishing on the seams you would cringe.
6 – Make Sure You Really Want To Cut Up The Quilt
Full disclosure here…I really did not want to cut up one of my quilts to make my jacket. Maybe subliminally I knew it wasn’t going to go as well as I had hoped.
I decided to make quilted fabric for my coat using numerous gorgeous Island Batik strips from some of their fabric lines. I loved the way the colors came together in a scrappy style. In fact, my favorite part of my coat is the fabric and the colors. In hindsight, I wish I hadn’t cut it up because it would have made a lovely quilt.
Think twice before cutting up a favorite quilt to make a coat. You can always make quilted fabric like I did.
7 – Remember That The Fabric is Quilted
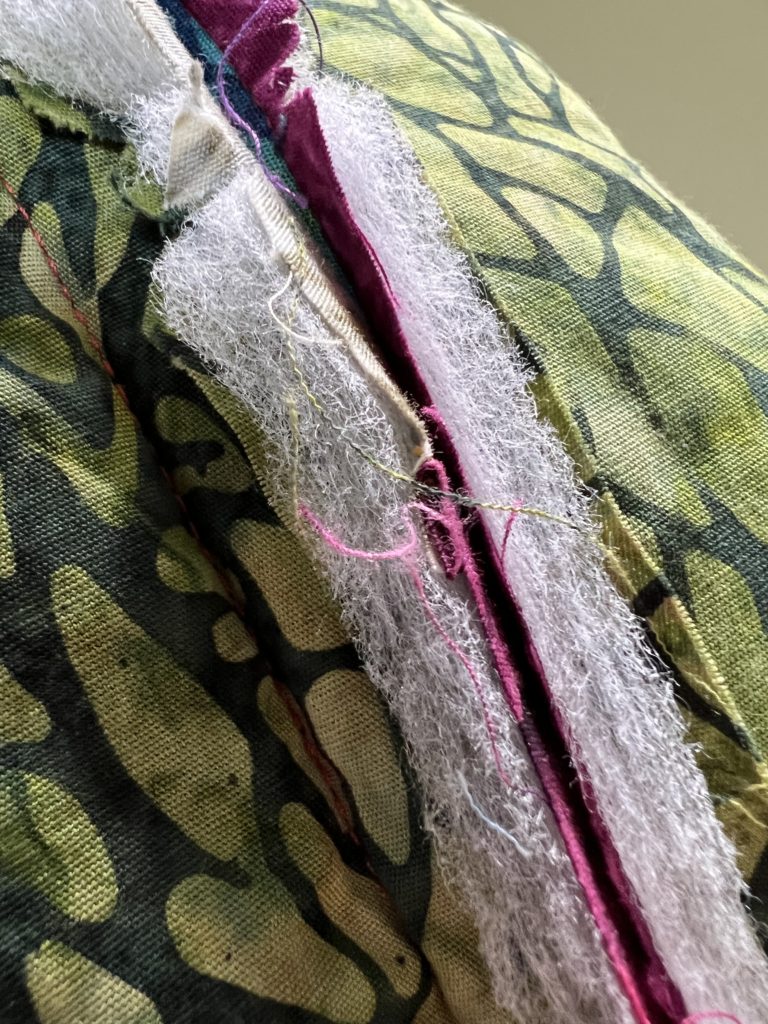
Because you are using quilted fabric, there is fair amount of thickness to it. I did not take that into account at all. Sewing through the thick seams was a chore, especially when I added binding around the edges and added the pockets. Take that into account when deciding on a pattern.

8 – Do a Muslin Pattern Sample First
One of the articles I skimmed, but should have read more thoroughly was from Suzy Quilts. Along with lots of other helpful information, she suggested making a muslin pattern sample. I really really really wish I had done that. It would have saved me a lot of frustration.
9 – Consider the Patterns/Designs on the Quilt and Fabric You Use
I was so pleased with my strip quilt and how it looked, that I did not even think about the fact that it was directional. That added an extra level of difficulty for me. If you aren’t skilled at making clothes, then you may want to stay away from directional patterns.
If the quilt you are using has patterns or blocks in it, such as stars, you may want to take that placement into consideration as well.
10 – It’s Not As Easy As You Think
I say this as someone who has major quilt coat envy. Going into this process I thought it wouldn’t be hard since I make quilts and I chose a beginner pattern. For me, it was a much more difficult process than I had anticipated.
I’m Kind Of Proud That I Finished
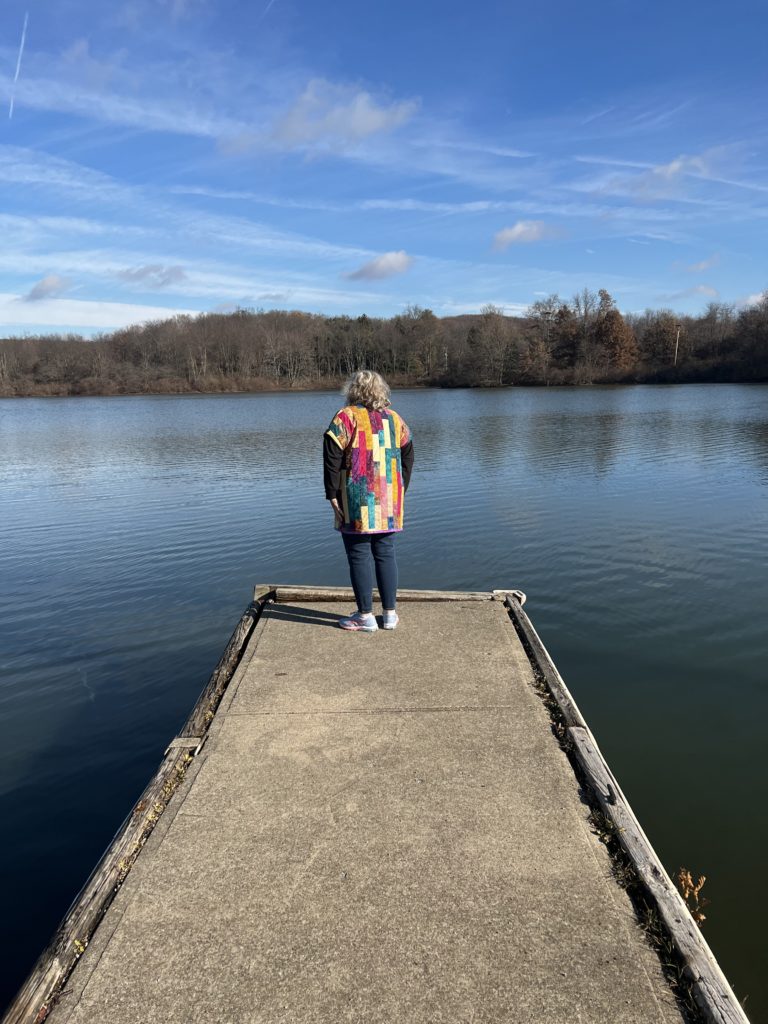
So there you have it, the 10 things I learned making my first quilt coat. When all is said and done….I kind of like my quilt vest. I probably won’t wear it, but it represents a learning experience for me. Sure, it isn’t what I set out to do and it was a difficult process, but I’m kind of proud of the fact that I finished it. That’s more than I can say for my other two attempts at sewing clothing.
That being said, if you want to give it a try, definitely go for it. If I can make an item of clothing that is wearable, then anyone can. Just do some research before you do.
Happy Quilting! – Claudia

16 Comments
Emily
December 15, 2021 at 5:33 PMThanks so much for sharing your experiences! I have seen the quilt coats and have been really tempted, but like you I don’t have any experience sewing clothes. I’m not sure you’ve talked me out of possibly maybe attempting my own, but you have convinced me to make a muslin first! (I have read enough to see that tip and thought that I really didn’t want to, I will learn from your regrets!) I think your vest is beautiful!!!!
createwithclaudia_7j76hs
December 16, 2021 at 6:30 AMDefinitely give it a try Emily. And yep, definitely make a tester first. Thanks for stopping by!
Jennifer Thomas
December 26, 2021 at 8:19 AMHello Claudia! I think your vest is lovely, and it sounds like you learned a lot along the way. I occasionally try to sew a garment, but it’s not my strong suit either! I’m usually disappointed. I’ve been tempted by the quilt coats as well. I’d try one if I had the time. Have a great day!
createwithclaudia_7j76hs
December 27, 2021 at 8:36 AMThanks Jennifer. Give a coat a try. I bet you’ll do better than I did. But it does take some time. Thanks for stopping by!
Vicki Spycher
January 20, 2022 at 11:07 AMAs a garment sewer for years I have just taken up quilting. I figured no problem but just like you I have found the learning curve steep. The first quilt was a bow tie with the knot part raised, from the internet and only by closely following instructions did it work. For garments I rarely use instructions. I applaud you for trying ! And well done !
createwithclaudia_7j76hs
January 21, 2022 at 6:55 AMThanks. It is always interesting to hear how people start out in their sewing and how tricky it can be to pivot to a different type of sewing.
Dianne
October 10, 2023 at 1:04 AMI am like you. I have sewen garments of every size, shaped form for many years. Although I don’t think I have ever followed instructions. Now I make quilts. Not sure I would call myself a quilter though. I would say I quilt using my rules.
I have had quilters watch what I am doing and say you can’t do it that way. I have come up with a number of projects that have turned out very nice, always unconventional. I have been thinking about doing coat. It would be a new challenge.
Peg
January 20, 2022 at 11:37 AMA little tip for that next one! If it is for knits use your cottons but go up a size or two learned that in Stretch and sew many years ago. And make the muslin from same type of fabrics as finished project. I have made covered sweatshirt jackets for over 20 years and always go up 2 sizes to take into account cutting apart and resewing. I think that will help when I make my quilt coat.
Have some fun and do it again
createwithclaudia_7j76hs
January 21, 2022 at 6:53 AMThanks for the tips. I definitely want to try it again, but I’m going to wait a bit.
Vicki
January 20, 2022 at 12:32 PMHint to a quilter, from a quilter that LOVES to make quilted jackets: utilize your binding to finish edges at end of sleeve, bottom( no hem) & around edges of front & neck line. The interior or lining is your quilted backing in reverse/ inside out. Another tip is to use a simple oversized pattern because your quilt will shrink in wash. In fact I plan on upturned sleeves because of shrinkage with wash.
createwithclaudia_7j76hs
January 21, 2022 at 6:52 AMThanks for the tips! I will have to try again one day and I’ll try to remember these!
Joy
January 20, 2022 at 8:12 PMGood for you for finishing! It’s beautiful 😍
createwithclaudia_7j76hs
January 21, 2022 at 6:55 AMAw..thanks so much. I really appreciate that!
Anne Whitney
January 23, 2022 at 9:50 AMNext time use a lining fabric for the inside of the coat and pockets. Use the quilt as you go technique to sandwich the three layers. Measure a winter coat that you own and compare the measurements against the pattern.The slippery lining will make it easier to put on and off. That being said,I made one and ended up turning it into a couple of tote bags. It made me look like sponge Bob.lol
createwithclaudia_7j76hs
January 24, 2022 at 6:29 AMLOL! That’s what I thought about this vest. Thanks for the tips and for stopping by!
Michele T
January 29, 2024 at 4:21 PMWe are very similar… I’ve been wanting to make a quilt jacket too, but I have no serious experience sewing clothing! So I thought that I could cheat by using a sweatshirt that’s too big for me. Still searching Pinterest and the internet for instructions! lol I’m also trying to decide on the quilt design for the jacket. Anyway, your tips are helpful and if the darn thing doesn’t turn out, it’ll be a housecoat!