
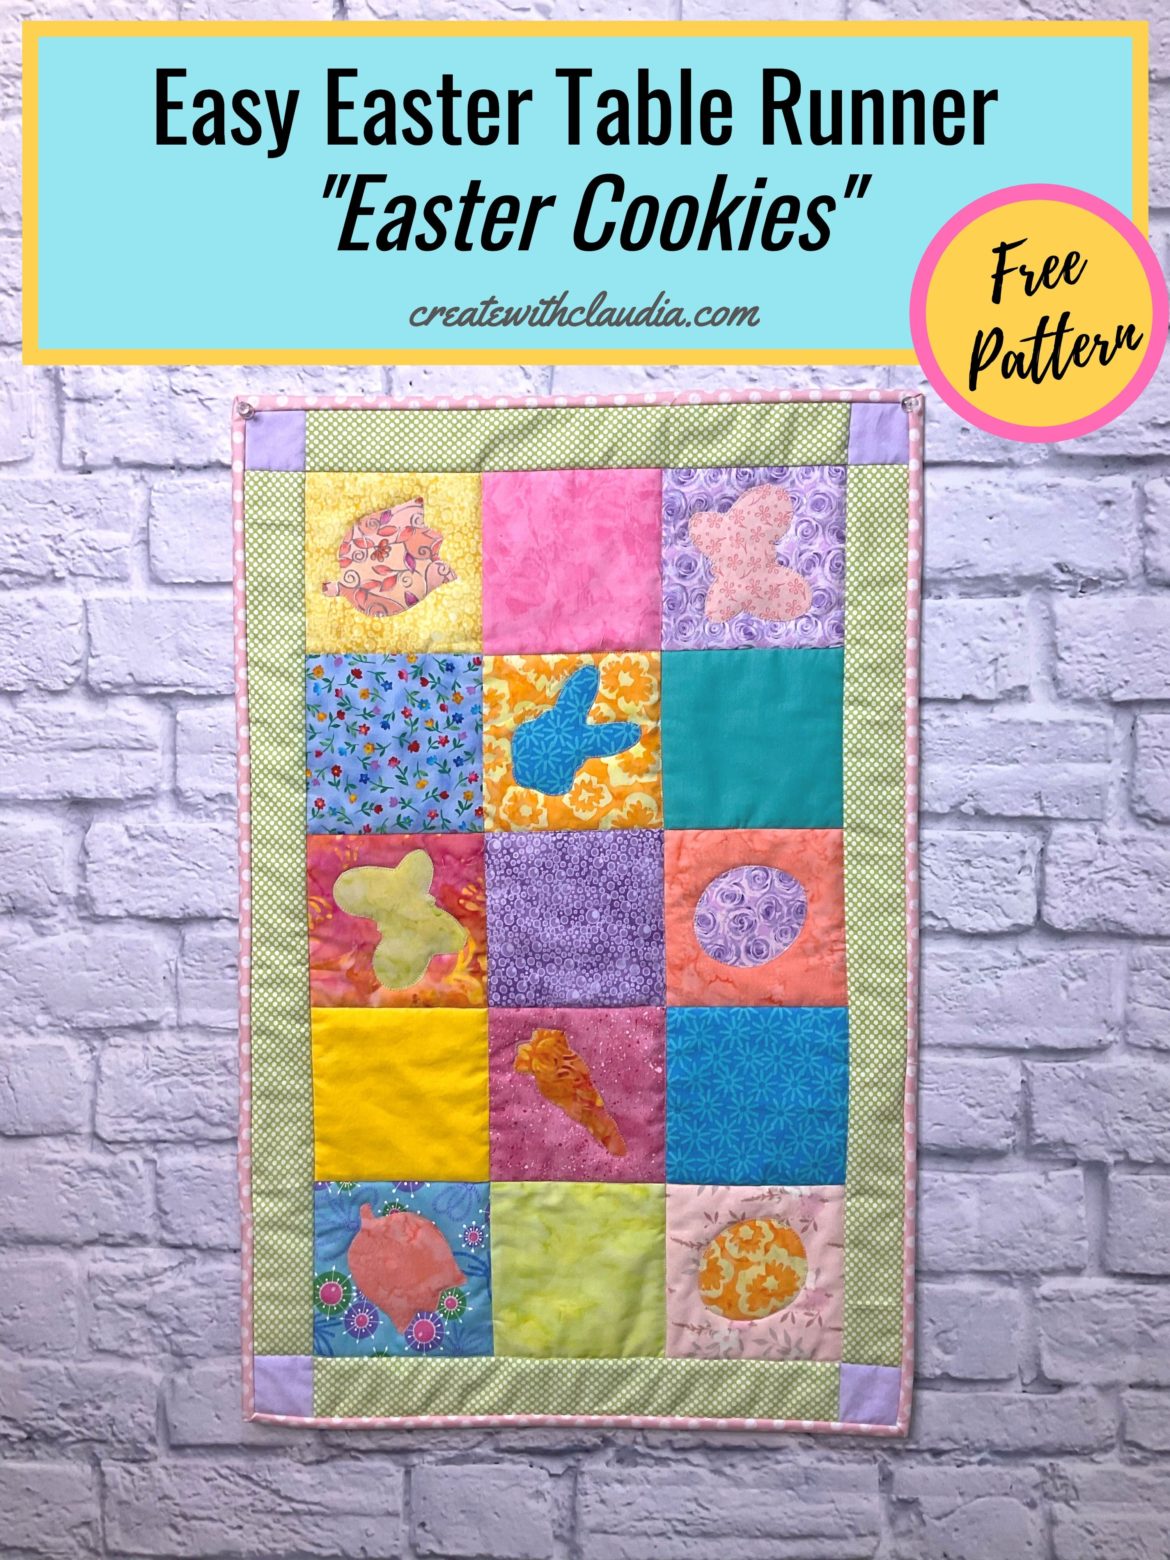
Easy Easter Table Runner Pattern
Table runners are always a fun project. For the most part, they are easier patterns, they don’t use up a lot of fabric, and don’t take up too much time. They are also an ideal project for the holidays. I think most of us like to change up our décor around the various seasons, and one of the easiest ways to do that is with a table runner. So go get your fabric scraps and let’s make this easy Easter table runner pattern I call “Easter Cookies”.
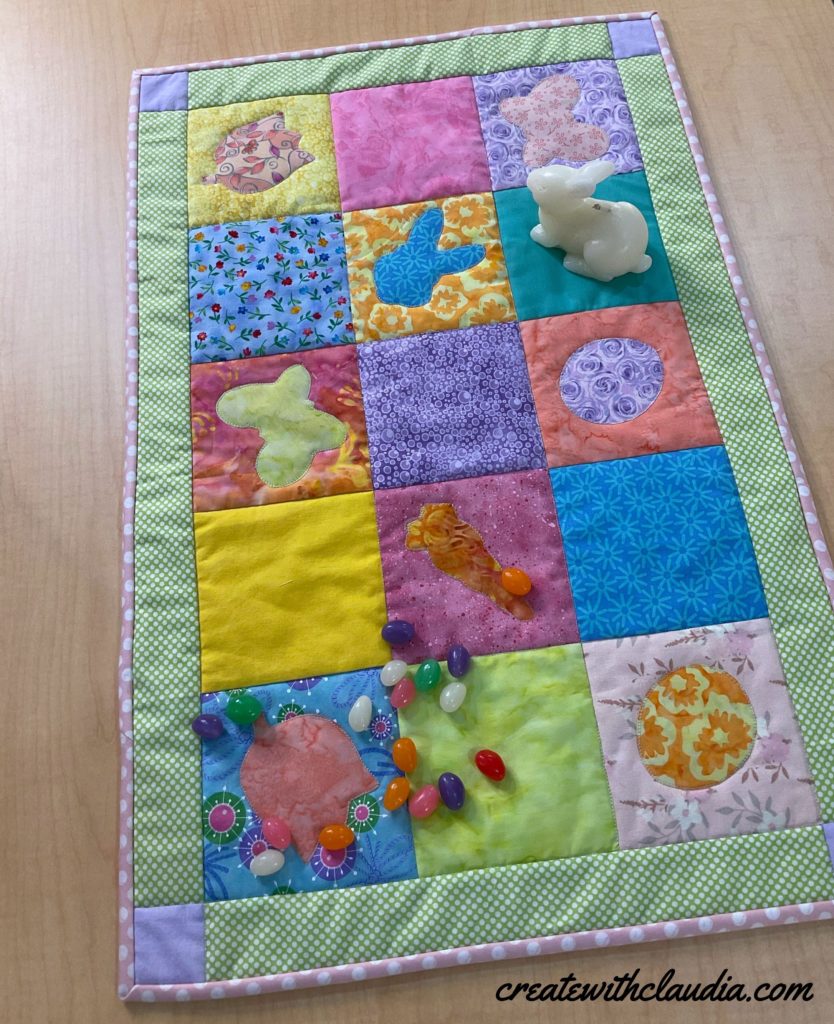
My favorite part about this pattern are all of the appliqué shapes. They are made with cookie cutters, hence the pattern name. If you have seen some of my other patterns, I like to use cookies cutters for various templates. Most people have them in their kitchen, and they are available in some terrific shapes.
Another perk about the pattern, which will probably appeal to a lot of folks, it’s charm square friendly. So if you don’t have a lot of scraps, but love buying all of those pretty charm square packs at your favorite quilt store, then this is a good pattern for you.
Working Our Scraps Off – Episode 1
I am excited to announce that this project is the very first in my new YouTube series I’m calling “Working Our Scraps Off.” This will be a monthly project where I will do a video and a corresponding tutorial. It will be a little different than my other tutorial videos in that I will be showing more of the sewing process and eventually I plan to make it a livestream.
A Little Bit About the Series
A couple of years ago I wrote an article on the best way to organize scraps. That was great for me then, but I have gotten so busy that I just don’t have the time to cut them all before I store them. Now I just shove all of my scraps into boxes by color. Those bins are now overflowing and I decided it was finally time to do something about it.
Make sure to join my Working Our Scraps Off facebook group so you can get sneak peeks at upcoming projects and see versions that other people are making.
I hope you will join me every month for a fun new project.
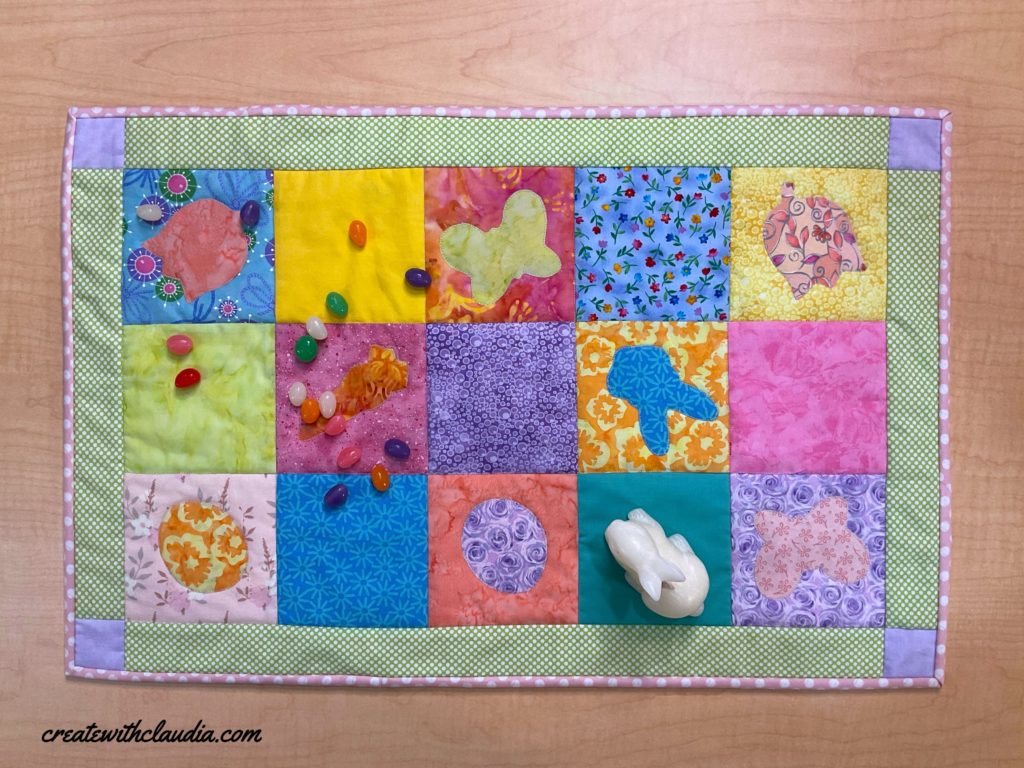
“Easter Cookies” Easy Easter Table Runner Pattern
Pattern Specs
- Finished runner measures about 17″ x 26″
- Quarter inch seam allowance used throughout
- Please read all instructions carefully before beginning
Supplies Needed
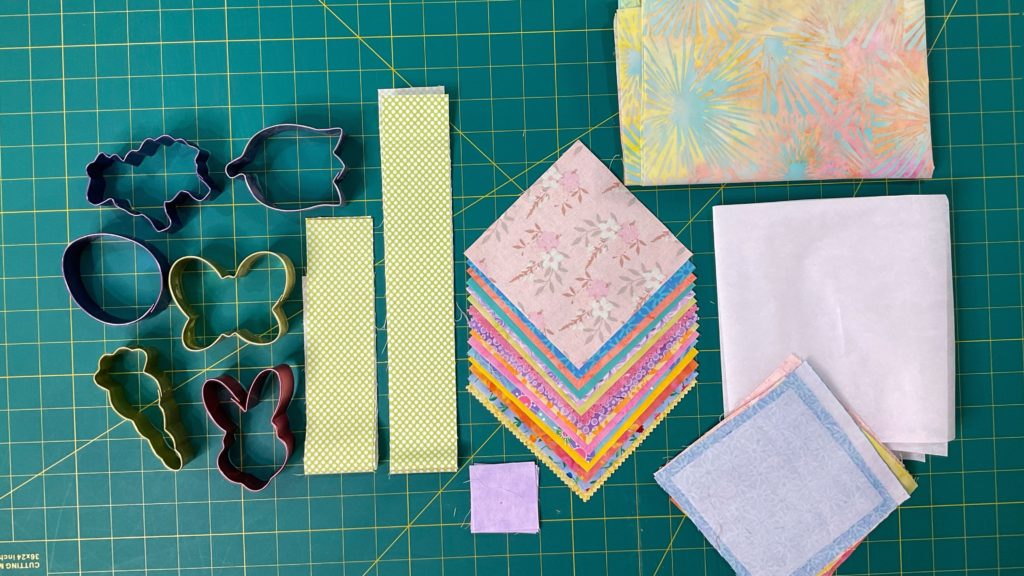
- Various pastel or spring fabrics (scraps or charm squares and some longer pieces for the border)
- Fabric for the back and binding
- Batting
- Quilter’s Cutting Mat
- Quilters Ruler
- Rotary Cutter
- Paper backed Fusible Webbing
- Easter shaped Cookie Cutters that are 4″ or smaller
- Marking Tool
You can find many of the items that I used to make this project in my Amazon Store.
As an Amazon Associate I earn from qualifying purchases.
Cutting Instructions
- 15 squares cut 5″ from various spring colors – For the center section of the runner
- 8 pieces of fabric large enough for your cookie cutter templates – For the appliqué shapes
- 4 squares cut 2″ for the corner squares in the border
- 2 strips cut 2″ x 23″
- 2 strips cut 2″ x 14″
- 1 piece of backing fabric, about 22″ x 31″
- 1 piece of batting, about 22″ x 31″
Assembly
Step 1 – Make the Appliqué Shapes
For this part you will need the pieces of fabric you chose for the appliqué shapes as well as the paper backed fusible web.
Tip: Choose cookie cutters that don’t have a lot of curves and angles. These will be easier to trace and cut out. Not only that, but if you are planning on doing machine appliqué around the edges, it is harder to do that around ones that have a lot of turns and jagged edges.
Cut out a piece that fits inside one of the pieces of fabric. Following the manufacturer’s guidelines on the fusible web you are using, adhere it to the BACK (wrong) side of the piece of fabric. Careful, if using an iron, it gets really hot!
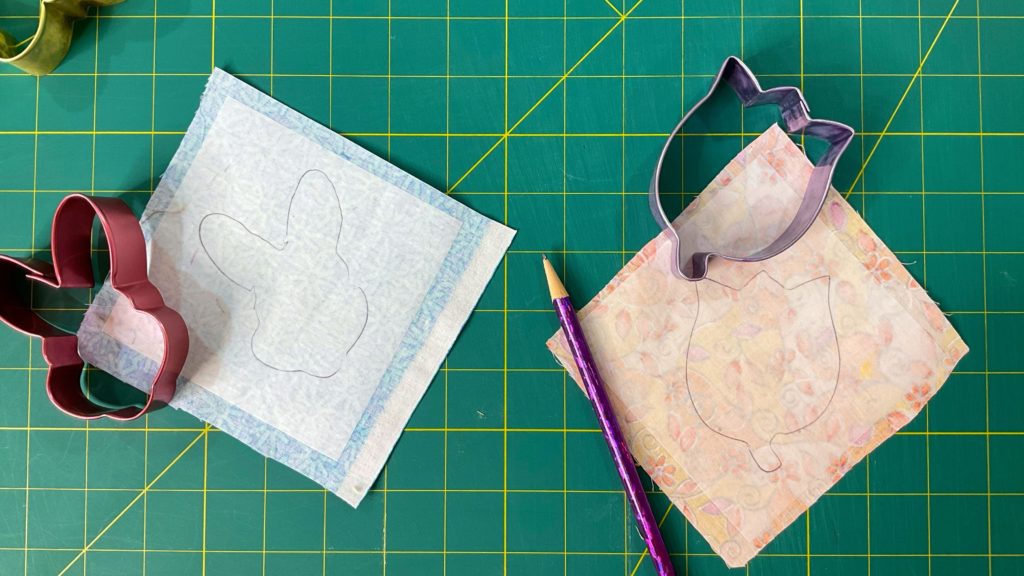
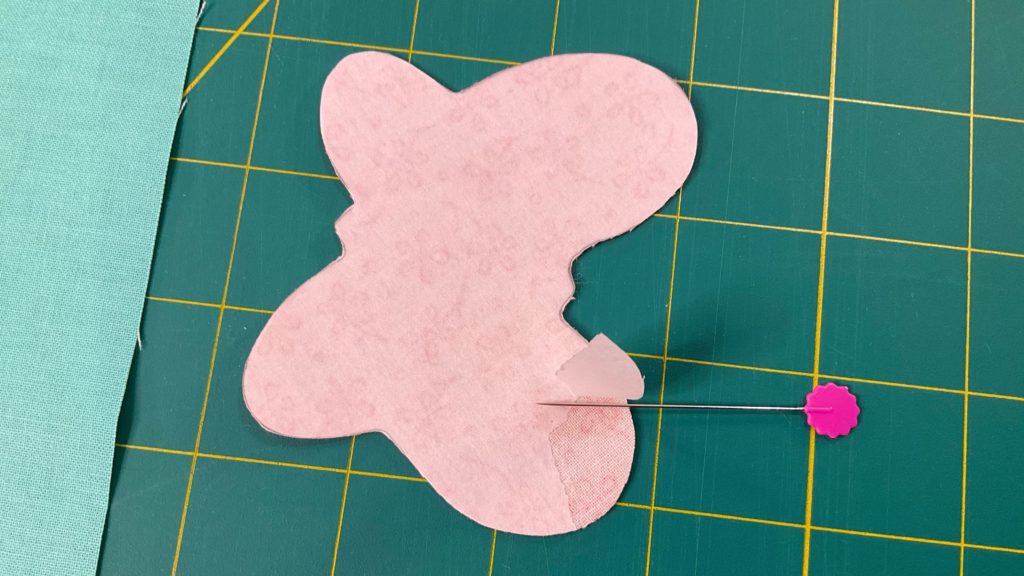
Once completely cooled, take one of the cookie cutters and trace around the shape onto the the paper backed fusible web. Cut out the shape. Do not remove the paper backing yet.
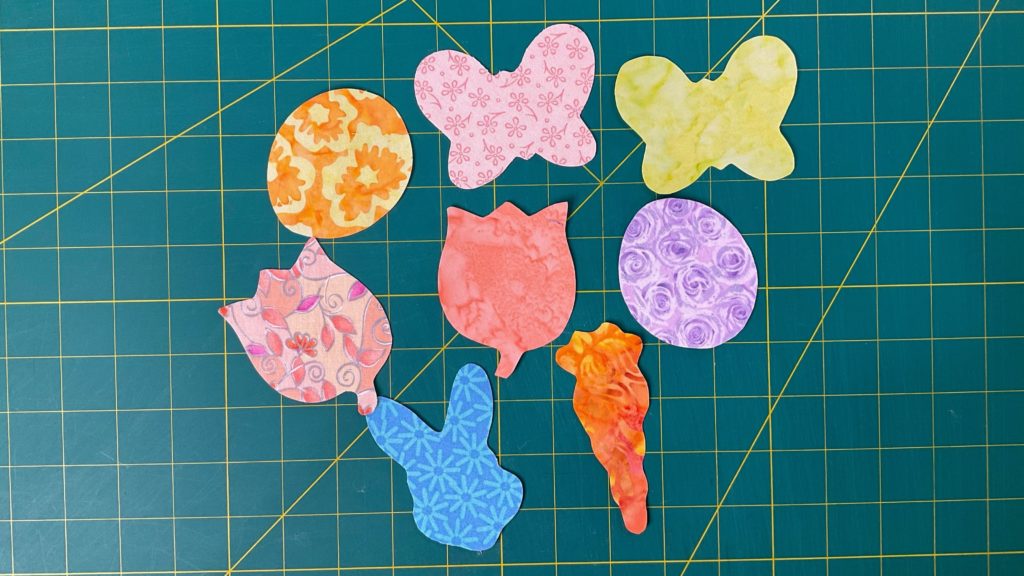
Repeat until you have eight appliqué shapes.
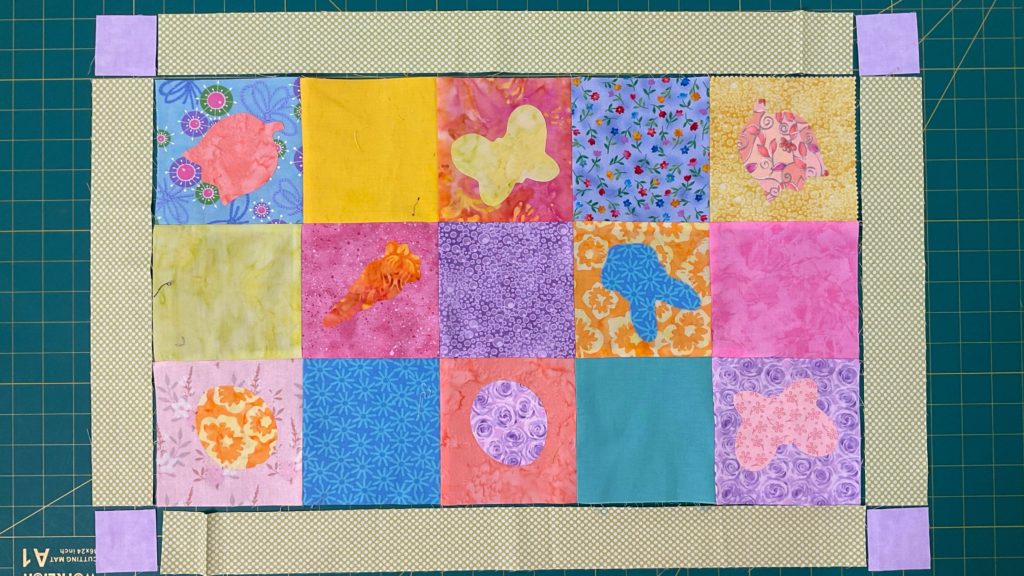
Step 2 – Make the Center
For this part you will need the fifteen charm squares.
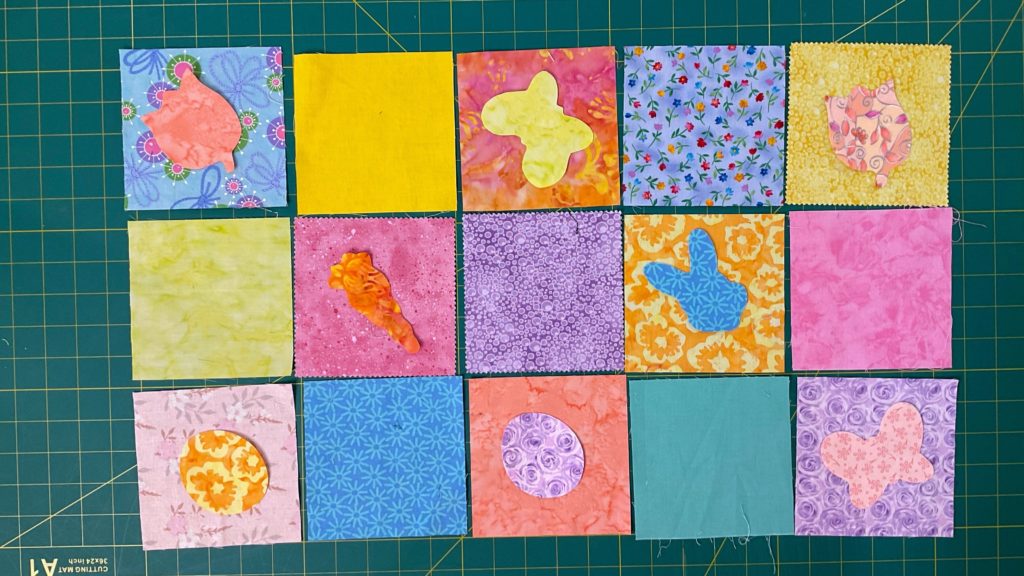
Lay out the squares in a 3 columns by 5 rows. Once you are happy with the lay out, decide which appliqué shape you want to go on which square.
One at a time, remove the paper backing and, following manufacturer’s guidelines, adhere the shape to the center of the FRONT of the square. Let it cool completely and then place it back in the order where you want it.
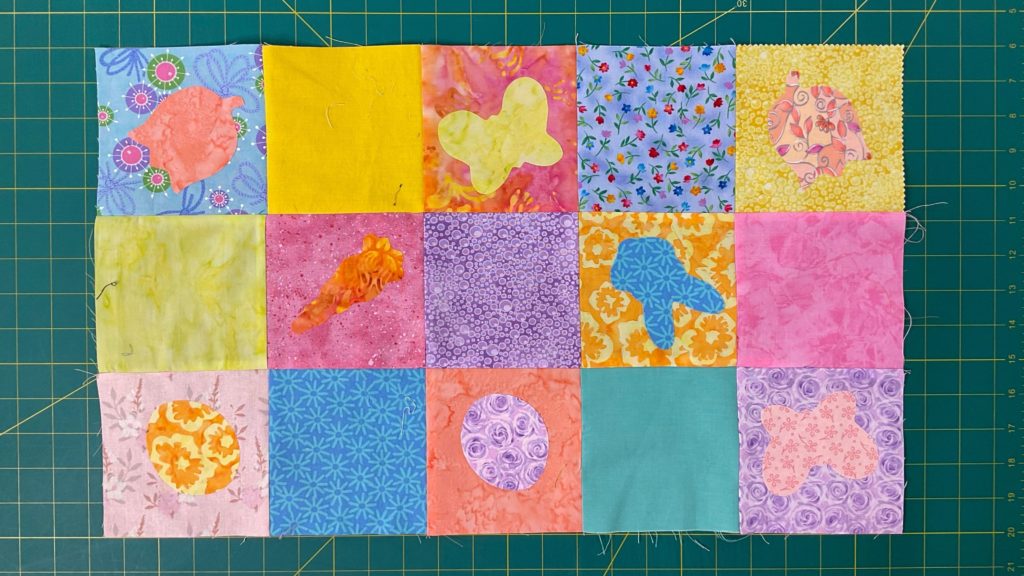
Once all of the shapes have been added, sew together the charm squares, making sure to keep them in order.
Step 3 – Add the Border
First, add one of the 2″ squares to each end of one of the shorter border strips. Repeat with the other shorter strip.
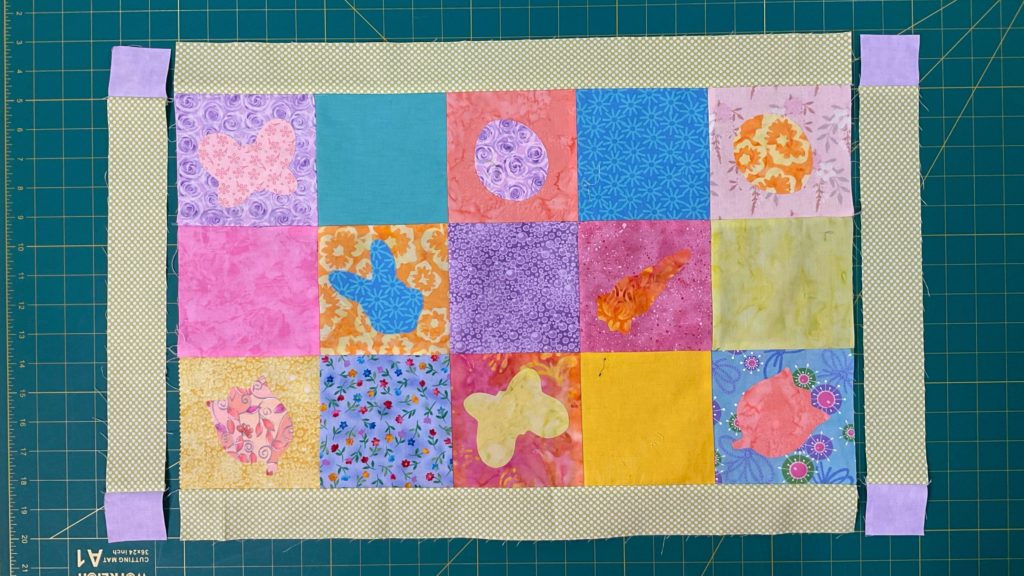
Then add a long border strip to one of the long sides of the center. Repeat on the opposite side. Press.
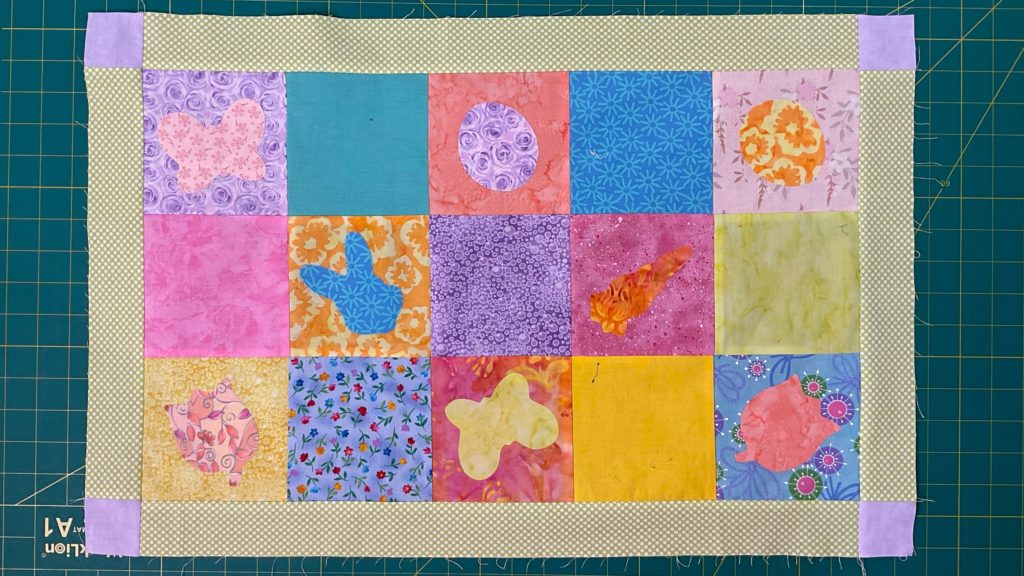
Add one of the shorter strips that has the squares on it to one of the shorter sides. Repeat with the opposite side. Press.
Quilting options
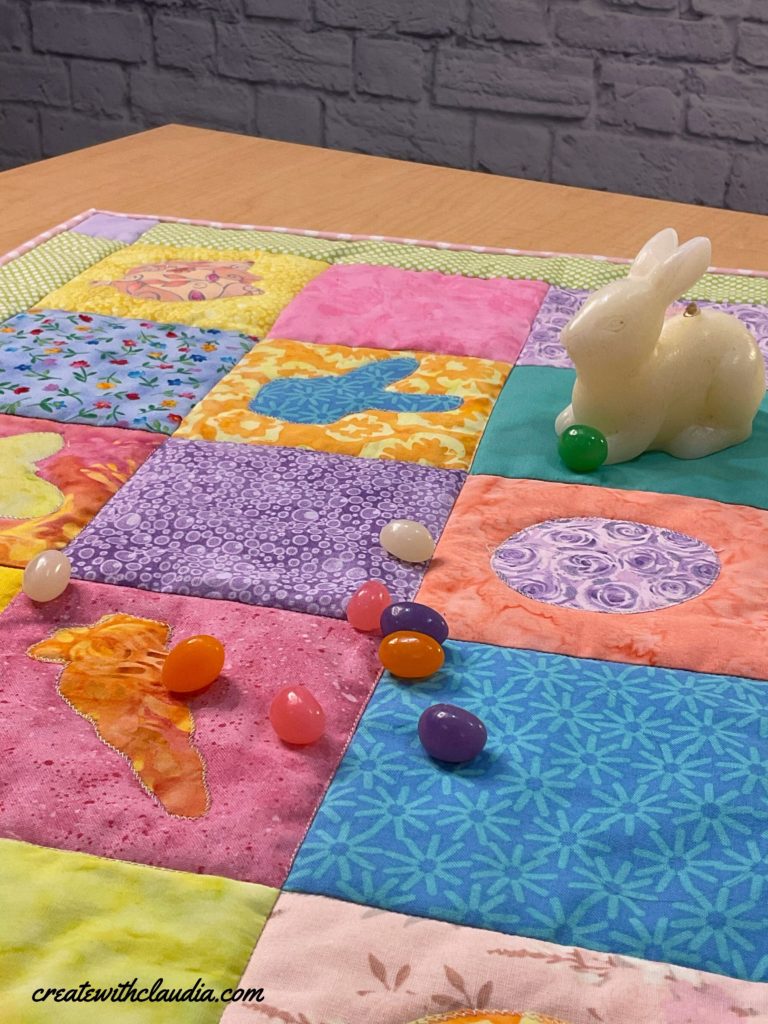
I did easy quilting in the ditch on this runner. It was fast and easy. I also took it a step further and did a decorative stitch around each of the appliqué shapes. It is not necessary, but I like the added quilting and the look of it. I also think that it adds a bit of security to the shapes in case the edges start to fray.
Step 4 – Finish the Easy Easter Table Runner Pattern
- Place your backing fabric on a long surface, with wrong side facing up.
- Lay your batting on top of the backing.
- Lay your table runner top on top with the right side facing up.
- Baste the layers together using your preferred basting method.
- Quilt as desired.
- Bind using your preferred method.
Other Fun Makes
- If you love decorating for Easter as much as I do then check out my other fun and festive projects.
- Don’t miss my other free table runner patterns. You’ll find one for practically any occasion.
Happy Quilting!
Claudia
