
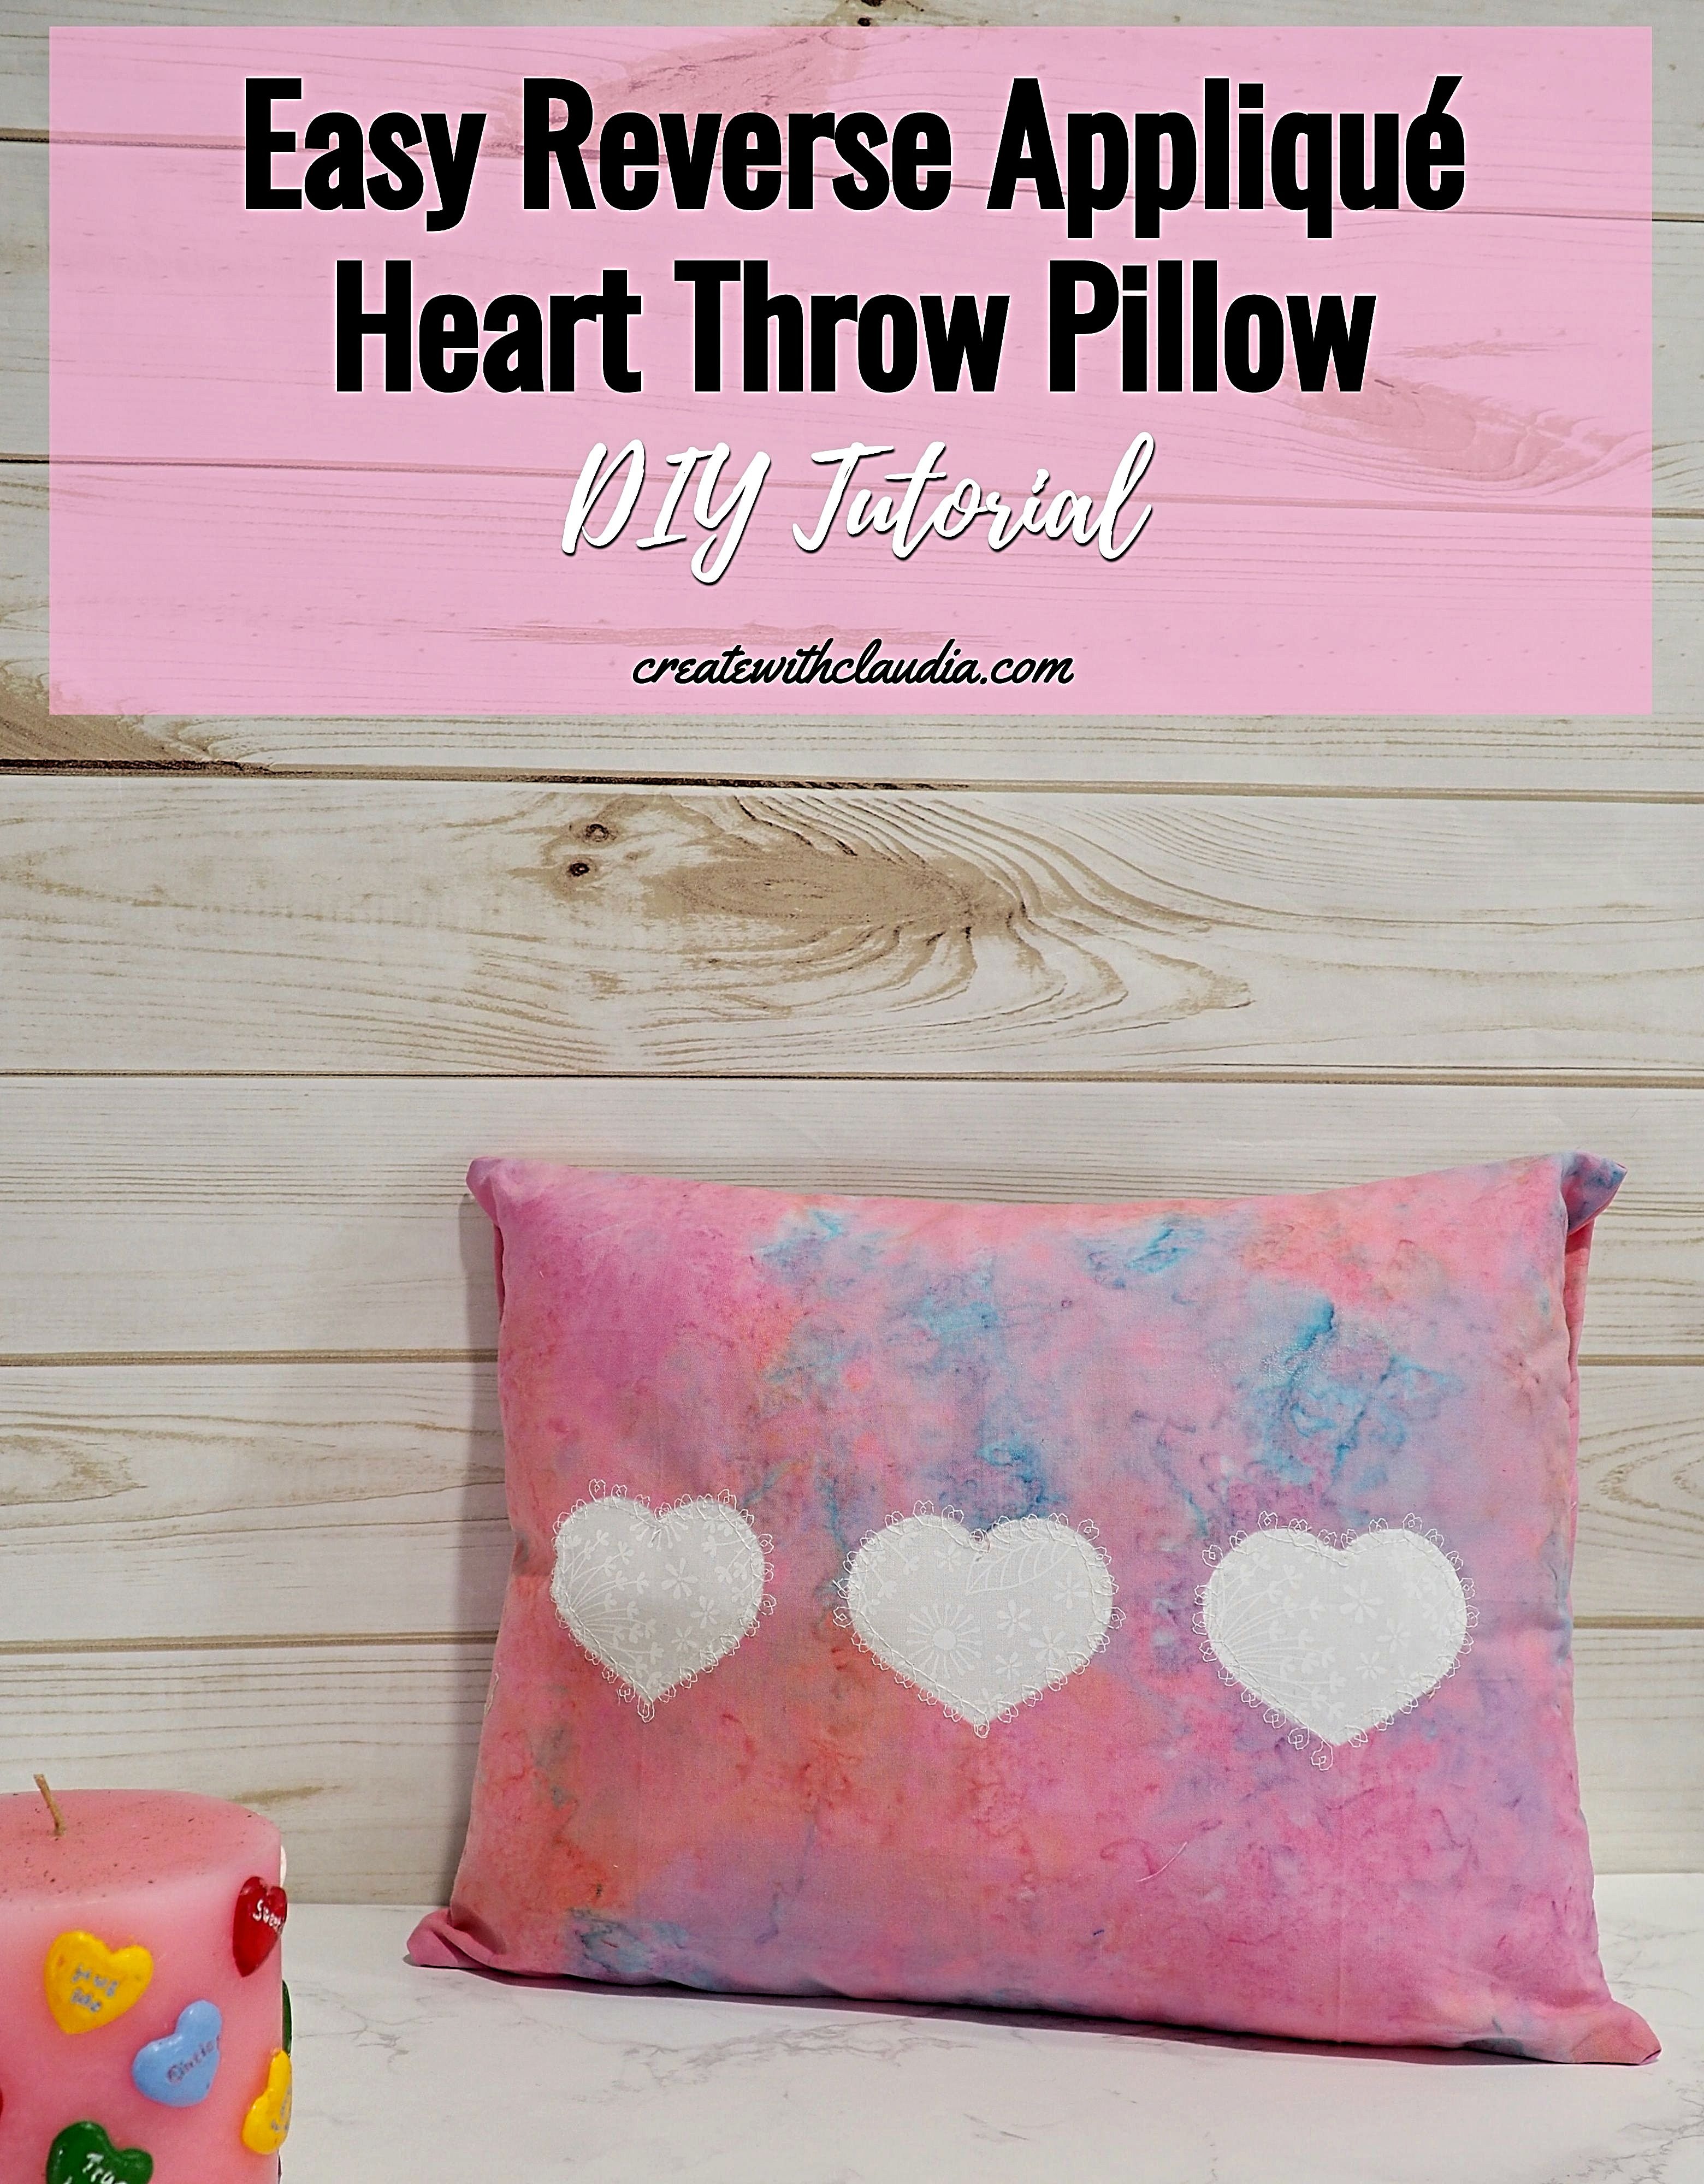
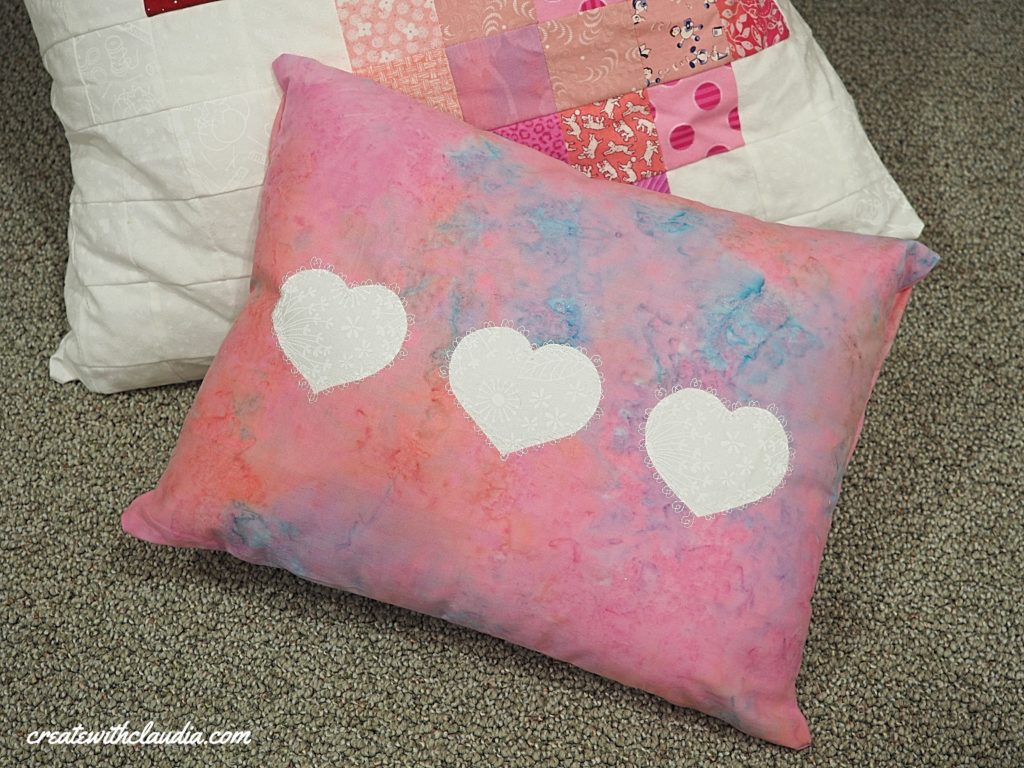
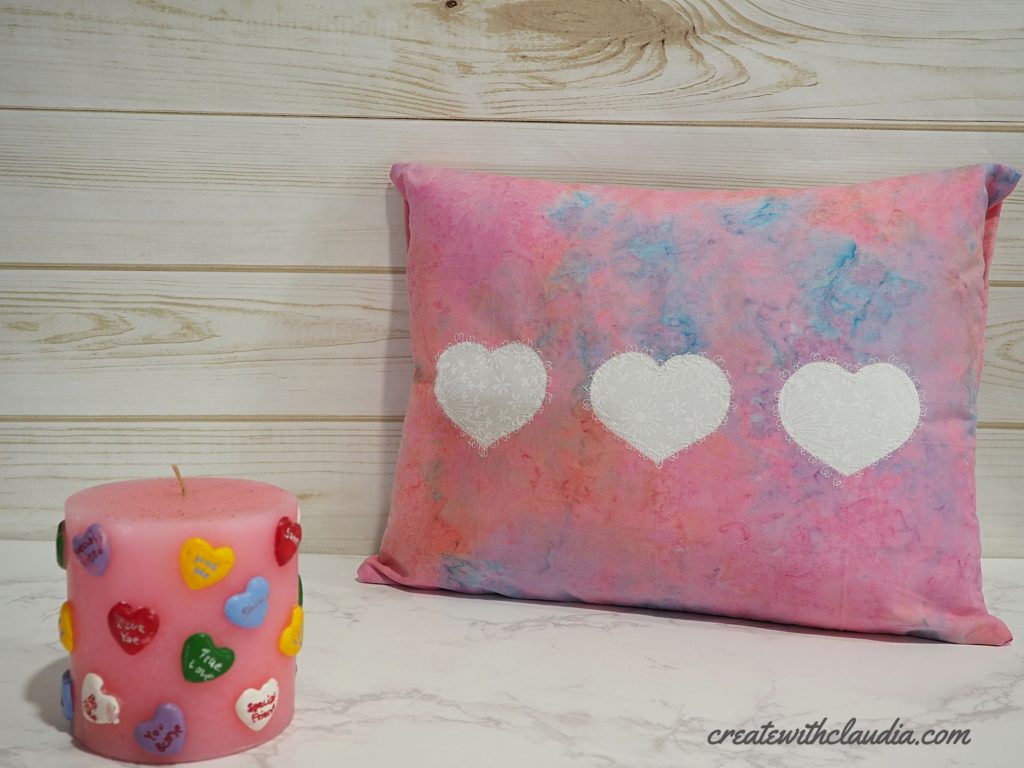
Reverse Appliqué Heart Throw Pillow
Throw pillows are one of those decorative household items that can change the look of a room in an instant. They are also incredibly easy to make. I like to buy one pillow form and change the pillow case to fit any occasion. It saves money and it’s fun to come up with different designs. This reverse appliqué heart throw pillow is my latest idea and it is perfect for Valentine’s Day.
With an envelope style case, this throw pillow is easy to make and, as you’ll see, it can be personalized in so many ways. I have a hunch I’ll be making these for lots of other occasions.
One of the nice things about this pillow case is that it can be adjusted to fit any pillow form, so if you have already have one you want to use, then this will work. You’ll find a reference chart with sizes needed.
You do need a few supplies, but they can be found in most craft stores.
So if you want to make your sweetheart something unique that they will have for a long time, make one of these throw pillows. It will be a hit!
What You’ll Need

- One Pillow Form ( 16″ x 12″)
- Fabric for the Pillow – 1 piece cut 16″ x 12″ (for the front) and 2 pieces cut 16″ x 11″
- Fabric for the Hearts – 1 or more pieces that are large enough to cover the heart shape
- Freezer paper
- Fusible webbing
- Heart shaped template – Mine measured approximately 3″ x 3″
Fabric Sizes Needed for Various Pillow Forms
If you want to make this pillow, but want to use a different size pillow form, here is what you will need for fabric.
| Pillow Form Size | Cut Front Fabric Piece (1) | Cut Back Fabric Pieces (2) |
| 16 x 16 | 16 x 16 | 16 x 12 |
| 18 x 18 | 18 x 18 | 18 x 13 |
| 20 x 20 | 20 x 20 | 20 x 14 |
| 24 x 24 | 24 x 24 | 24 x 16 |
| 12 x 20 | 12 x 20 | 20 x 9 |
Items That May Help You With This Project
You can find many of the items that I used to make this project in my Amazon Store.
As an Amazon Associate I earn from qualifying purchases.
Trace the Template
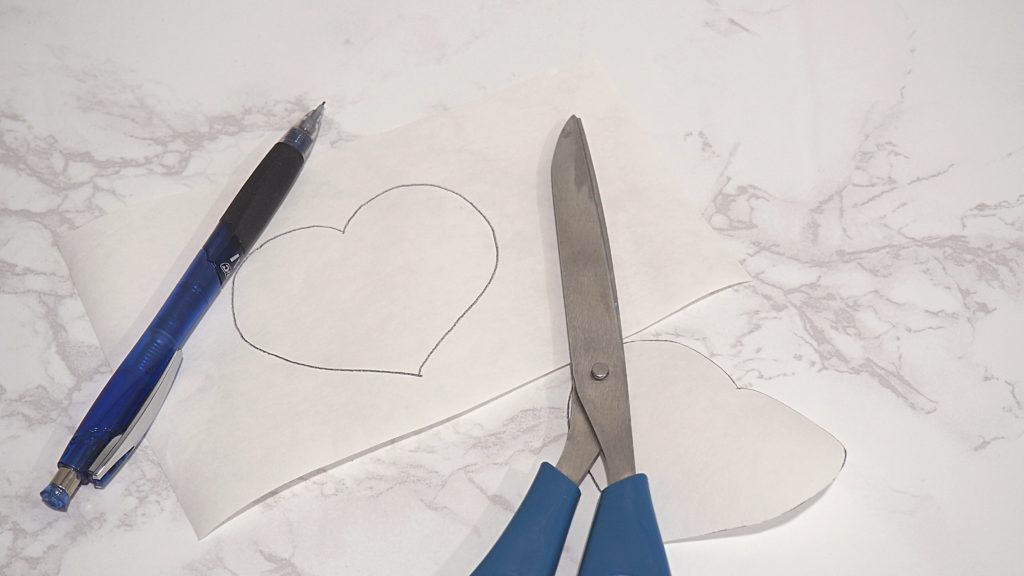
Using your favorite heart shaped template and the freezer paper, trace around the heart. Trace on the paper side of the freezer paper.
Cut out the heart shape and set aside.
Preparing the Back of the Pillow
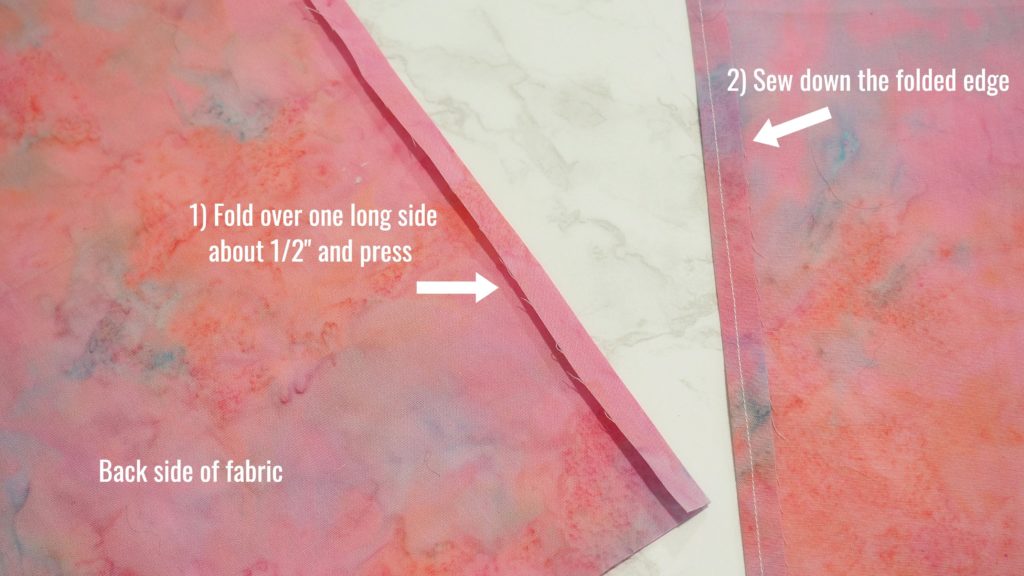
Use the two pieces of fabric that are 16″ x 11″ to make the back of the pillow.
First, take one of the pieces of fabric and fold over one of the long sides about 1/2″ to the back of the fabric. Press.
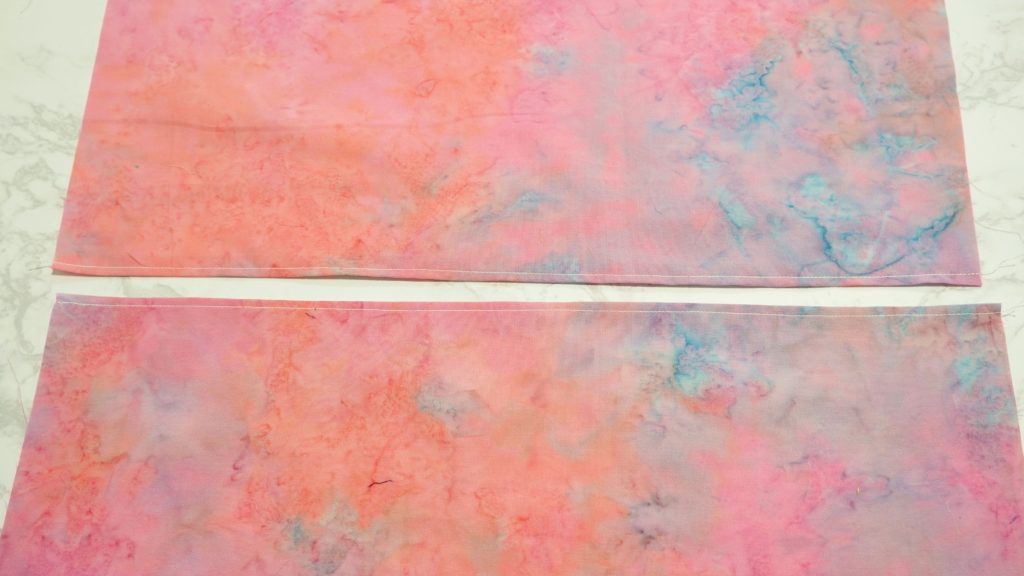
Second, sew along the fold. Repeat with the second piece of fabric. Set them aside.
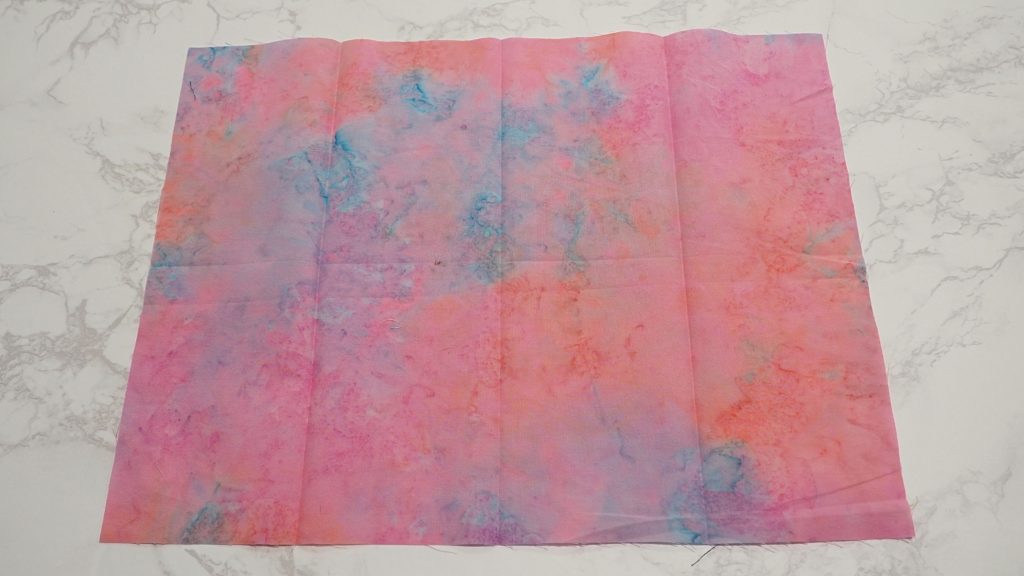
Preparing the Front
Here comes the fun part of making this reverse appliqué heart throw pillow, the front!
First you will need to center the hearts on the larger ( 16″ x 12″) piece of fabric. To do this you will need to fold the fabric a few ways to get the centering guidelines.
First
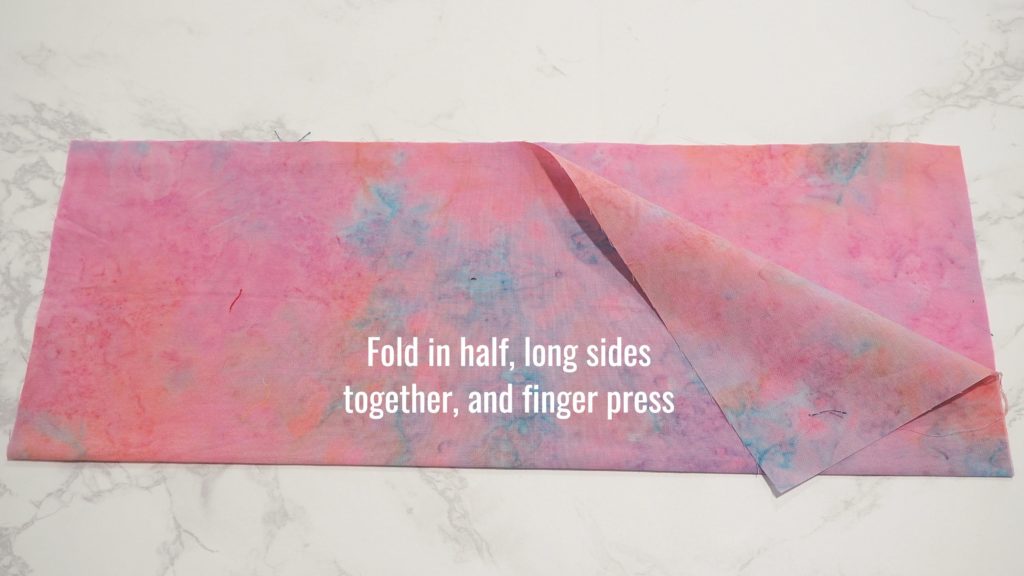
First you need to get the center of the long side of the fabric. To do this, fold it in half, and finger press. Open it up and you should see your fold line.
Second
Now you need to find the center of the short side.
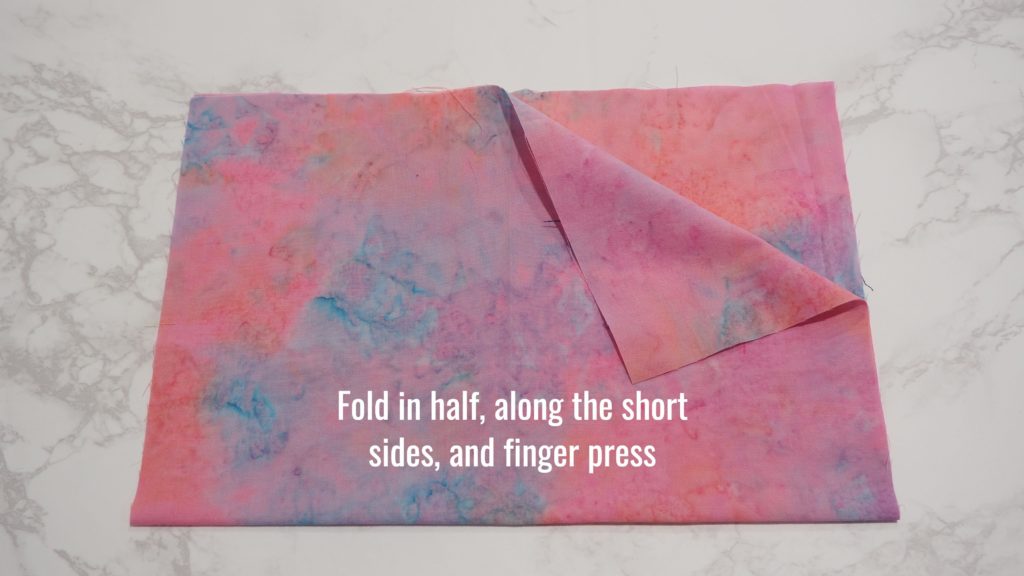
Fold the fabric in half along the short side and finger press. Then open up the fabric. You should see both of your fold lines.
Third
Lastly, you need to make two more fold lines for the heart placement.
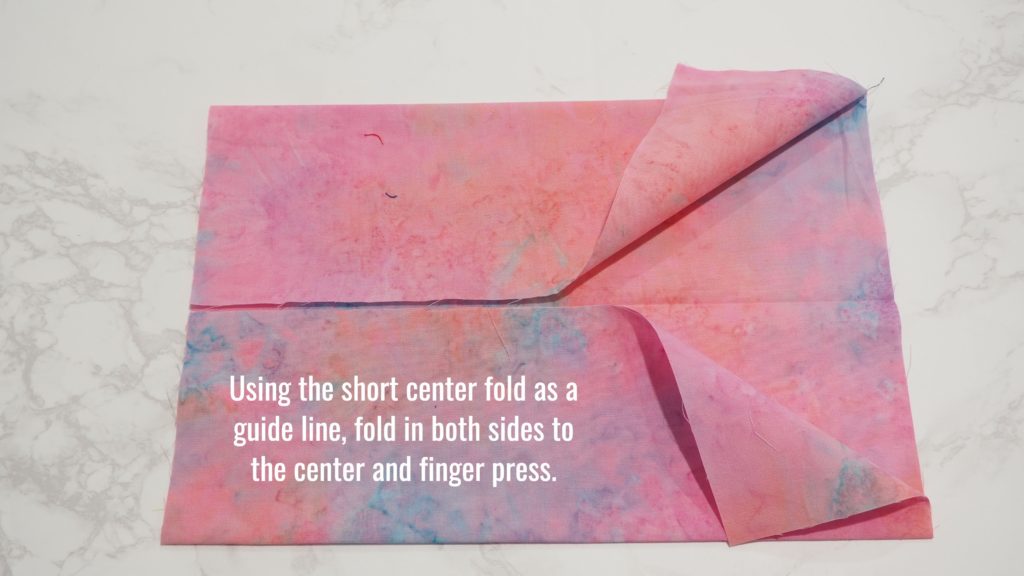
Using the short center guide line as your marker, fold in one side of the fabric to that center line and finger press. Repeat on the other side.
Unfold and the fabric should look like this.
Add the Hearts
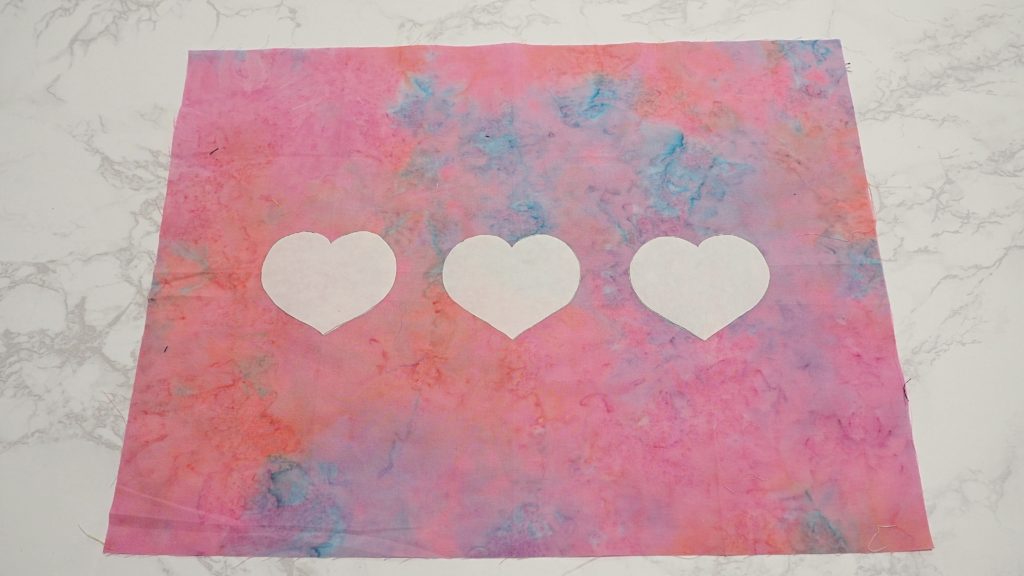
For this step you will need the freezer paper hearts you cut out earlier.
With the shiny side of the paper facing the fabric and using the folds as your guide lines, place the hearts where you want them to go.
Once you are happy with the placement, press them onto the fabric following the freezer paper manufacturer’s guidelines.
Add the Fusible Webbing
Cut out a piece of fusible webbing that will be large enough to cover the are of the three hearts.
Flip over the fabric so that the freezer paper hearts side is facing down.
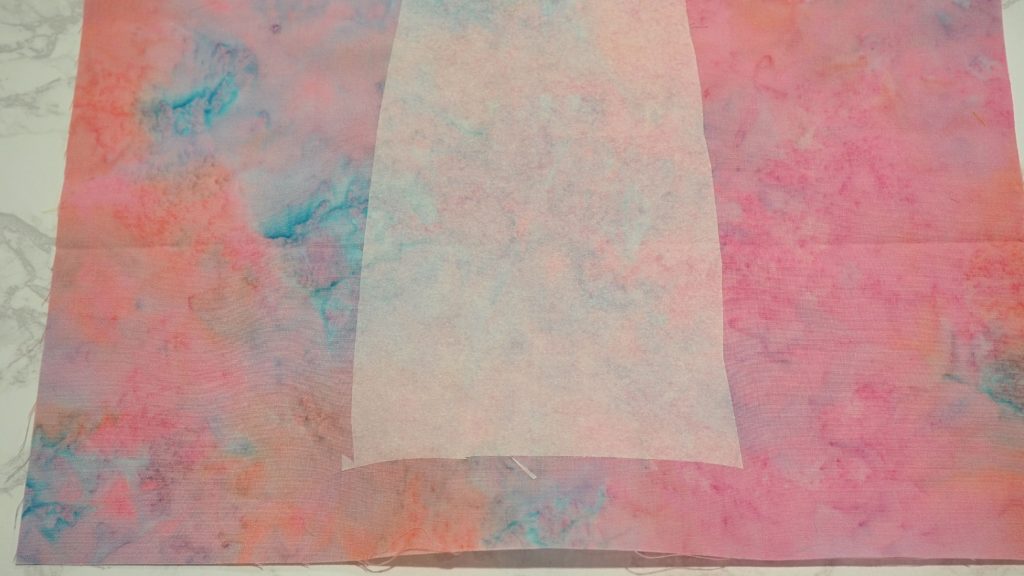
Carefully place the fusible webbing with the adhesive side against the fabric. Make sure that the webbing covers the area where the hearts will be, and that there is some overlap on the edges so that the appliqué fabric will adhere.
It may take a little time to center the fusible webbing because you won’t be able to see the front where the freezer paper hearts are.
Iron on the webbing following the manufacturer’s directions.
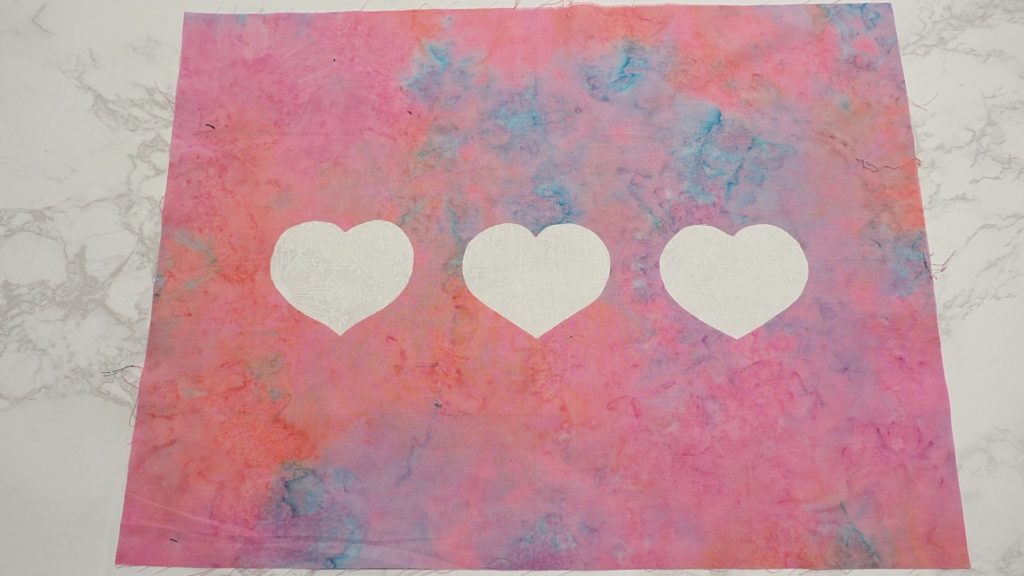
Cut Out the Hearts

Using smaller scissors, carefully cut out the hearts through all layers, using the freezer paper template as your guide.
You end up with 3 heart shaped holes in the fabric.
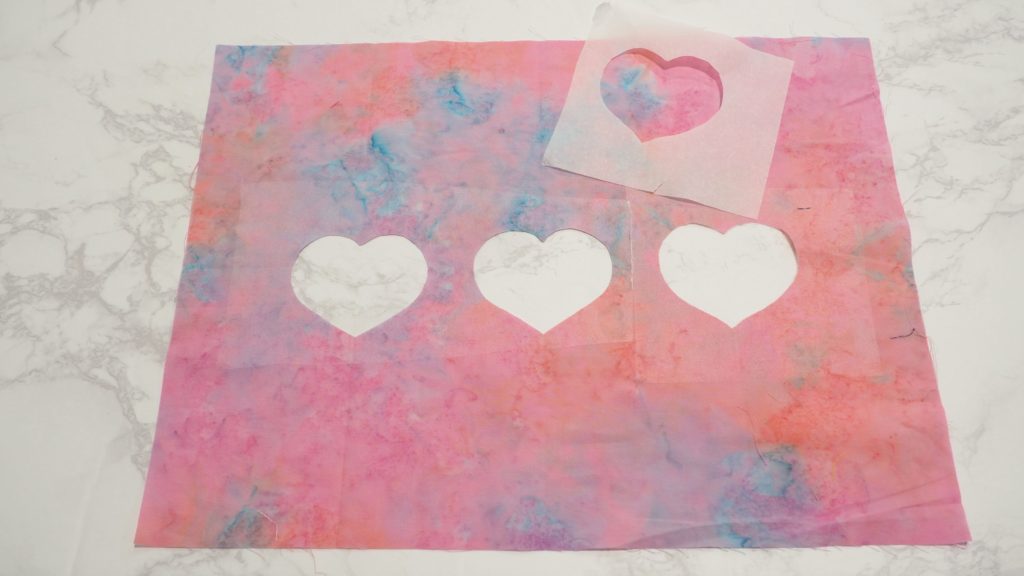
Remove the paper backing of the fusible webbing. There should be the adhesive on the back of the fabric. It is a bit hard to see it in the photo, but it’s there.
Add the Appliqué Fabric
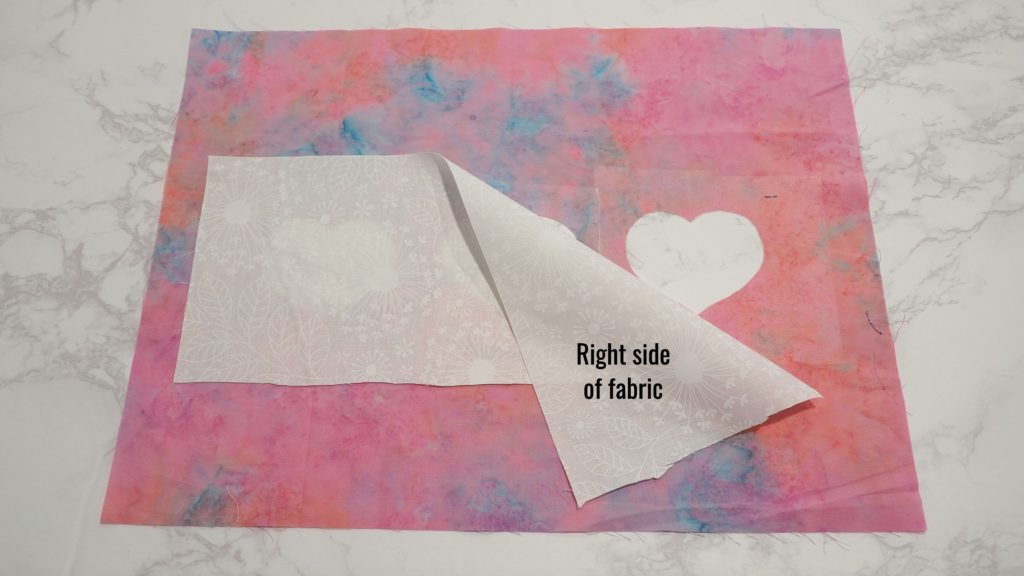
Make sure that your appliqué fabric (in my case the white fabric) covers all of the adhesive that is on the back side of the pillow fabric. That way you don’t get any adhesive on your iron or ironing board.
The right side of the appliqué fabric should be facing the wrong side of pillow fabric (in my case the pink fabric)
Once in place, follow the manufacturer’s directions and iron on the appliqué fabric.
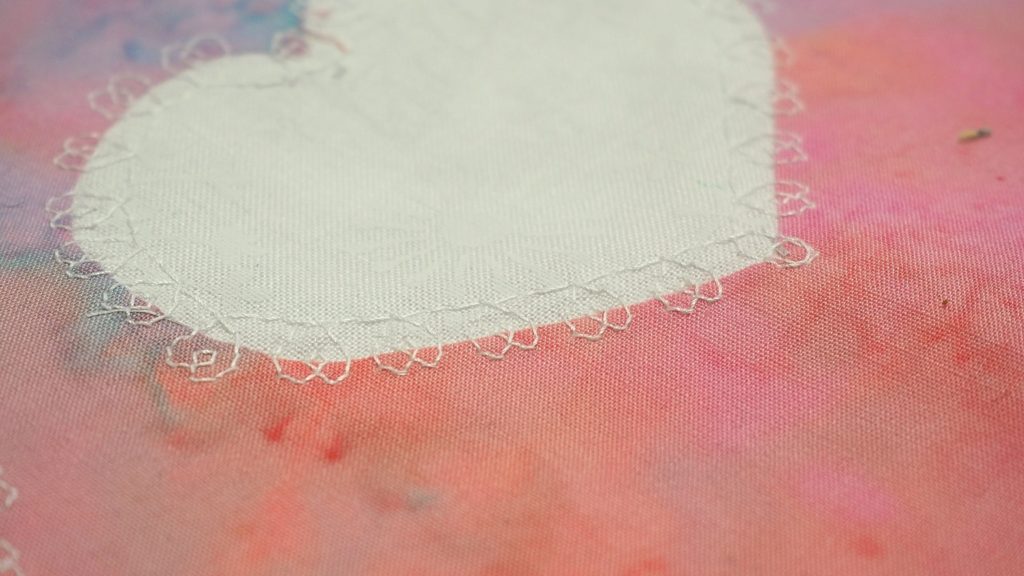
Add A Decorative Stitch
If desired, you can add a decorative stitch around the heart shapes. Not only does it add a nice touch to the pillow, it helps secure the appliqué fabric.
I think it would adorable in a contrasting color too.
Assembling the Reverse Appliqué Heart Throw Pillow Case
You will need the front and back pieces of fabric to assemble the pillow case.
First, lay the front of the pillow case down, right side facing up. Then, line up one of the back pieces on top with the right side facing down. The edge that was finished earlier should be towards the center of the pillow, not along the edge.
Pin along the top.
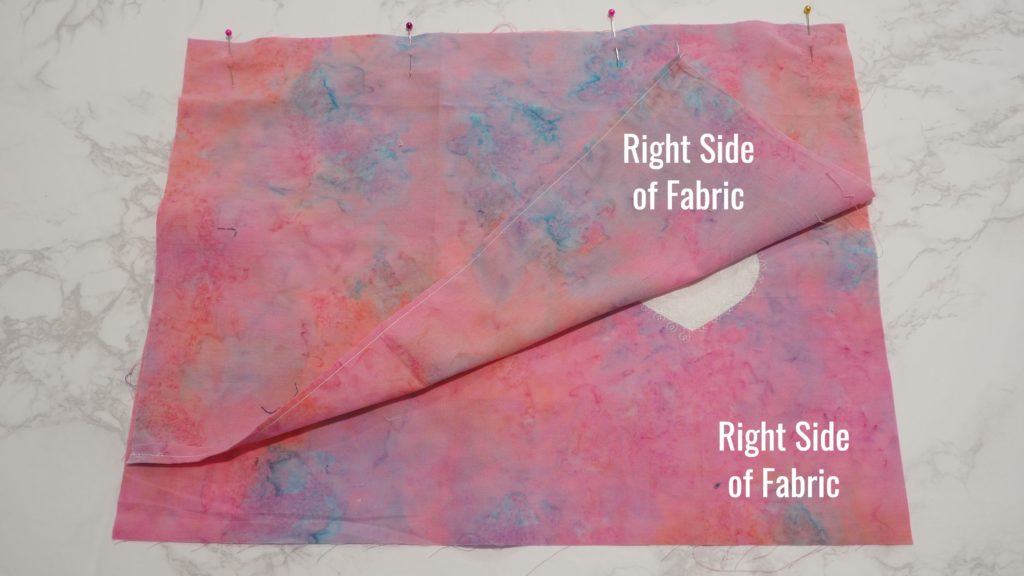
Next, line up the second piece of backing fabric, so that the raw edge is along the bottom of the top piece. The folded edge will be towards the center of the pillow.
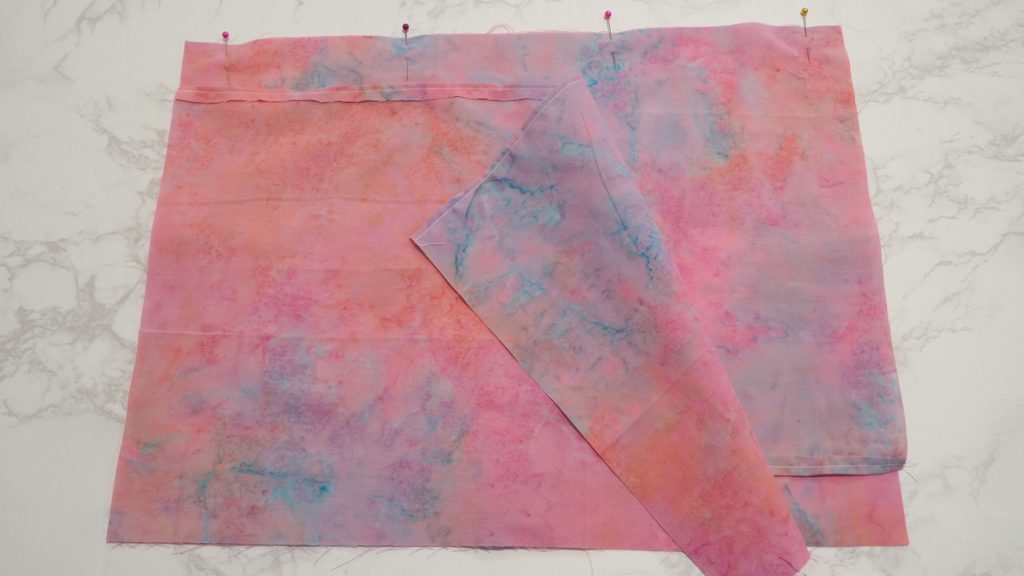
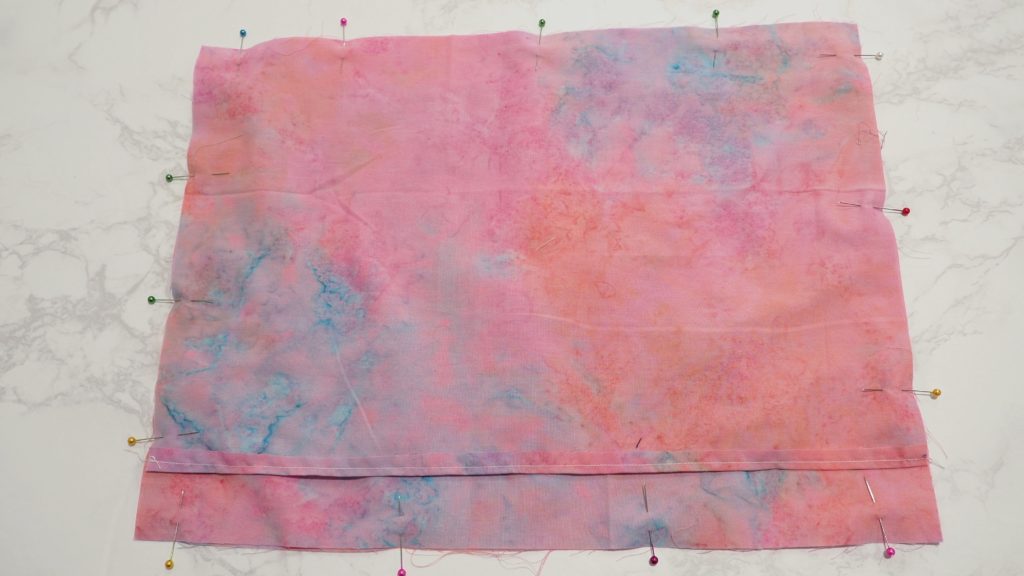
Pin around the outside on all four sides and sew around all four sides.
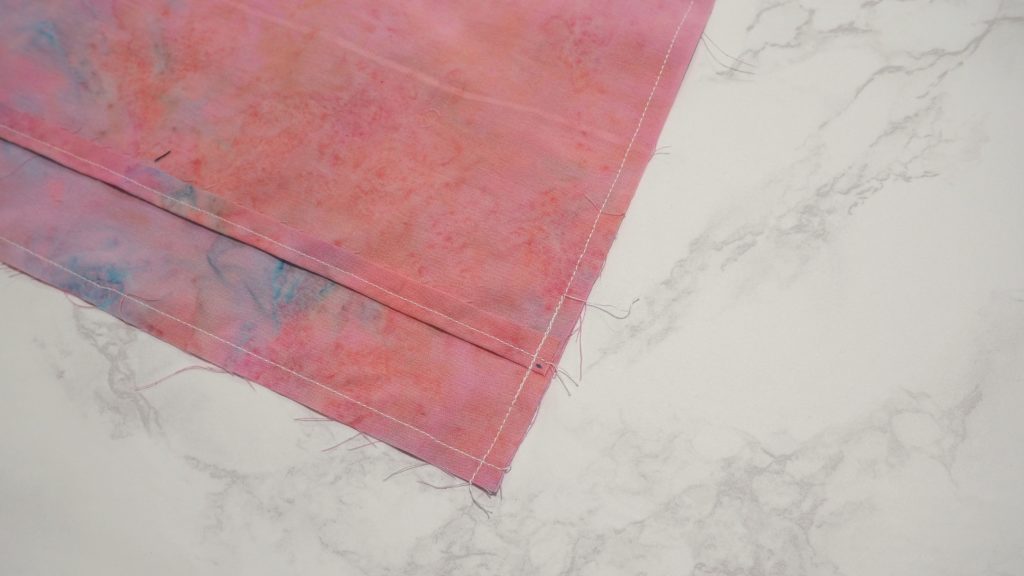
Flip inside out and then put it on the pillow form. Total disclosure here, this part was tough. It is a tight pillow case so you get that nice smooth finish, but it makes it hard to get it on the form.
All you need is a little patience and some fiddling around with it to get it to look great!
Finished Reverse Appliqué Heart Throw Pillow
If you like this heart throw pillow, you might like my pixelated heart throw pillow pattern too. It’s a great one for using up all of your scraps.
