
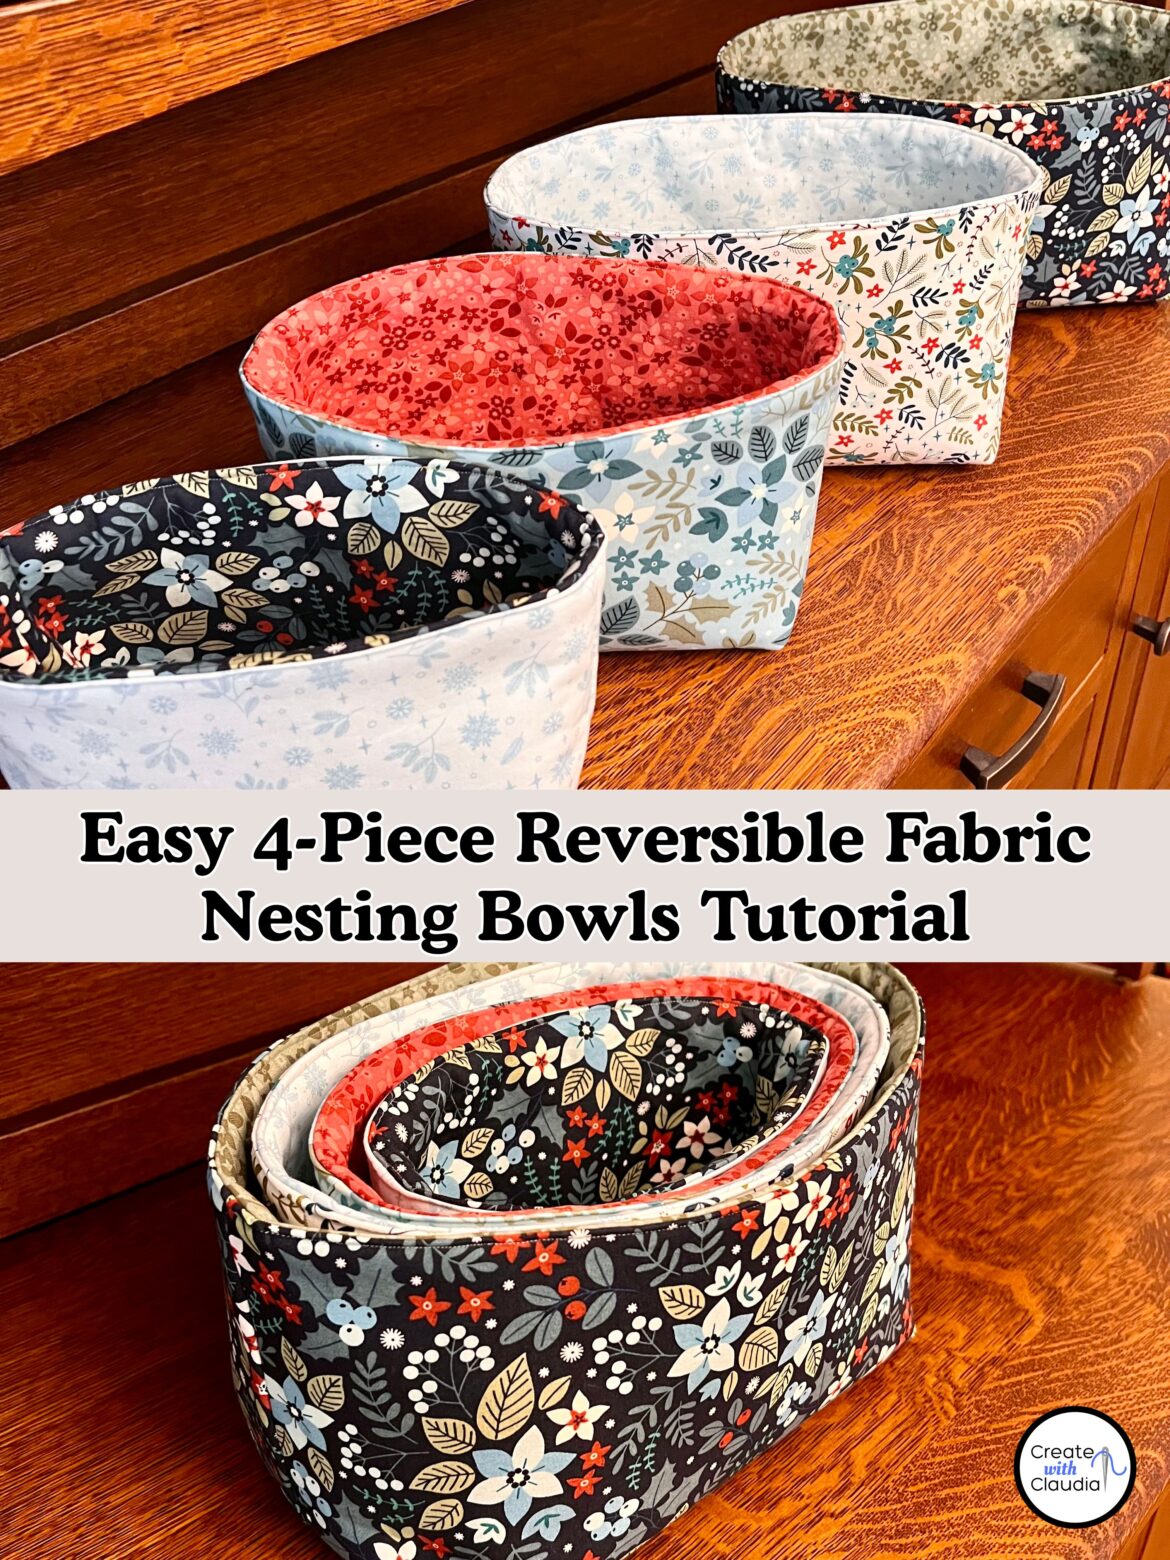
How to Make a 4 Piece Reversible Nesting Fabric Basket Set
I am excited to share this tutorial with you. The idea for these baskets came to me while I was deciding on what to do for a Christmas in July project. One part of my 2026 Benartex Brand Ambassador program was to come up with a holiday project that would be good for gift giving. I got to choose the fabric line and come up with what I wanted to make. It did not take me long to decide on this set of baskets and I love the way they turned out. Join me to learn how to make a 4 piece reversible nesting fabric basket set in four different sizes.
Disclosure: Some of the items provided in this post were generously provided by Benartex Fabrics.
Watch Me Make the Baskets
Supplies Needed
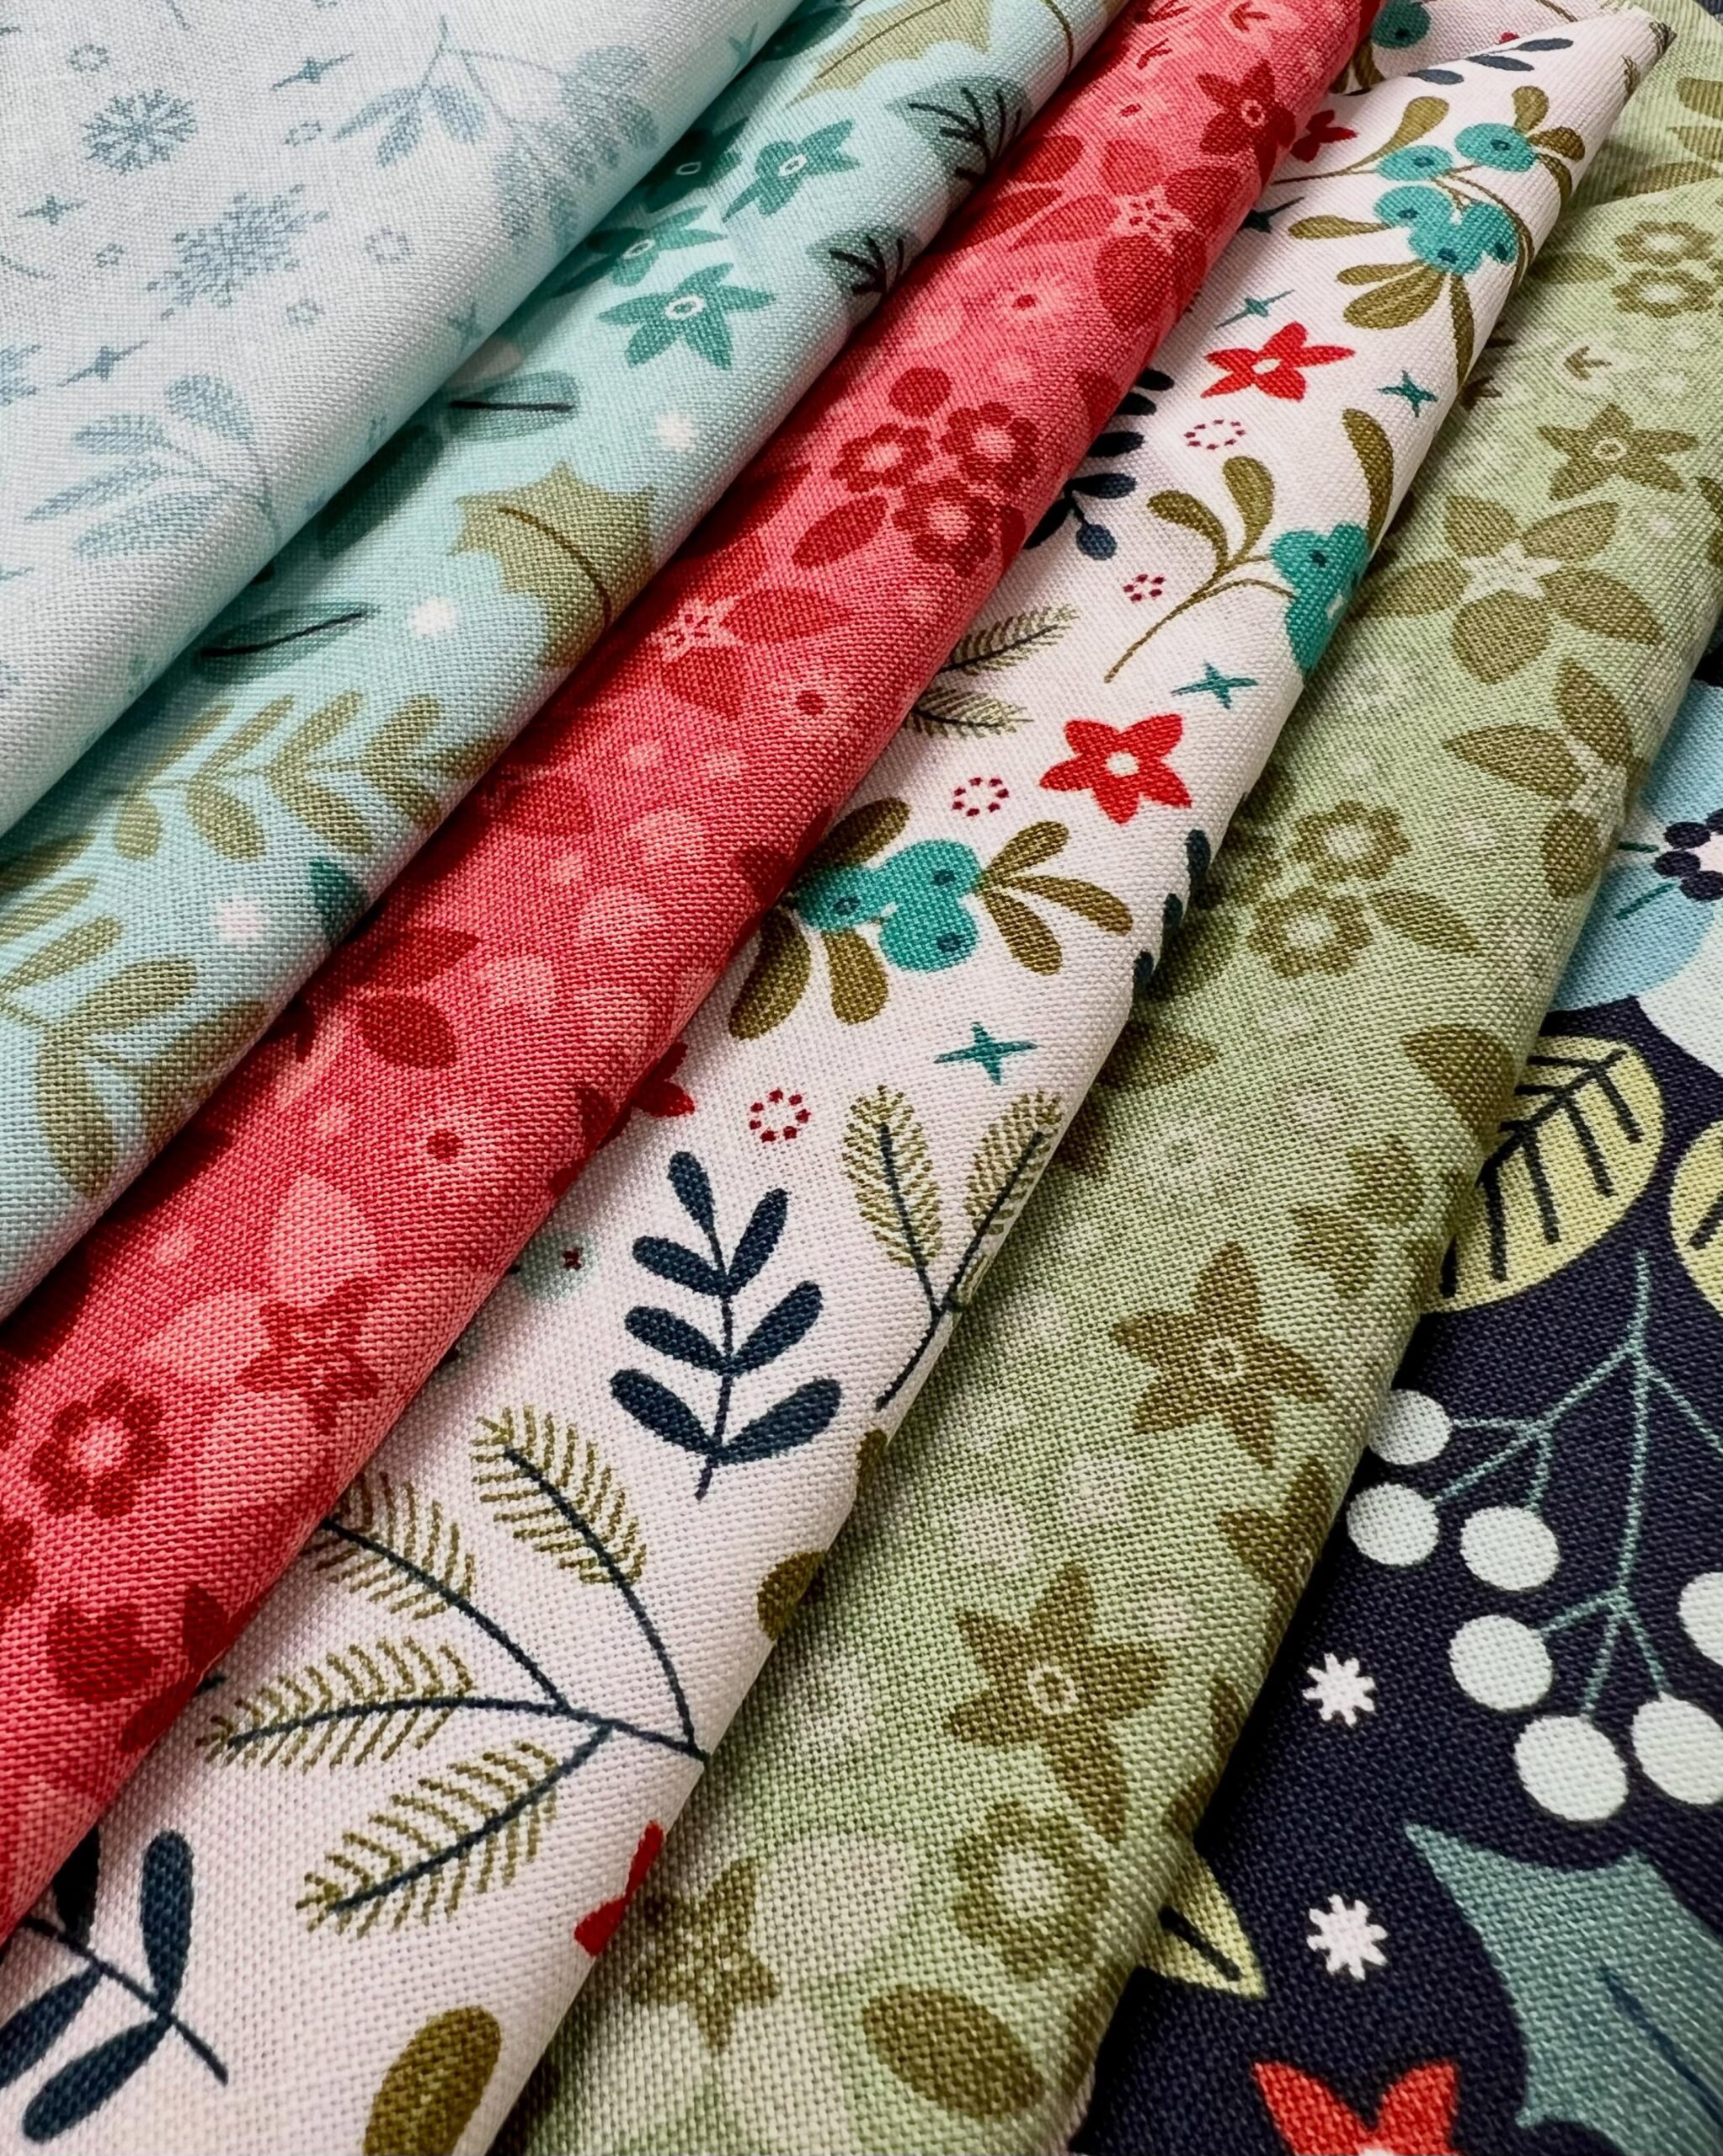
These gorgeous fabrics are some of the designs from Benartex’s new line Holly & Hearth by Shelley Cavanna. I fell in love with the softer holiday tones that look lovely all year long.
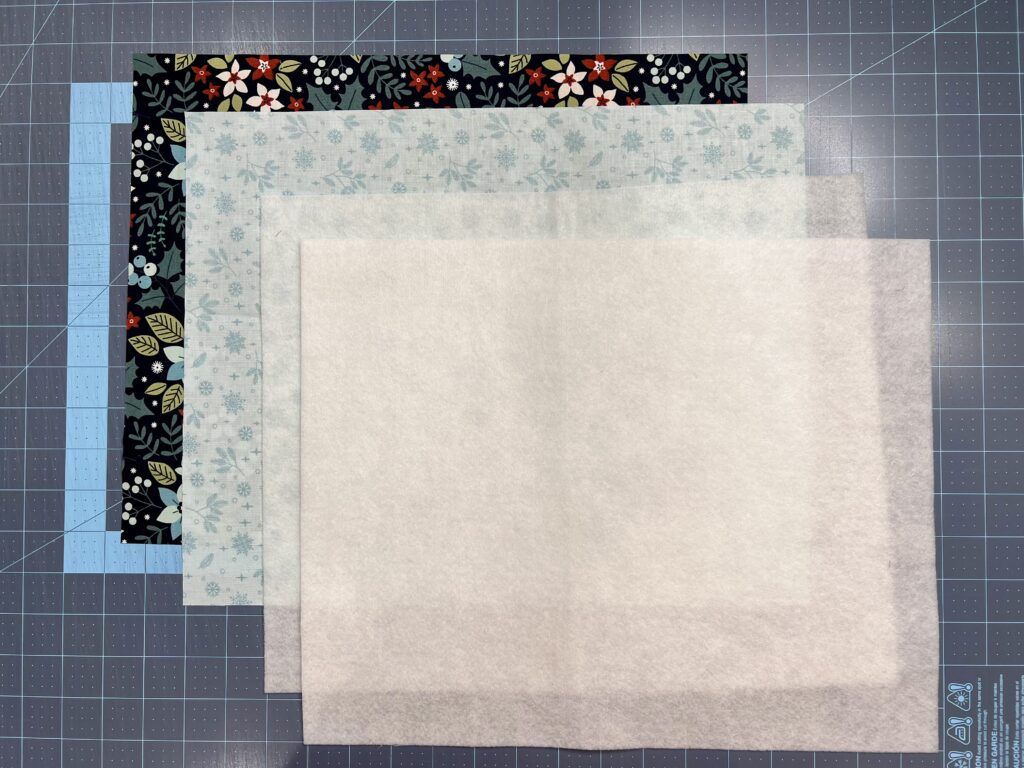
Fabric – 8 Fat Quarters – Each basket needs 2 pieces of fabric, one for the outside and one for the inside
- Largest basket (#1) – 2 fat quarters trimmed to 18″ x 21″ (if needed)
- Second largest basket (#2) – 2 pieces cut 16″ x 19″
- Third largest basket (#3) – 2 pieces cut 14″ x 17″
- Smallest basket (#4) – 2 pieces cut 12″ x 15″
- Fusible Fleece – 2 yards – You need the same sizes and numbers of pieces as the fabrics.
- General sewing supplies
How to Assemble a Basket
*I have provided the measurements for each size, but the assembly is the same for all four baskets.*
Step 1
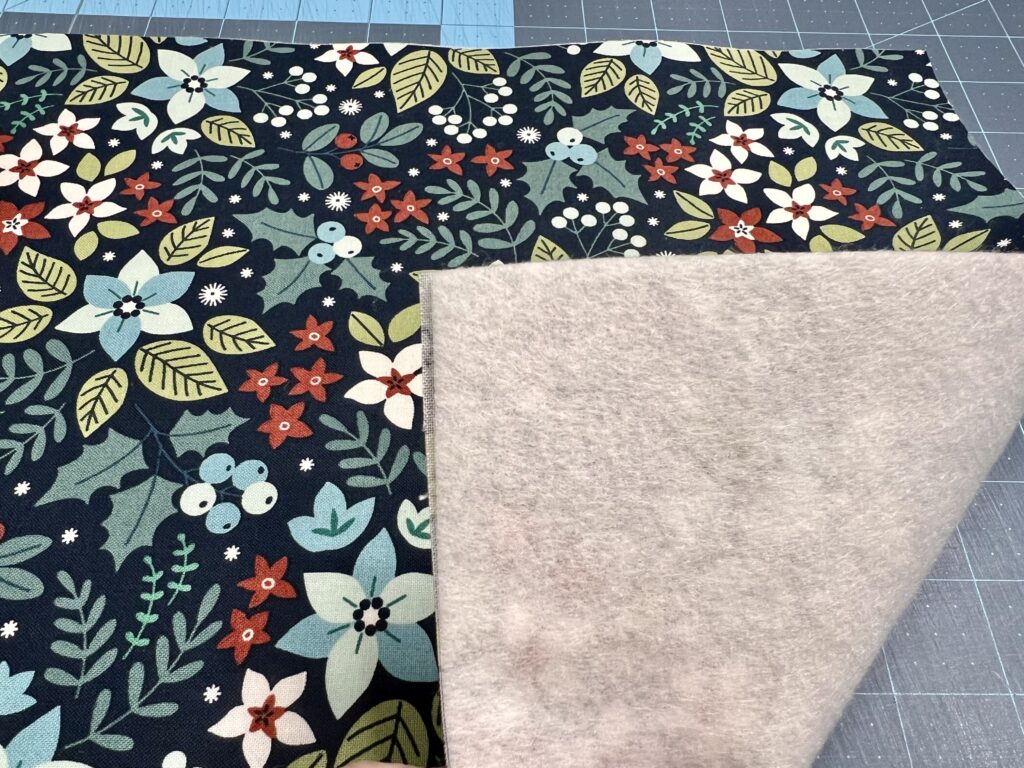
Follow the manufacturer’s instructions and adhere one piece of fusible fleece to the wrong side of both the inner and outer fabrics.
Step 2
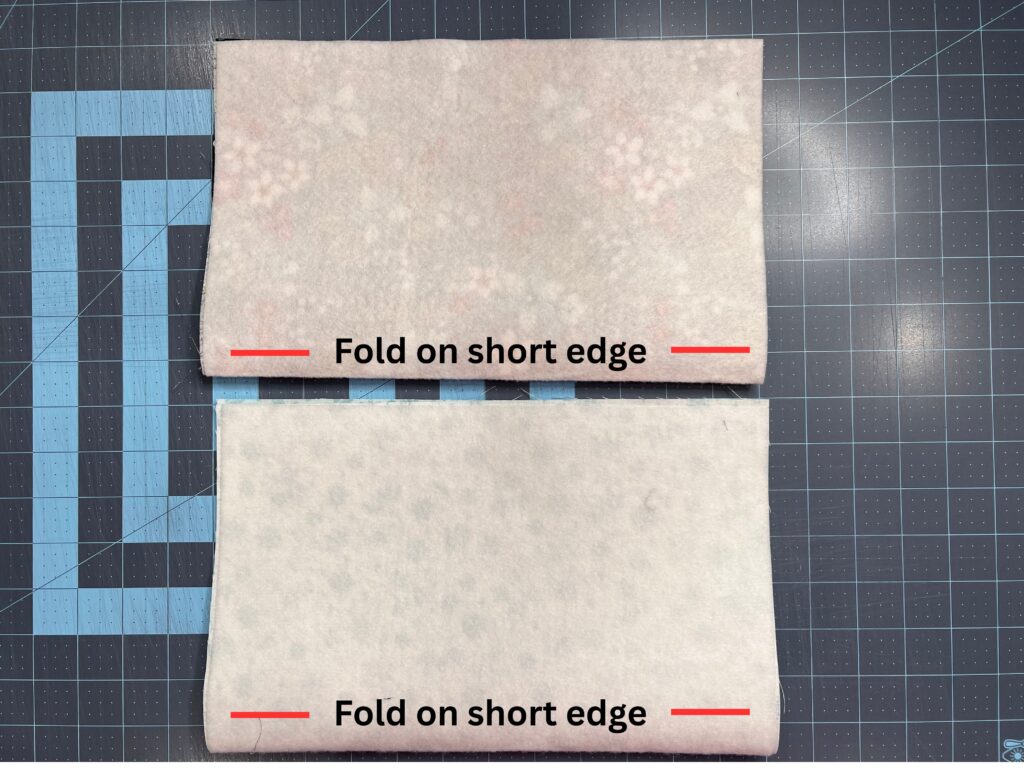
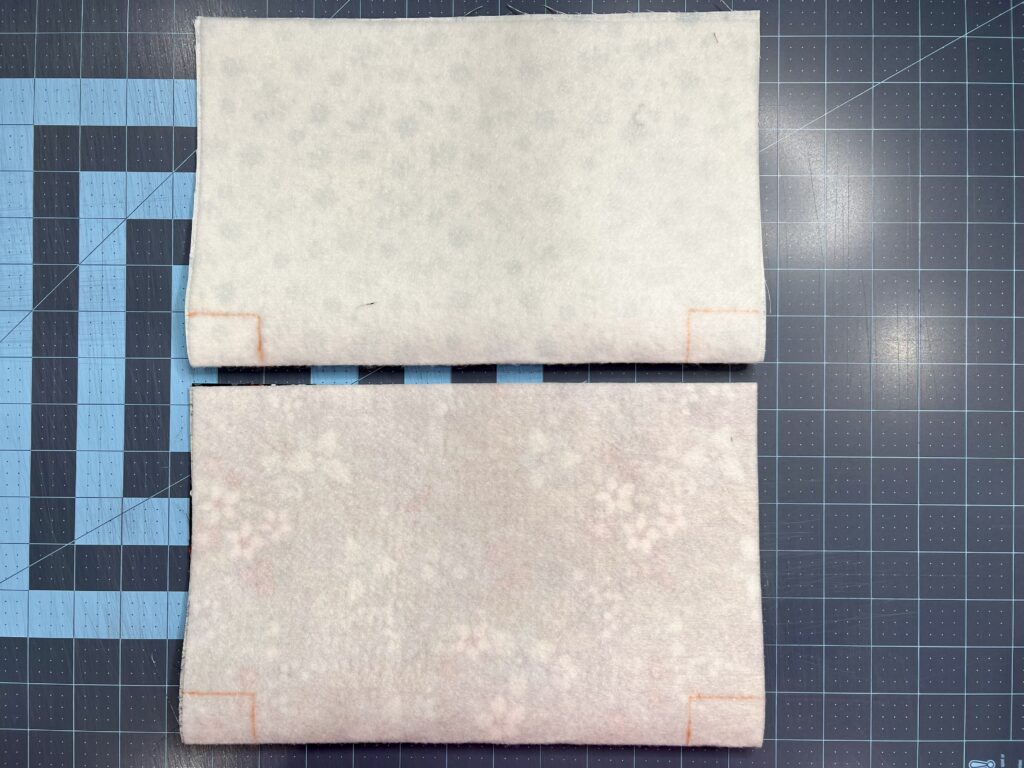
Fold both the outside and the lining fabrics in half with right sides of fabric facing, along the short side. In both corners, along the folded edge, mark out the following measurements. The longer measurement should be along the fold.
- Basket 1 – 3″ x 2 1/2″
- Basket 2 – 2 1/2″ x 2″
- Basket 3 – 2″ x 1 1/2″
- Basket 4 – 1 1/2″ x 1″
Cut out the rectangles on each corner.
Step 3
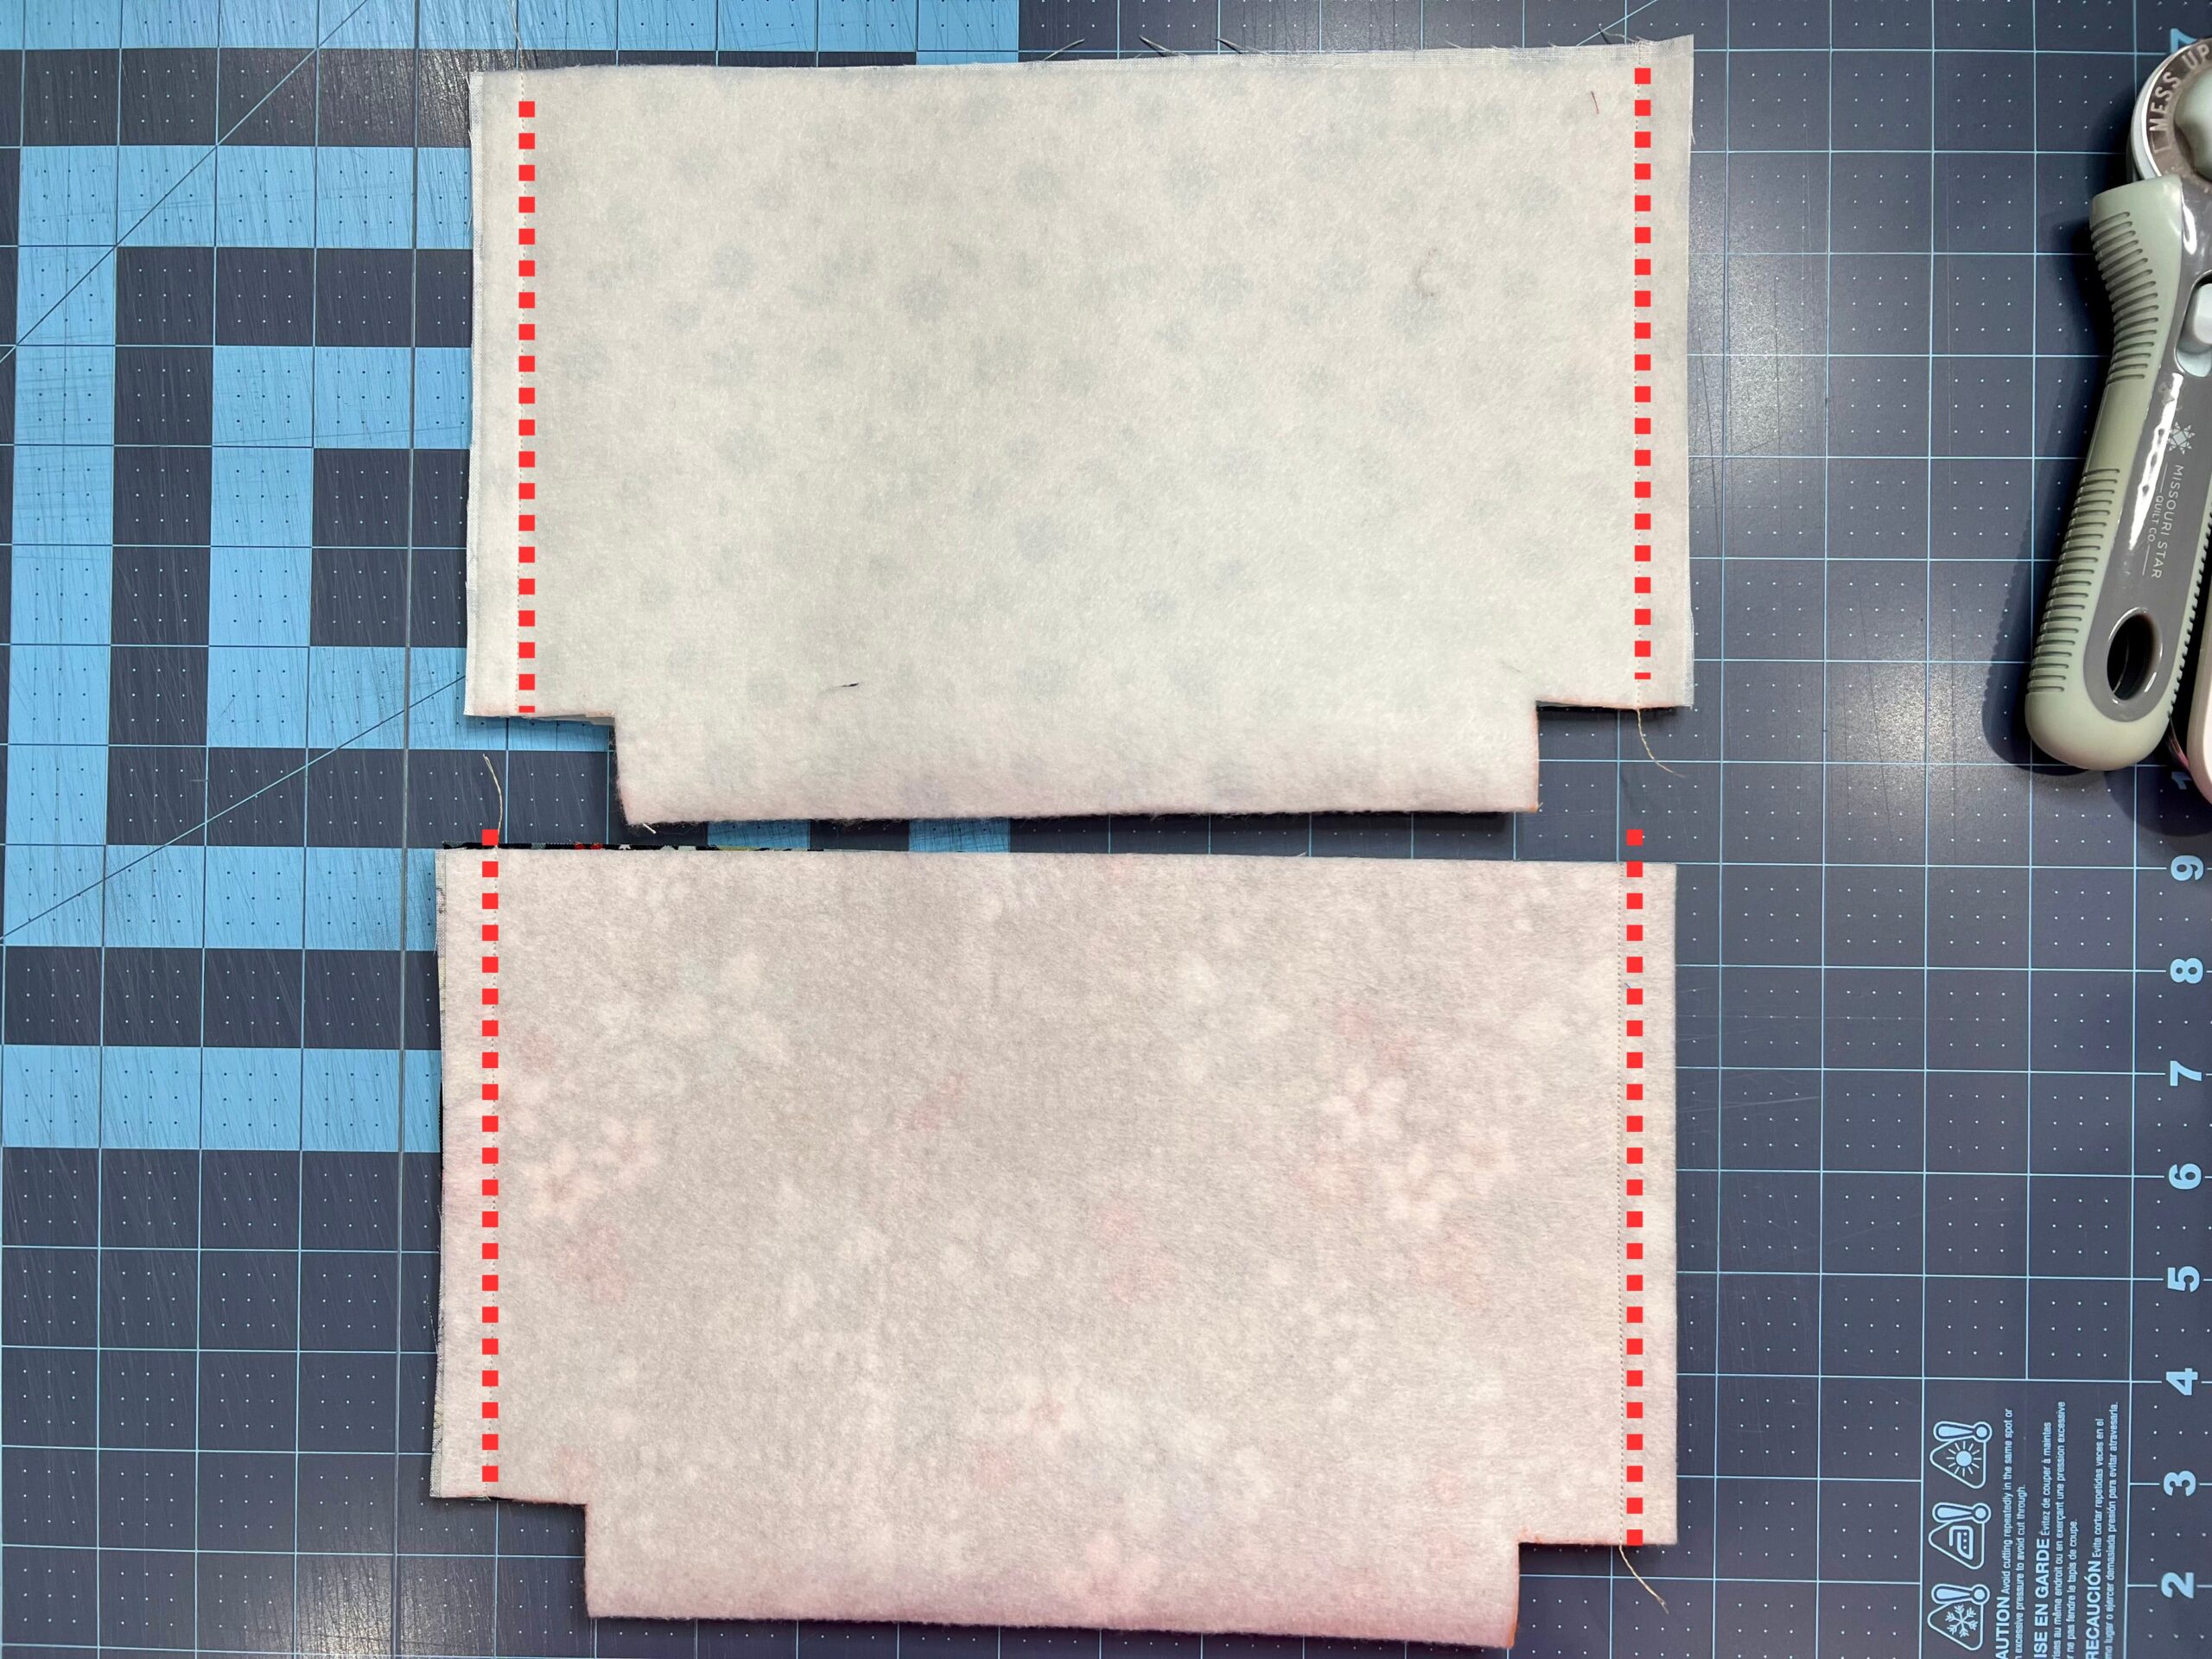
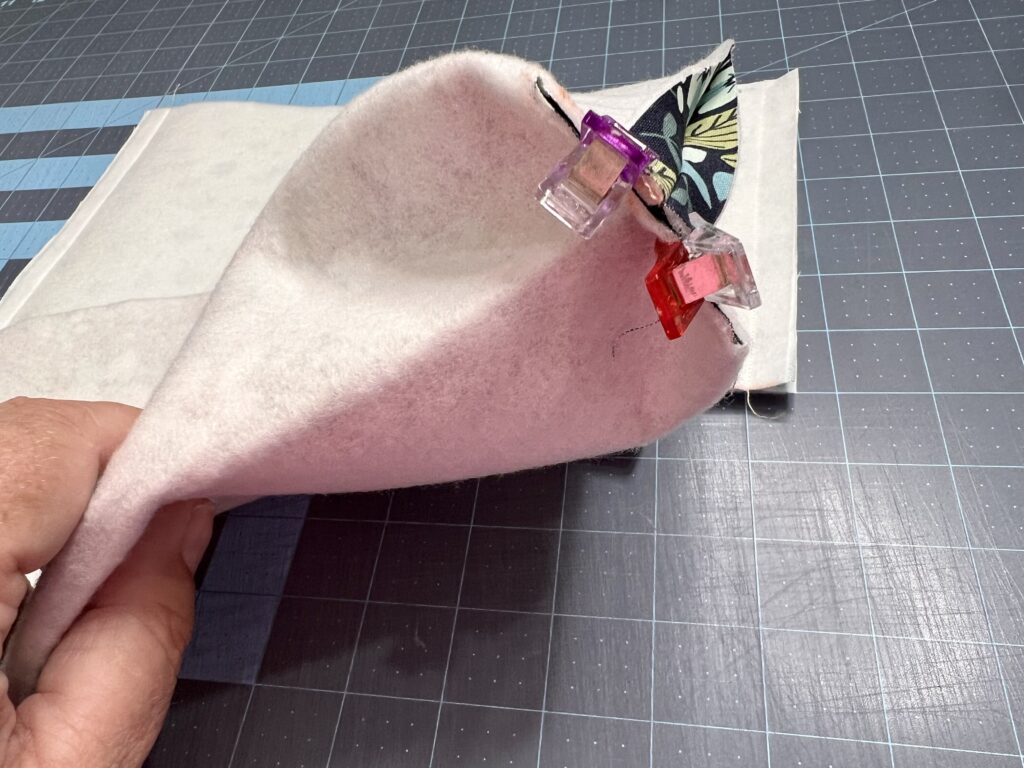
While still folded with right sides of fabric facing and using a 1/2″ seam allowance, sew along both sides of the outer fabric. Repeat with the inside fabric section. (shown by red dotted lines)
Step 4
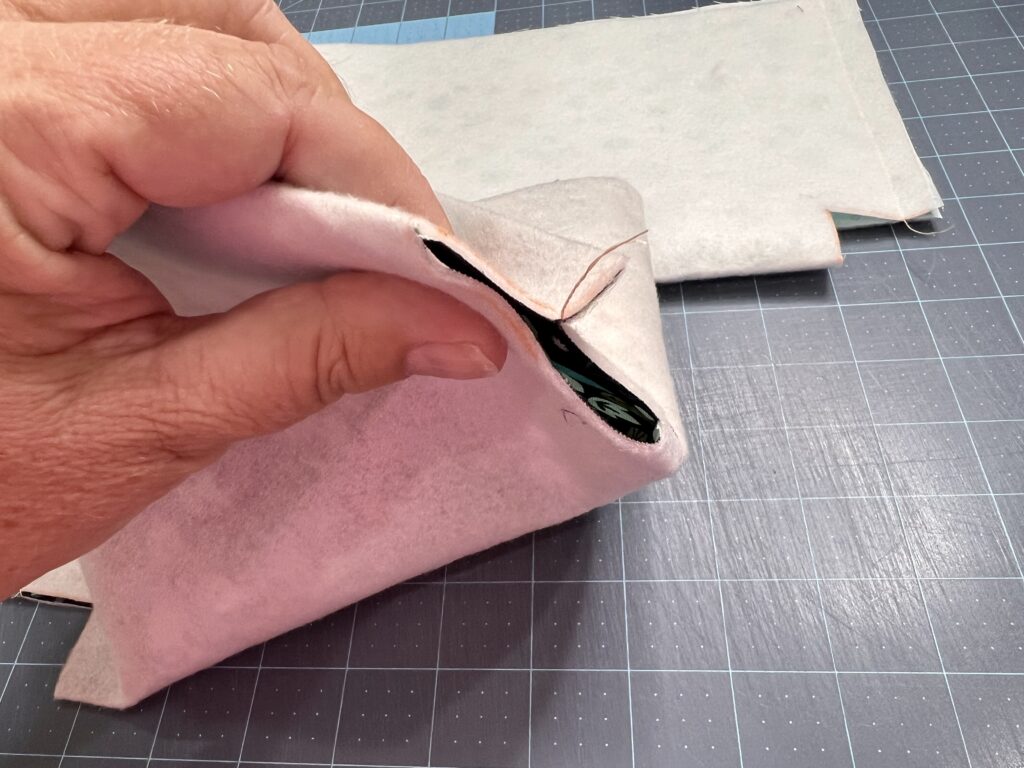
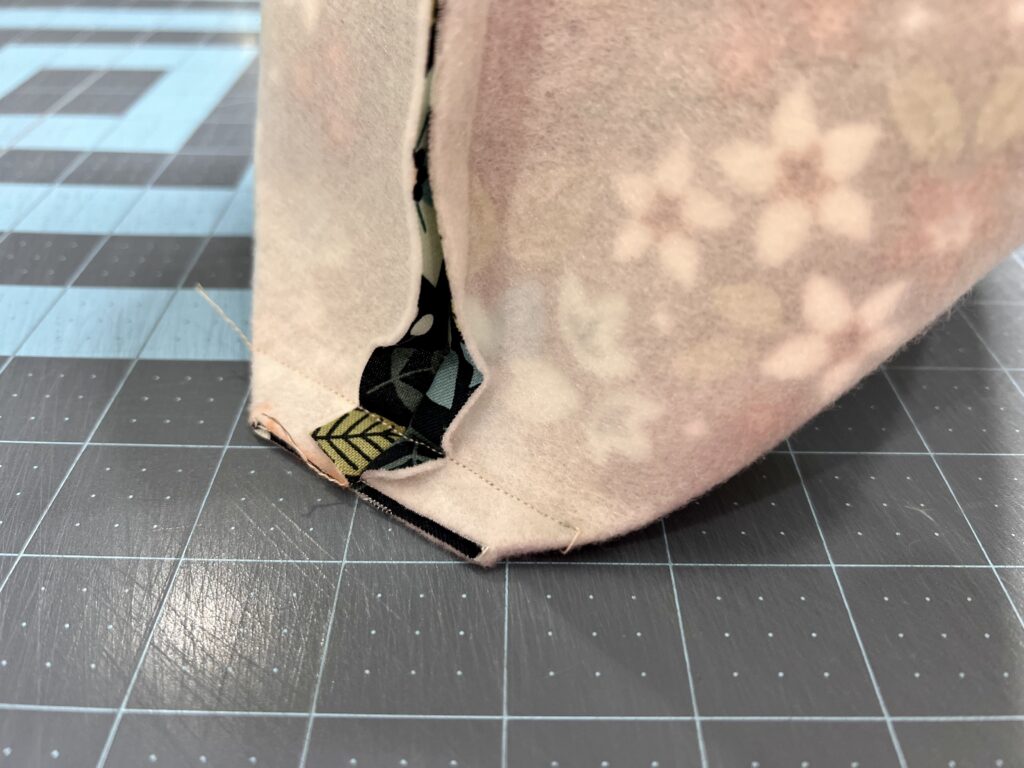
Box the corners of the bag. Pinch the open corner together and line up the sides together. Clip it closed and, using a 1/2″ seam allowance, sew the corner closed. Repeat on the other corner and then repeat with the inside fabric section.
Step 5
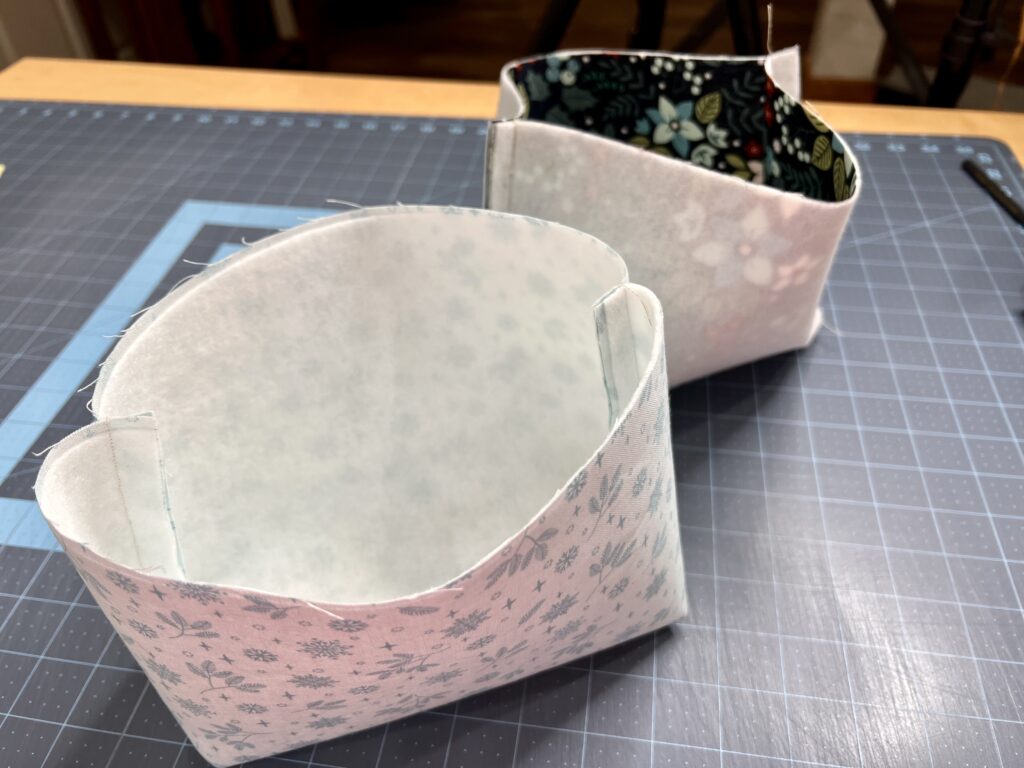
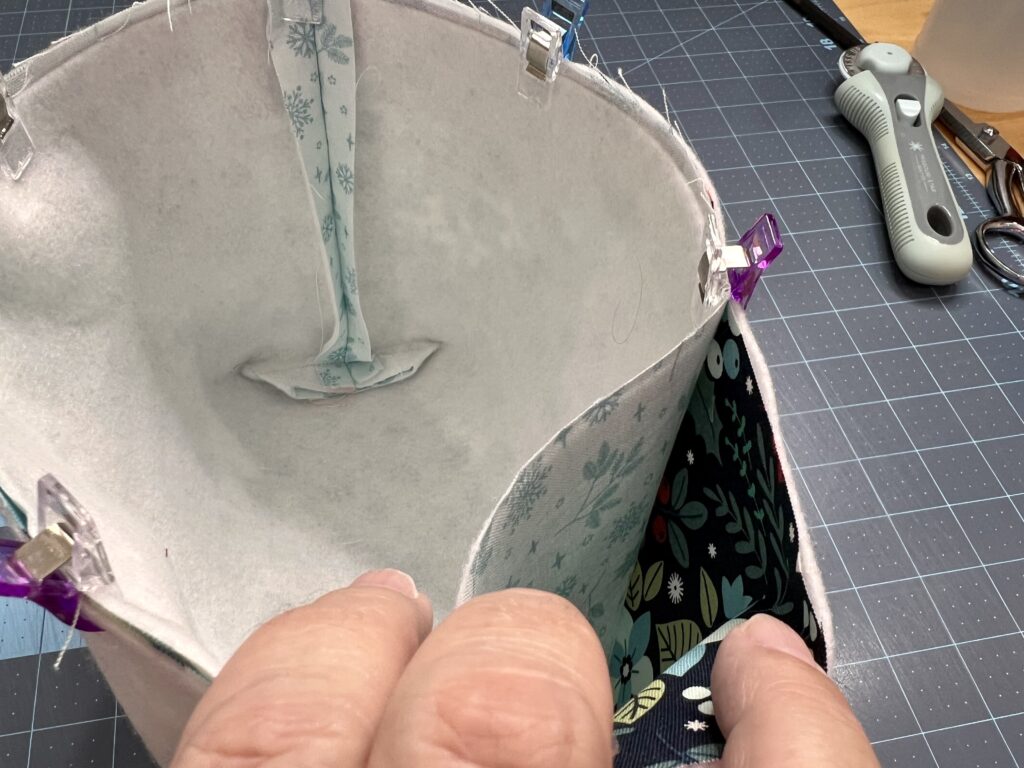
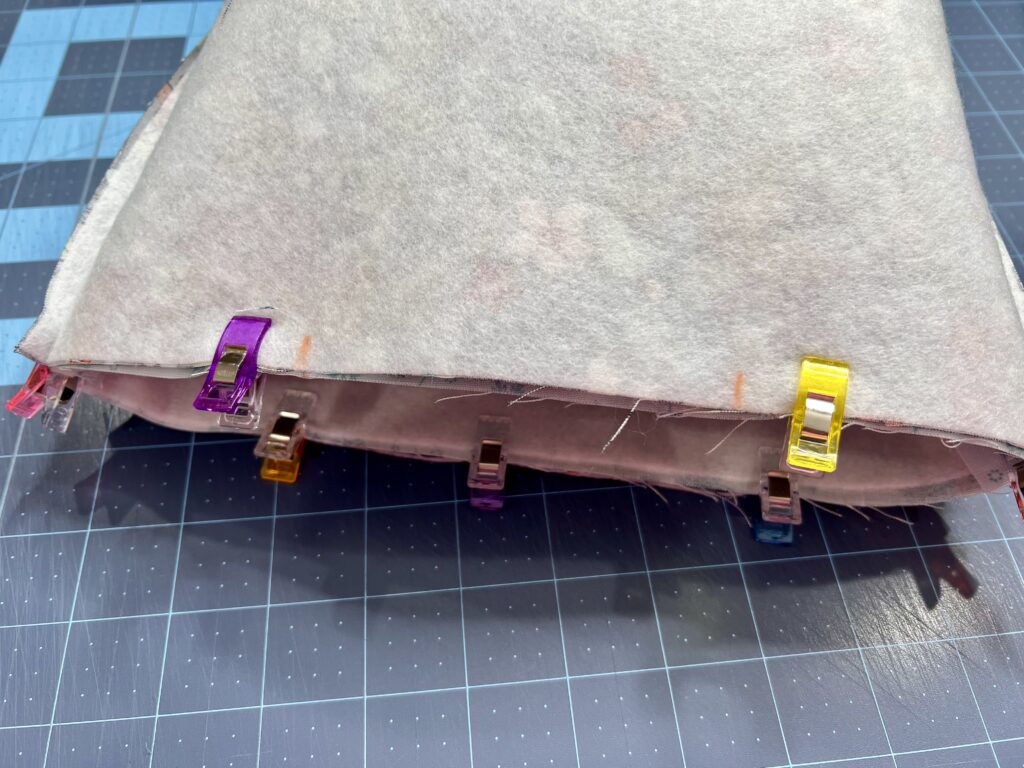
Turn the inside section right side out. Insert it into the outside section and line it up, clipping along the top edge. Line up the side seams. The right side of the outer section and the inside section should be facing each other. Using a 1/2″ seam allowance, sew around the top edge. Leave a 3″- 4″ opening so you can turn the bag right sides out.
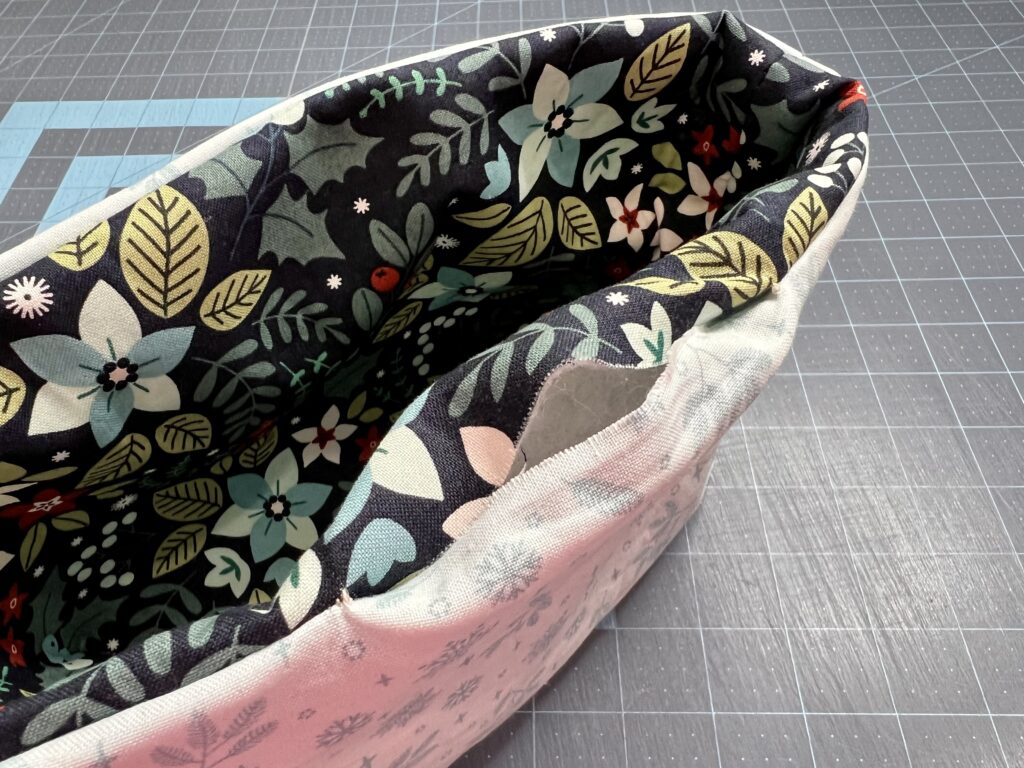
Step 6
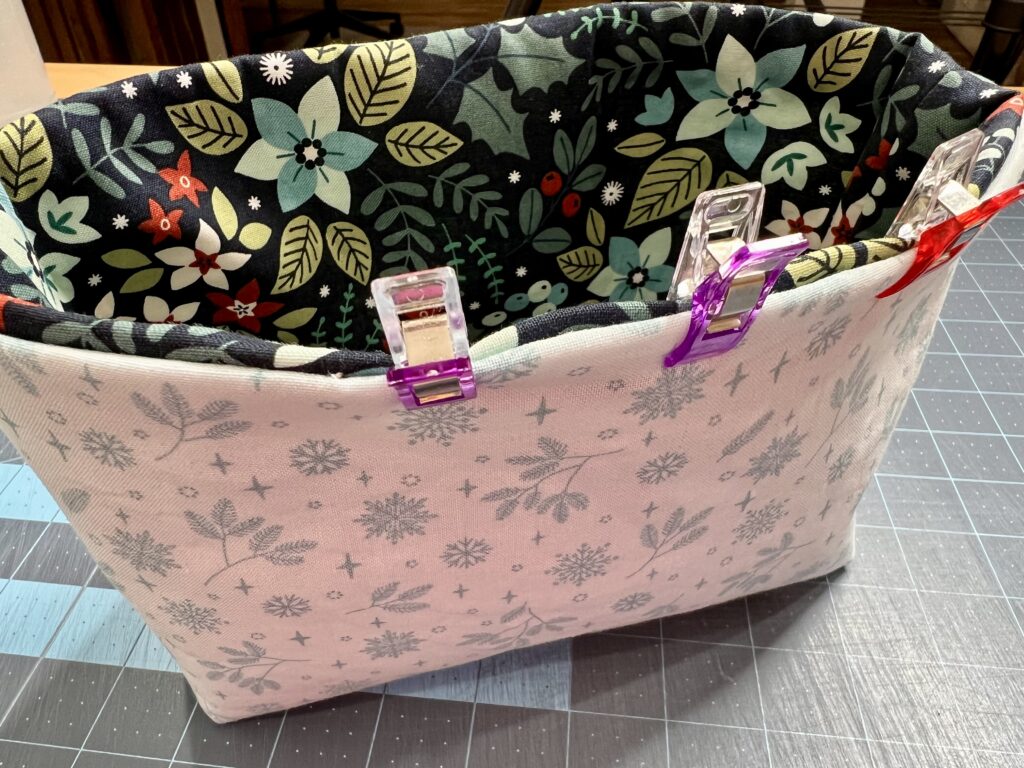
The opening where the bag was turned right sides out needs to be closed. The opening should naturally turn in because of the seams. Press and clip the opening closed.
Straighten and line up the top edge and press around the entire rim of the basket. That will make it easier to sew. Then, using an 1/8″ seam allowance, topstitch around the top edge of the basket. Sew slowly over the side seams. There will be a lot of bulk that is tricky to sew over.
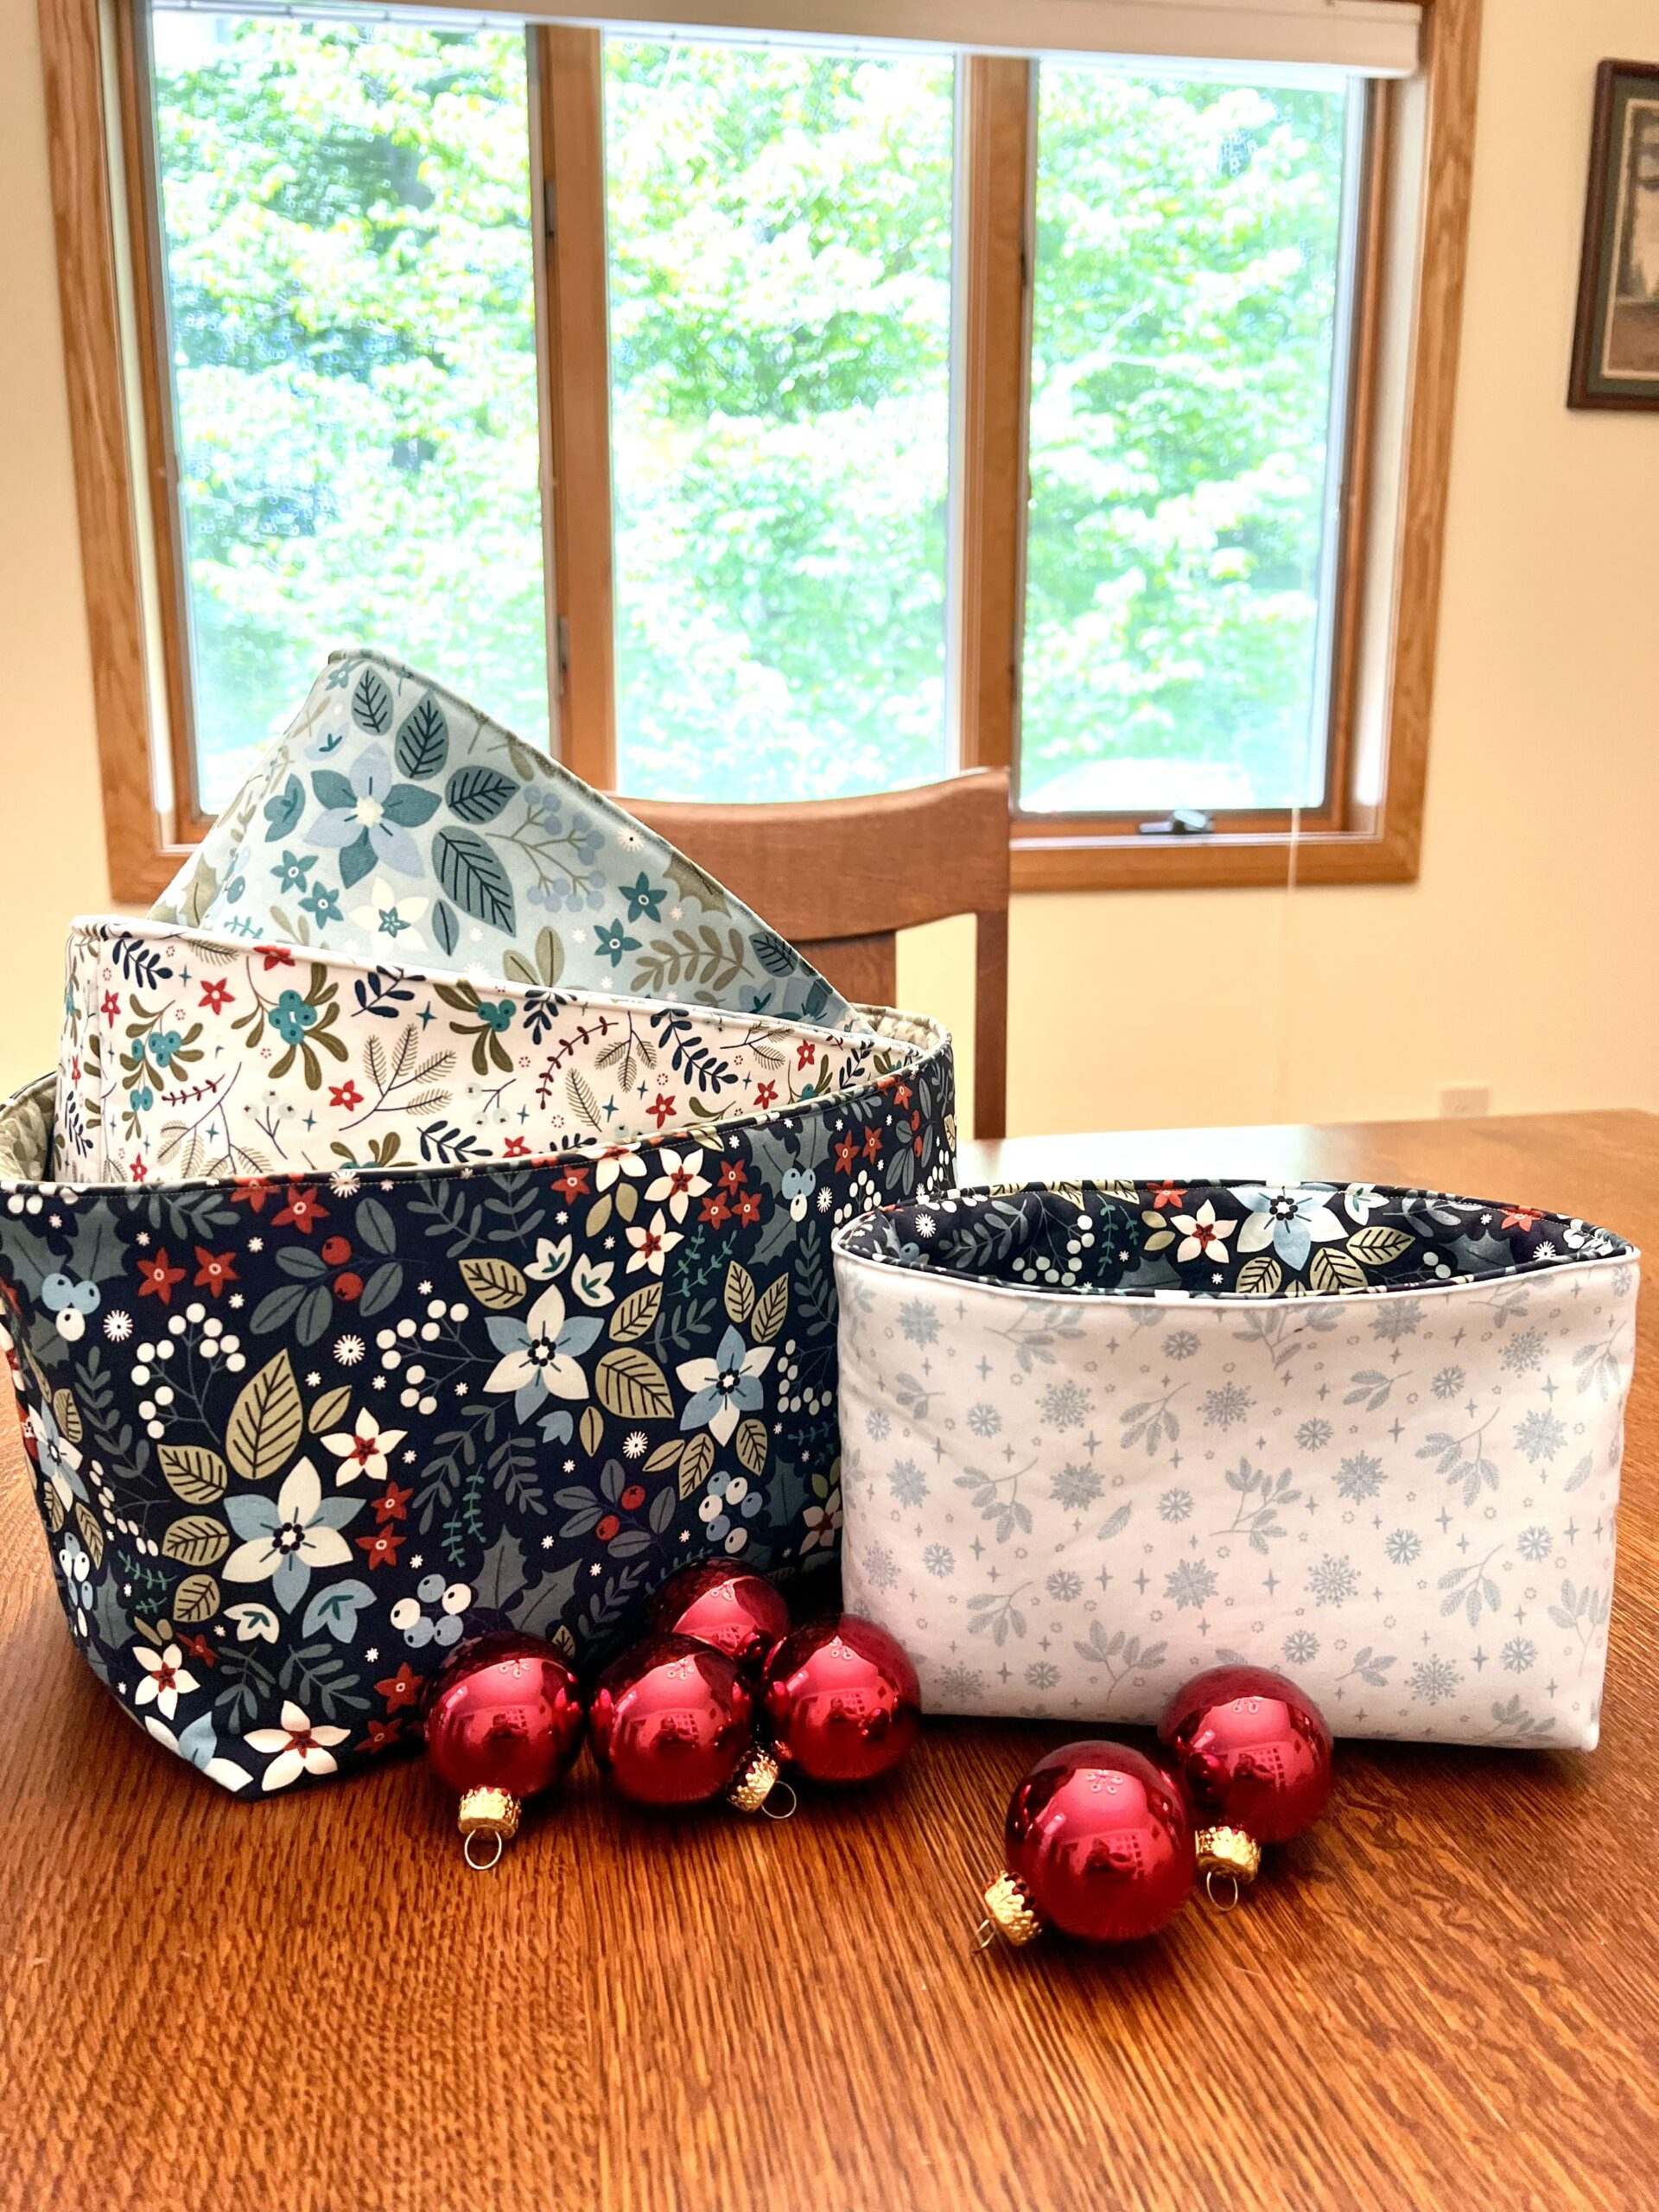
Now all you have to do is decide which fabric you want on the outside. Don’t worry, it’s easy to change depending on your mood.
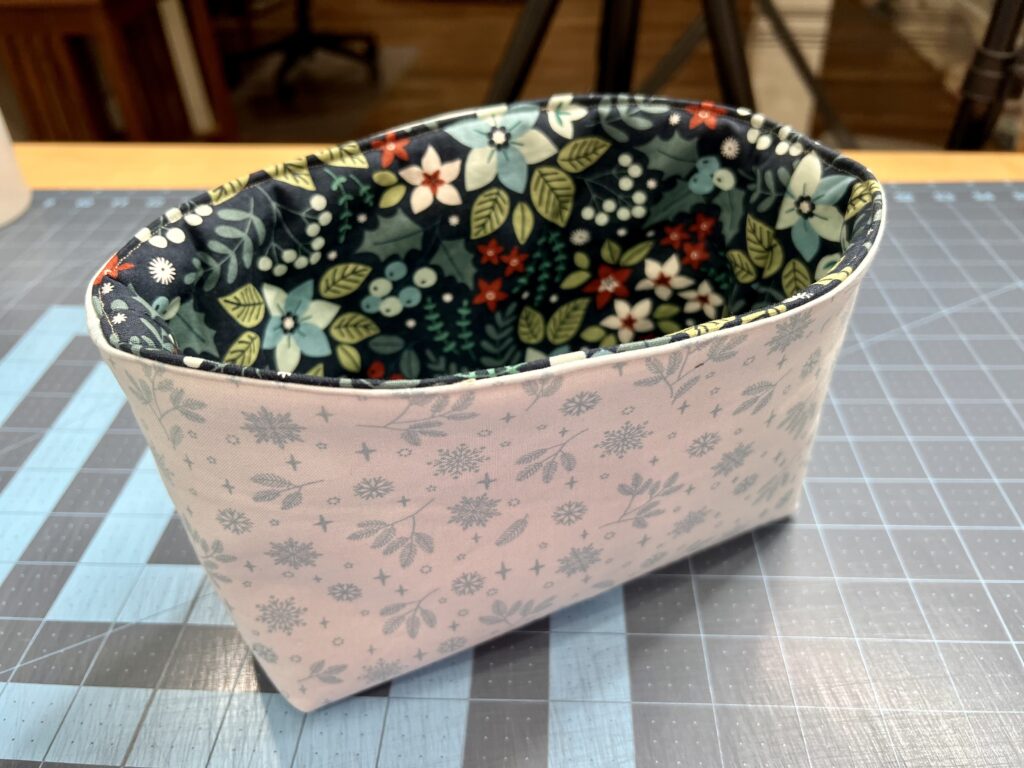
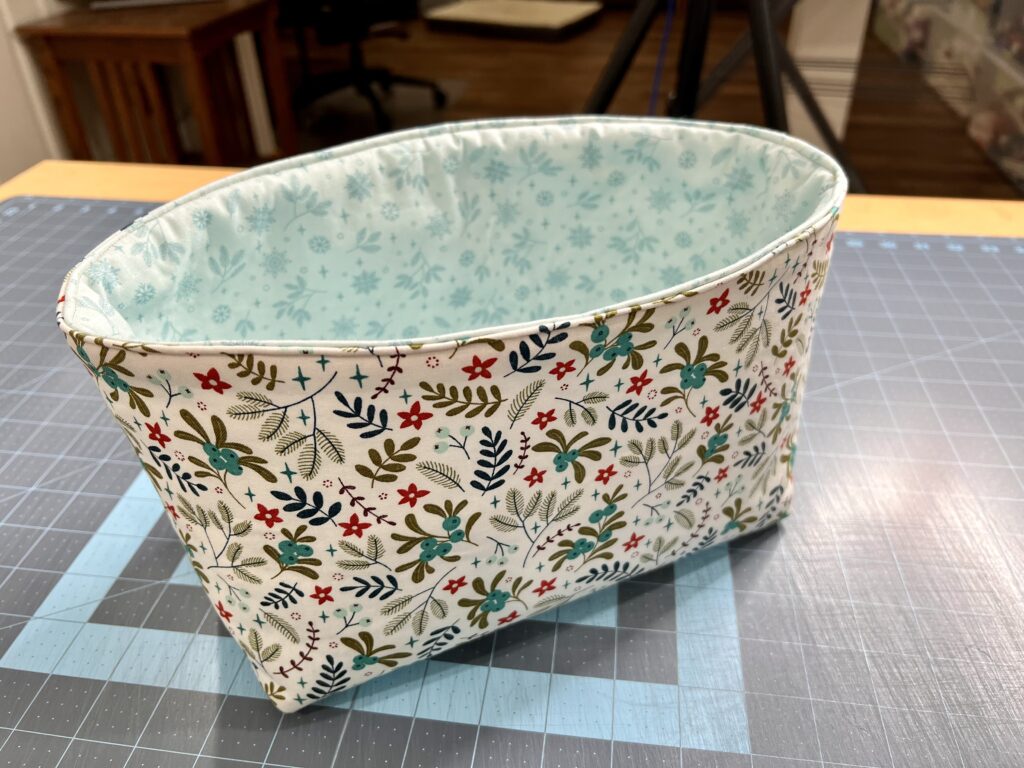
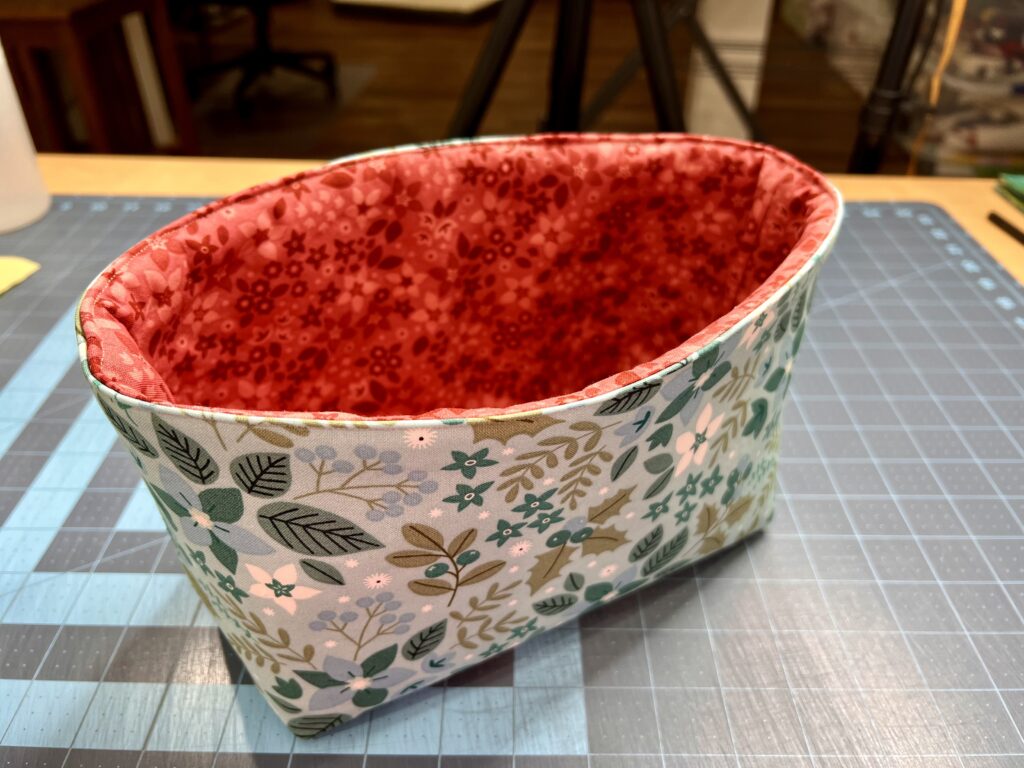
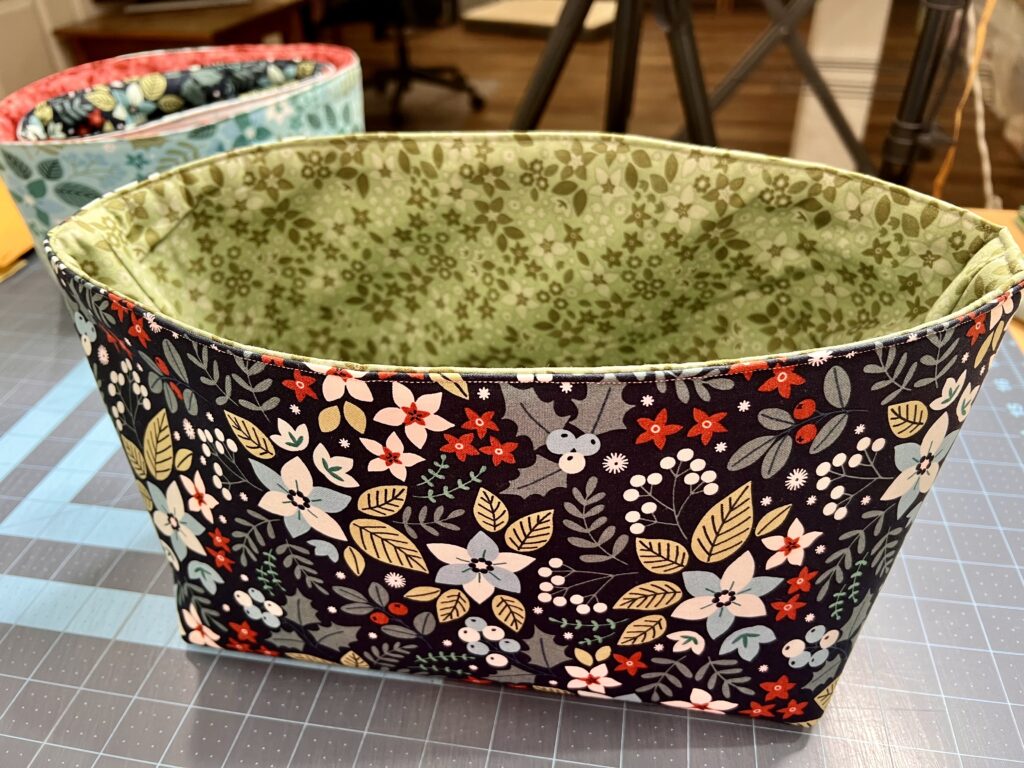
All four baskets are made the same way, just with different measurements.
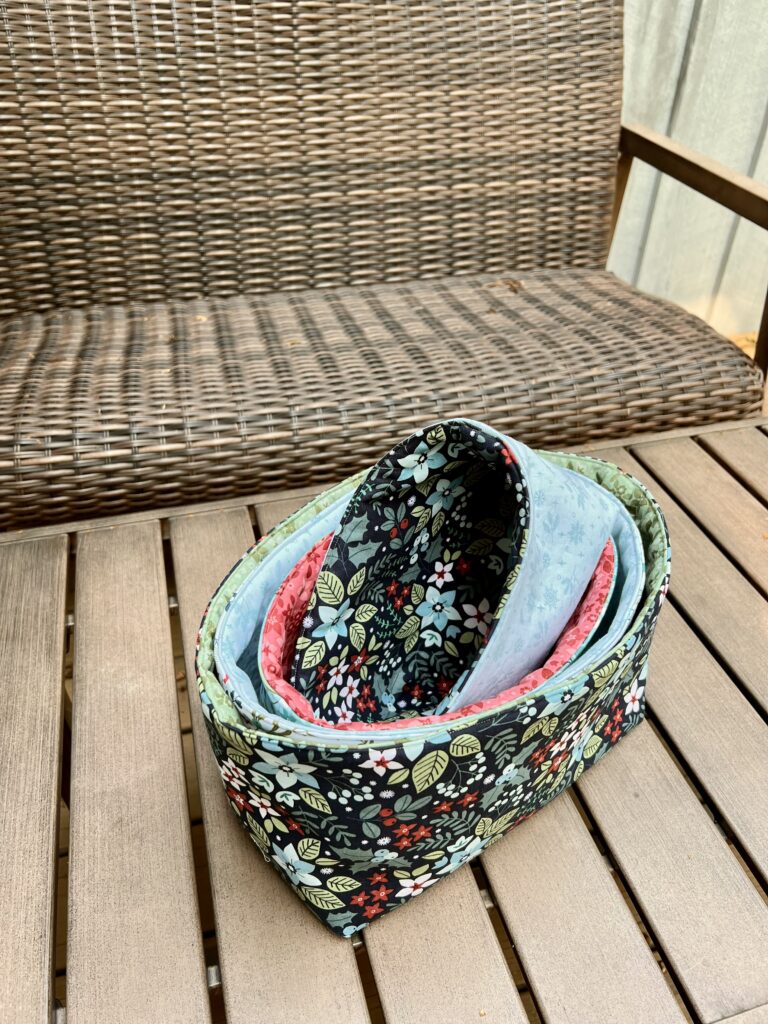
They nest perfectly and are great for gift giving. Keep them for yourself and fill them with your favorite holiday baubles or almost anything else.
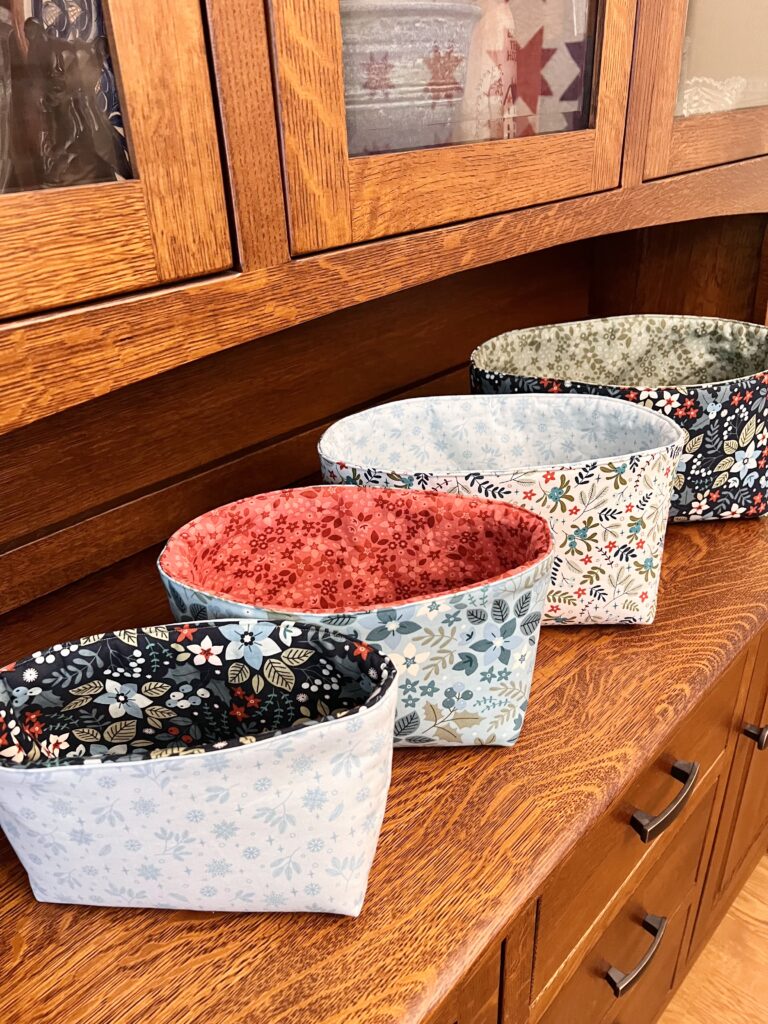
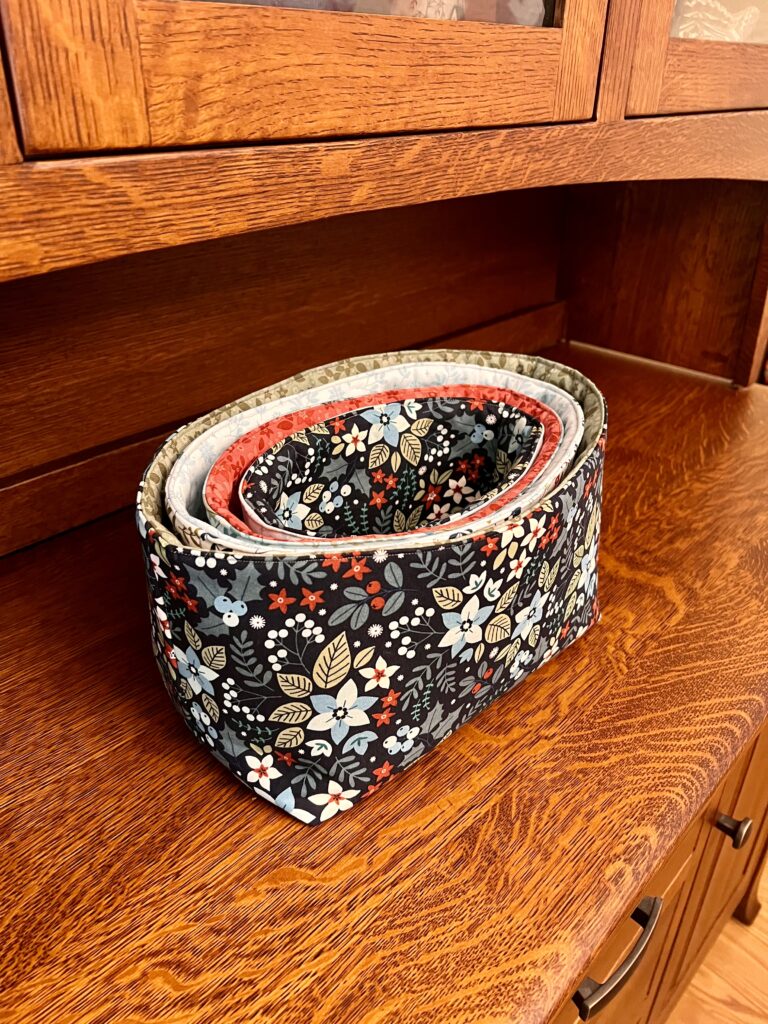
Make one, two or however many you want. Maybe you have a holiday party where you give a gift away. Why not make more than one of one size. People would love to get one!
Happy Quilting! – Claudia


1 Comment
Suzanne Werner
August 1, 2026 at 9:43 PMLoved your tutorial and plan to make these.