
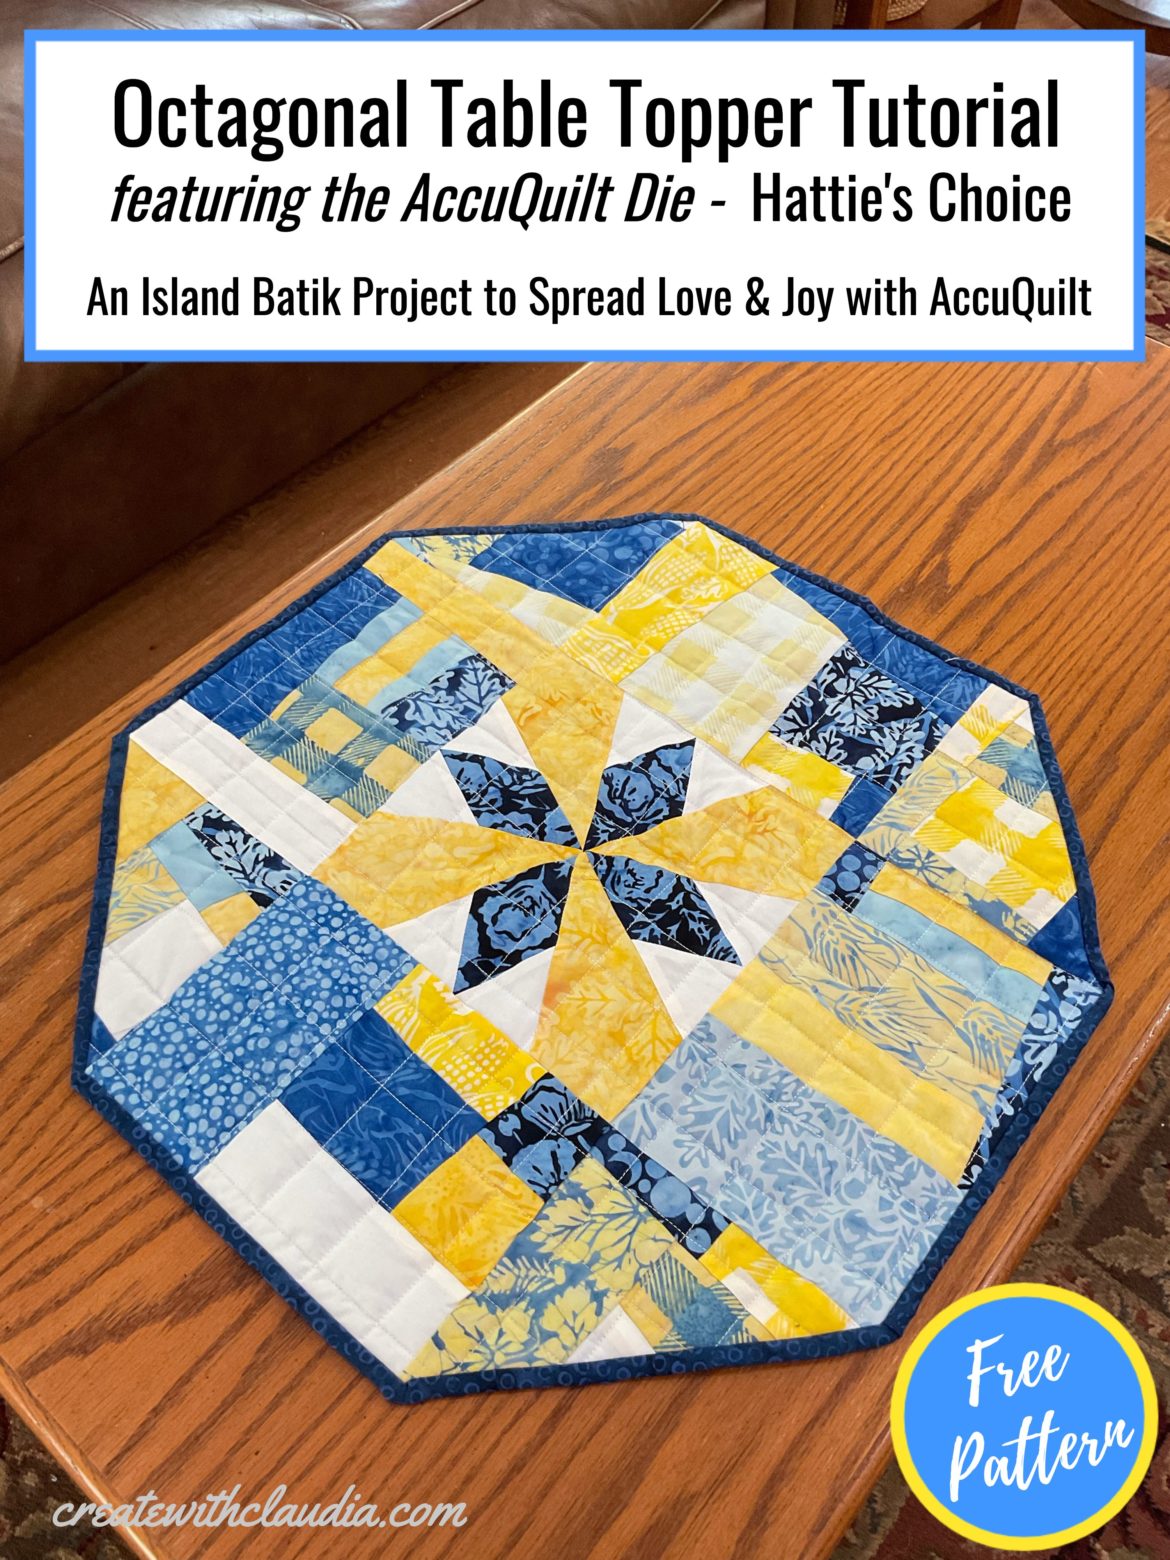
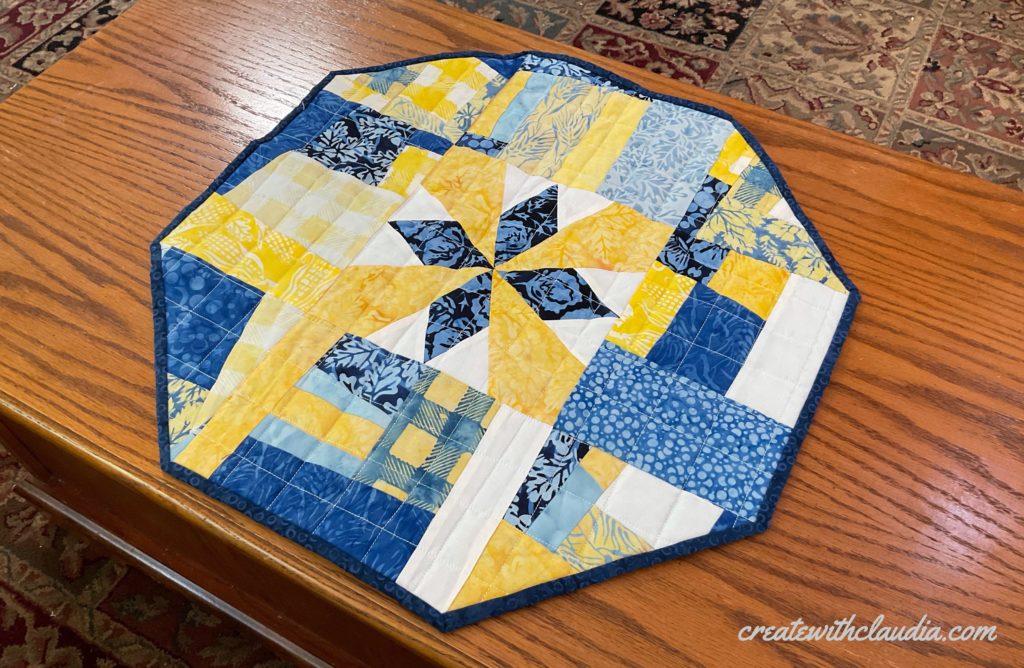
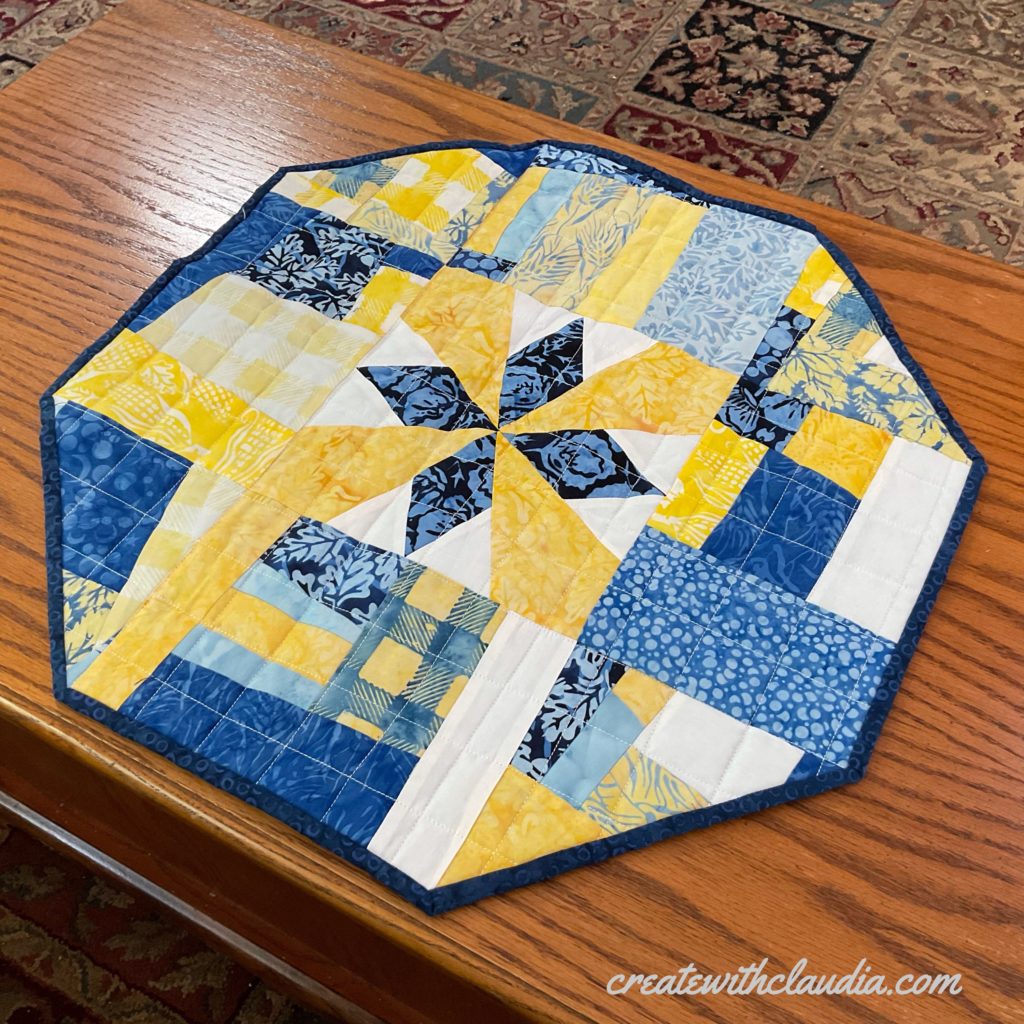
How to Make an Octagonal Table Topper
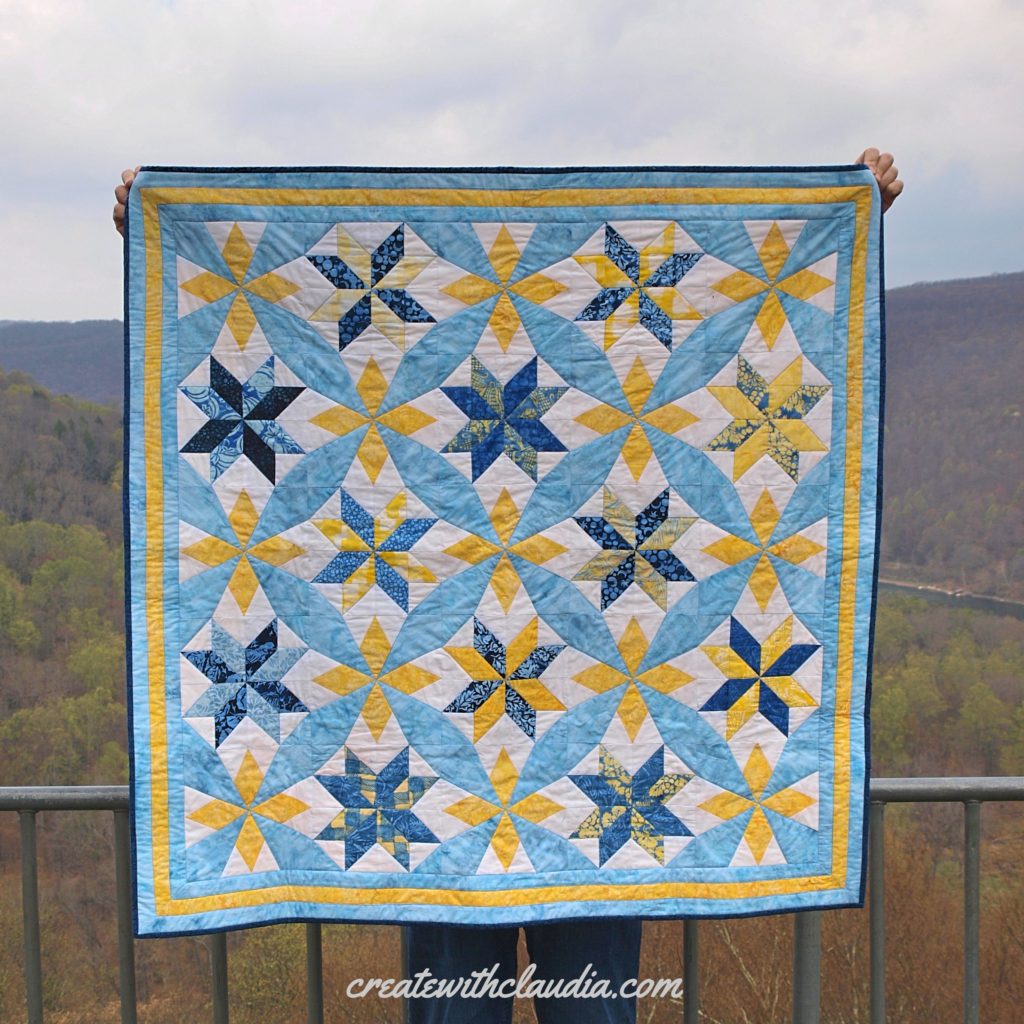
This month the Island Batik ambassadors were challenged to create a quilt that would spread love and joy with AccuQuilt®. What a wonderful challenge to get. I came up with my quilt “With Love” which I gave to the staff of the nursing home where my father lived for the last three years of his life. As in the past months, I like to add a little something extra to all of my Island Batik challenges. This month was no exception, and since I had lots of scraps left over I decided to use them and I will show you how to make an octagonal table topper. It is easy and fun to make. The unique shape will look good on any table.
Make this topper using the gorgeous AccuQuilt® quilt block die called Hattie’s Choice like I did, or pick out your favorite 8 1/2″ (8″ finished) block to show off. Just go grab a stack of scraps and get ready to have some fun!
Disclosure: The products in this post were generously provided by Island Batik, Accuquilt, Aurifil, Schmetz Needles, and Hobbs Batting.
My Inspiration for this Table Topper
The Video Tutorial
Get the Look
If you like the look of this topper then here is what you will need:
Island Batik Fabric
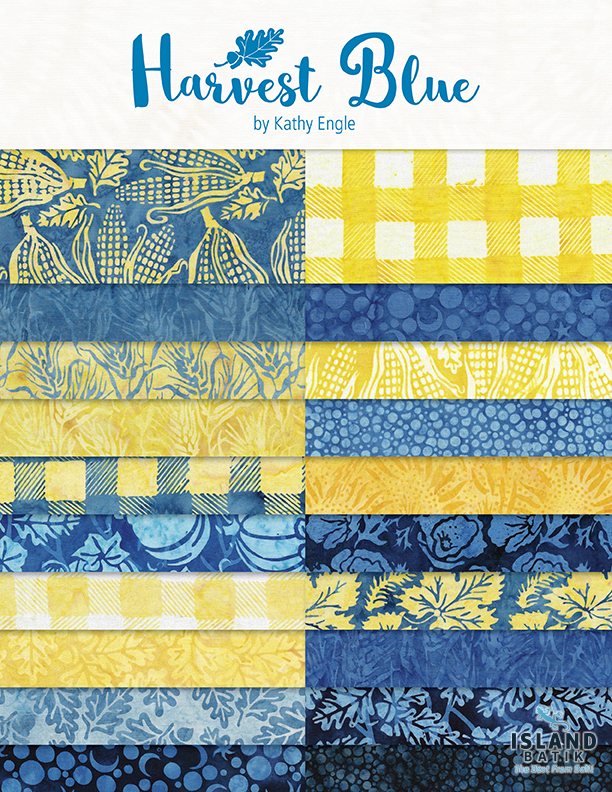
- Blues and yellows are primarily from their new “Harvest Blue” line designed by Kathy Engle
- White is from their solids line
- Binding is Cheerio – Navy from the Foundations Blenders line
What You’ll Need
- Assortment of scrap fabrics to make the crazy quilt fabric
- Enough fabric to make one “Hattie’s Choice” 8 1/2″ block (8″ finished) – Note that any block can be substituted
- General sewing supplies
*Download the Octagonal Table Topper PDF Pattern Here*
To Make the Hattie’s Choice Quilt Block
I have thoroughly enjoyed using my AccuQuilt® cutting system that I received in my Island Batik ambassador box at the beginning of this year. It makes such quick work of cutting out shapes accurately. I’ve been inspired to buy a couple of dies of my own and can’t wait to show off the projects I’ve made with them.
You can find many of the items that I used to make this project in my Amazon Store.
As an Amazon Associate I earn from qualifying purchases.
How to Make an Octagonal Table Topper
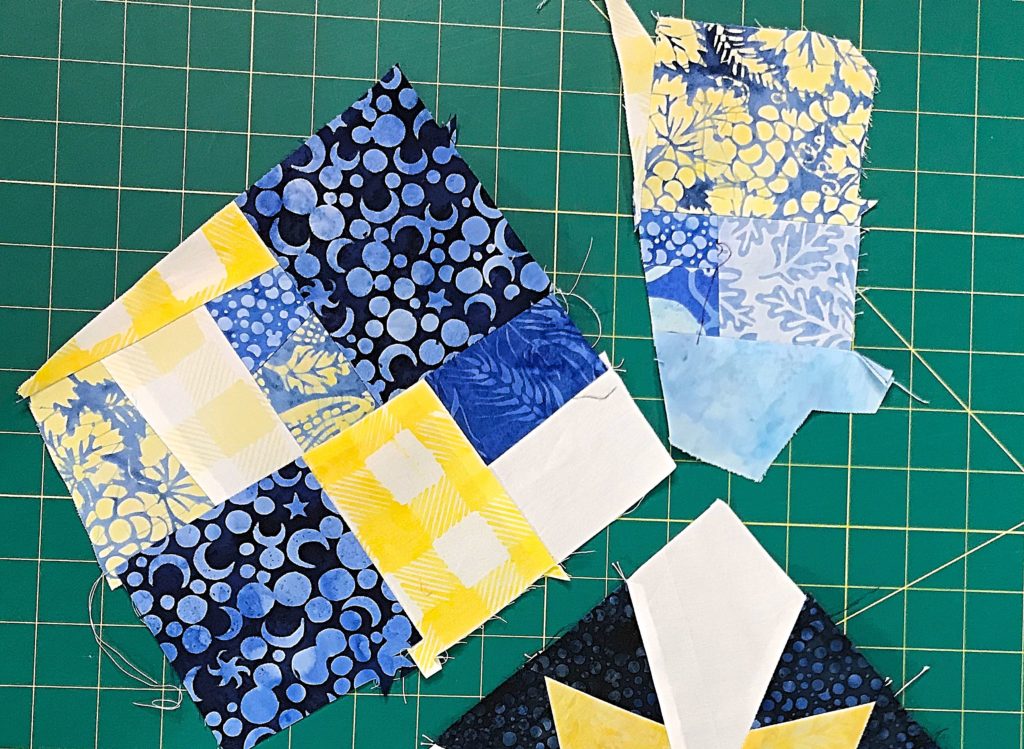
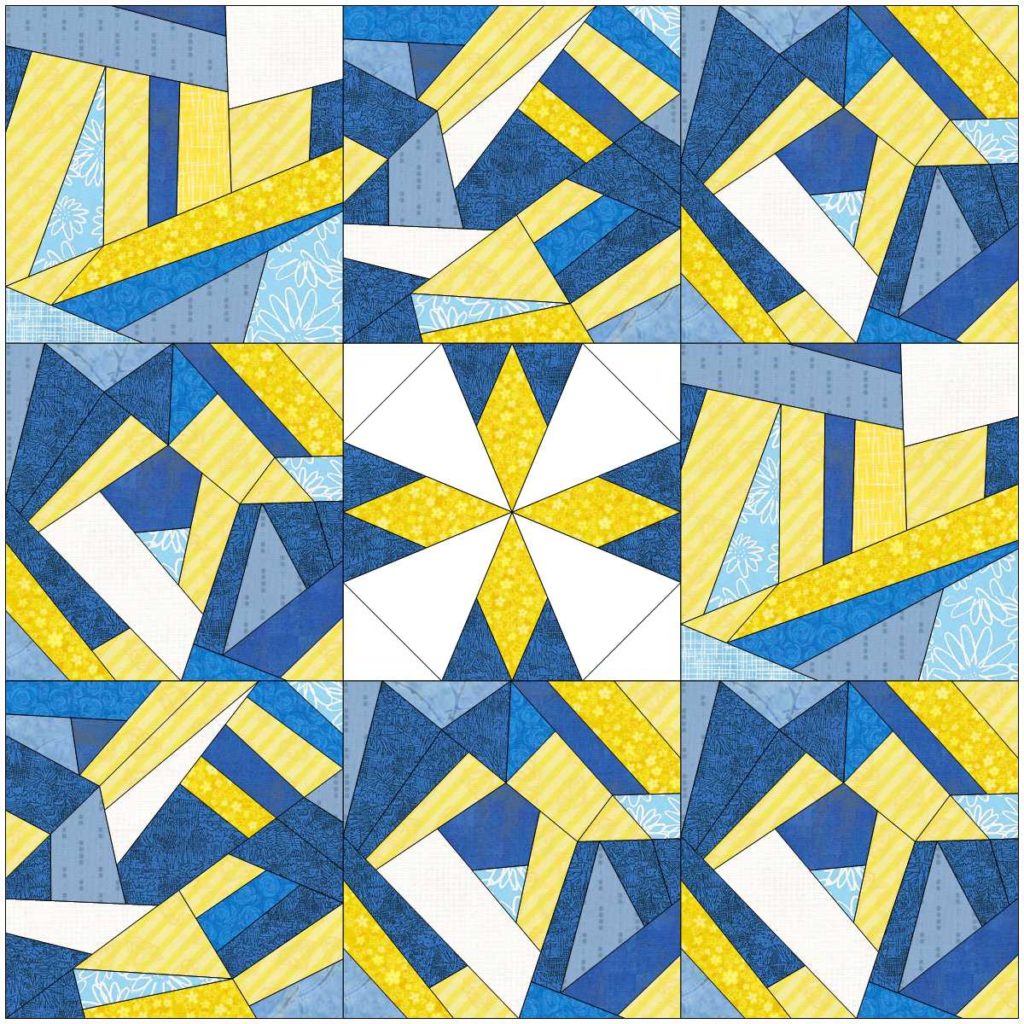
Begin by making the scrappy crazy quilt (or crumb quilted) squares that surround the center block.
To do this, sew together fabric scraps of any shape until you have a piece of fabric that is large enough to cut into an 8 ½ inch by 6 ½” rectangle. This is my method of crumb quilting.
For more detailed instructions on this process, you can check out my video “How to Create Fabric Yardage from Your Scraps”.
You may need to repeat this process a couple of times, depending on how large your pieces of fabric are.
Trim down the scrappy fabric into the sizes needed. For this project you will need four scrappy squares cut 6 ½” by 6 ½” and four rectangles cut 6 ½” by 8 ½”.
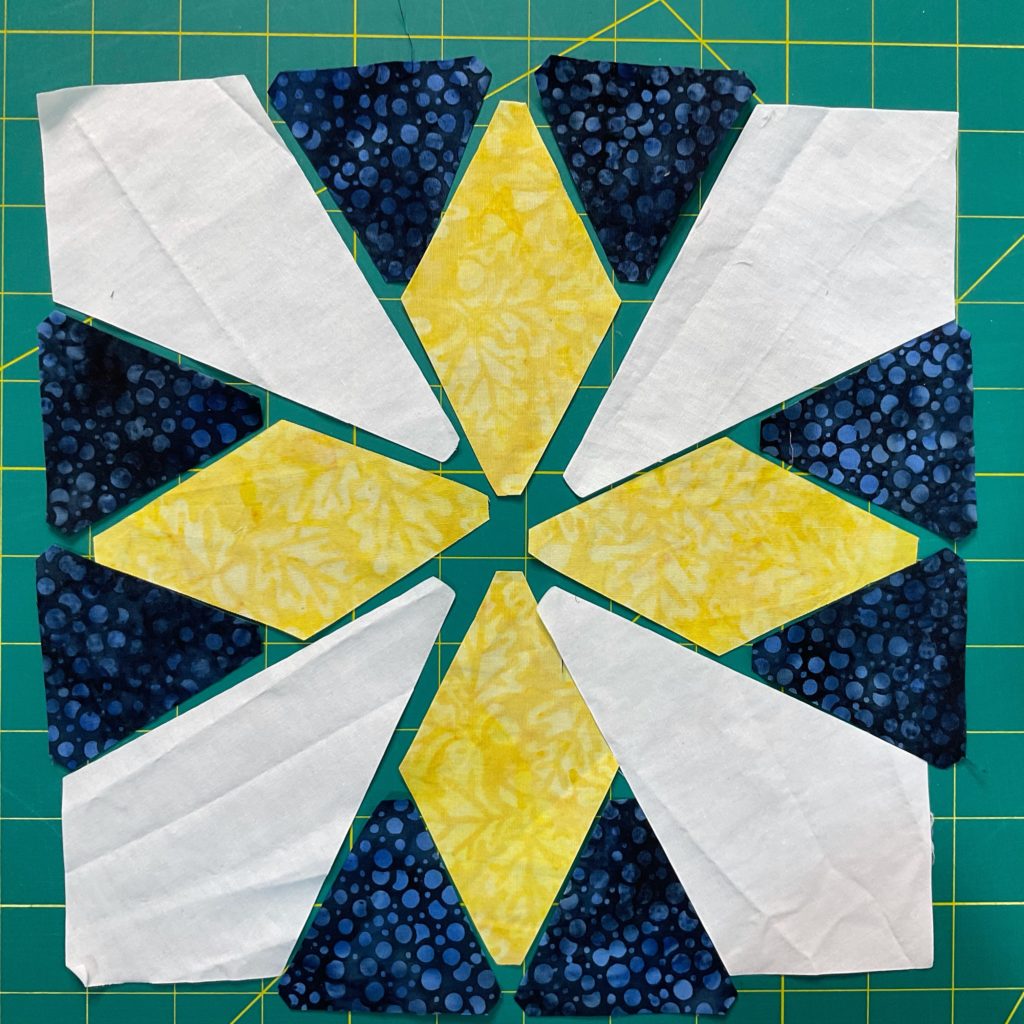
Next, make the center block using your AccuQuiltGo!™ machine and Hattie’s Choice die. Follow the instructions as provided by the manufacturer.
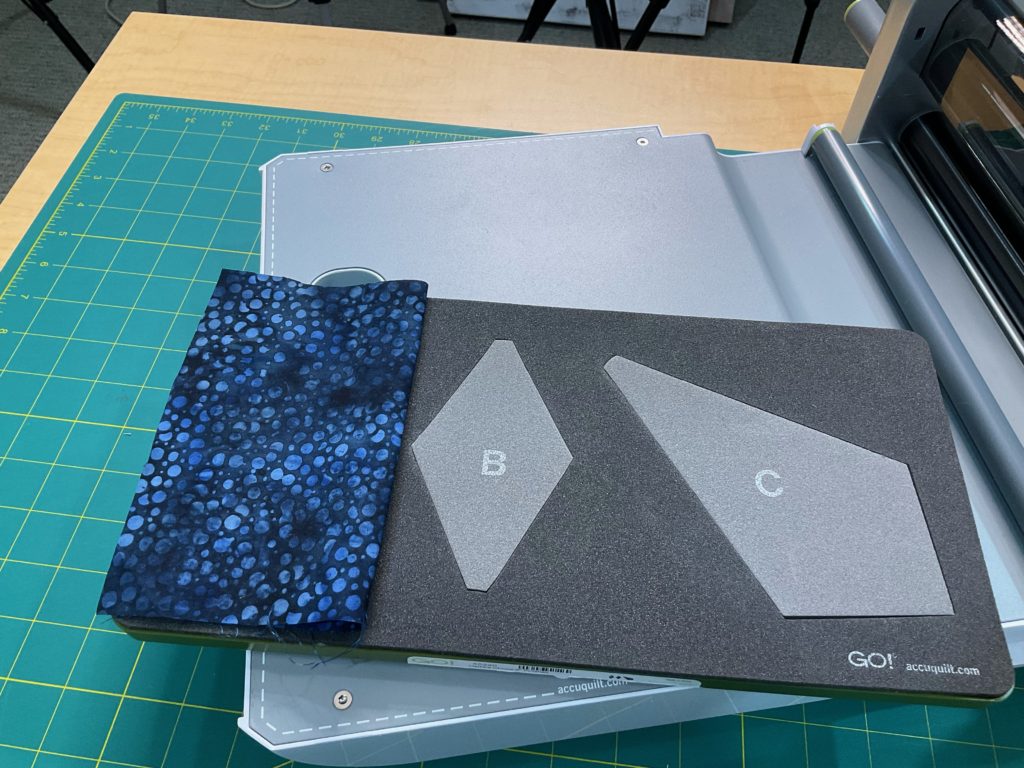
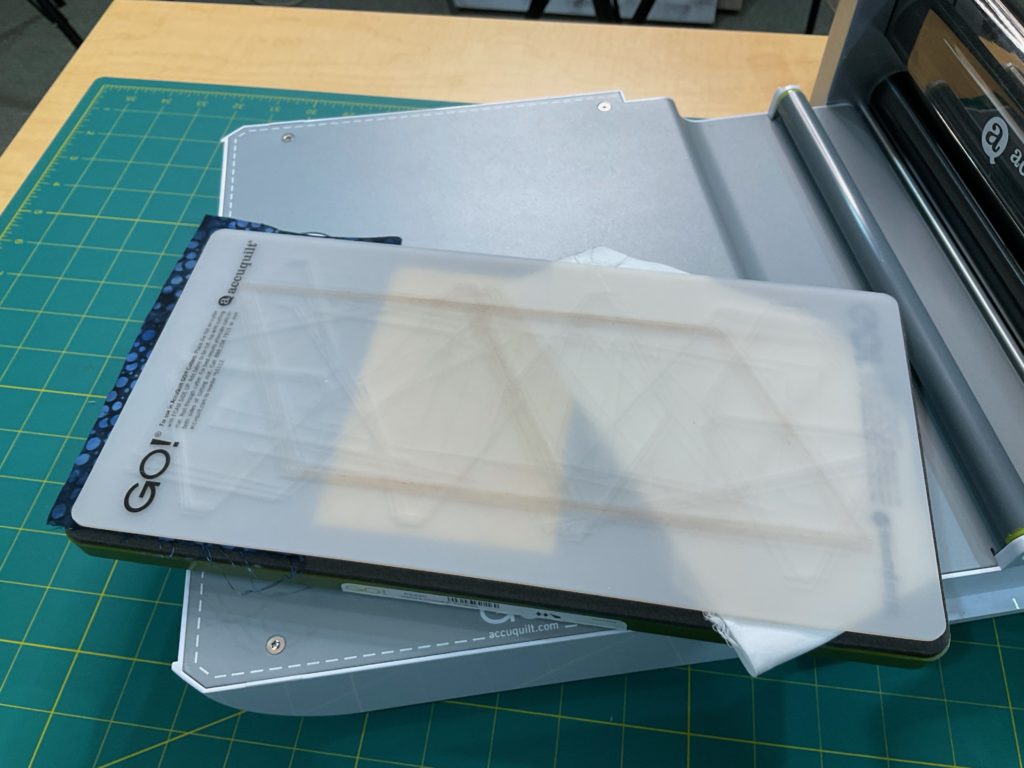
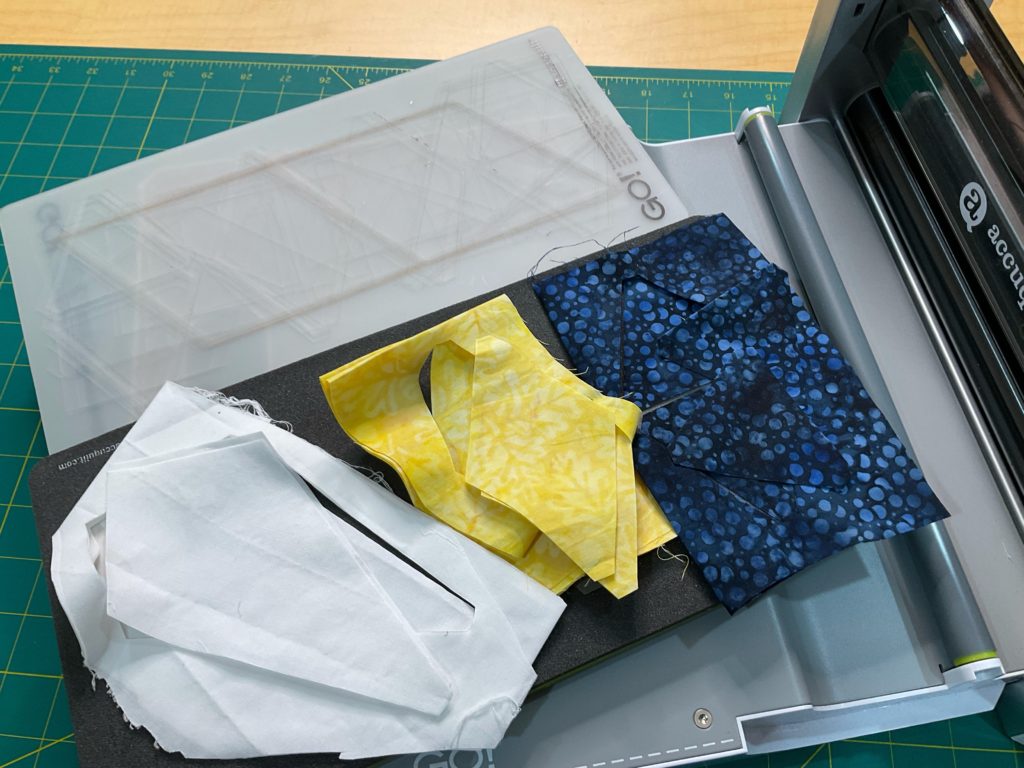
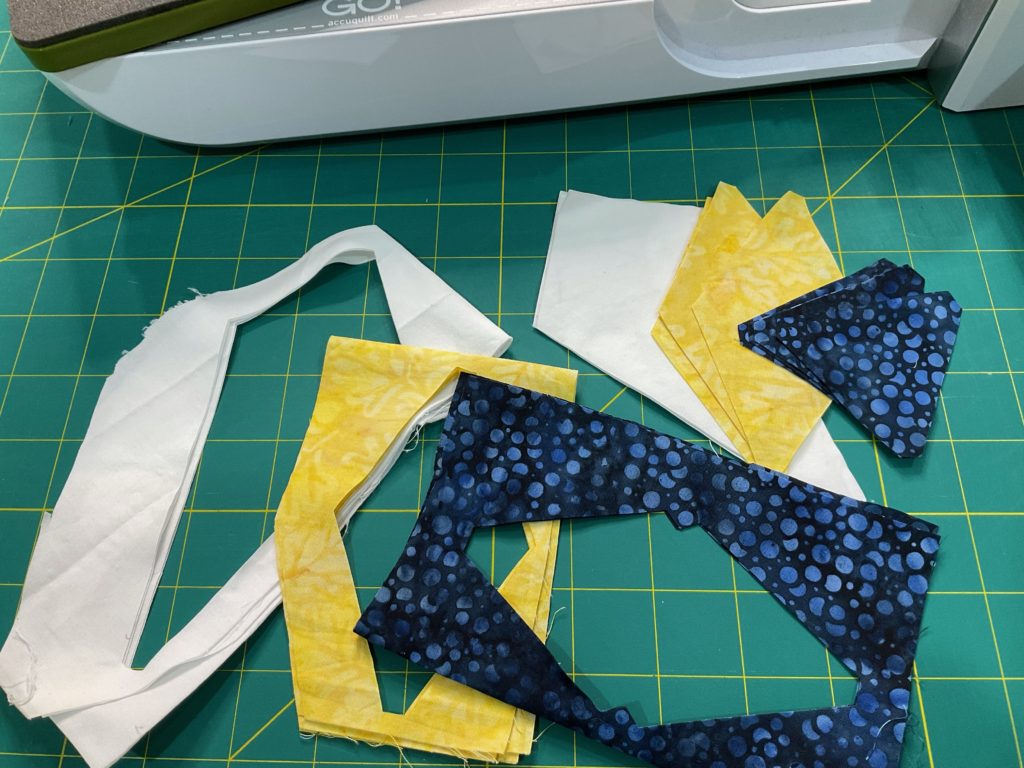
Piece them together following the AccuQuilt® instructions. The die I was given in my Island Batik Ambassador box was “Hattie’s Choice” and I love this die. It looks pretty tricky, but their cutting system makes it super easy!
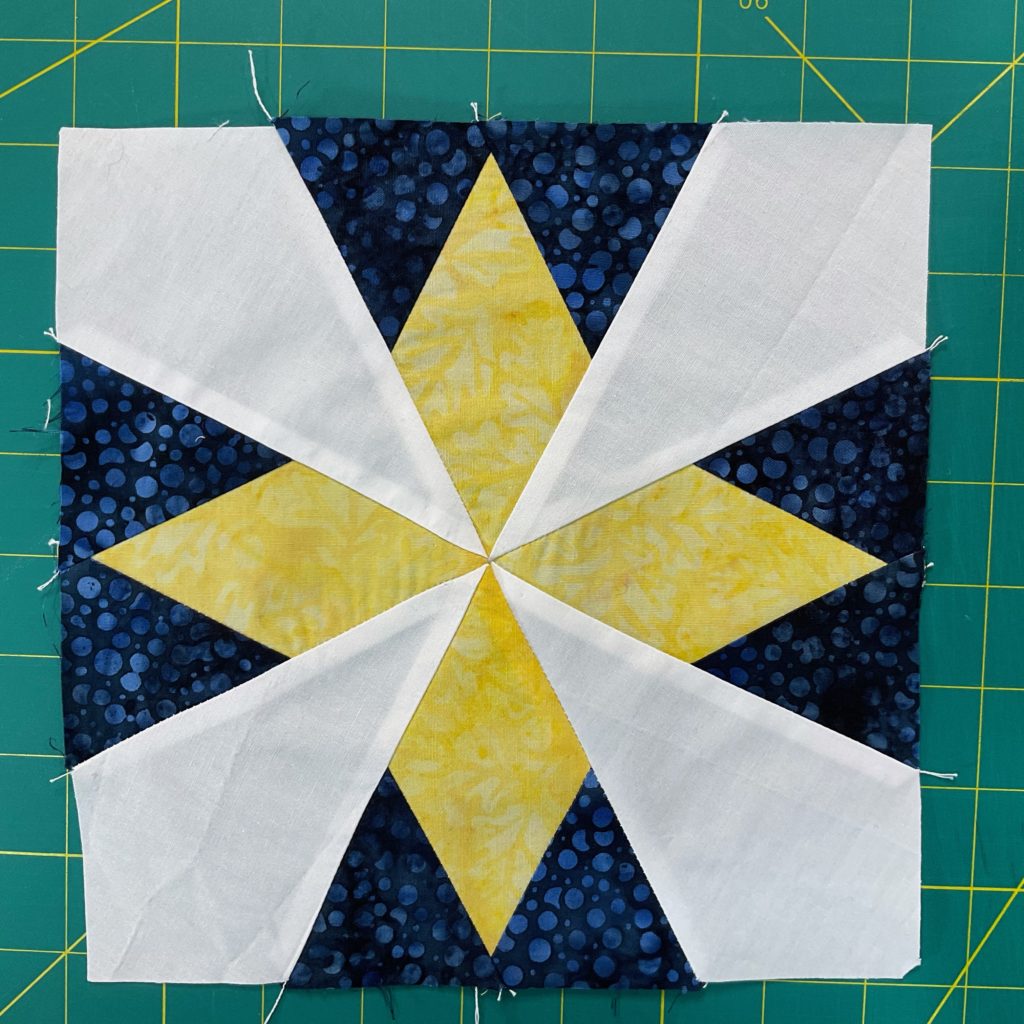
Once your center block is finished, lay out the quilt as shown, with the four 6 ½” blocks in the corners, the 6 ½” x 8 ½” blocks in the outside center and the Hattie’s Choice (or other block) in the center.
Please Note: Any block measuring 8 ½” square (finished 8”) can be used in this topper design.
Sew the blocks together.
Getting the Octagonal Shape
At this point, you can either cut out the octagonal shape on the top or quilt it while it is still in the square shape and then cut it. I prefer the latter method so I don’t have to worry about. Also, don’t worry about cutting through the quilting stitches. They will get secured when the binding is sewn on.
If you quilt it first, lay out your backing with the wrong side facing up. Then add your batting and finally, lay the topper on top with the right side facing up. Quilt as desired.
To get the corners, take a ruler and lay it on one corner, from seam point to seam point, and cut away the corner.
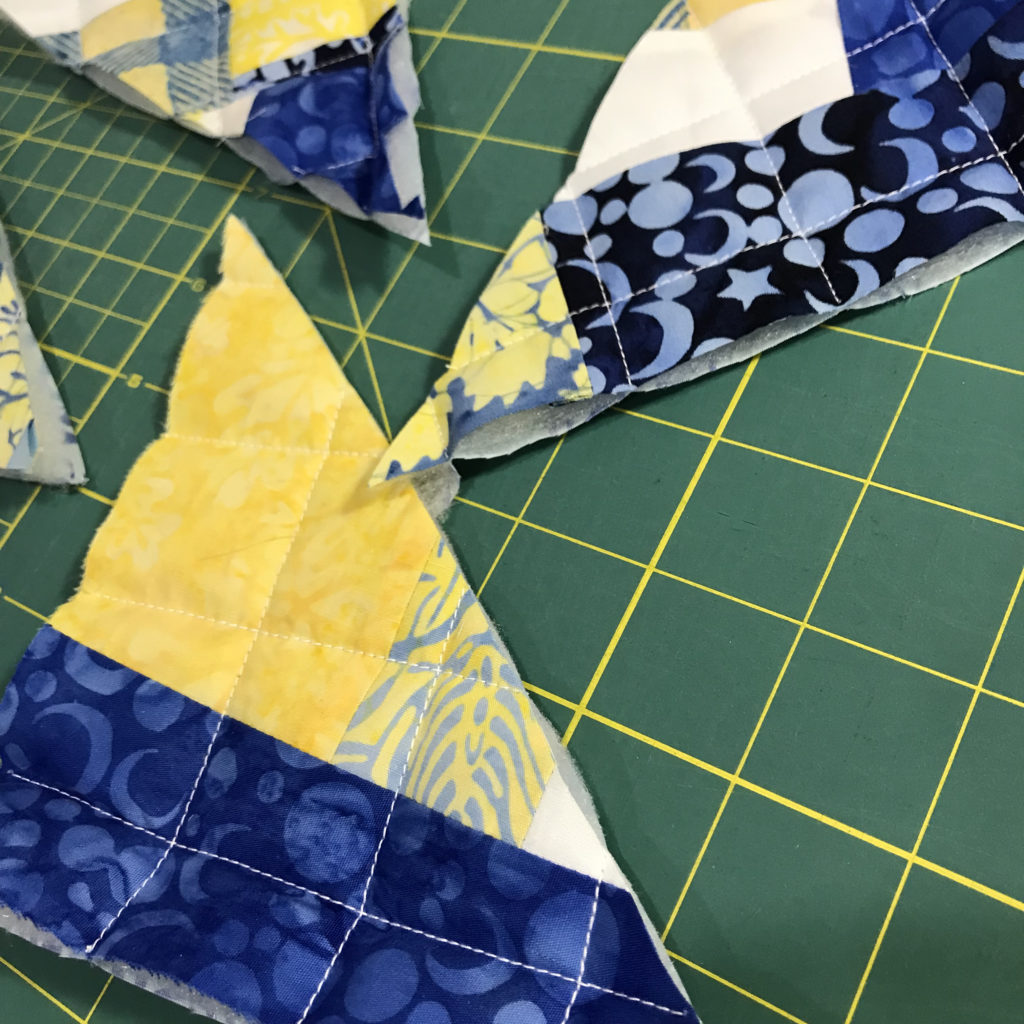
Repeat on all of the corners until you have an octagonal shape.
Binding the Topper
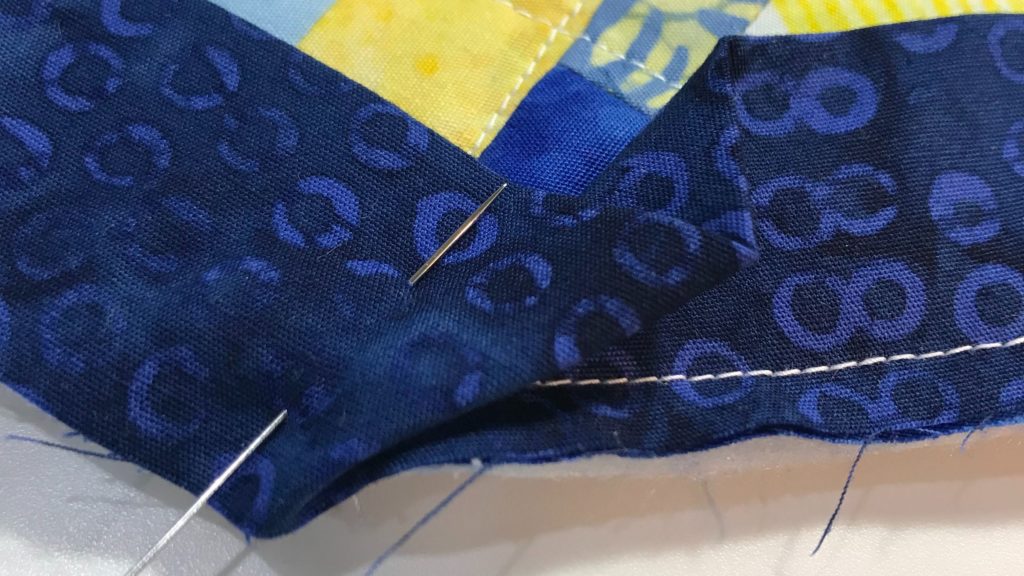
Bind using your preferred method. I use one continuous binding strip and the corners were no more difficult than the 90 degree ones on traditional quilts. I just had to adjust the angle a bit when I went around the corners.
Enjoy your new table topper!
If you would like to see a video demonstration on how to make an octagonal table topper, it is available on my YouTube channel: Create with Claudia.
Happy Quilting!

1 Comment
Sue
April 21, 2024 at 3:30 AMCan’t download free pattern