
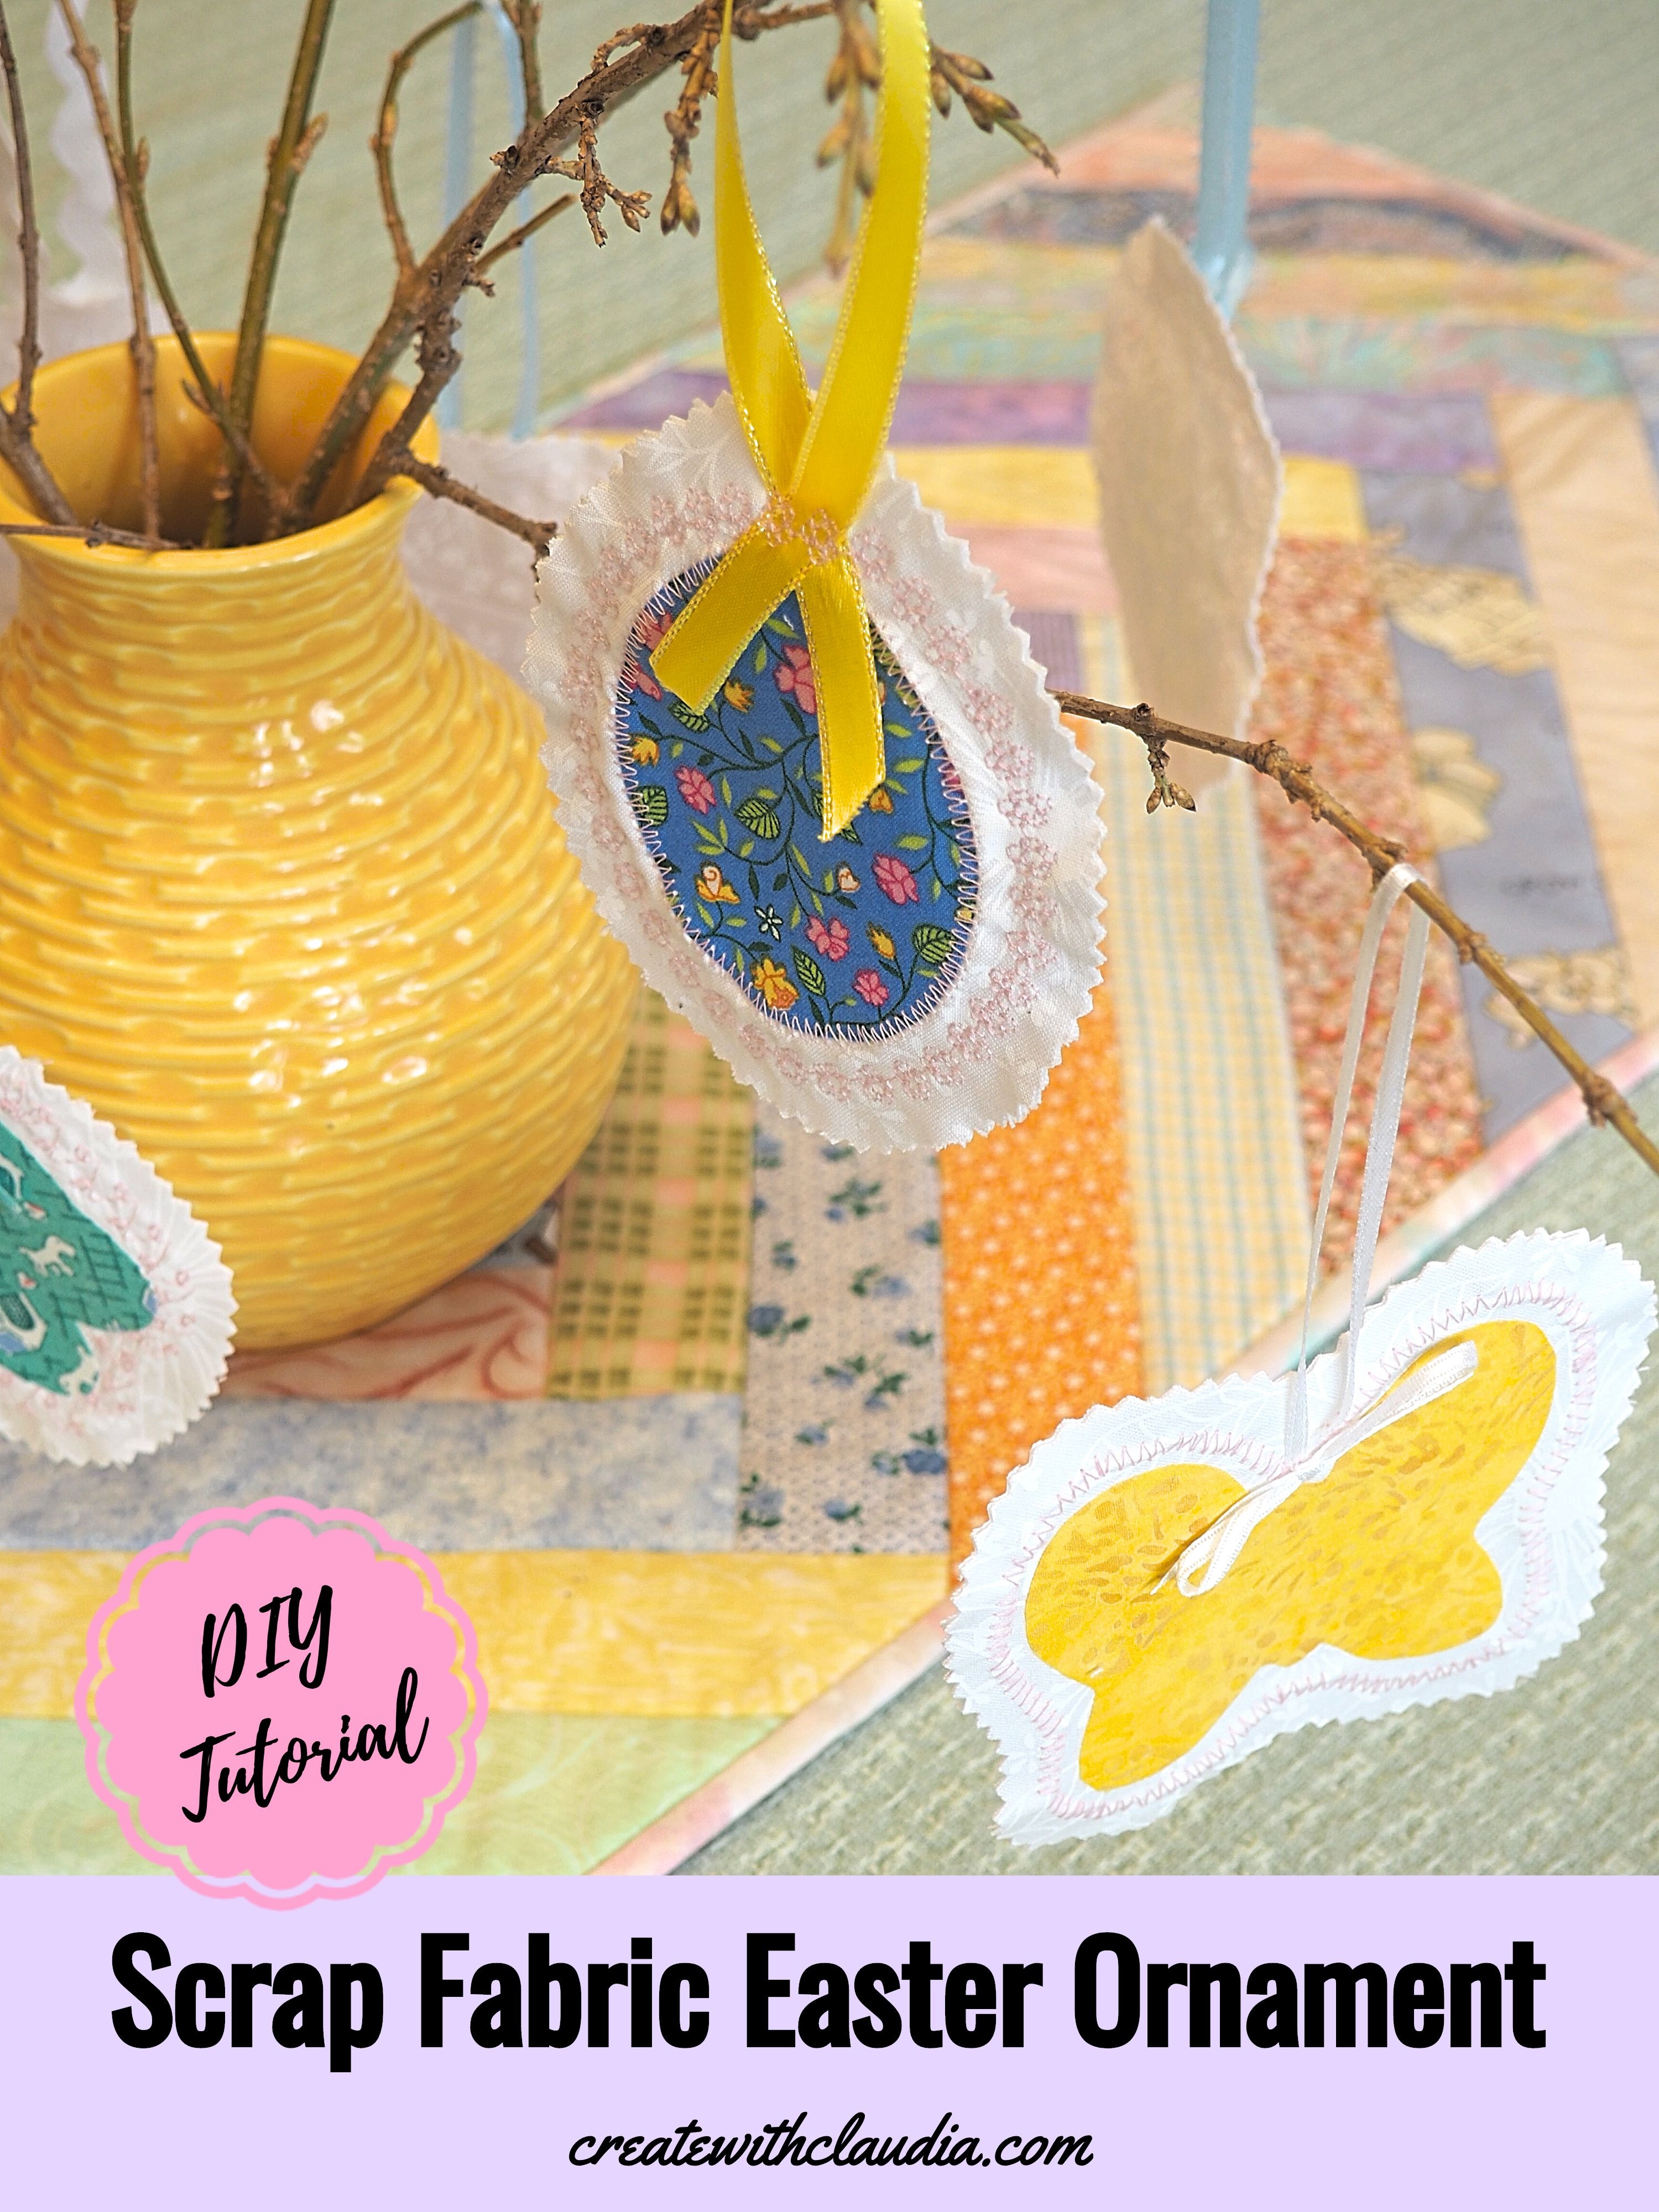
Scrap Fabric Easter Ornaments
Growing up, my family always had some spring branches from the garden adorned with festive Easter ornaments. Not only were they a reminder of the holiday, they were also a sure sign that spring had arrived. I wanted to put my own spin on my childhood favorites and came up with these scrap fabric Easter ornaments.
I enjoy making my own decorations for a number of reasons. Firstly, they are items that won’t be seen on every store shelf and they have that personal touch around the house. Secondly, they can be tailored to any look I want and it is also a money saver. Let’s face it, home décor can be pricey.
As a crafter, I was lucky enough to have all of the supplies needed for this project, but if you don’t have them, they are easy to find.
Video Tutorial of these Scrap Fabric Easter Ornaments
If you enjoy watching video tutorials of projects, I’ve put together this one for these ornaments.
Supplies Needed
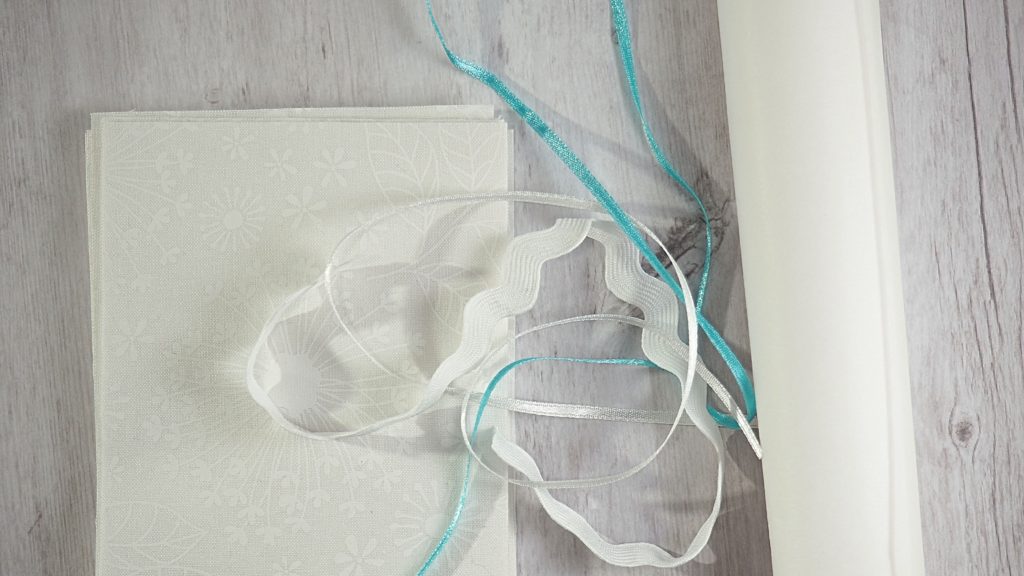
Here is what you will need to make these, so start digging through your craft supplies.
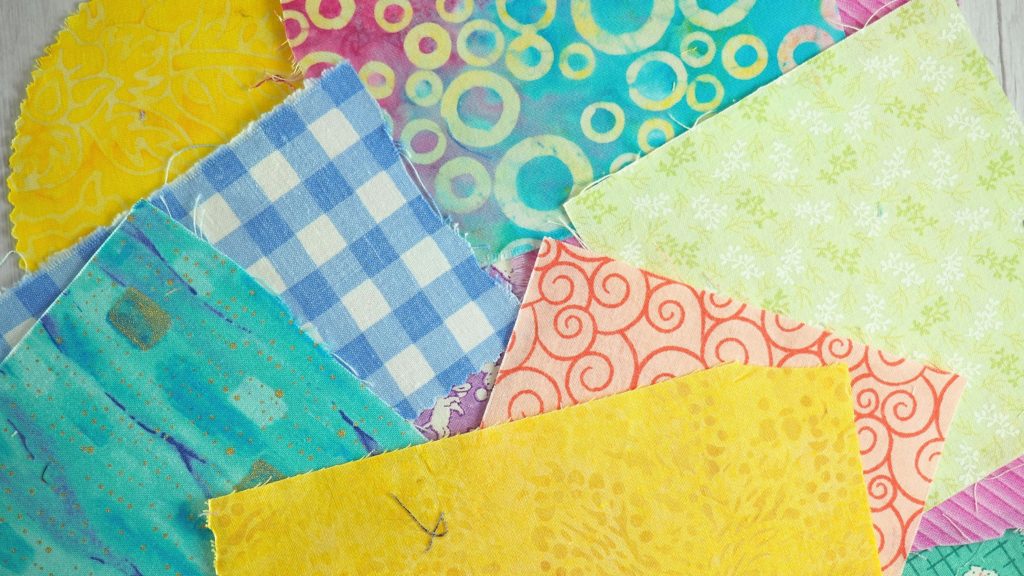
- Pastel scrap fabric pieces (large enough for your template(s))
- Fabric for the background cut 4” x 5” (or large enough to fit your templates with at least a 1” border). You will need two pieces for each ornament you make.
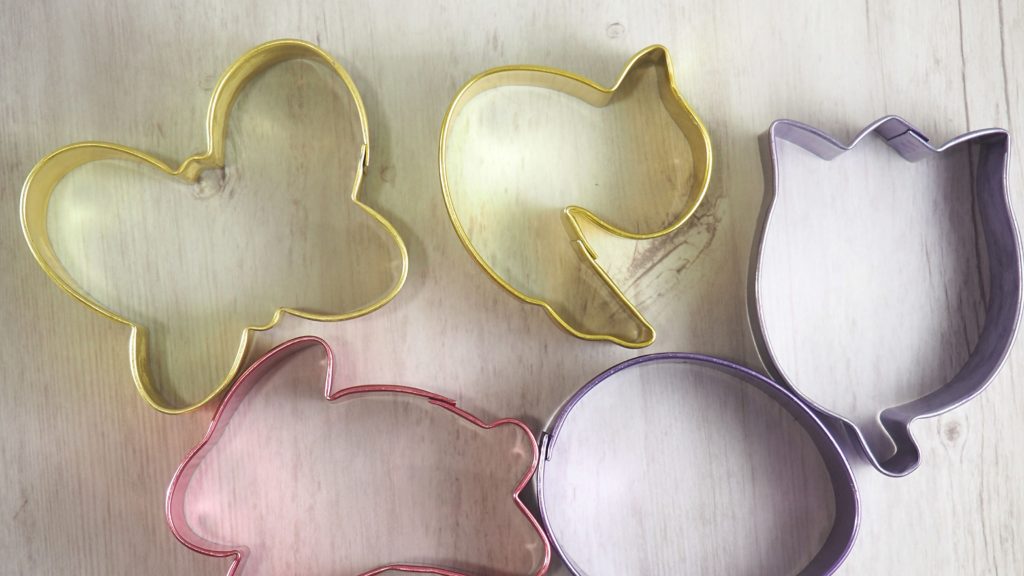
- Cookie cutters (various Spring or Easter designs) – Mine measured no larger than 3 ½ inches from end to end.
- Iron-on fusible interfacing (with paper backing) – Light or heavyweight will work
- Ribbon
Items That Can Help You Make These Ornaments
You can find many of the items that I used to make this project in my Amazon Store.
As an Amazon Associate I earn from qualifying purchases.
Prepare the Appliqué Shape
Pick out a piece of scrap fabric for the appliqué shape. Press.
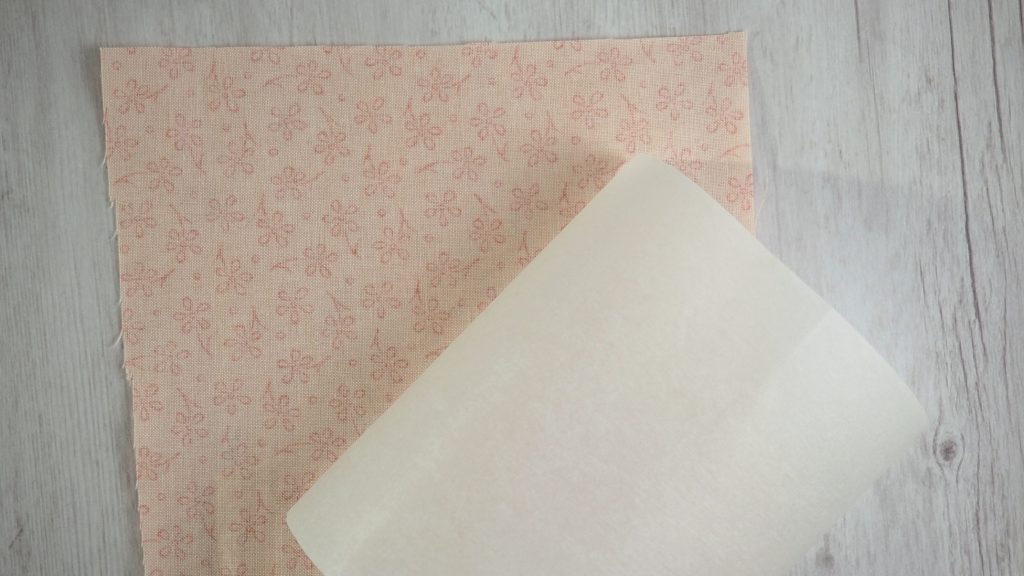
Then cut out a piece of the fusible interfacing that is about the same size as the piece of scrap fabric.
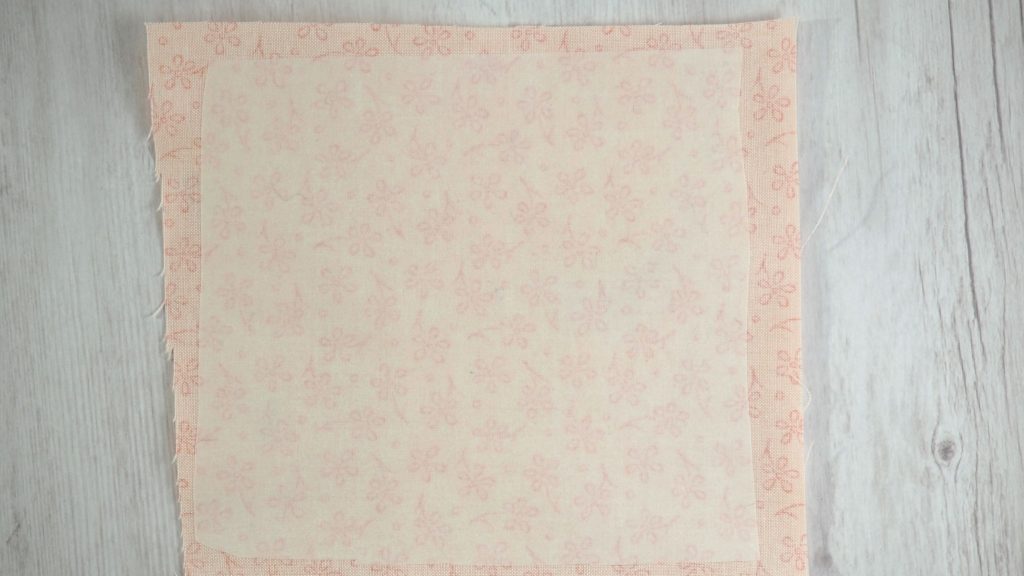
Next, place the fabric, right side facing down, onto your pressing surface. Lay the interfacing on top, adhesive side facing the back side of the scrap fabric. Press, following the manufacturer’s instructions.
Cool completely before handling.
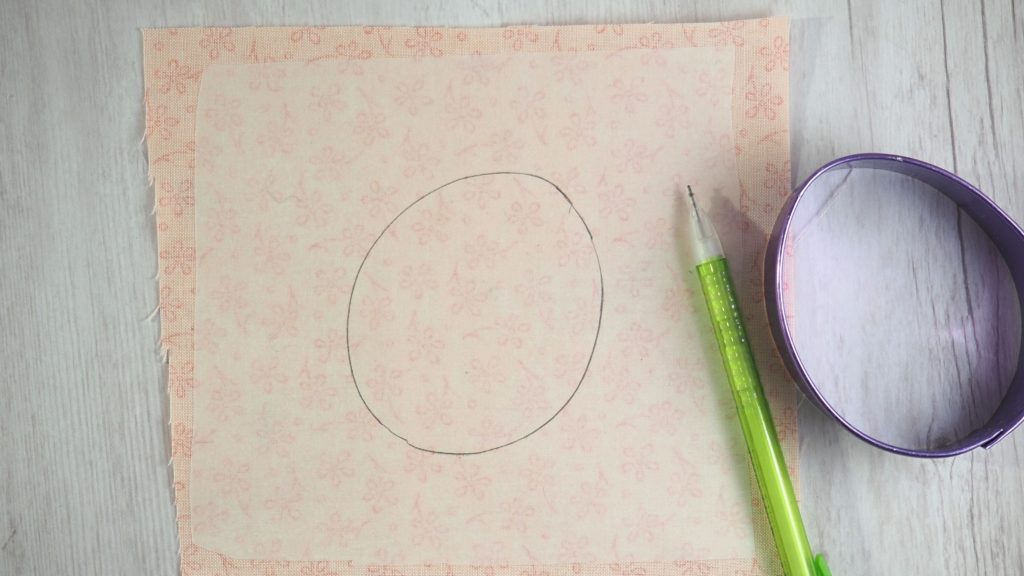
Using your cookie cutter template and a pencil, trace around the shape on the paper side.
Cut out the shape.
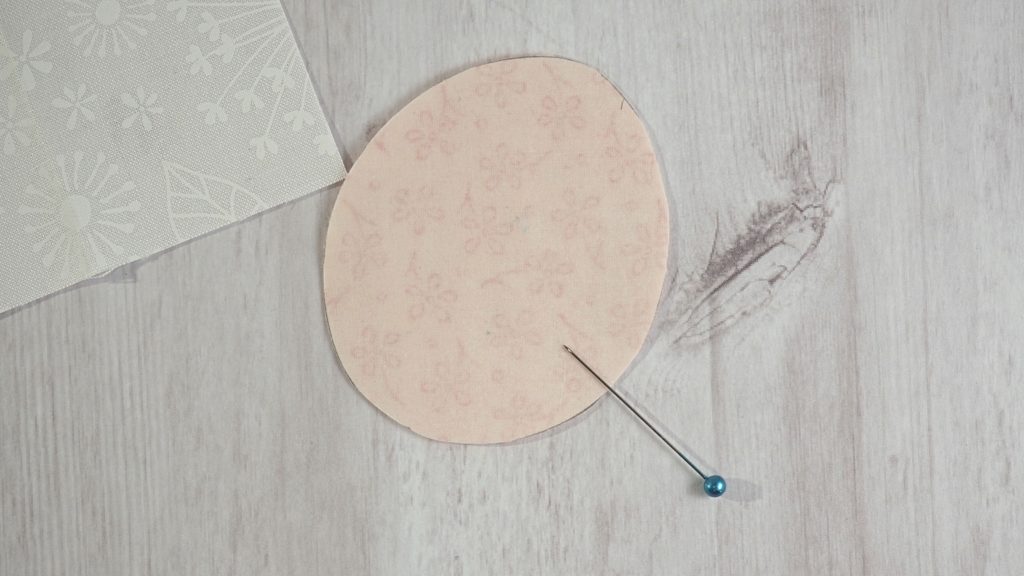
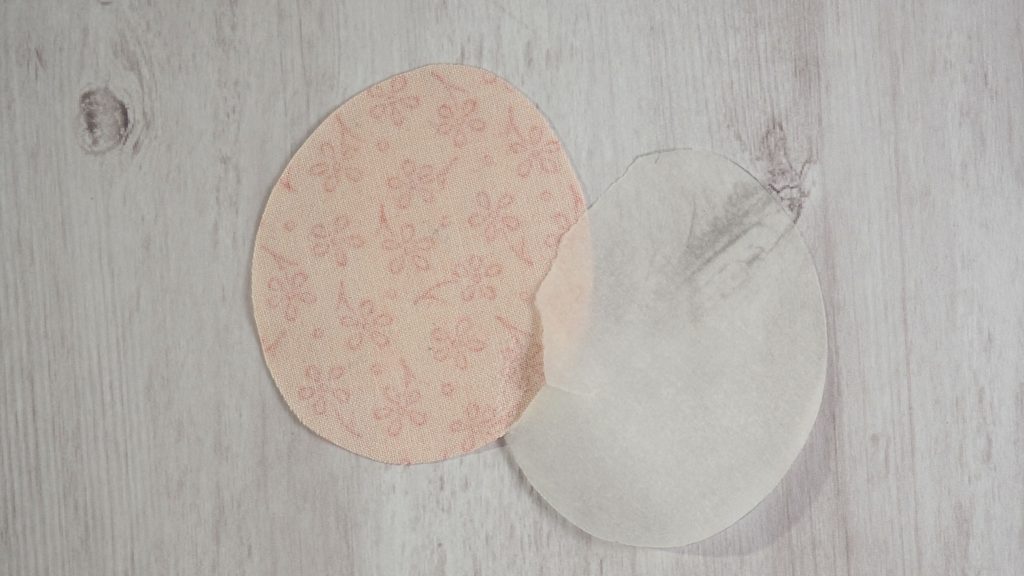
Lastly, remove the paper backing.
I always have problems with this and one of my YouTube channel viewers suggested I gently score the paper backing with a pin. It works like a charm and I never had a problem removing paper backing since.
Add the Appliqué Shape to the Backing Fabric
Before ironing the appliqué shape onto the backing fabric you want to find the center of the 4” x 5” rectangle you cut out earlier.
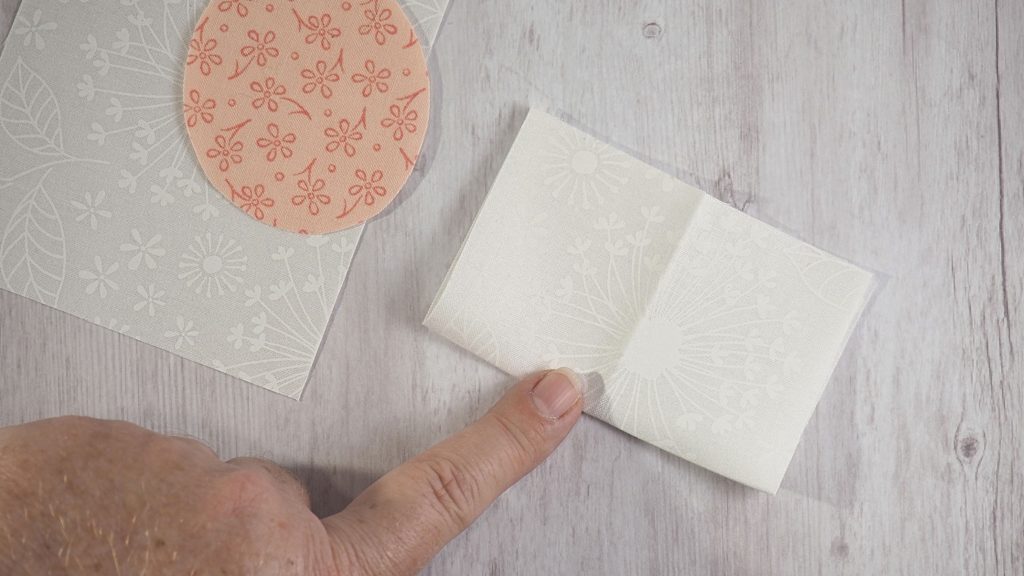
To do this, fold the rectangle in half, lengthwise and gently finger press. Open it up and you should see the center line. Repeat, but this time fold in have widthwise. Open up the fabric and you will see your guidelines to help you center the appliqué shape.

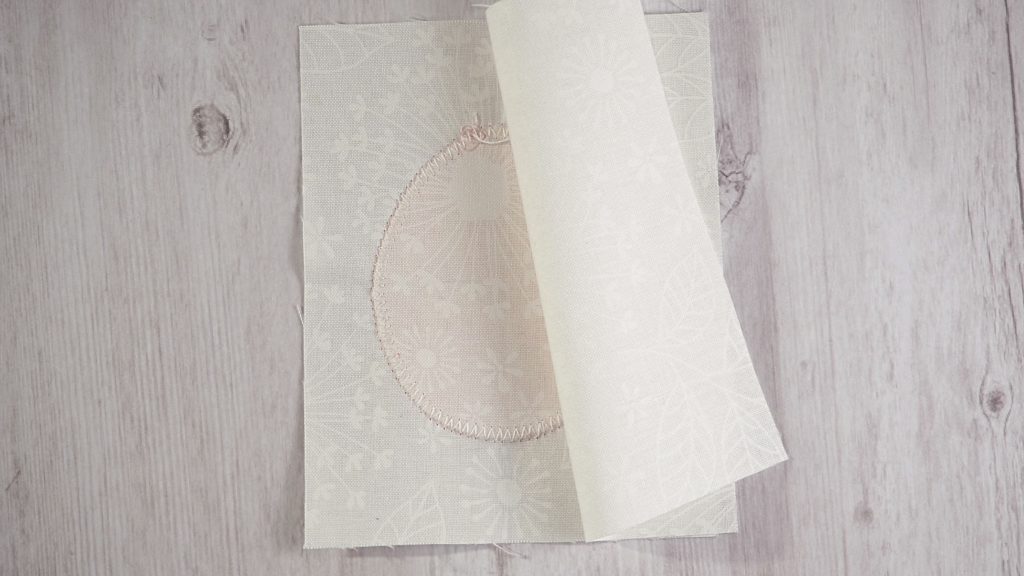
Lay the backing fabric, right side facing up, on your pressing surface. Next, position the appliqué shape where you want it. Lastly, following the manufacturer’s instructions for your fusible interfacing, press the shape into place. Cool completely.
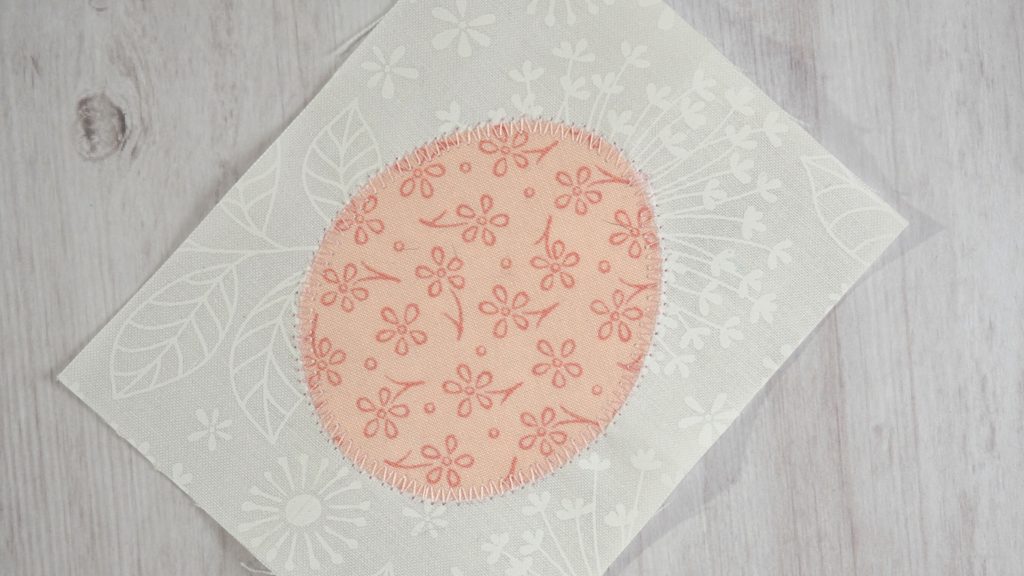
If desired use a zig zag stitch around the edge of the appliqué shape. It adds a nice decorative touch. However, the fusible interfacing is strong enough that you don’t need to do this if you are worried about the shape falling off of the backing.
Assemble the Scrap Fabric Easter Ornaments
To assemble the ornament, you will need the front piece that has the appliqué shape on it as well as the second background fabric rectangle.
Line up the front of the ornament with the back piece of fabric, wrong sides facing each other.
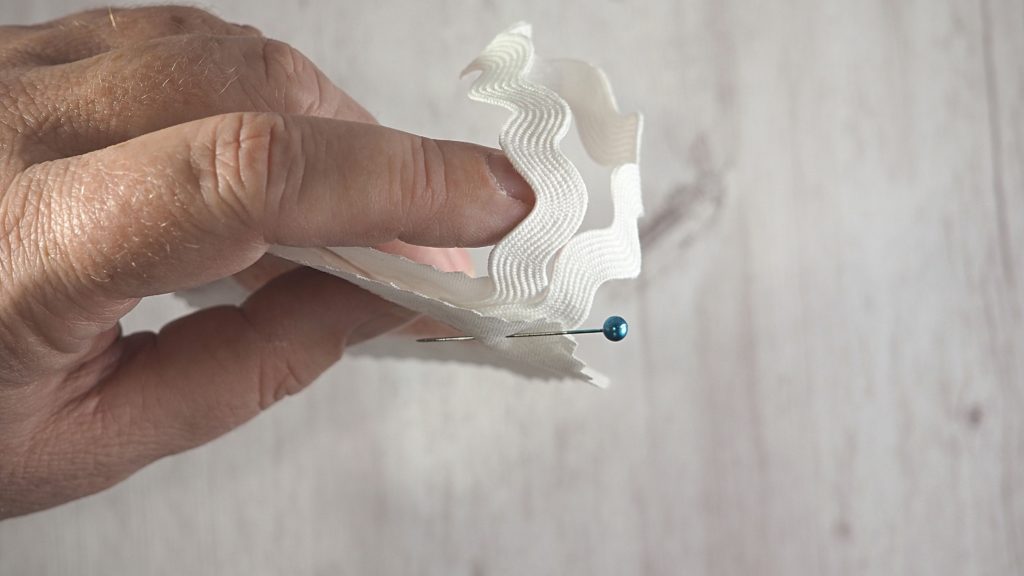
Cut a piece of ribbon to the desired length. Fold it in half and place it between the front and back fabric at the top of the shape, where you want the ornament to hang. Pin the ribbon into place.
For an added decorative touch, you can also place the ribbon on the outside, leaving the tails long enough to tie a bow or just overlap.
If your machine has the capability, use some decorative stitches around the appliqué shape. I used a zig zag around the edges of the shape and then added a pretty flower stitch as a border. Use care when sewing the ribbon so it doesn’t get twisted.
Finish the Scrap Fabric Easter Ornaments
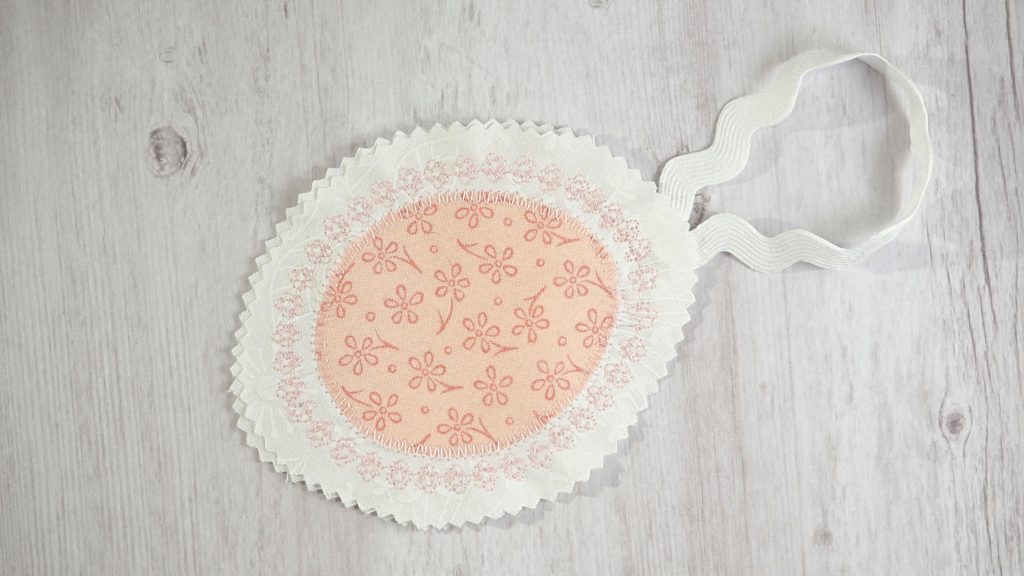
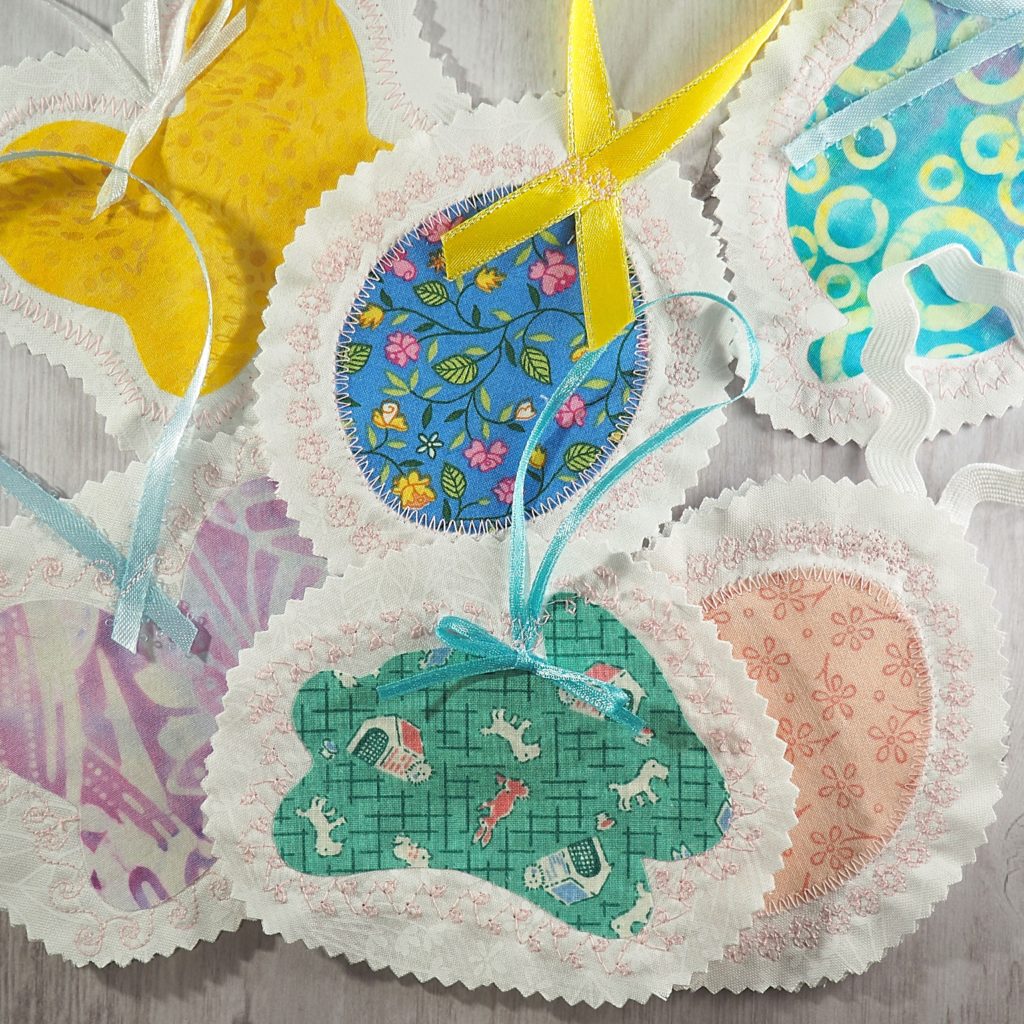
Lastly, using a pair of pinking shears, cut the excess backing fabric away. Use the the outline of the appliqué shape as your guide.
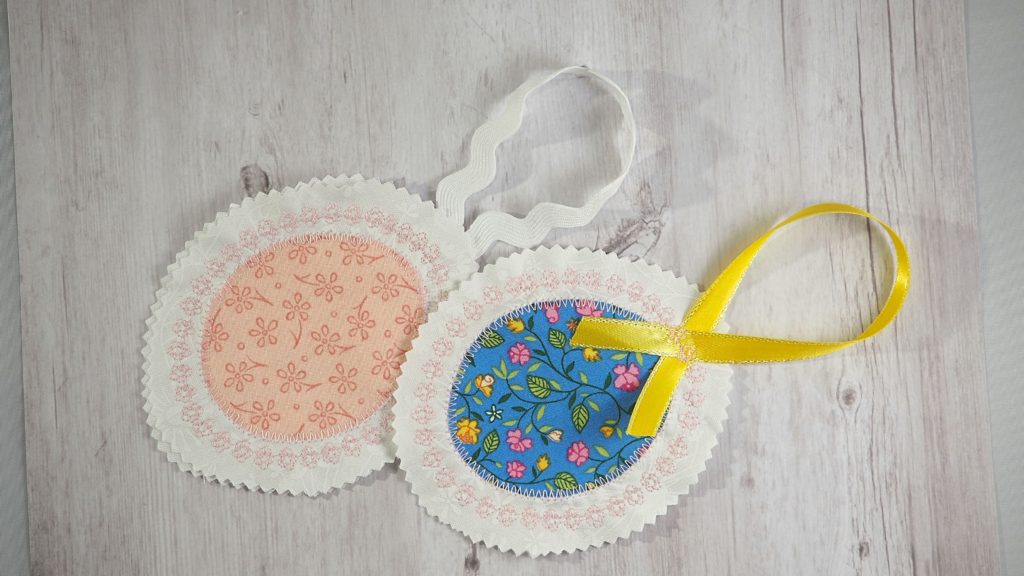
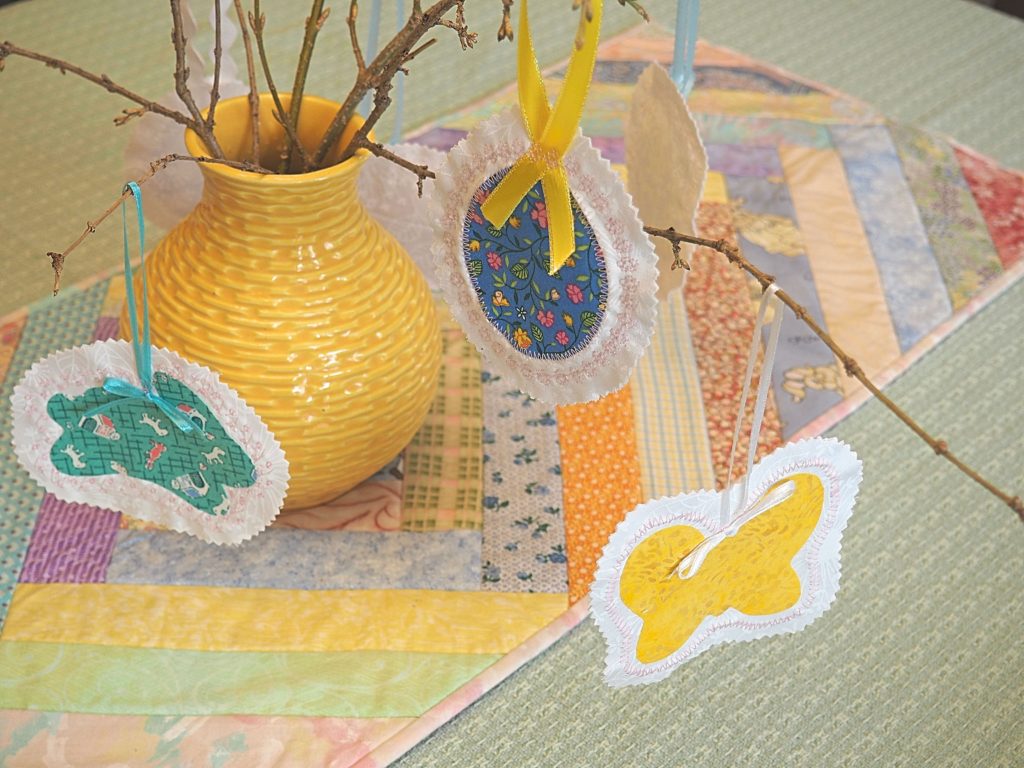
These scrap fabric Easter ornaments can be made quickly and, when hung on some pretty spring branches, make a lovely decoration.
Don’t forget, they are not just for Easter. Display them throughout the spring season to remind you of the beautiful flowers and warm temperatures to come.

Happy Crafting!
