
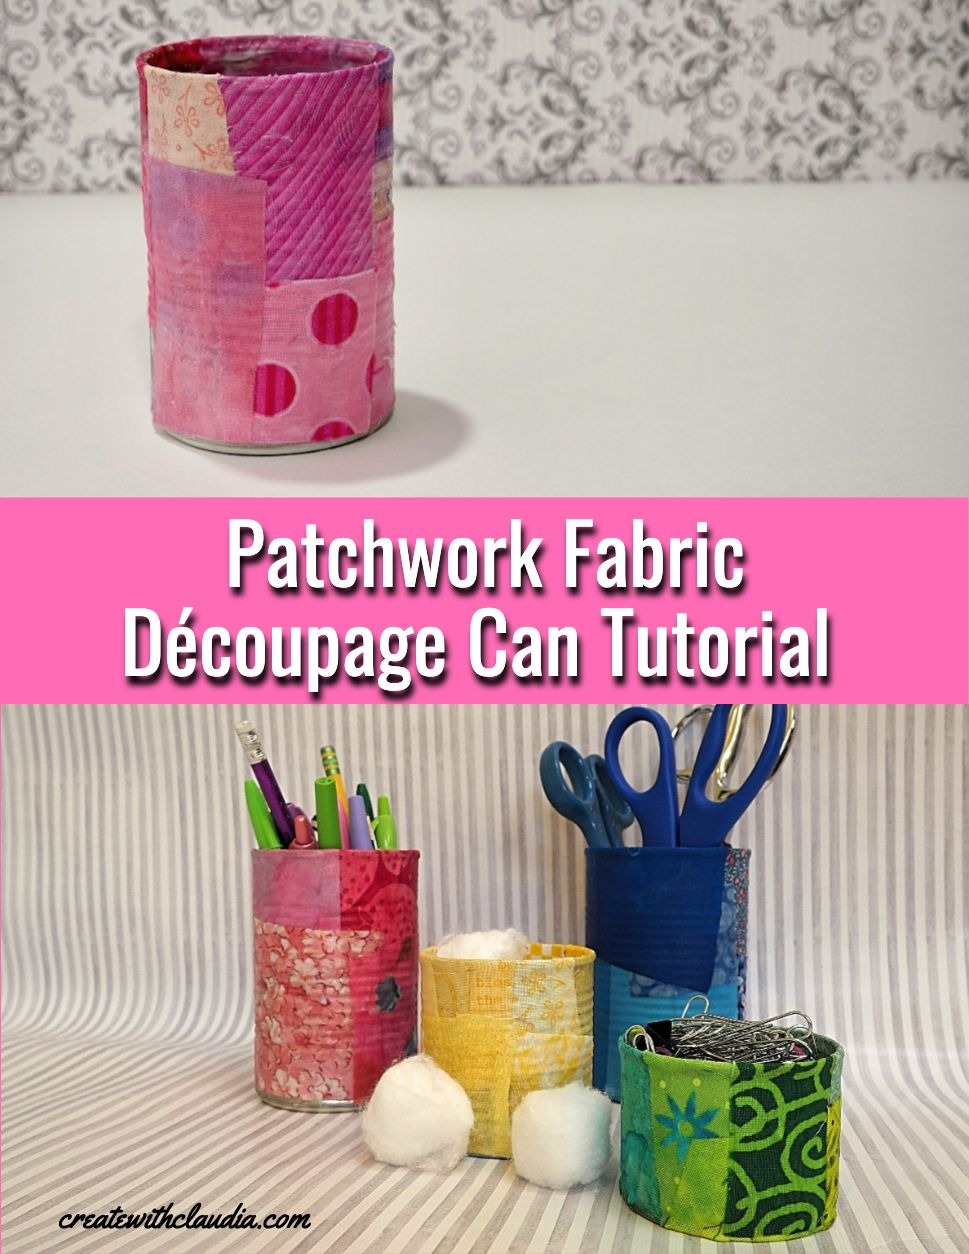
Patchwork Fabric Découpage Can Tutorial
Do you ever wonder what you can do with all of those tin cans you use when making dinner? Instead of throwing them out, why not transform them into something useful and pretty with this patchwork fabric découpage can tutorial.
As a crafter and quilter, I have all kinds of writing utensils and other craft supplies that need organization. My problem is that I never have enough places to store them. I also have an overabundance of fabric scraps.
Because of that, I’m always trying to come up with ideas to help me out. Combining my need for storage and my scrap fabric collection, I came up with this easy project. And when I say easy, I mean really easy.
So instead of throwing out those cans the next time you open one up for a recipe, save them for this craft project. And don’t overlook the various can sizes. These découpage tin cans look cute, and are useful, in any size.
Video Tutorial
For readers who like to watch video tutorials, you can find this project, along with four other fun no-sew scrap ideas in this one.
Supplies You’ll Need
You don’t need too many supplies for this project and you probably have a few of them around the house already.
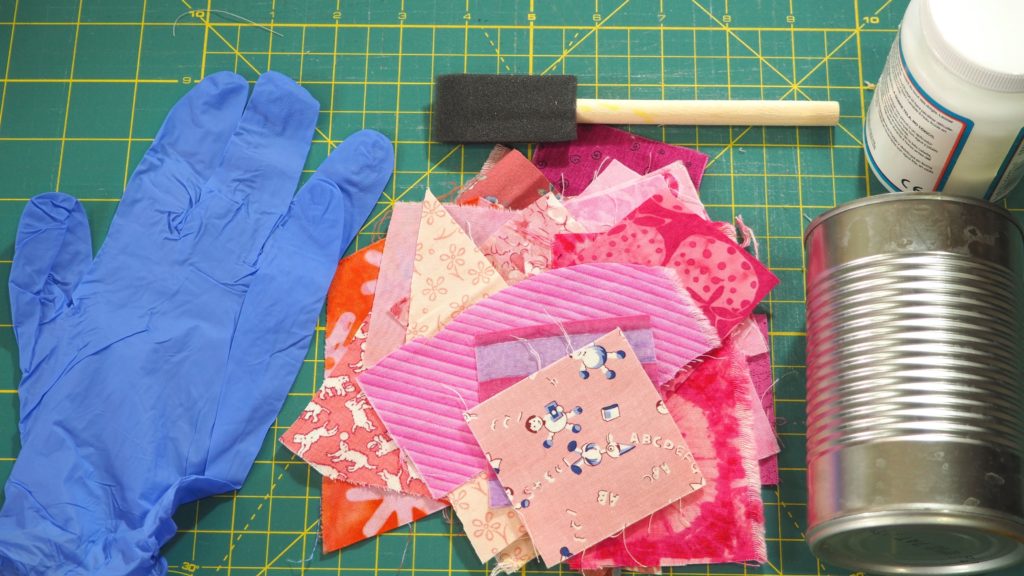
- Can – any size, cleaned and the label removed
- Découpage glue – fabric or other
- Sponge brush
- Fabric scraps – I like to use pieces no larger than 2″ to get the patchwork effect
- Gloves
Items You Can Use For This Project (And Others)
You can find many of the items that I used to make this project in my Amazon Store.
As an Amazon Associate I earn from qualifying purchases.
Preparing the Can
Wash the can and remove the labels. Sometimes the glue is hard to remove, but as long as it is relatively flat it doesn’t matter. It gets covered up with the fabric.
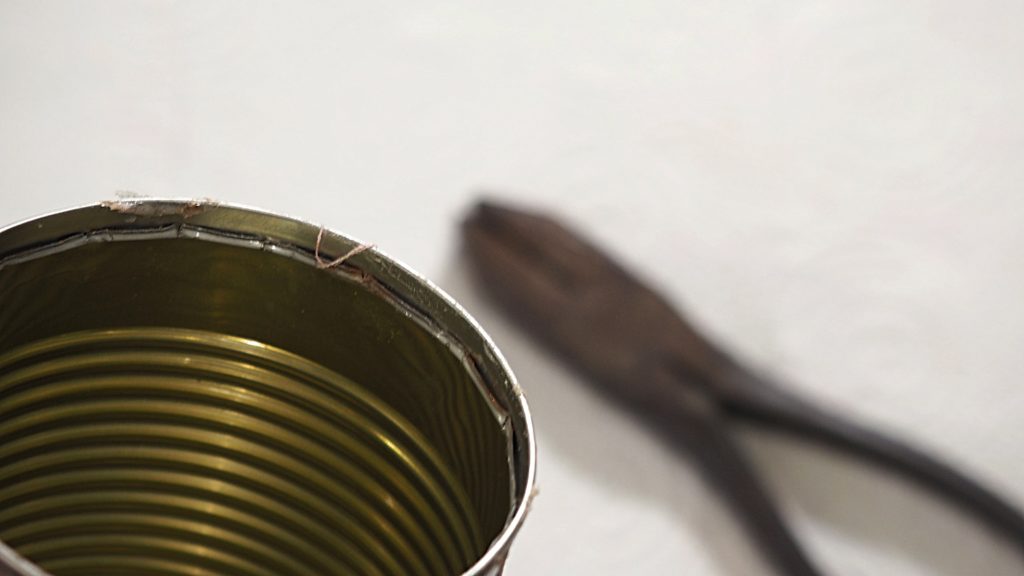
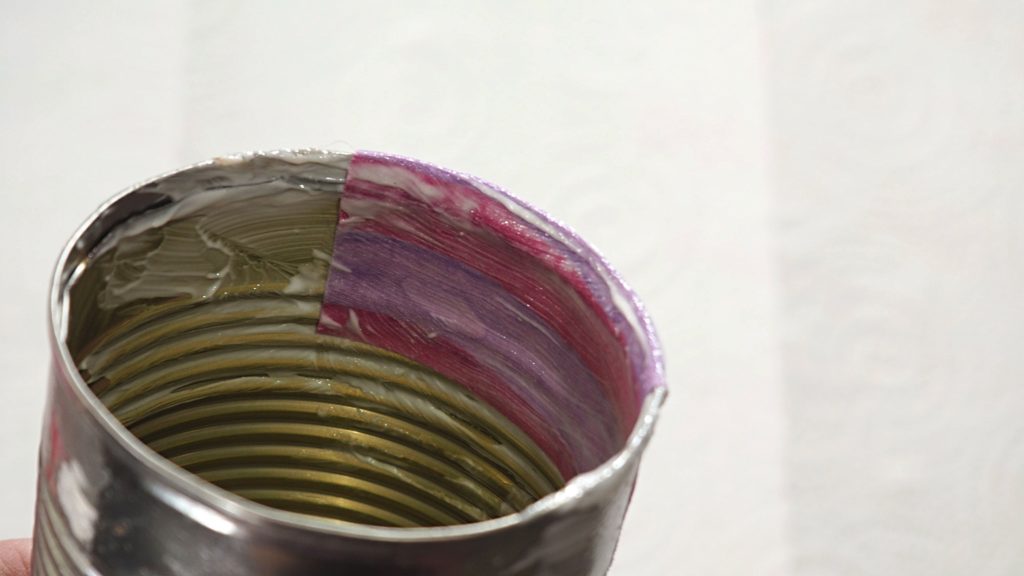
The inside of the can edge can be quite sharp so it needs to fixed. Using a pair of pliers, go around the inside and pinch down the inside rim so that there are no more sharp edges.
Applying the Fabric
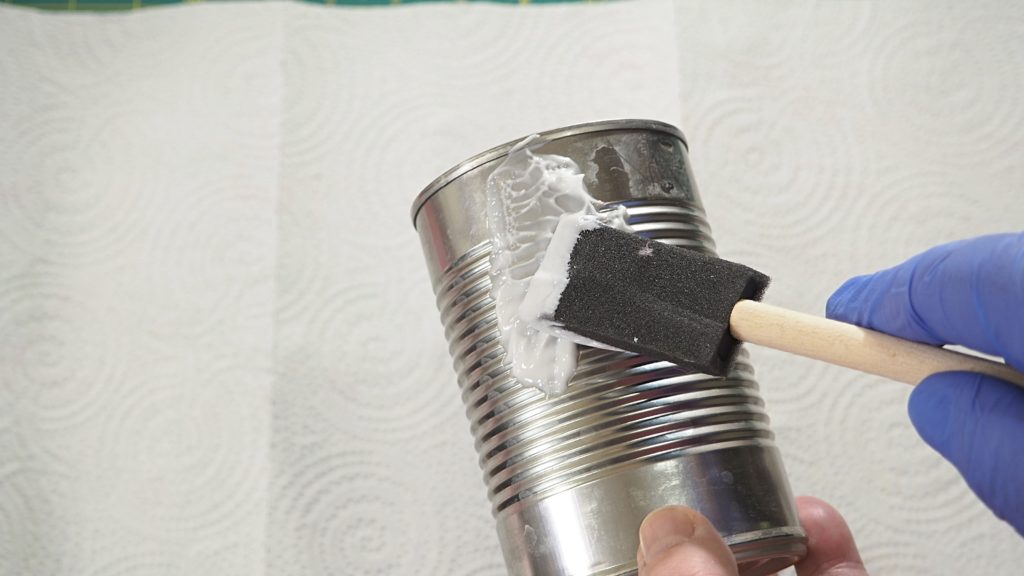
Note: This project gets messy so protect your work surface.
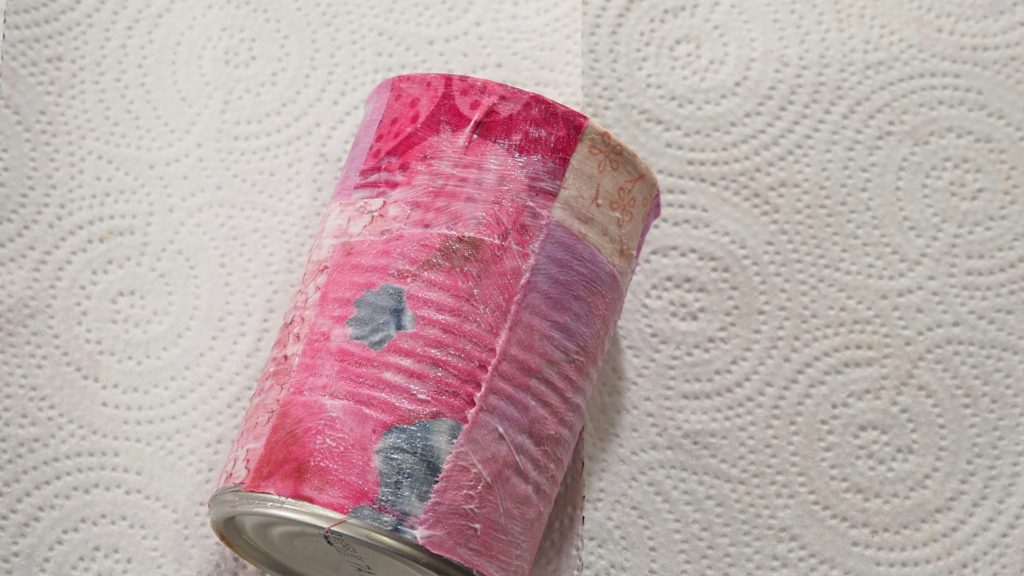
Wearing gloves, apply a generous amount of glue to a small section of the can. Add a piece of fabric and apply more glue on top of the fabric so it is completely covered.
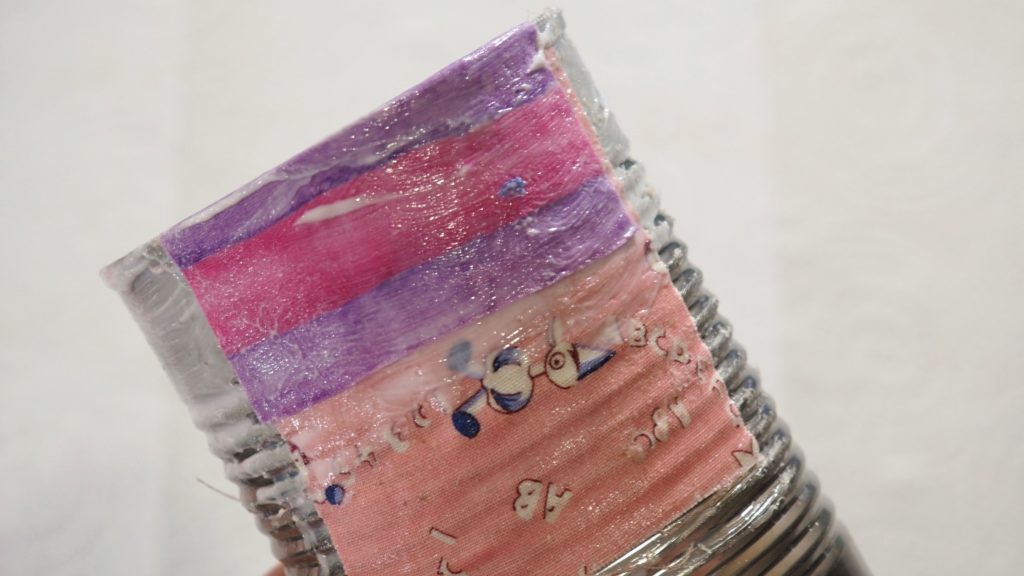
Make sure to cover the inside edge too. Cover about an inch down on the inside with glue and wrap the fabric around. Apply glue to the outside of the fabric on the inner part of the can as well.
Continue covering the entire can. Smooth out any wrinkles or air bubbles as you work your way around the can.
Set aside to dry, at least overnight, on a piece of wax paper. For the first hour or so, you may want to lift it off of the paper so that it doesn’t get stuck
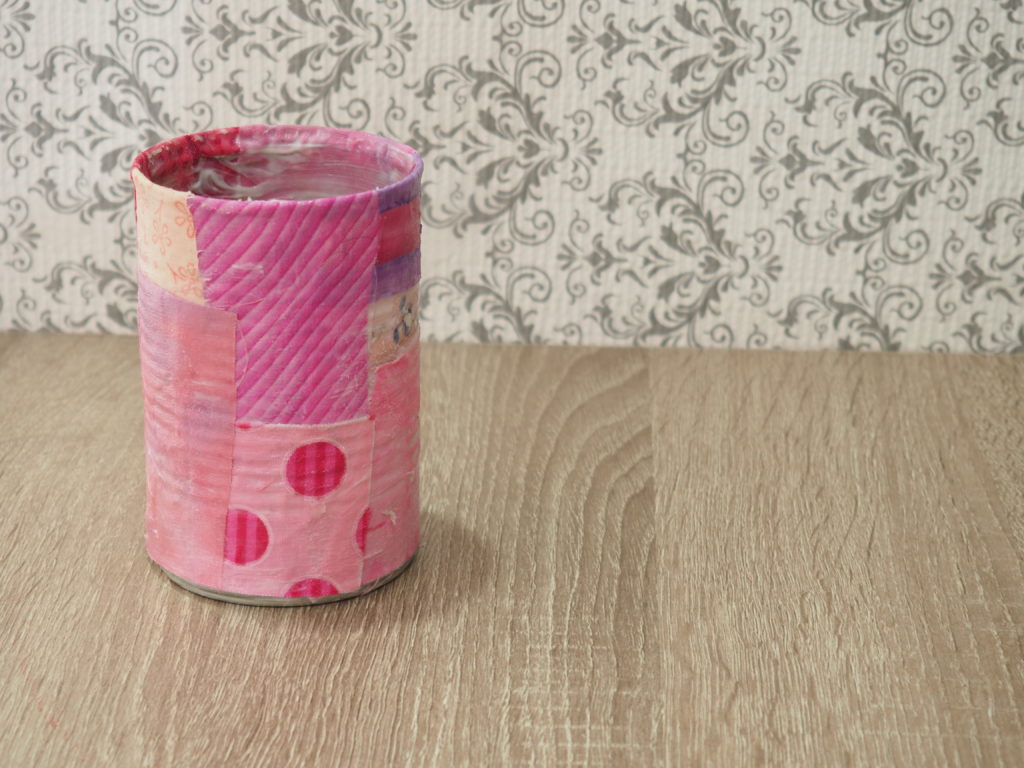
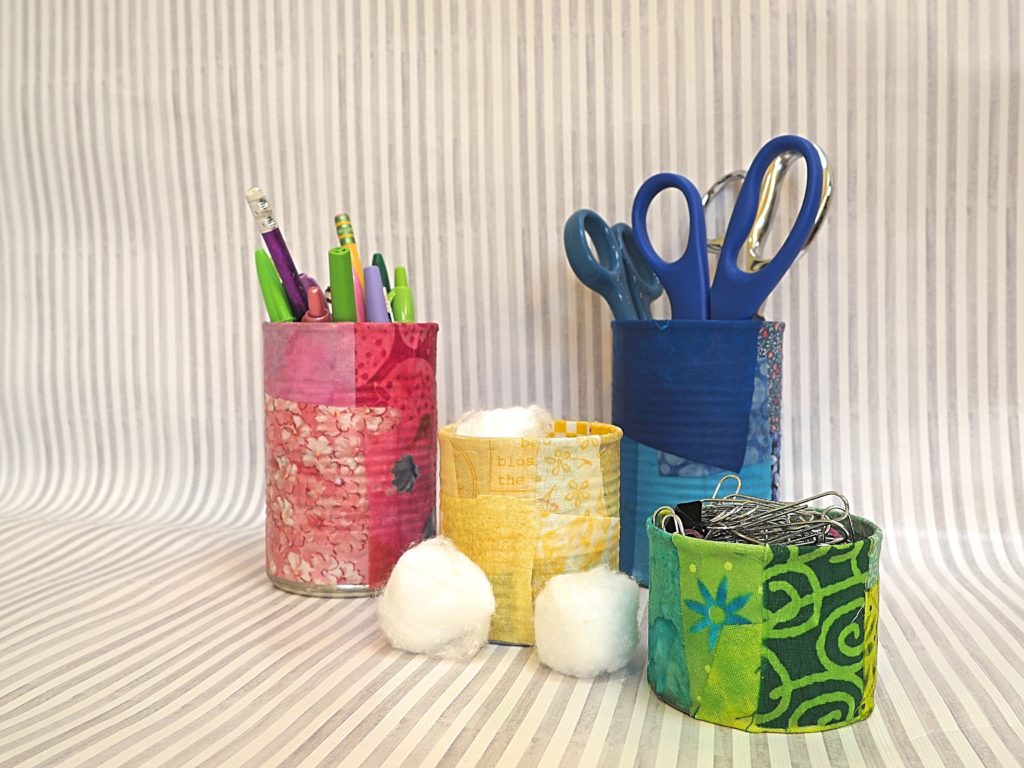
A Patchwork Fabric Découpage Can Is Great For All Kinds of Things
From pens and pencils to cotton balls, these brightly covered cans are an attractive way to store items.
They are also a great way to use up some of those fabric scraps you can’t seem to get rid of. I know that no matter how hard I try, they seem to replicate.
Finally, they are a useful way to recycle. I don’t know about you, but I go through a lot of cans, and because our local recycling program has been curtailed, I’m always trying to find ways to use them instead of throw them out.
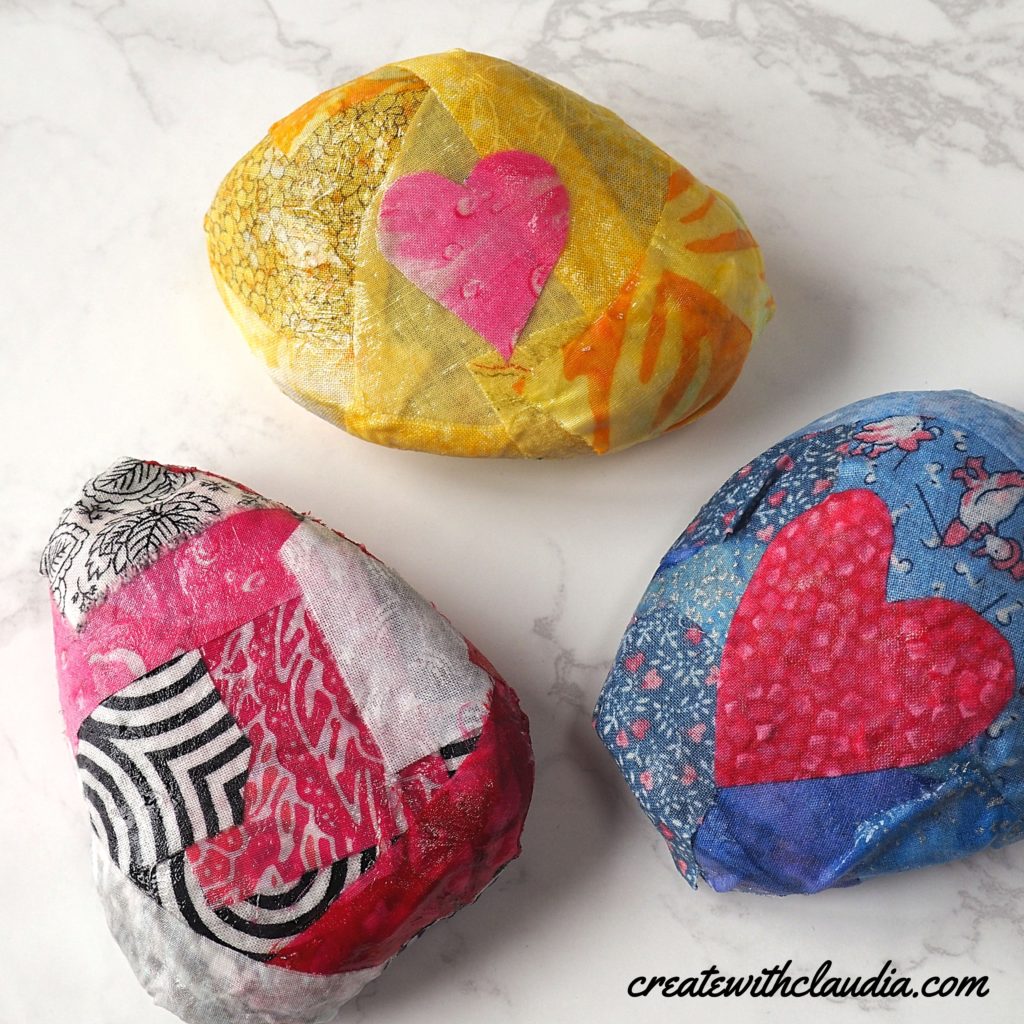
Do You Like Découpage?
Here are a couple of other easy scrap fabric découpage projects you may want to try.
Happy Crafting!


2 Comments
Fran Milano
May 1, 2020 at 11:09 AMThose paperweight rocks also make great plant/row markers in the yard and garden… I’ve painted veggie pics on rocks and sealed with modge lodge and/or clear spray, fyi.
createwithclaudia_7j76hs
May 1, 2020 at 1:46 PMGreat idea!