
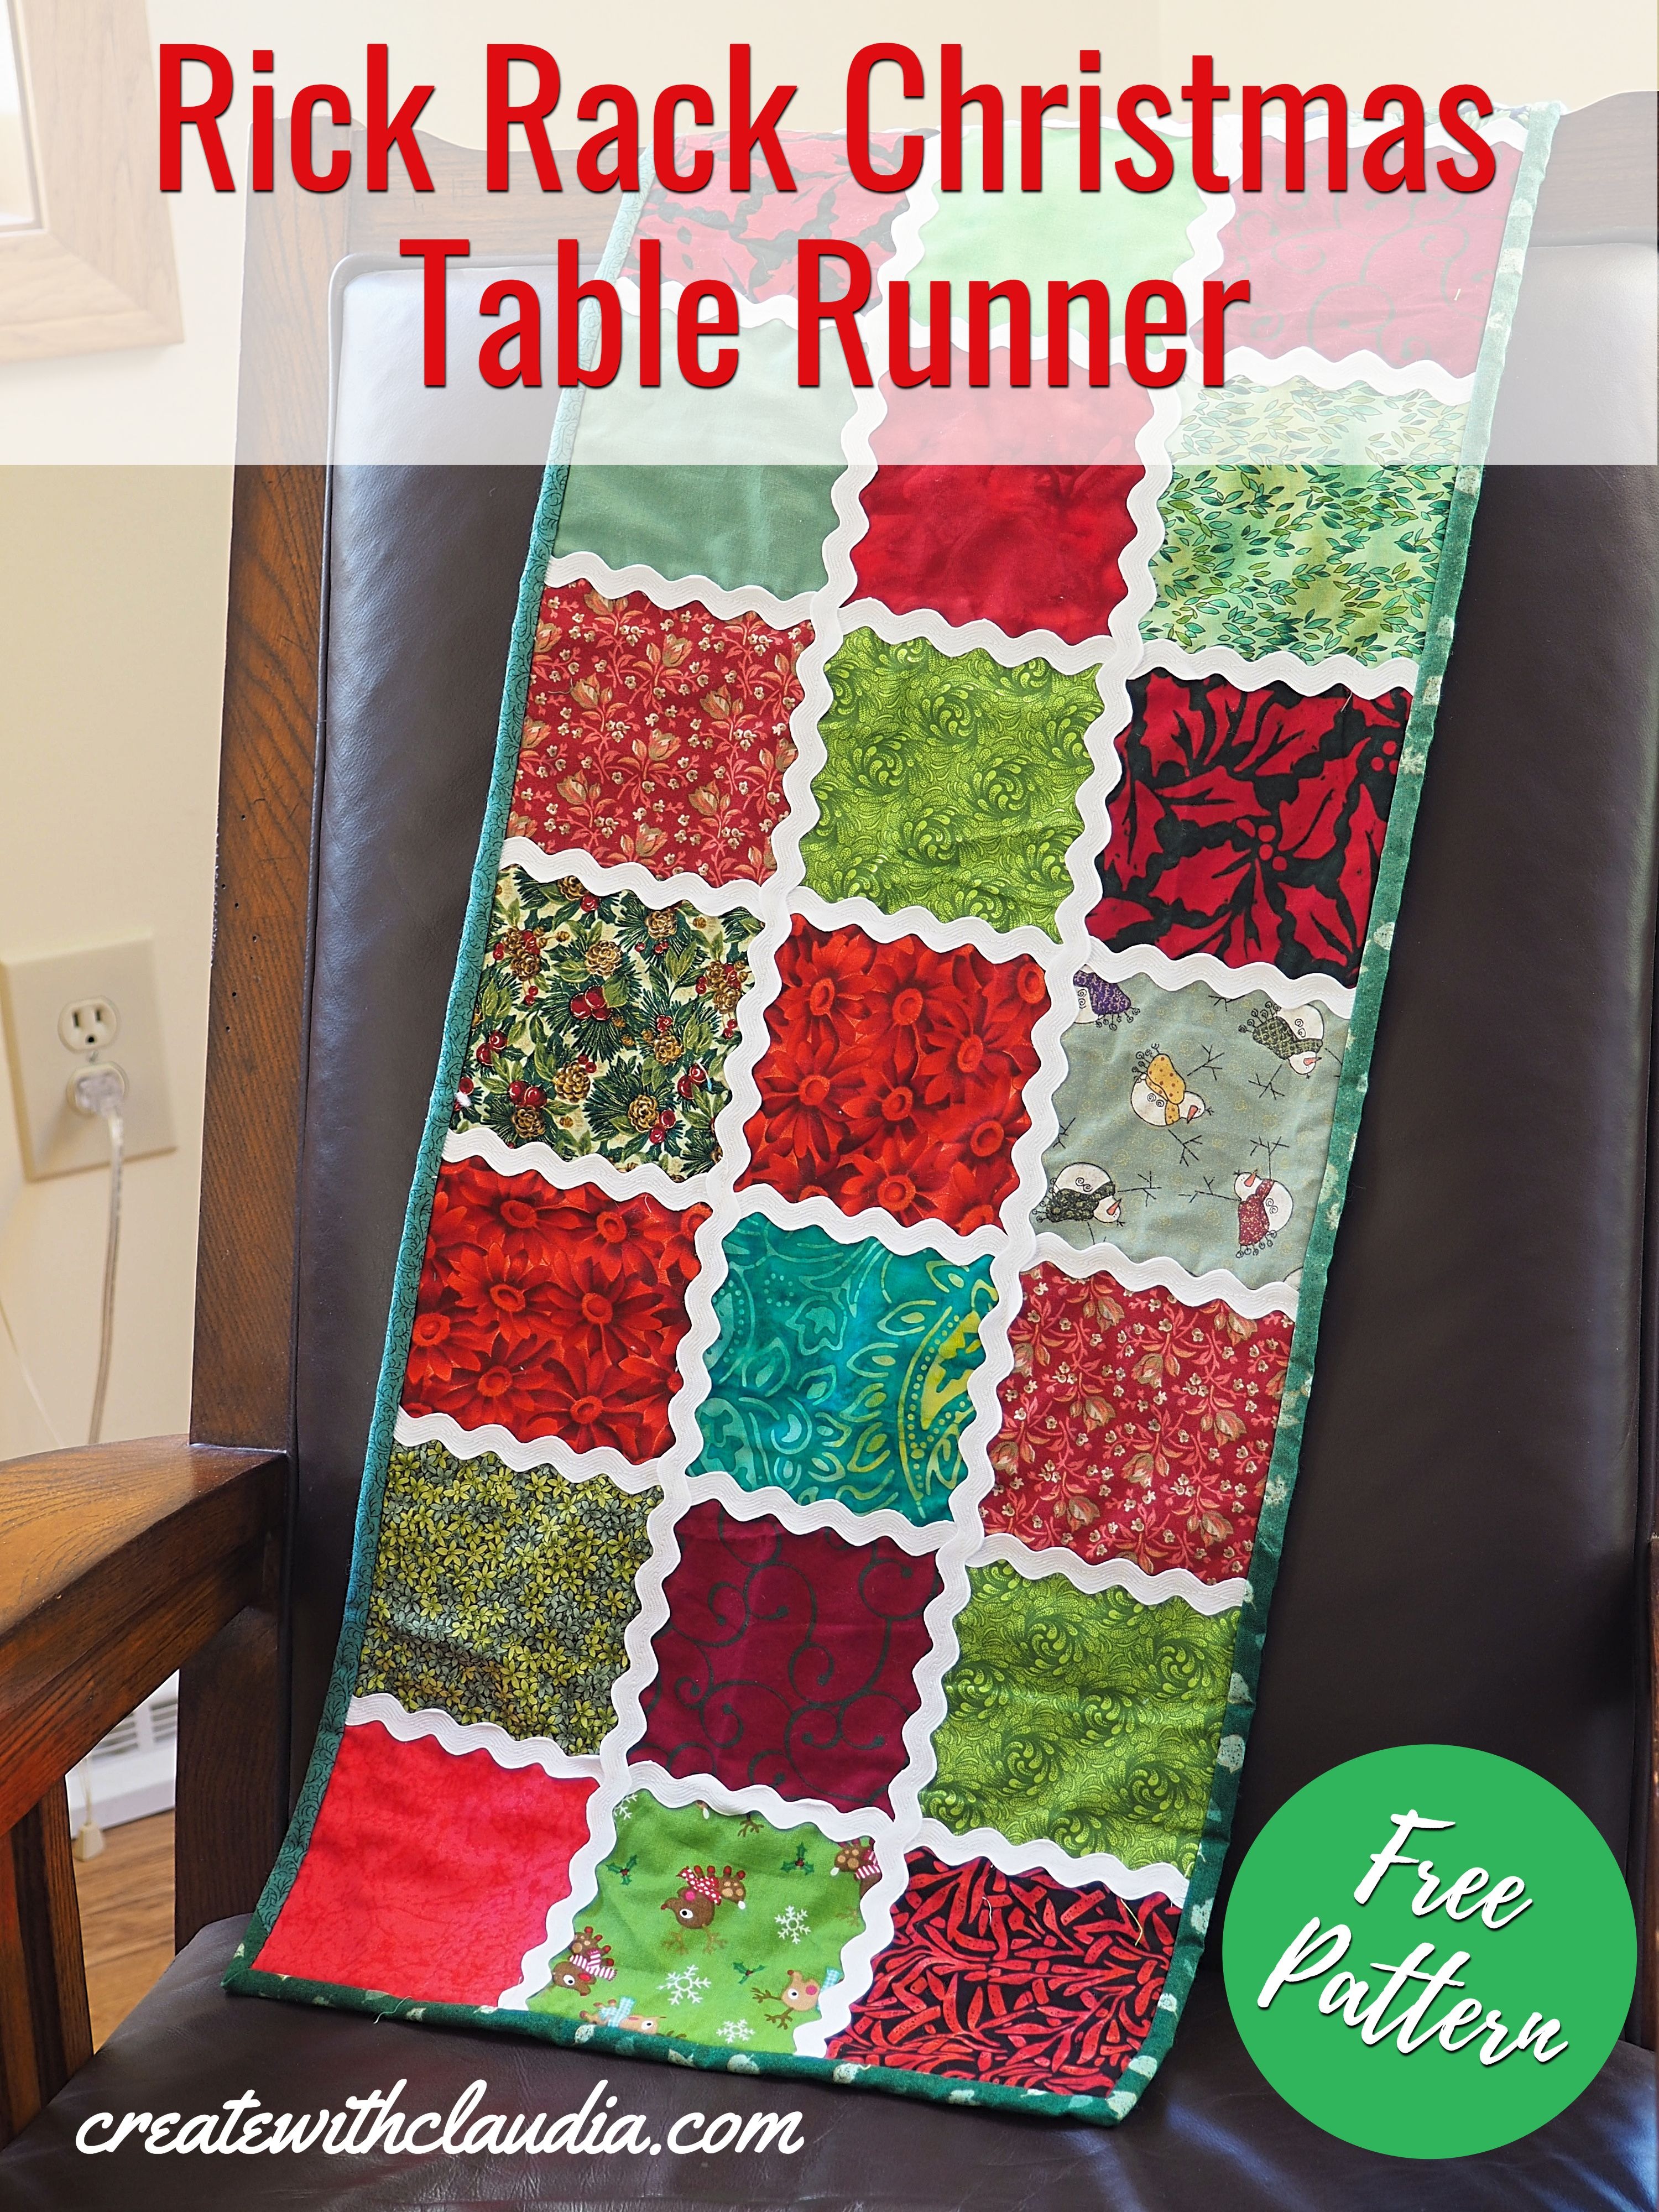
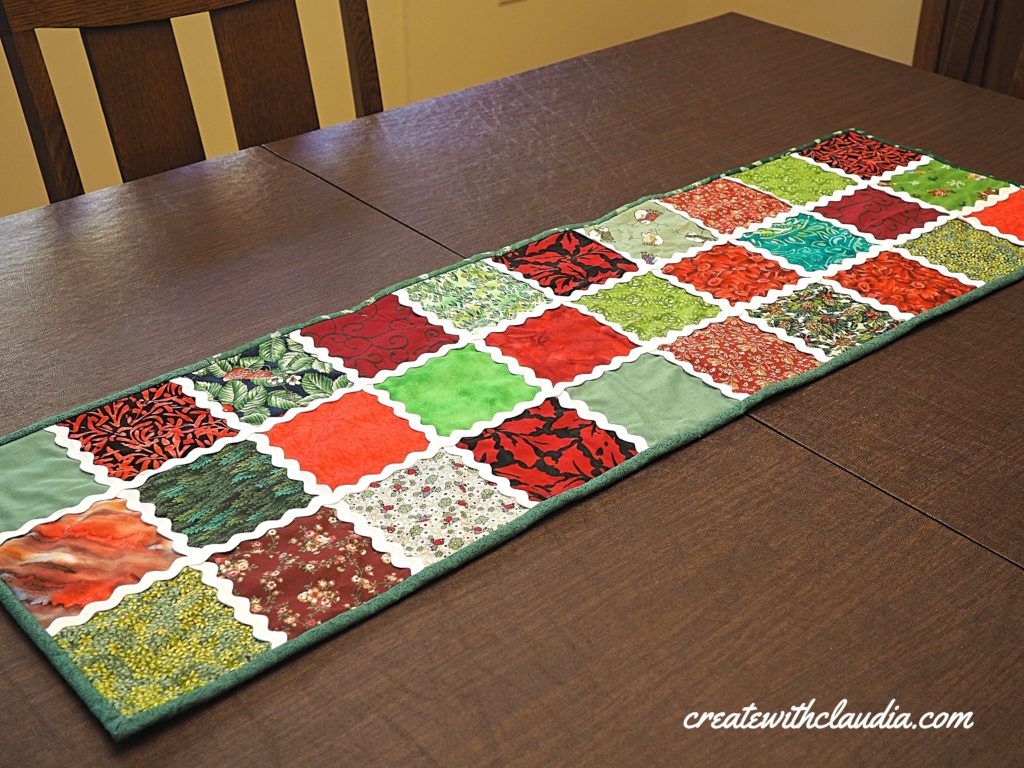
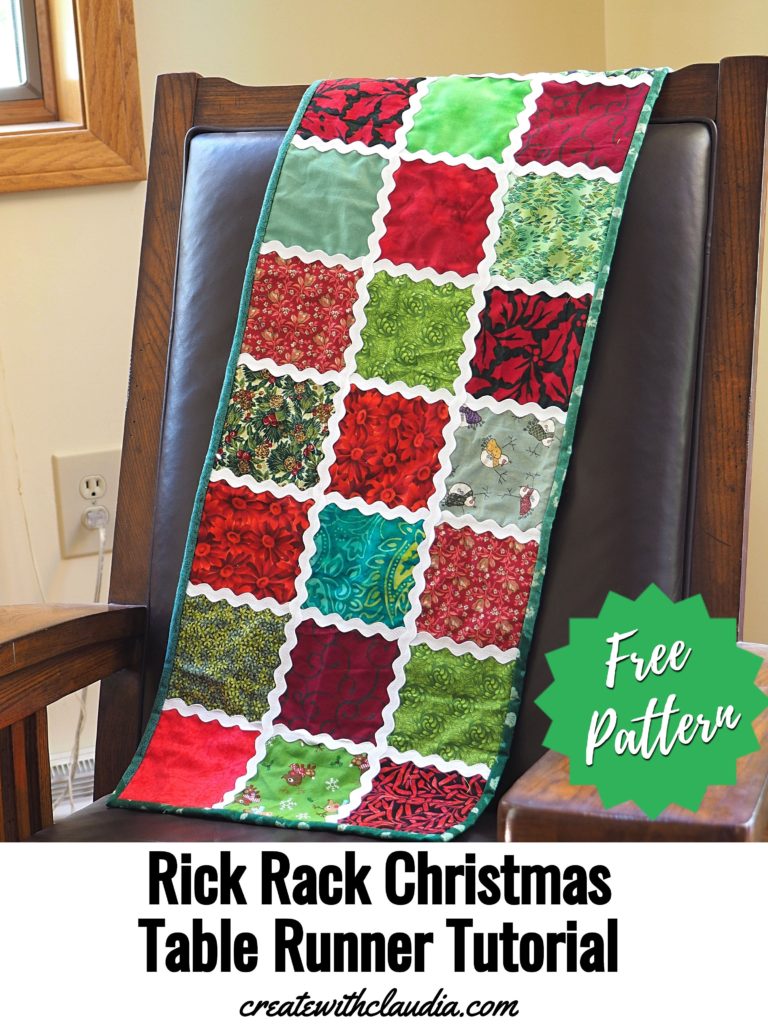
Christmas Rick Rack Table Runner
A number of years ago I made a Christmas quilt with festive squares and rick rack. It still comes out every year, and displaying it over a railing is now part of our holiday traditions. That quilt inspired me to make this Christmas rick rack table runner which will be decorating our dining room table throughout the season.
Adding the rick rack serves two purposes. First, it adds a lovely decorative touch and second, the quilting is done as the rick rack gets sewn down.
For some reason the rick rack reminds me of a gingerbread house. I think that is because it looks a bit like the royal icing that is piped onto gingerbread men.
This table runner is easy to make and, with the right supplies, can be finished in a couple of hours. For anyone looking for a good way to use up fabric scraps, this is the ideal project. Even better, change up the fabrics and it can easily be made for any occasion.
Here is how to make it.
Supplies Needed
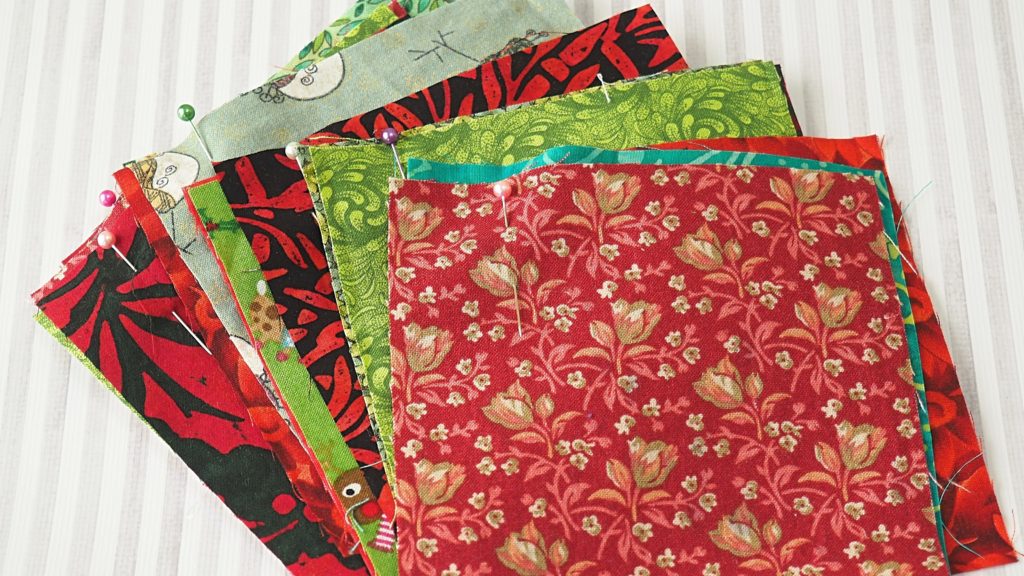
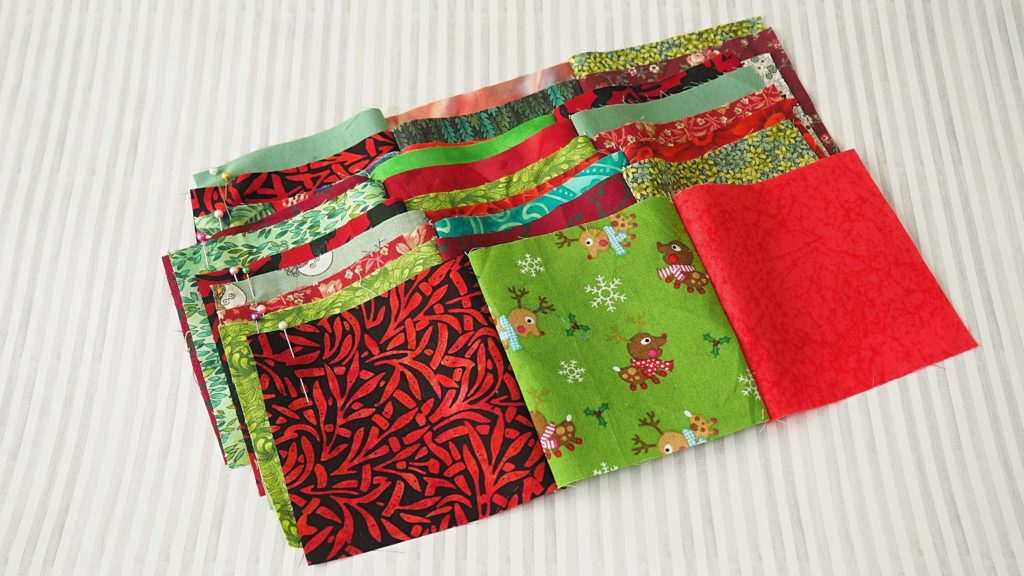
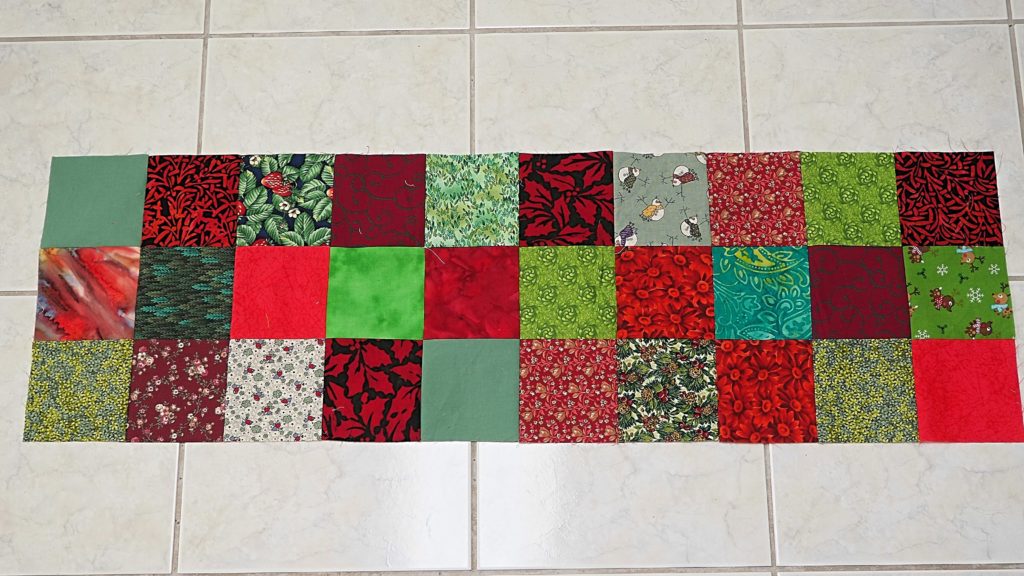
- Thirty 4 ½ inch squares in reds and greens
- Approximately 6 yards of rick rack, 11mm wide
- Batting – 1 piece cut 15” x 45”
- Backing Fabric – 1 piece cut 15” x 45”
- Fabric for binding
You can find many of the items that I used to make this project in my Amazon Store.
As an Amazon Associate I earn from qualifying purchases.
Sewing the Top
First, lay out the squares in a design of your choice. There should be 3 squares across by 10 squares down.
Next, sew together the squares. I like to piece the shorter rows of three together first, and then sew those together to form the runner.
Press and set the top aside and prepare the backing and batting.
Getting the Runner Ready to Quilt
Lay out the backing, wrong side facing up.
Then line up the batting on top of the backing fabric.
Finally, lay the sewn top onto the batting. There should be overhang showing on all four sides which is fine. It will be cut away later.
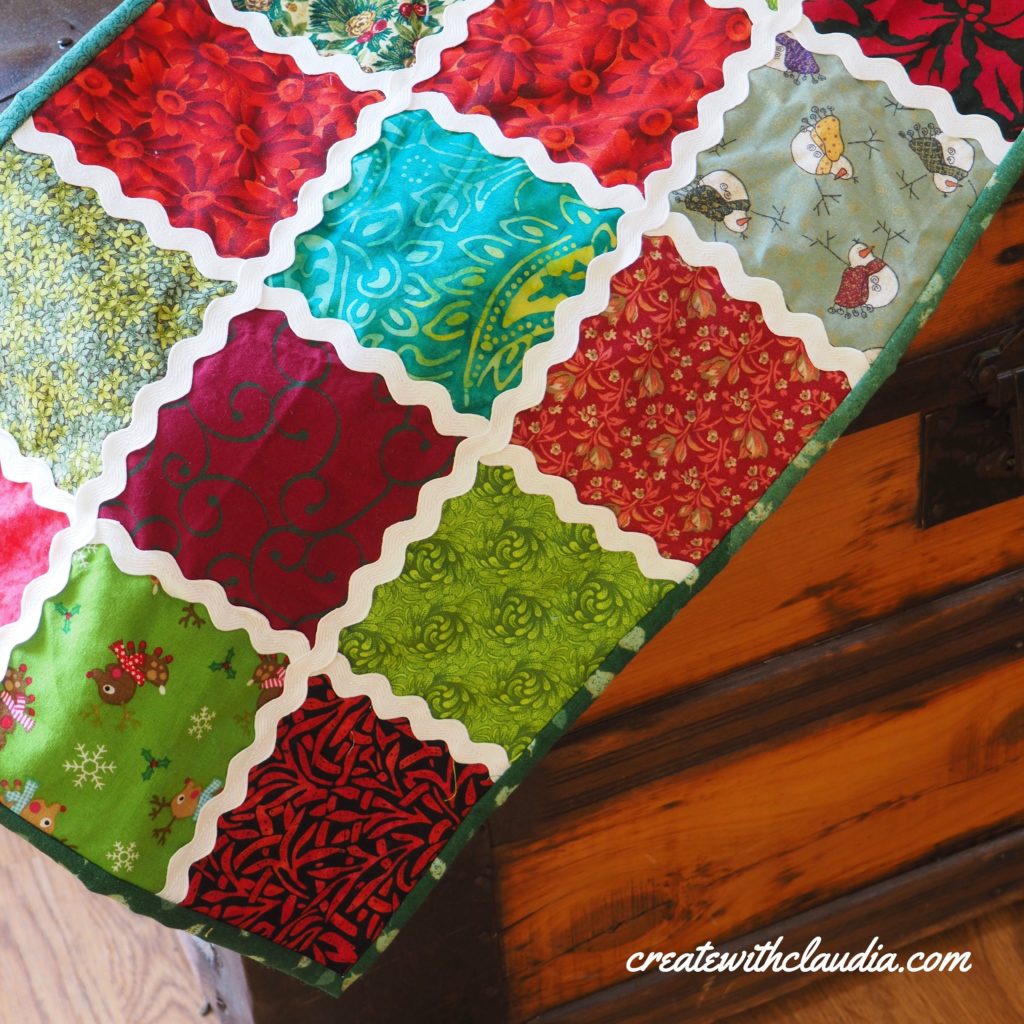
Quilting with the Rick Rack
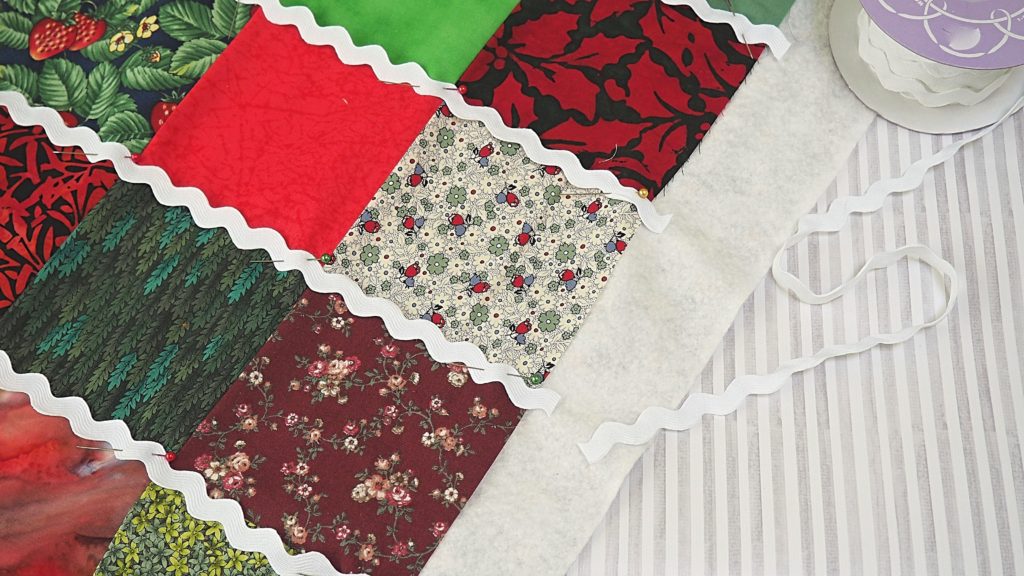
Now is the time to add the rick rack. Start with the shorter rows that are in the center of the runner, and work your way out.
Pin one end of the rick rack to one end of the row, covering the seam. Work your way down, pinning the rick rack along the way. Once you are at the end of the seam, trim the rick rack so it extends about ½ inch from the edge of the table runner (see photo above).
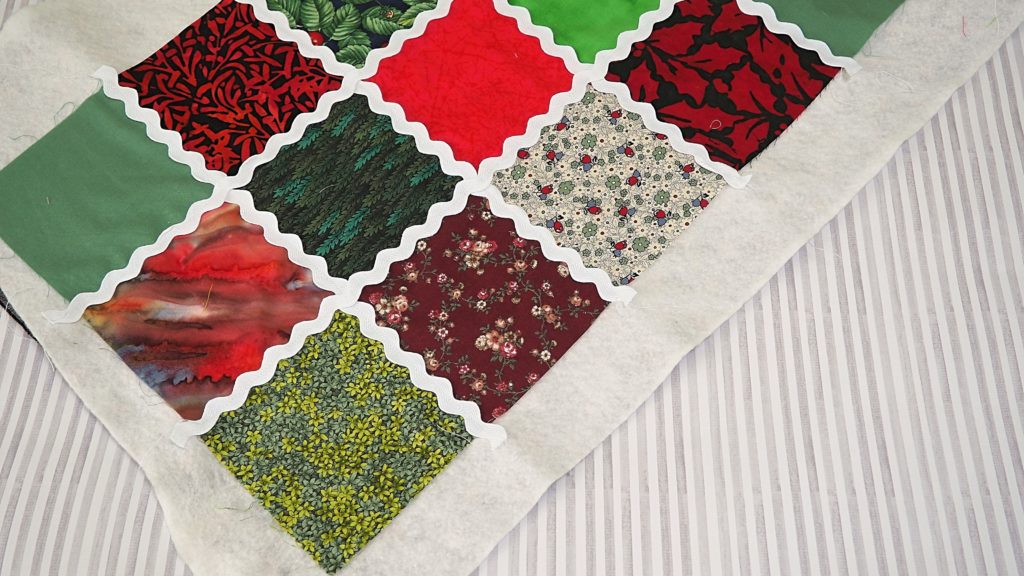
Finish adding rick rack
Sew down the rick rack, making sure to keep it centered over the seams. It takes a little bit of practice to get used to sewing it, but it gets easier. Begin and end the row with back stitching.
Finish remaining short rows, covering all of the seams with rick rack. As you move on to the next row, try to smooth out any wrinkles that may have formed in the runner.
Repeat the process on the two long rows.
Finishing the Table Runner
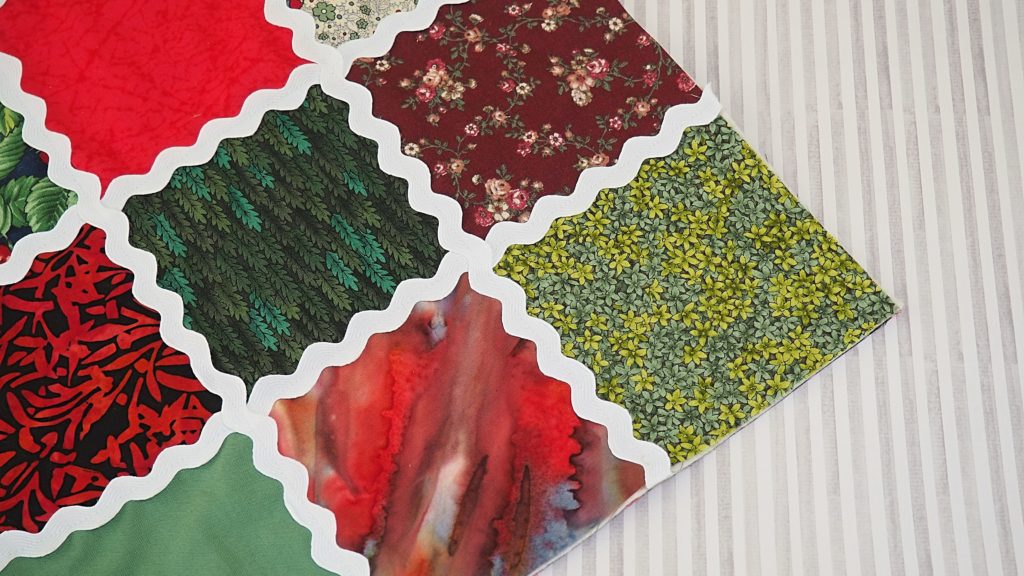
Trim off the excess around the edges and prepare the binding.
Bind with your preferred method.
Note: I like to use fabric scraps left over from the project for my binding. I use the continuous strip binding method and hand sew it to the back of the runner.
A Christmas Rick Rack Table Runner Makes a Great Gift
Everyone likes getting homemade gifts, and this quilted Christmas rick rack table runner is no exception. Make a few of them to give as hostess gifts for all of those holiday parties you may go to. You can even make one for the annual office gift exchange.
Have fun playing with different color combinations too. I decided to make one in summer colors and I love the way it turned out. It’s bright and cheerful and will look great in the summer months. I can just imagine it in the browns and golds of fall, or the soft pastels of Easter.
Here it is in a summer color scheme
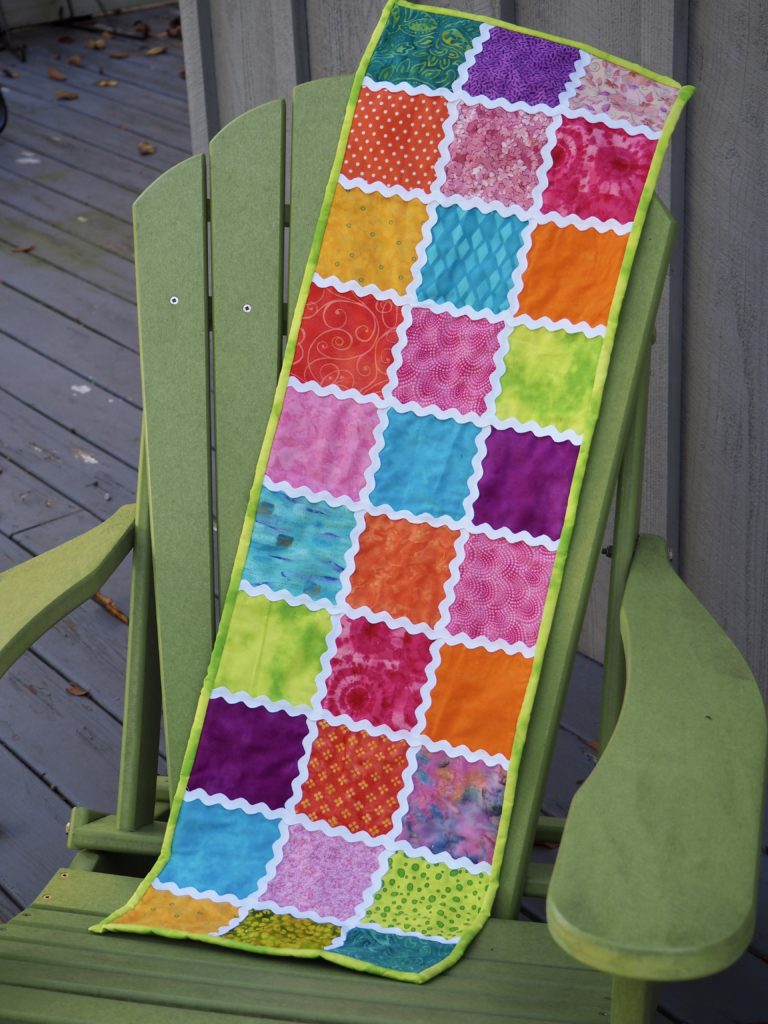
And don’t forget, the rick rack doesn’t have to be white. It’s available in all sorts of colors.
Happy Sewing!

2 Comments
Janice
November 1, 2019 at 1:00 PMI am so sorry to hear about you losing your best fur friend. I’ve been through that, and it is so hard. I hope your heart heals quickly. Sending big hugs, Janice
createwithclaudia_7j76hs
November 4, 2019 at 9:09 AMThanks so much Janice – It’s getting better, but it’s definitely pretty quiet around the house. Getting used to our new normal.