
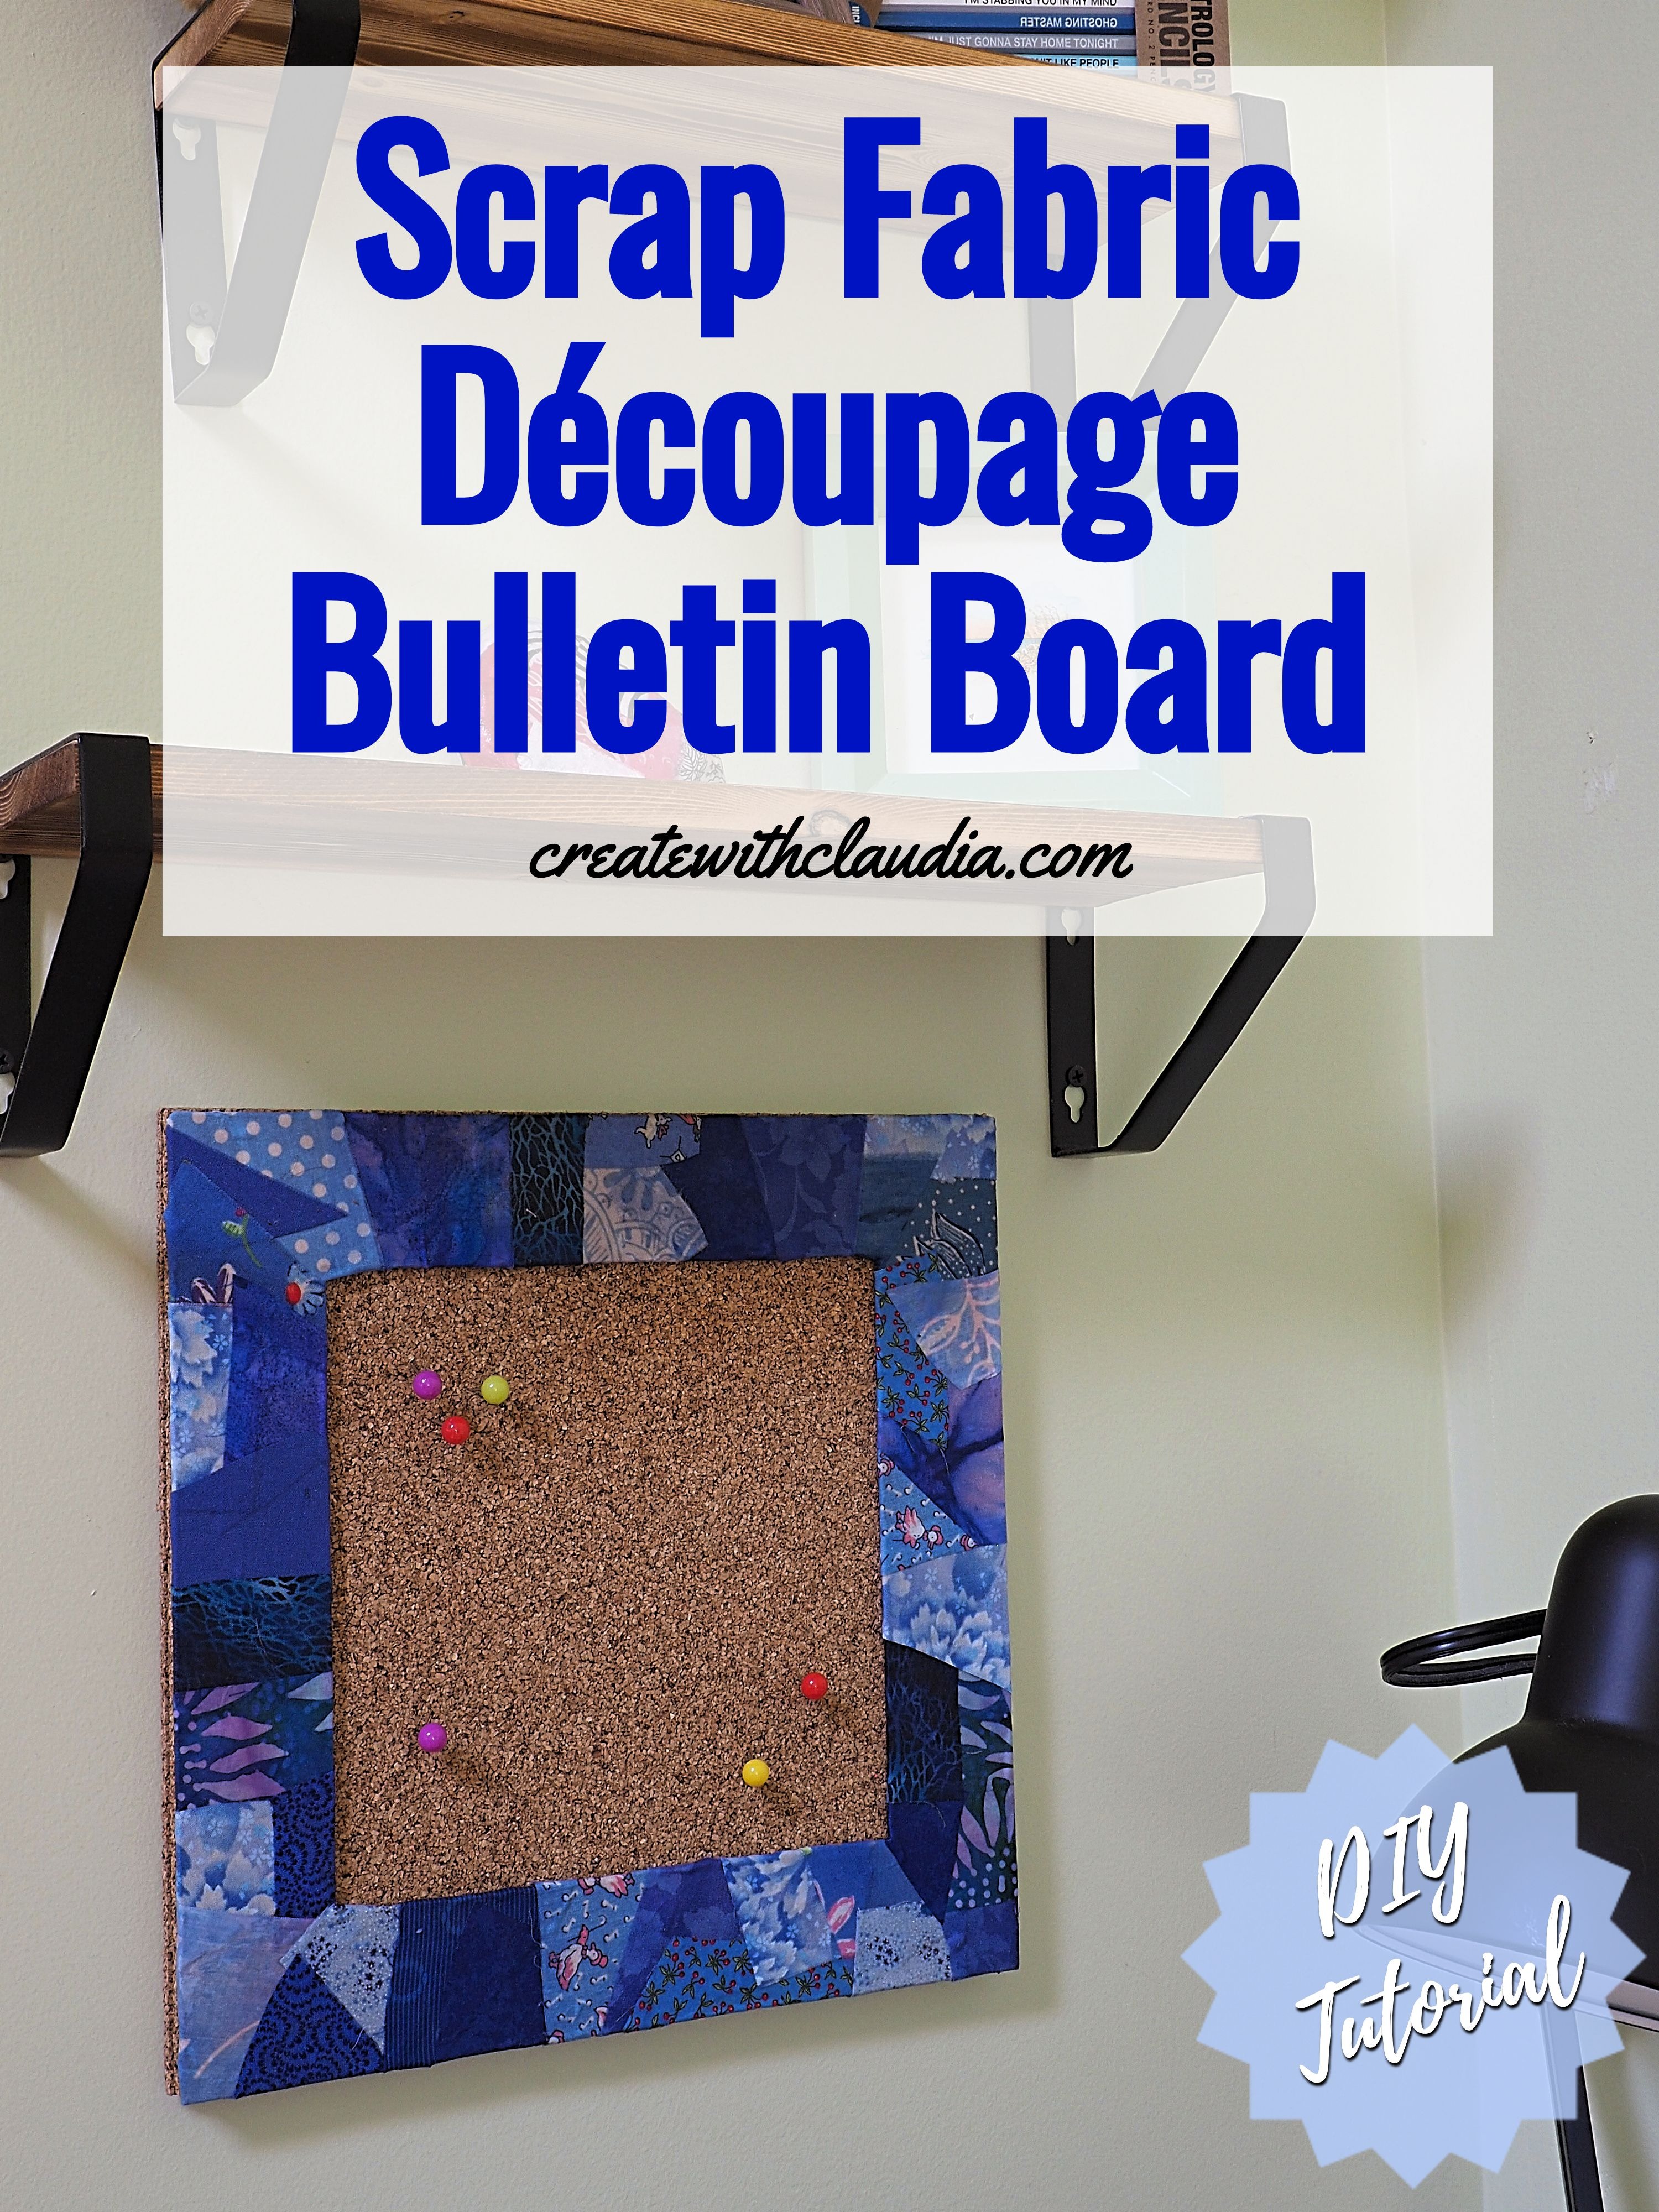
Fabric Découpage Bulletin Board
Given this project’s long name, Scrap Fabric Découpage Bulletin Board, you might think it would be complicated to make. However, you will be surprised at how easy it is. All you need are a few supplies and some drying time.
These small bulletin boards, with their brightly colored scrappy borders, make a fun statement in any bedroom, workspace, or office. Hang a few of them together for an eye-catching decoration.
If you follow my blog, you know that I love scrappy fabric projects. I am always on a mission to come up with unique crafts that incorporate my collection. I’m particularly happy with this one, and I have a couple of them hanging next to my desk.
To make one for yourself, gather up your favorite fabric scraps, a few other supplies, and give this project a try.
What You’ll Need
- Fabric Scraps – Between 1” and 3”, in any shapes. They can be in one color wave or, mix them up for a multi-colored effect
- Cork Board Panels – 12”x12” and 1/2” thick
- Cardboard – At least 12” x 12” large
- Cutting surface
- Cutting tool like a craft knife or rotary cutter
- ModPodge – Glossy or Matte
- Craft Brush
- Glue Gun
- Ruler
- Gloves to protect fingers from glue
Note: This is a messy project and you will be using lots of ModPodge. Protect your work surface and your hands.
Items You Can Use To Make This Project
You can find many of the items that I used to make this project in my Amazon Store.
As an Amazon Associate I earn from qualifying purchases.
Prepare the Frame
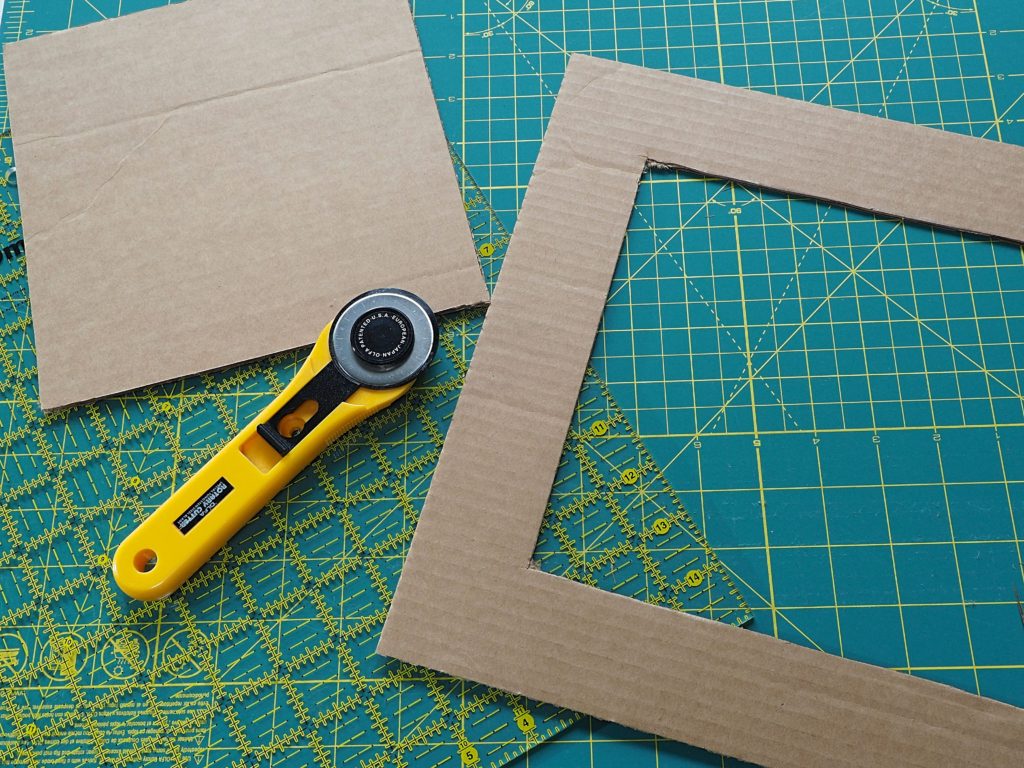
First, cut out a piece of cardboard 12” x 12” square. Then, using your ruler and a pencil, draw a 10” square in the middle of the 12” square. Make sure it’s centered and straight. You will have a 2” wide frame.
Take your craft knife and carefully cut out the center square. Discard the center square. Now you are ready to make the frame.
Découpage the Frame
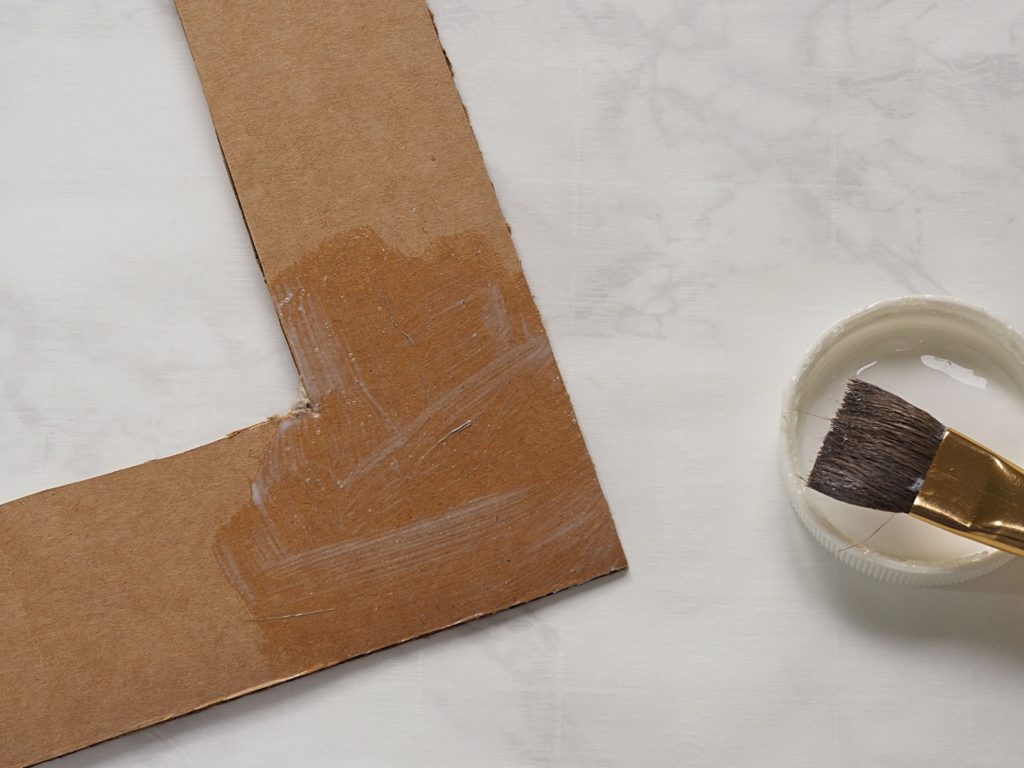
On a protected work surface, and with gloves on, brush some ModPodge onto a small section of the cardboard frame. I start at a corner and work my way around.
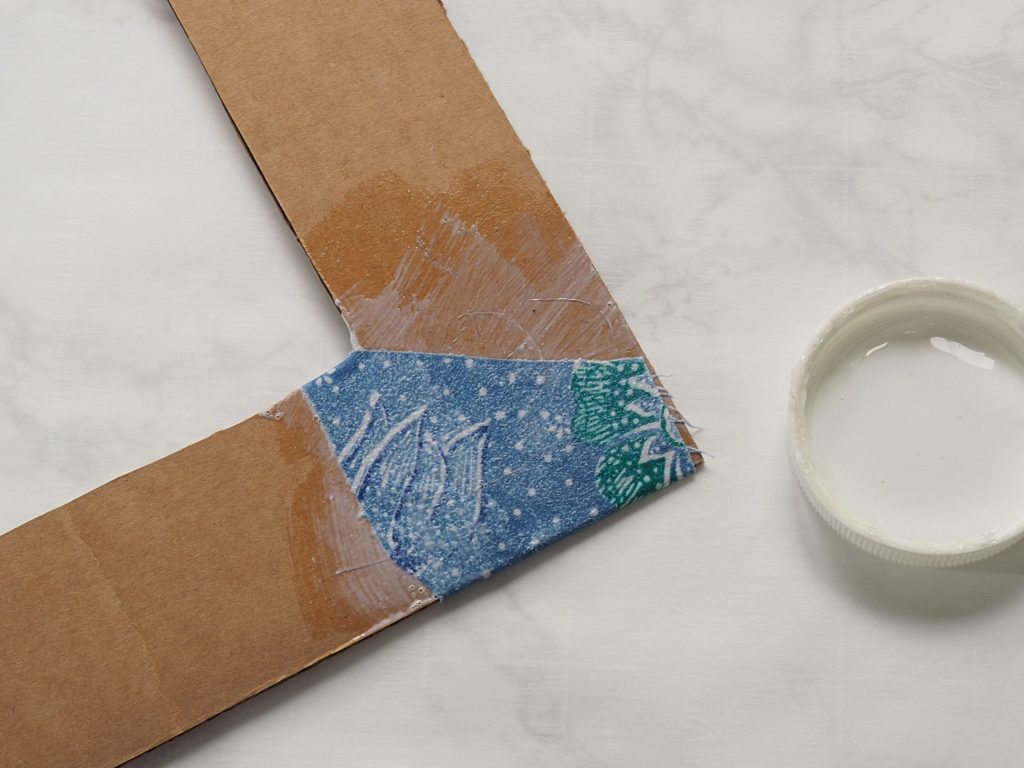
Once you have a layer of glue on the frame, choose a piece of fabric and lightly smooth it down over the glue. Try to get pieces that are long enough to wrap around the edges so you get a finished look.
Once the fabric is in place, apply another layer of glue over the top of the fabric. Make sure to glue down the part of the fabric that is on the back side.
Note: Use your brush to handle the fabric and smooth out any bubbles. You may need to use your fingers to help smooth down the corners and the back side.
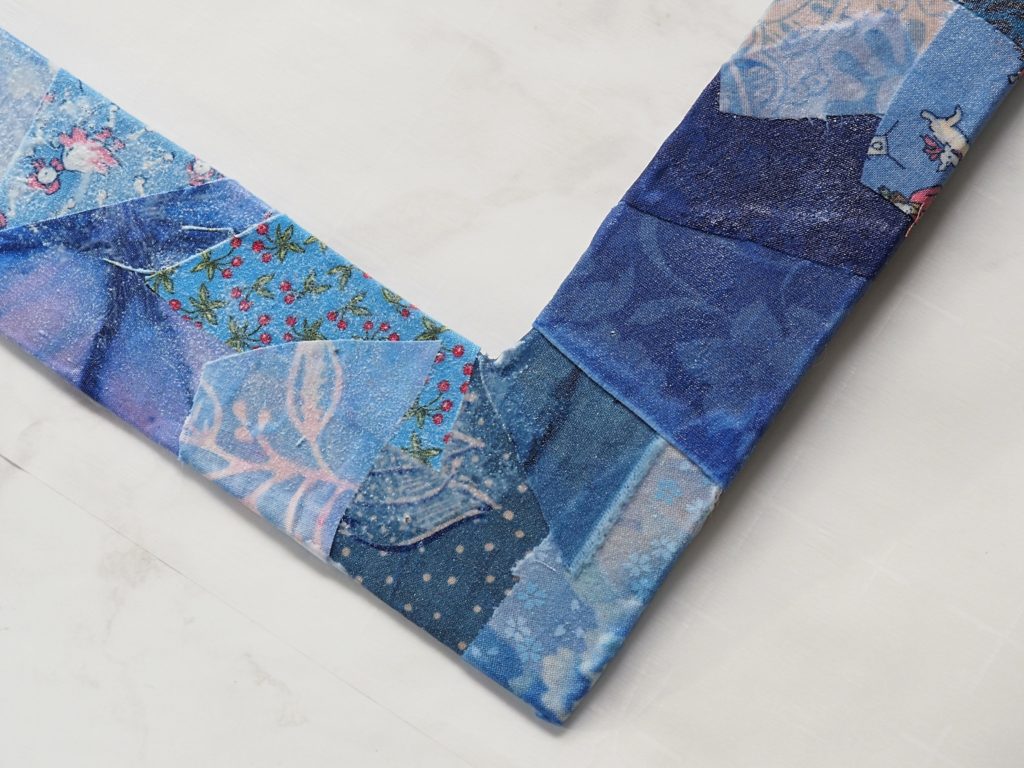
Repeat with more scraps, layering over the edges, until the cardboard is completely covered.
Set the wet frame onto a piece of wax or parchment paper, and let it dry overnight. For the first couple of hours check it and lift off of the paper so it doesn’t get stuck.
Finish the Frame

Once dried, it’s time to apply the frame to the cork panel.
Using a glue gun, apply glue all around the back side of the cardboard frame.
Working fairly quickly so the glue doesn’t cool, carefully flip the frame over, line up the edges, and then lay the frame on top of the cork board. Firmly press around the frame, making sure it’s nice and secure. Watch out for the hot glue.
Note: Instead of using a glue gun, you can also use a strong craft glue.
Let the project cool and dry before you hang it up.
Hang the Bulletin Board
Most of the cork board panels come with double sided hanging tape when you purchase them. If yours did not, you can buy them. Apply some of the tape to the four corners of the board and hang where desired.
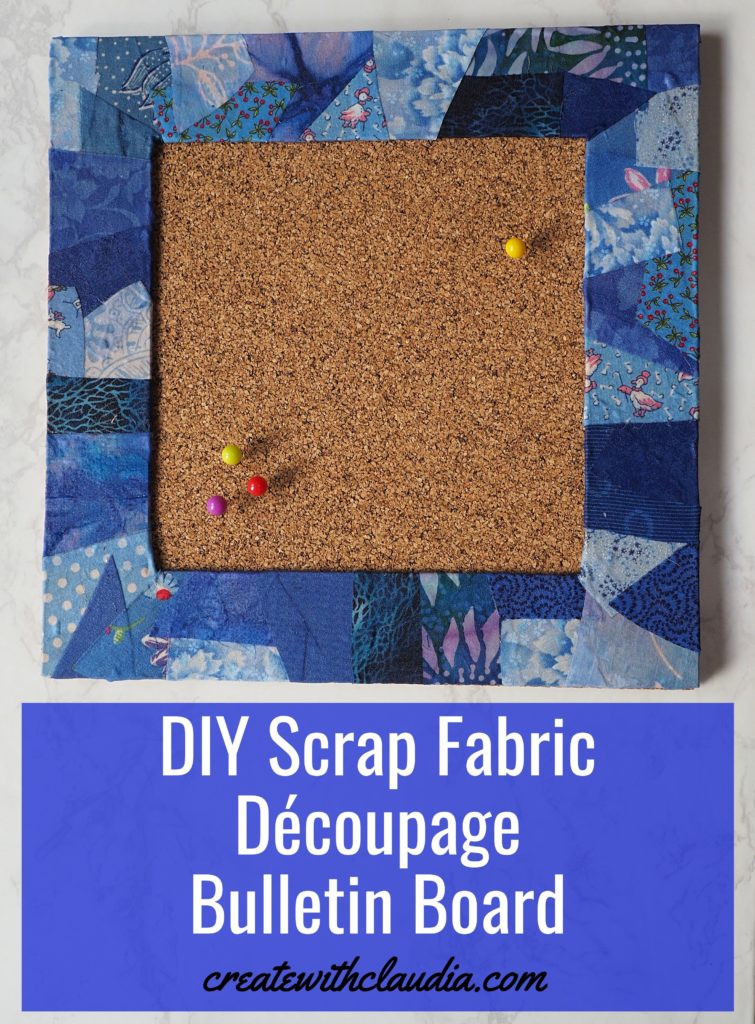
The Finished Look
This scrap fabric découpage bulletin board is a fun and useful stash buster. Just think how cute a couple of them would look in a dorm room. I have a feeling that once my teenager sees these, she will want to make one or two for herself.
Happy Crafting!
