

Beloved, An Easy Quilt Pattern Tutorial
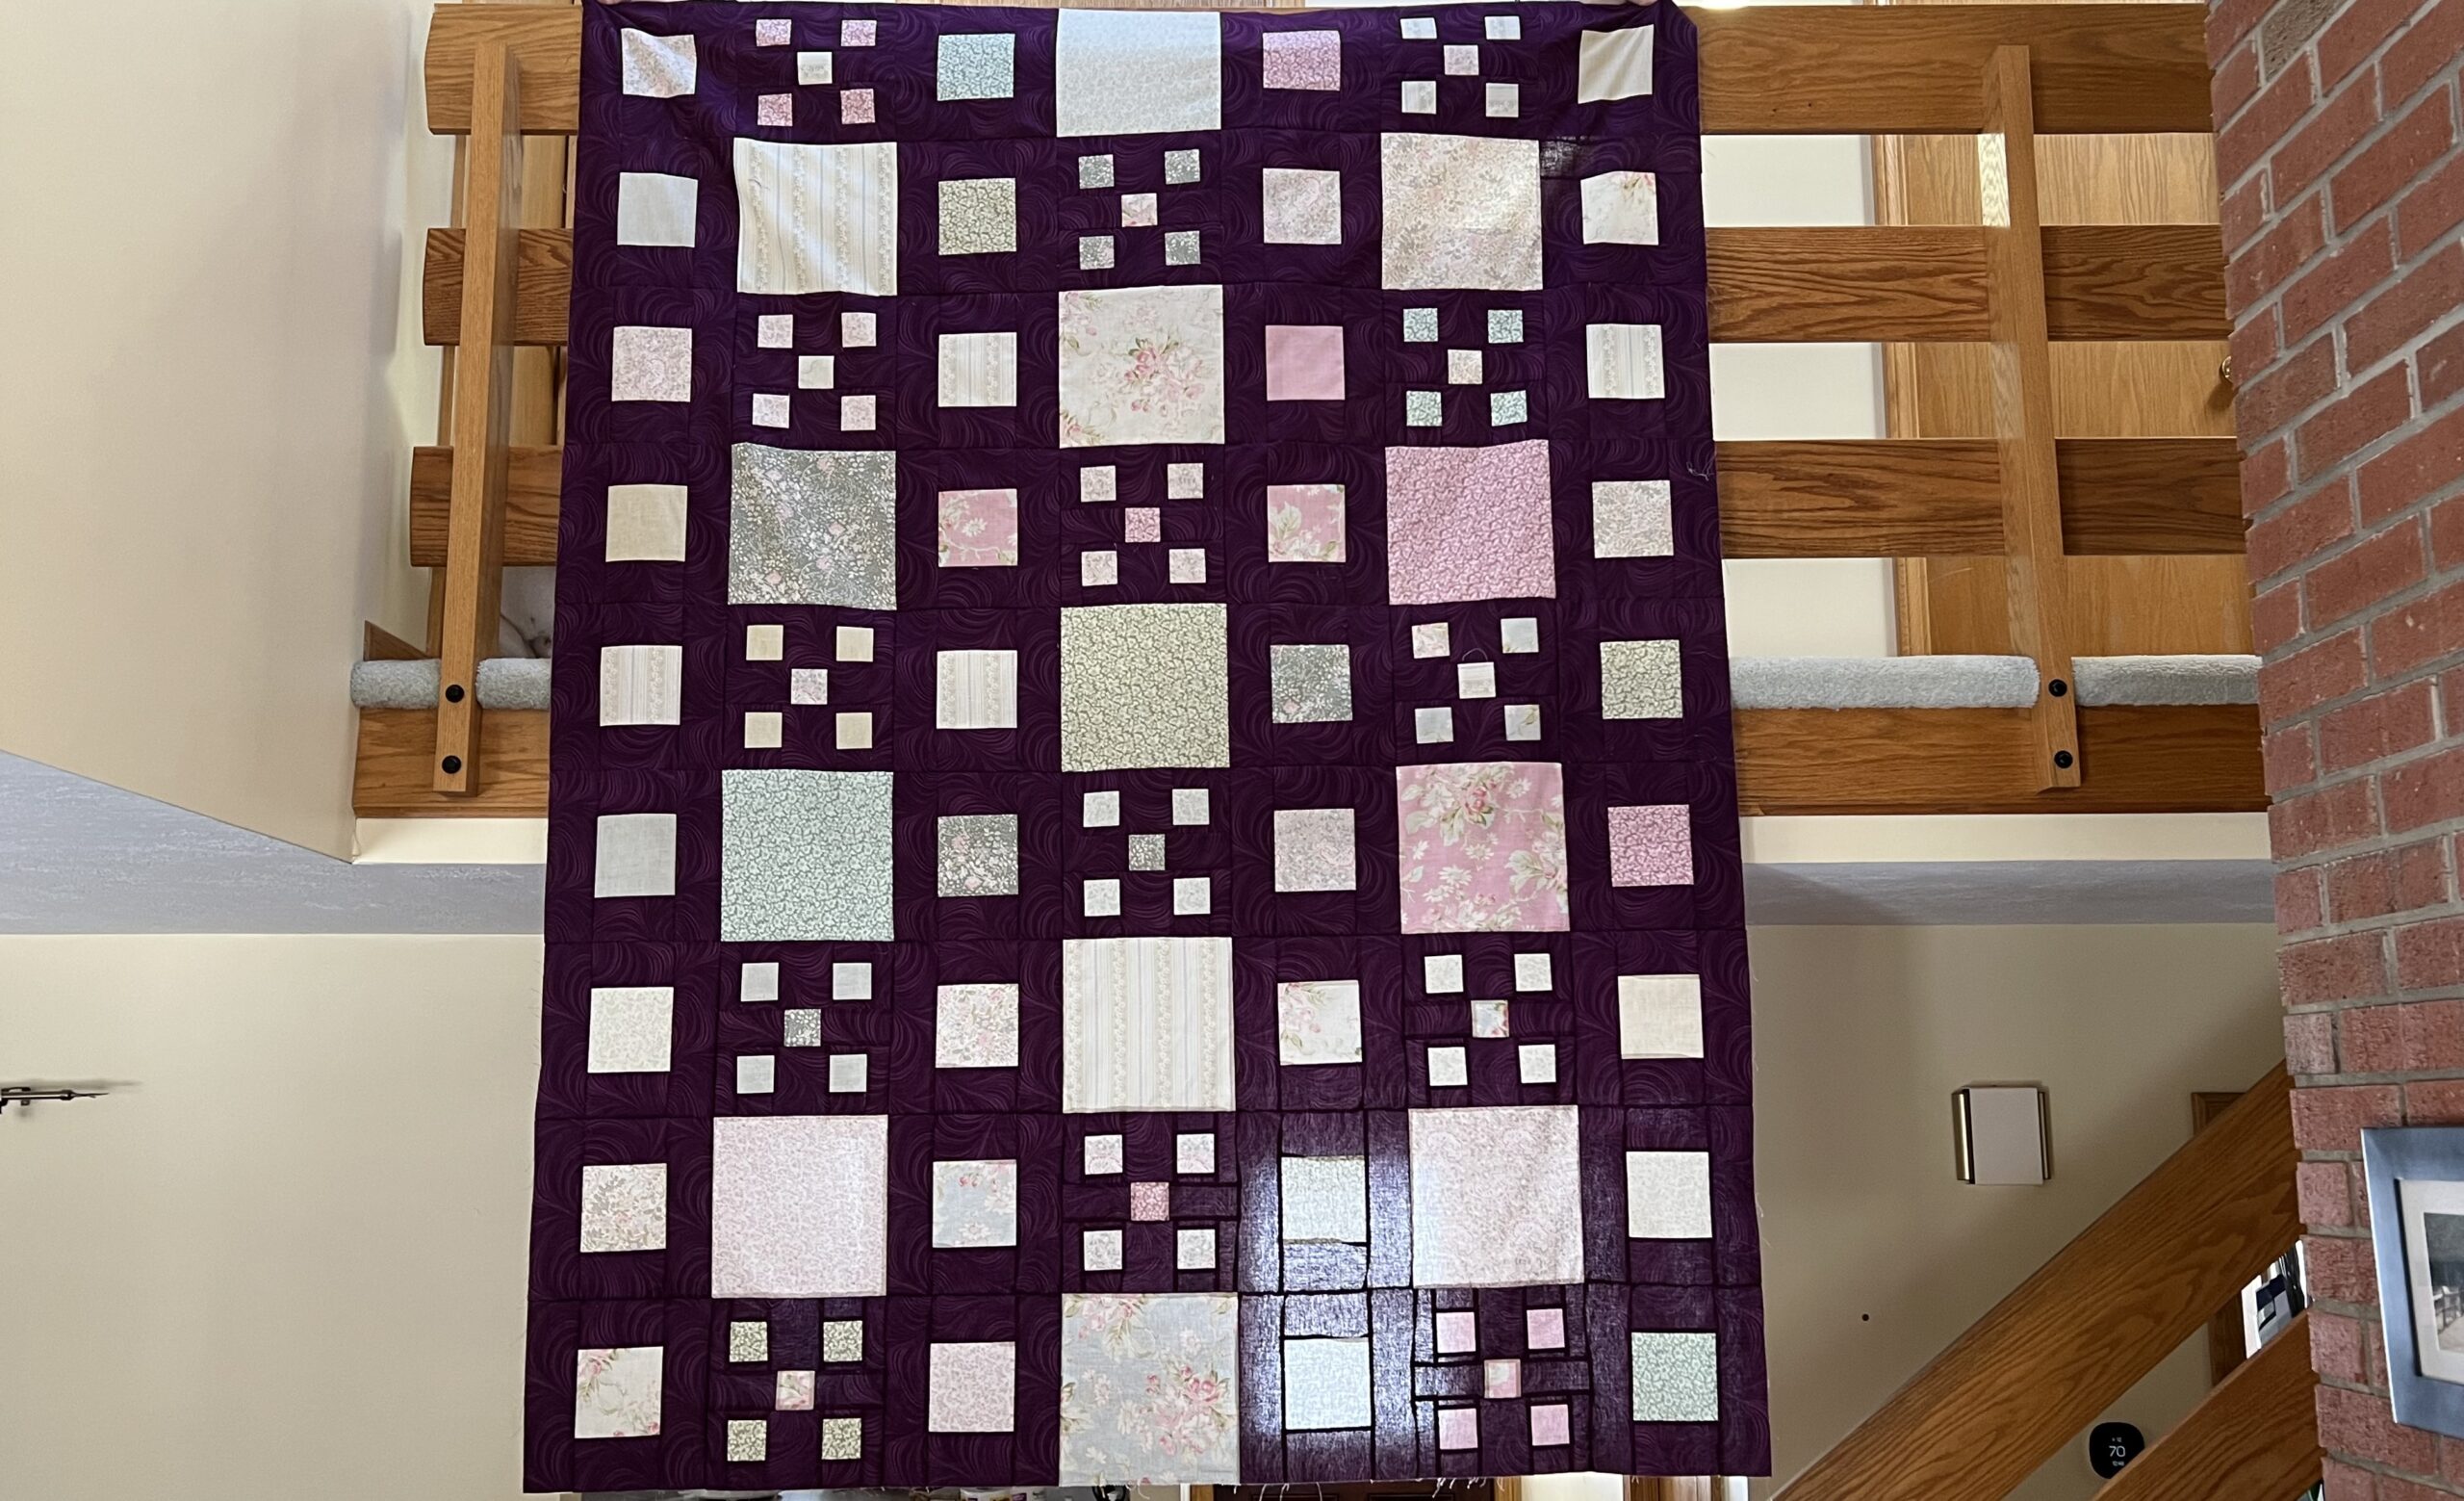
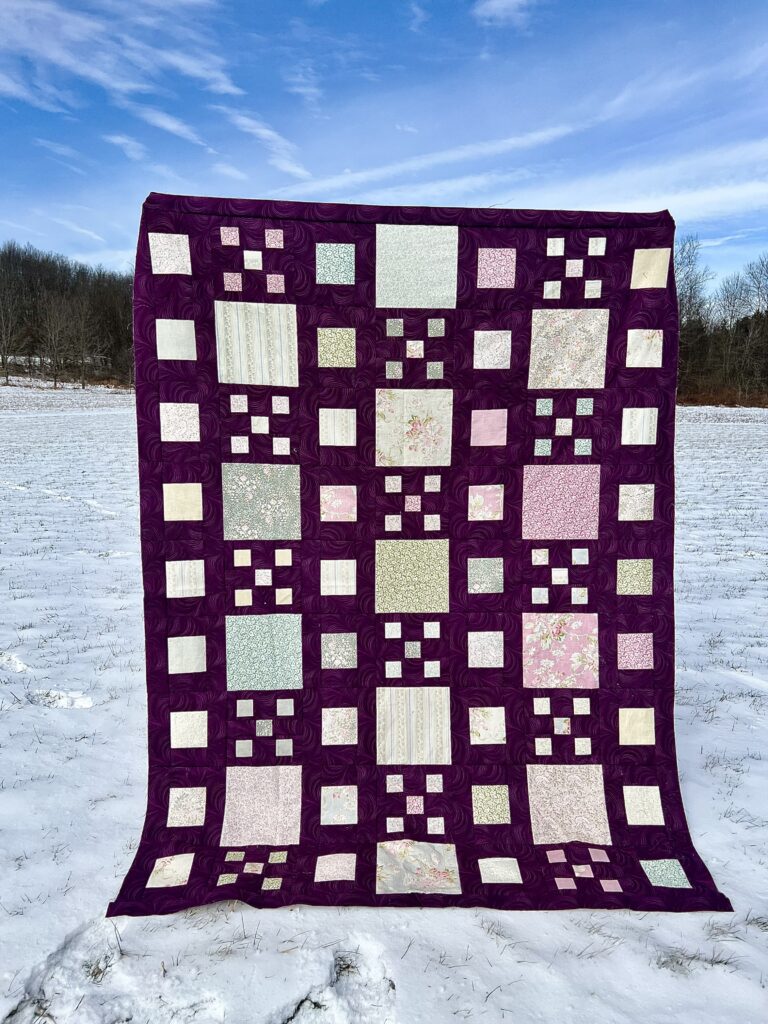
In 2026 I am honored to be one of the Benartex Sewcial Stars. Each quarter we will be making items using their gorgeous fabrics. For my first project I designed Beloved, an easy quilt pattern. This project was made with one 10″ precut pack and some yardage. Benartex sent me the stunning pack of their line Beloved designed by April Cornell. For the back ground I wanted something to really set off those soft fabrics so I chose Wave Texture in plum.
I just love the way the quilt turned out. It is easy to make with my step-by-step instructions. I have a video tutorial and a downloadable pattern as well. Let’s get started!
Disclosure: Items in this post were generously provided by Benartex Fabrics and OESD Threads.
What You’ll Need
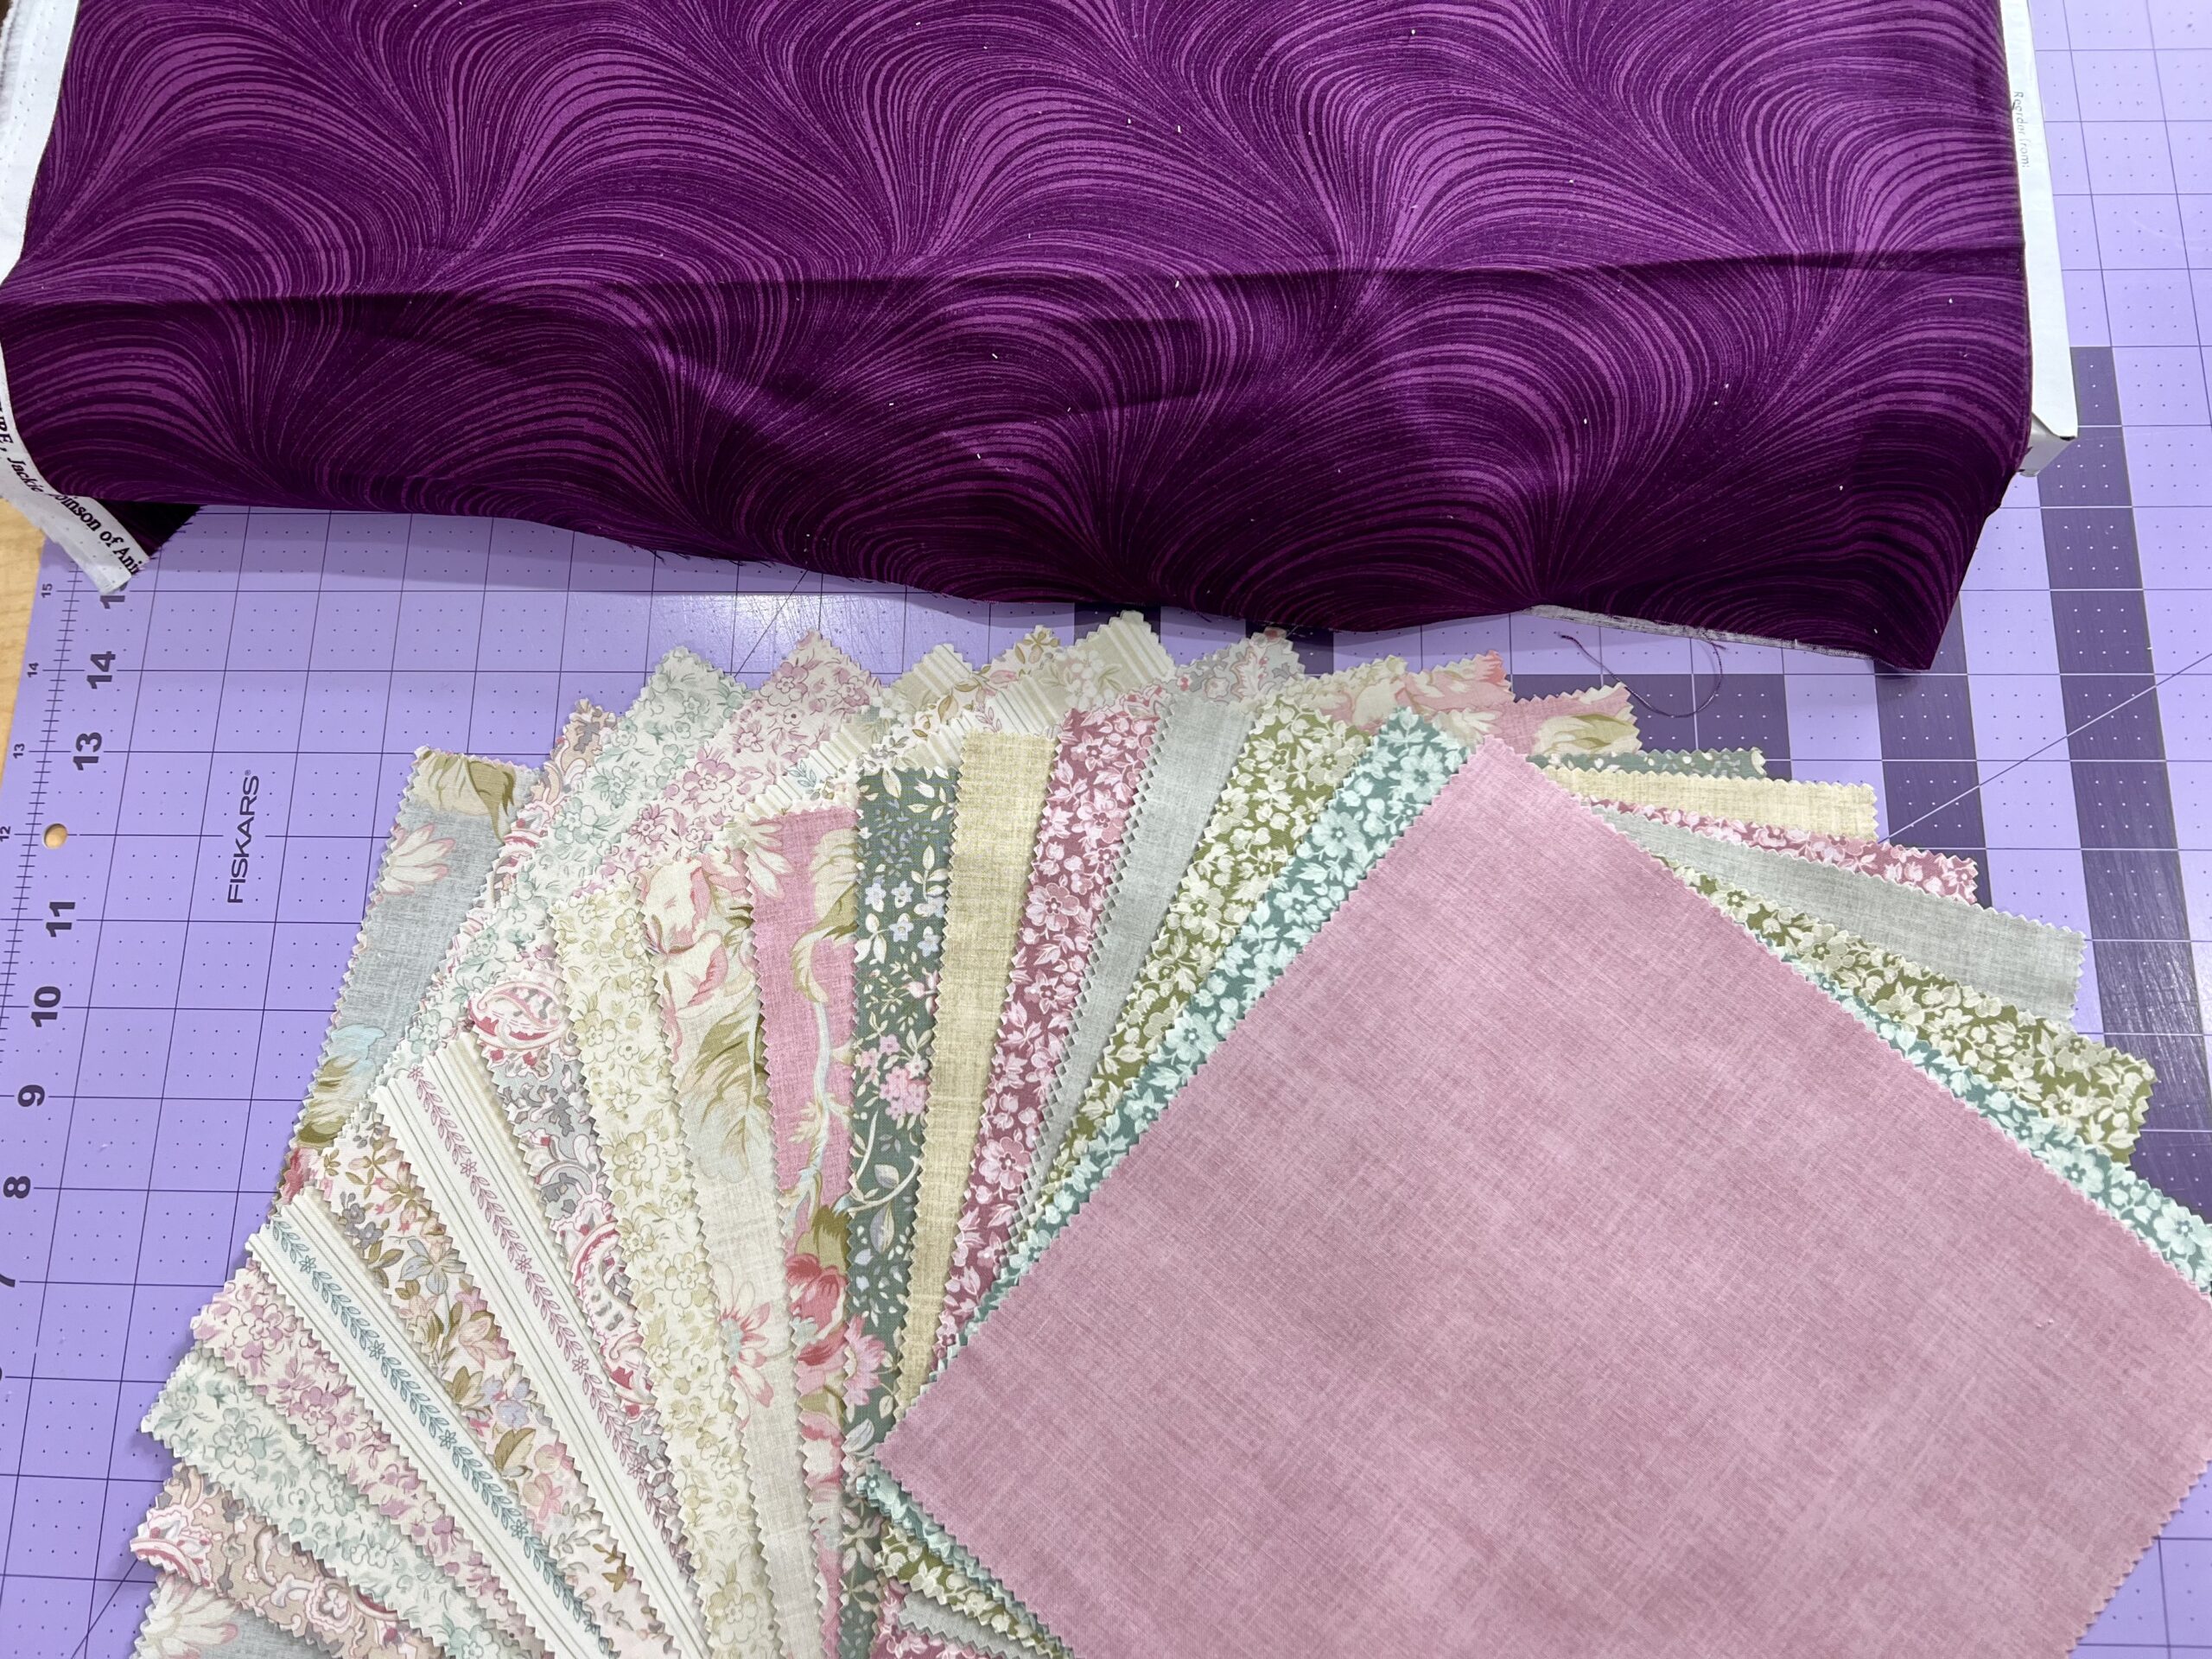
Look at those gorgeous precuts! You’ll need one pack of 10″ precuts and 4 1/8 yards of background fabric.
This quilt measure about 66″ x 89″ so it is a nice size. It is made up of three different blocks.
*DOWNLOAD THE BELOVED EASY QUILT PATTERN HERE*
Making Block 1
Block 1 is the easiest block you will ever make. It is one 10″ square of fabric and you need 13 of them. Once you have chosen your favorites, set them aside.
Making Block 2
This block is the trickiest one to make but it is still easy.
Cutting:

From the background fabric:
- Piece A – 3 1/2″ x 4 1/4″ – 28 pieces
- B – 2 1/2″ x 4 1/4″ – 28 pieces
- C – 1 3/4″ x 4 1/4″ – 56 pieces
- D – 1 3/4″ x 2 1/2″ – 56 pieces
- E – 1″ x 2 1/2″ – 56 pieces
From the precuts:
- Piece F – 2 1/2″ x 2 1/2″ – 70 pieces * Note that I like to use 4 of the same fabric for the outer squares and a different one for the center, but you can lay them out however you would like.
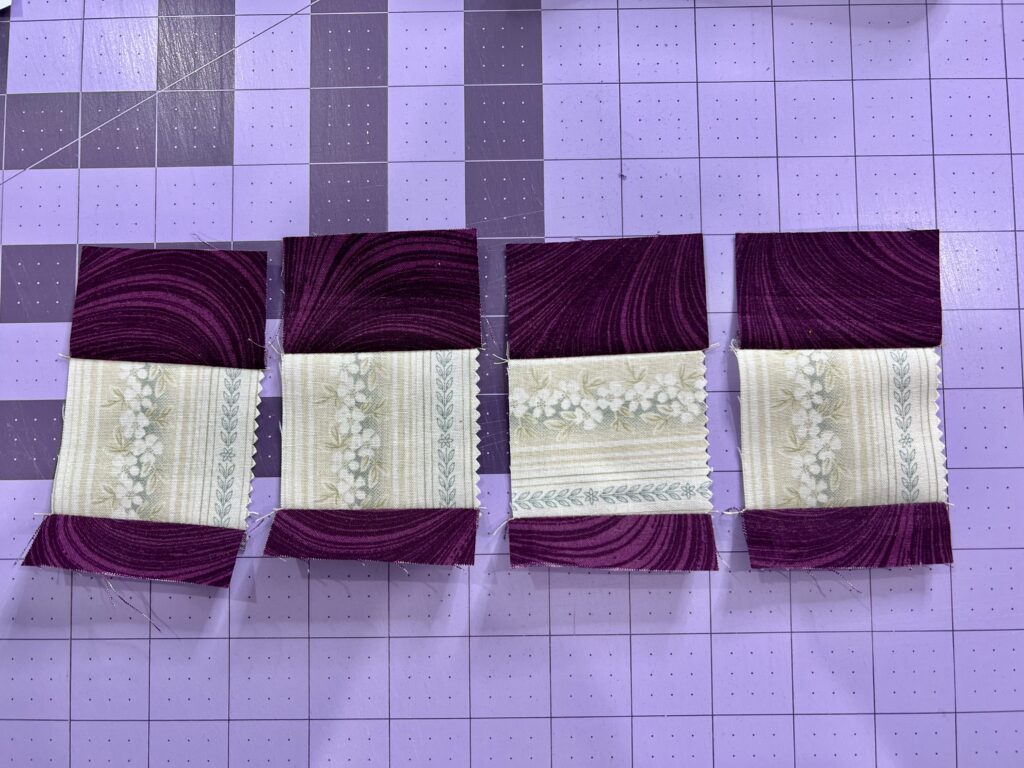
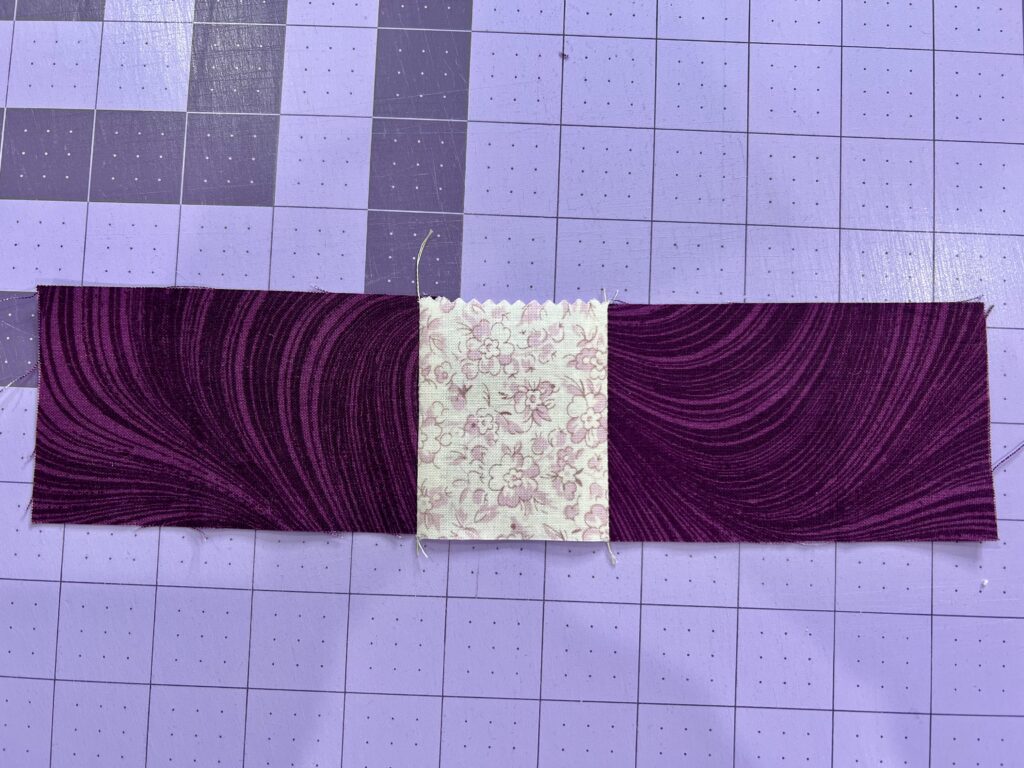
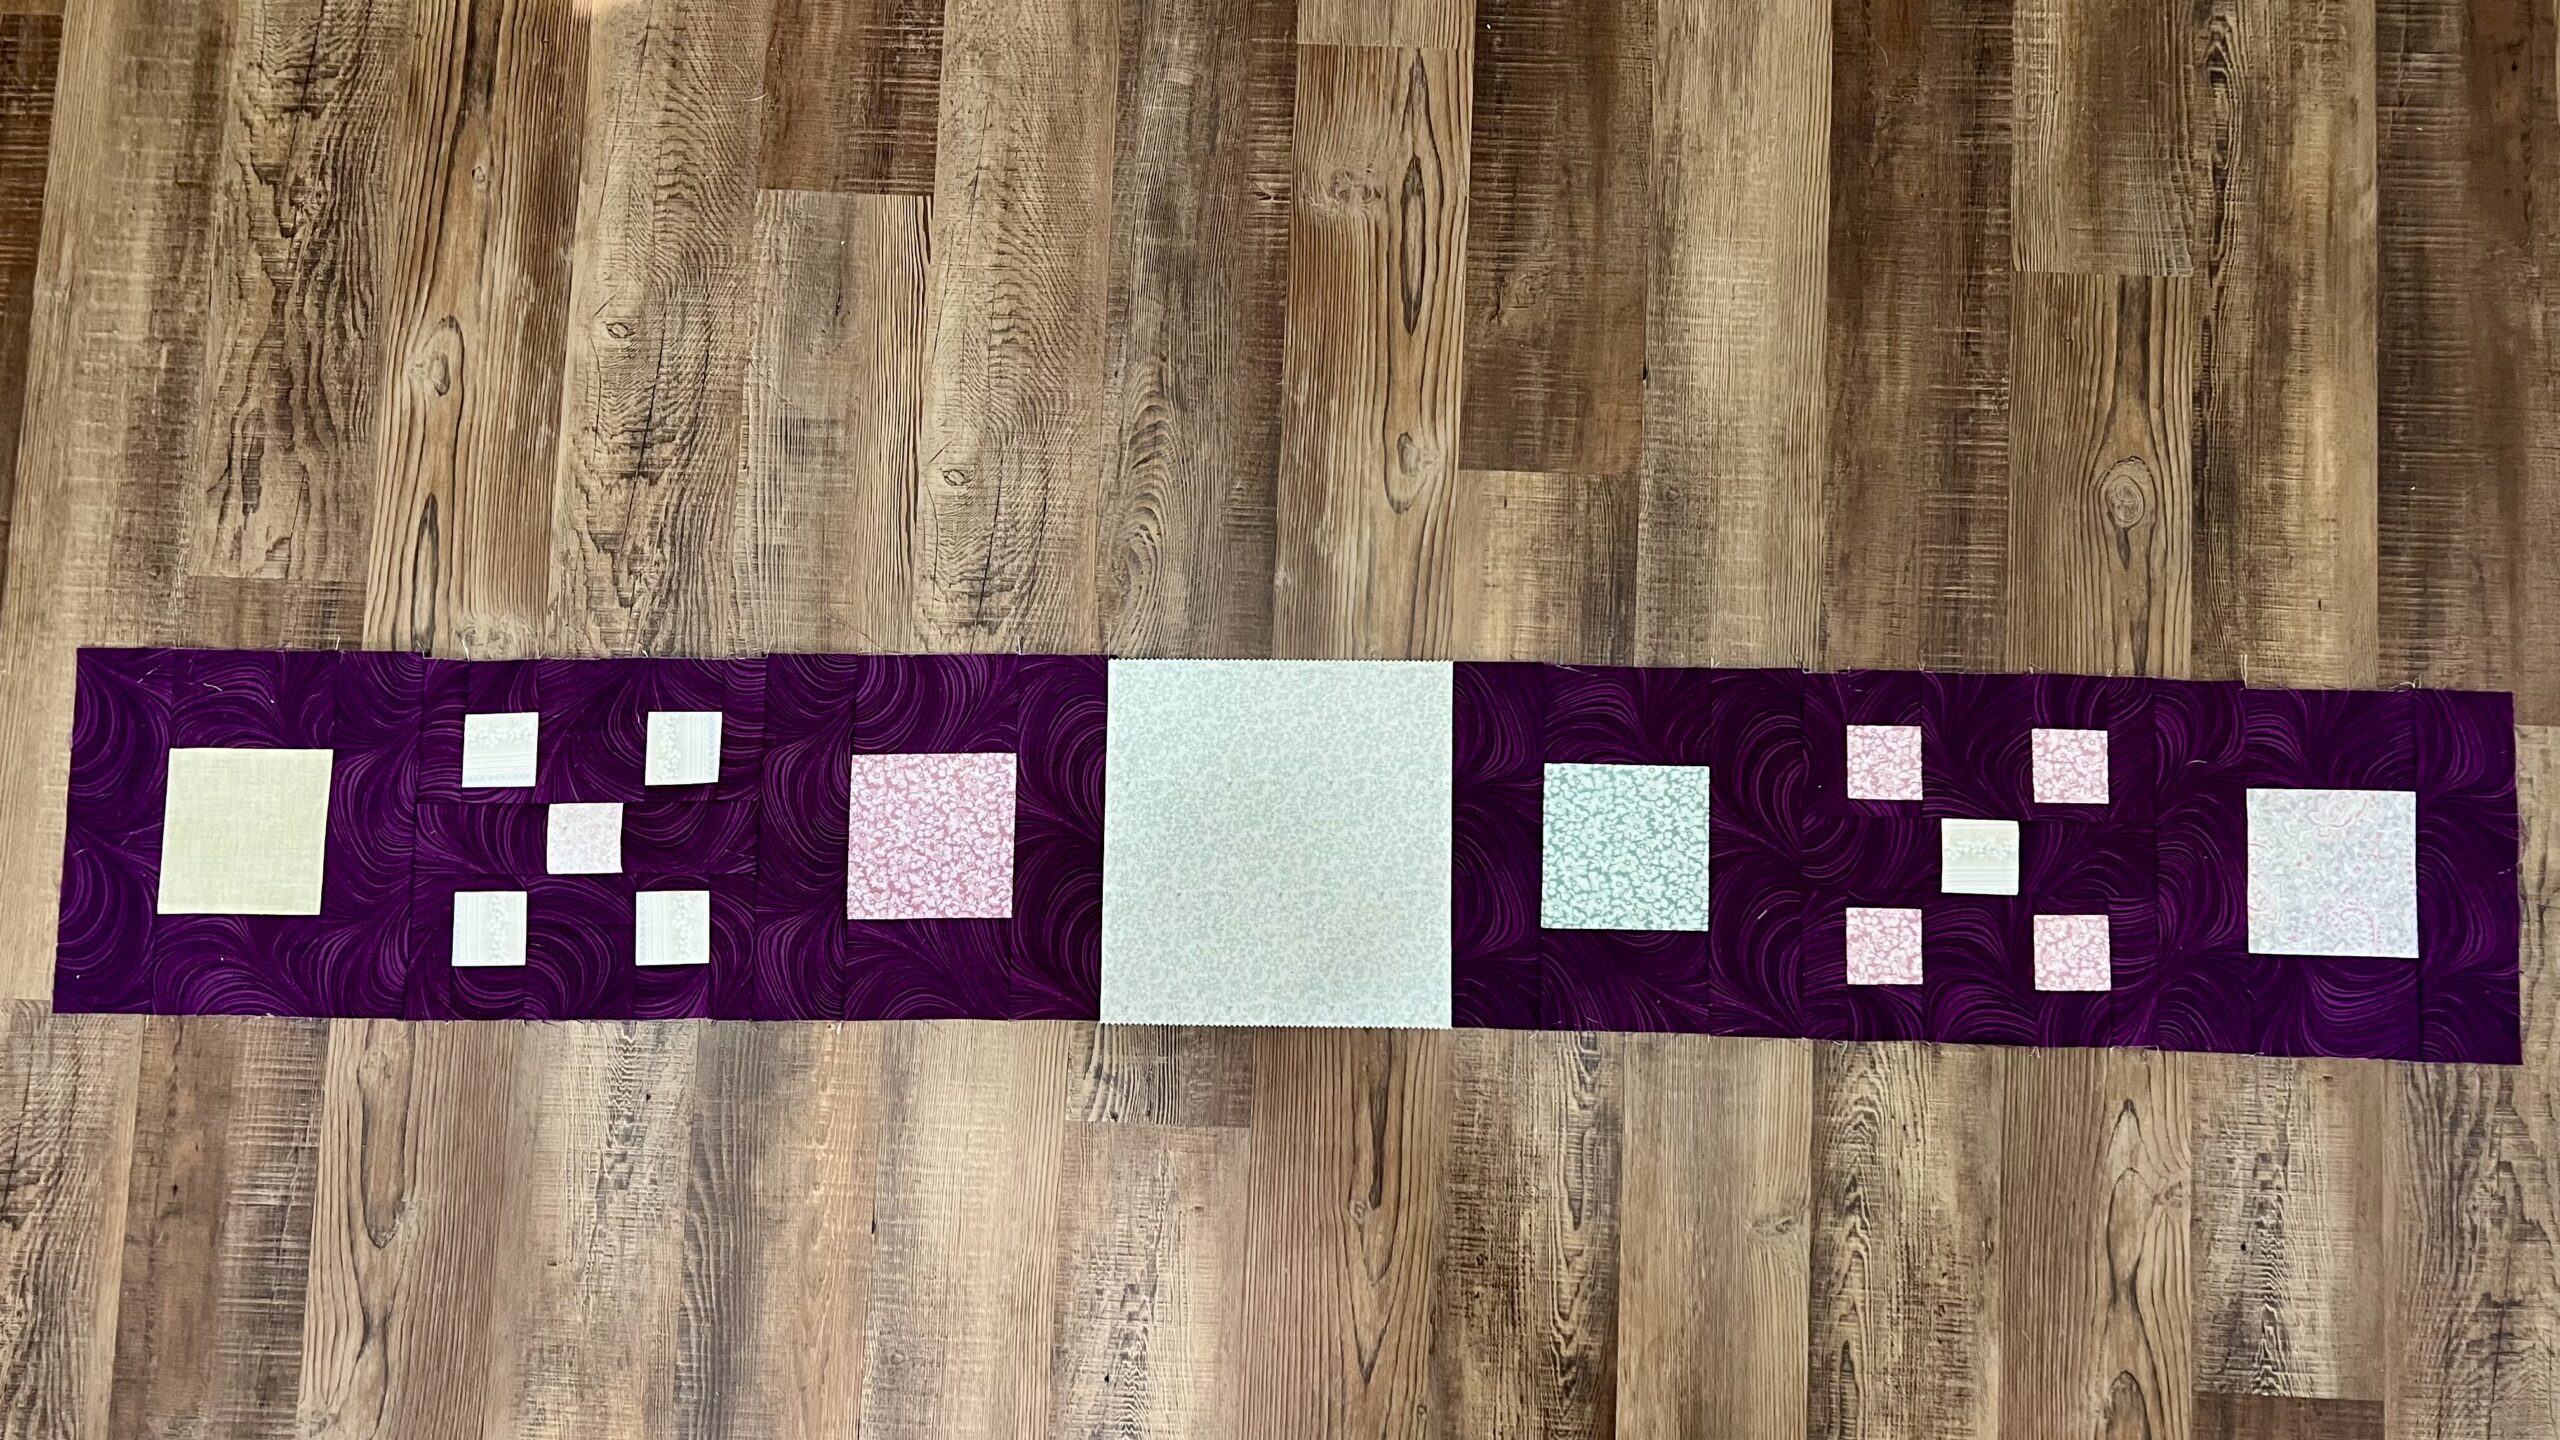
First sew a piece D to the top of 4 of the piece Fs. Then add a piece E to the bottom. Add a piece C to the left of two of the sections and a piece C to the other two sections. Join them in the middle with a piece A. You will have 2 sections that look like the third photo.
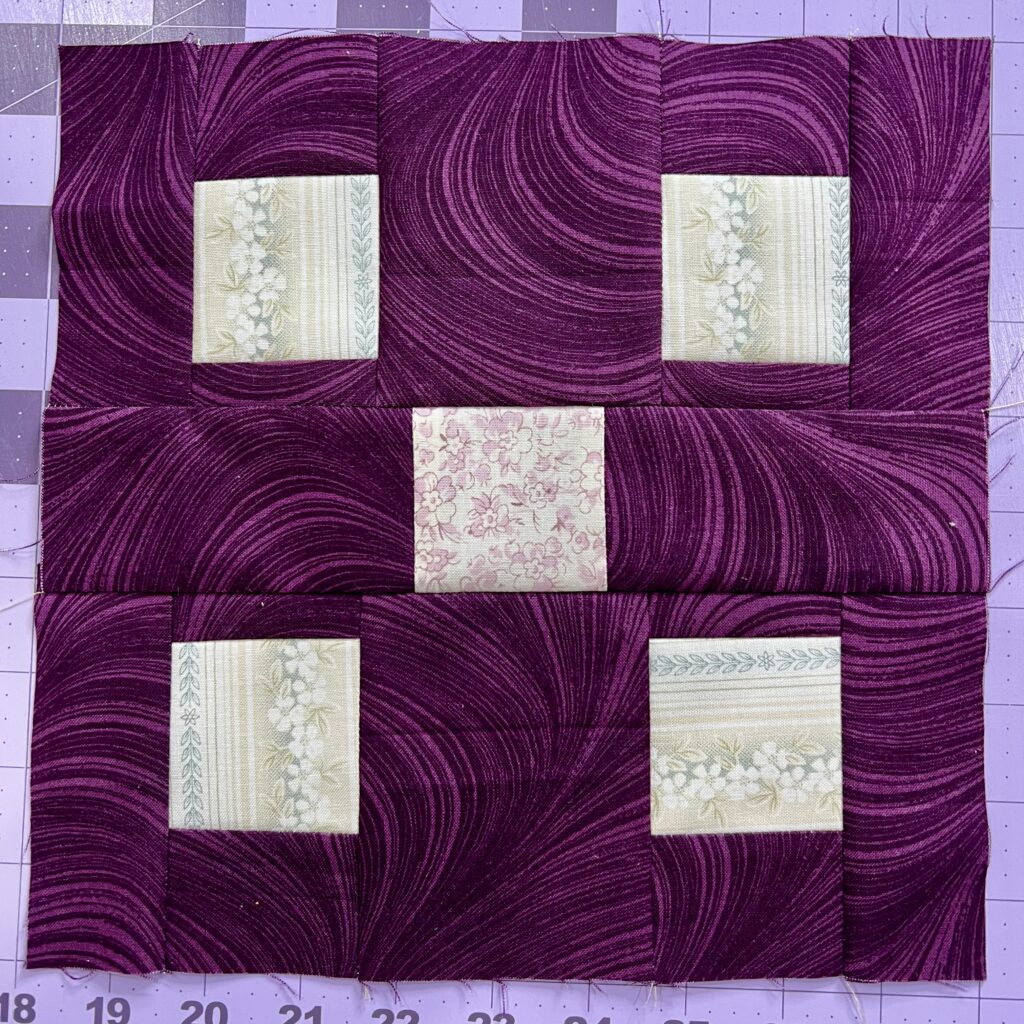
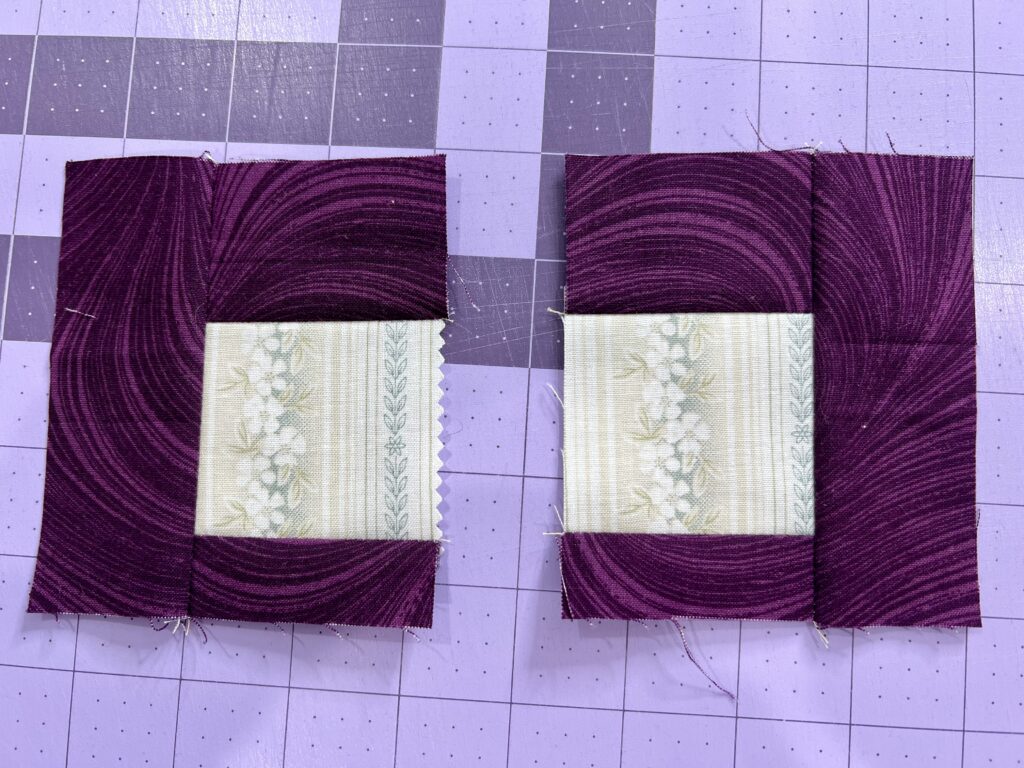
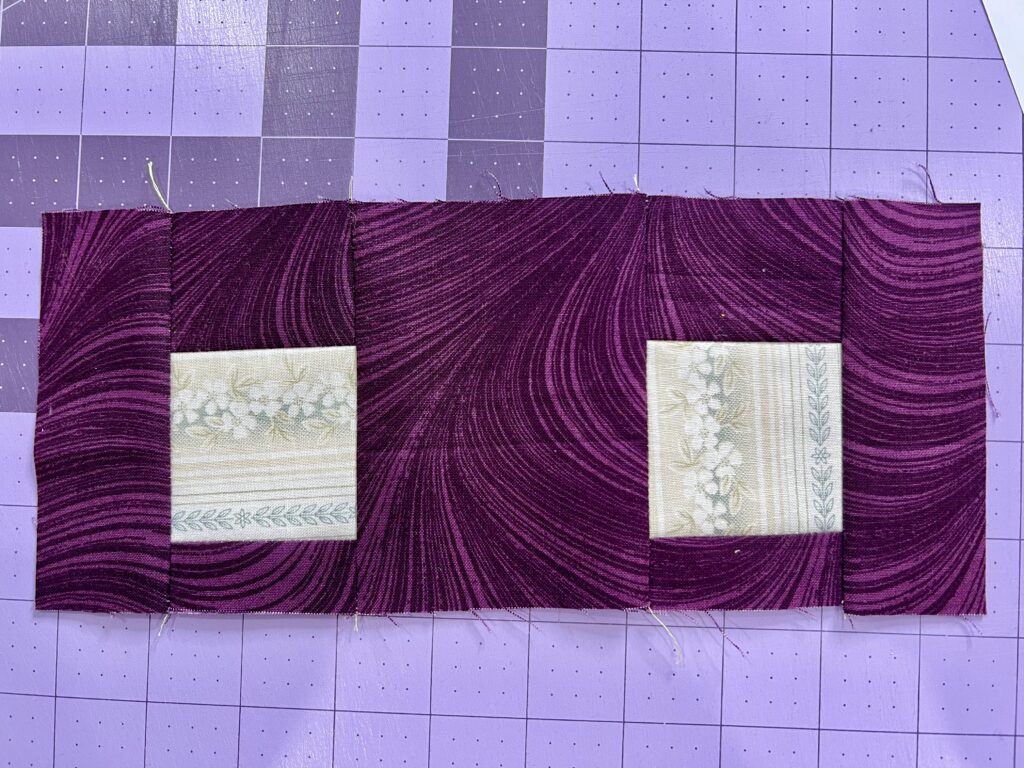
For the center of the block sew a piece B to the left and right of a piece F. Then add one of the sections made earlier to the top and one to the bottom. The piece Es should be closest to the center strip.
Block 2 should measure 10″. Make 14 of these blocks.
Making Block 3
Cutting
From the precut pack:
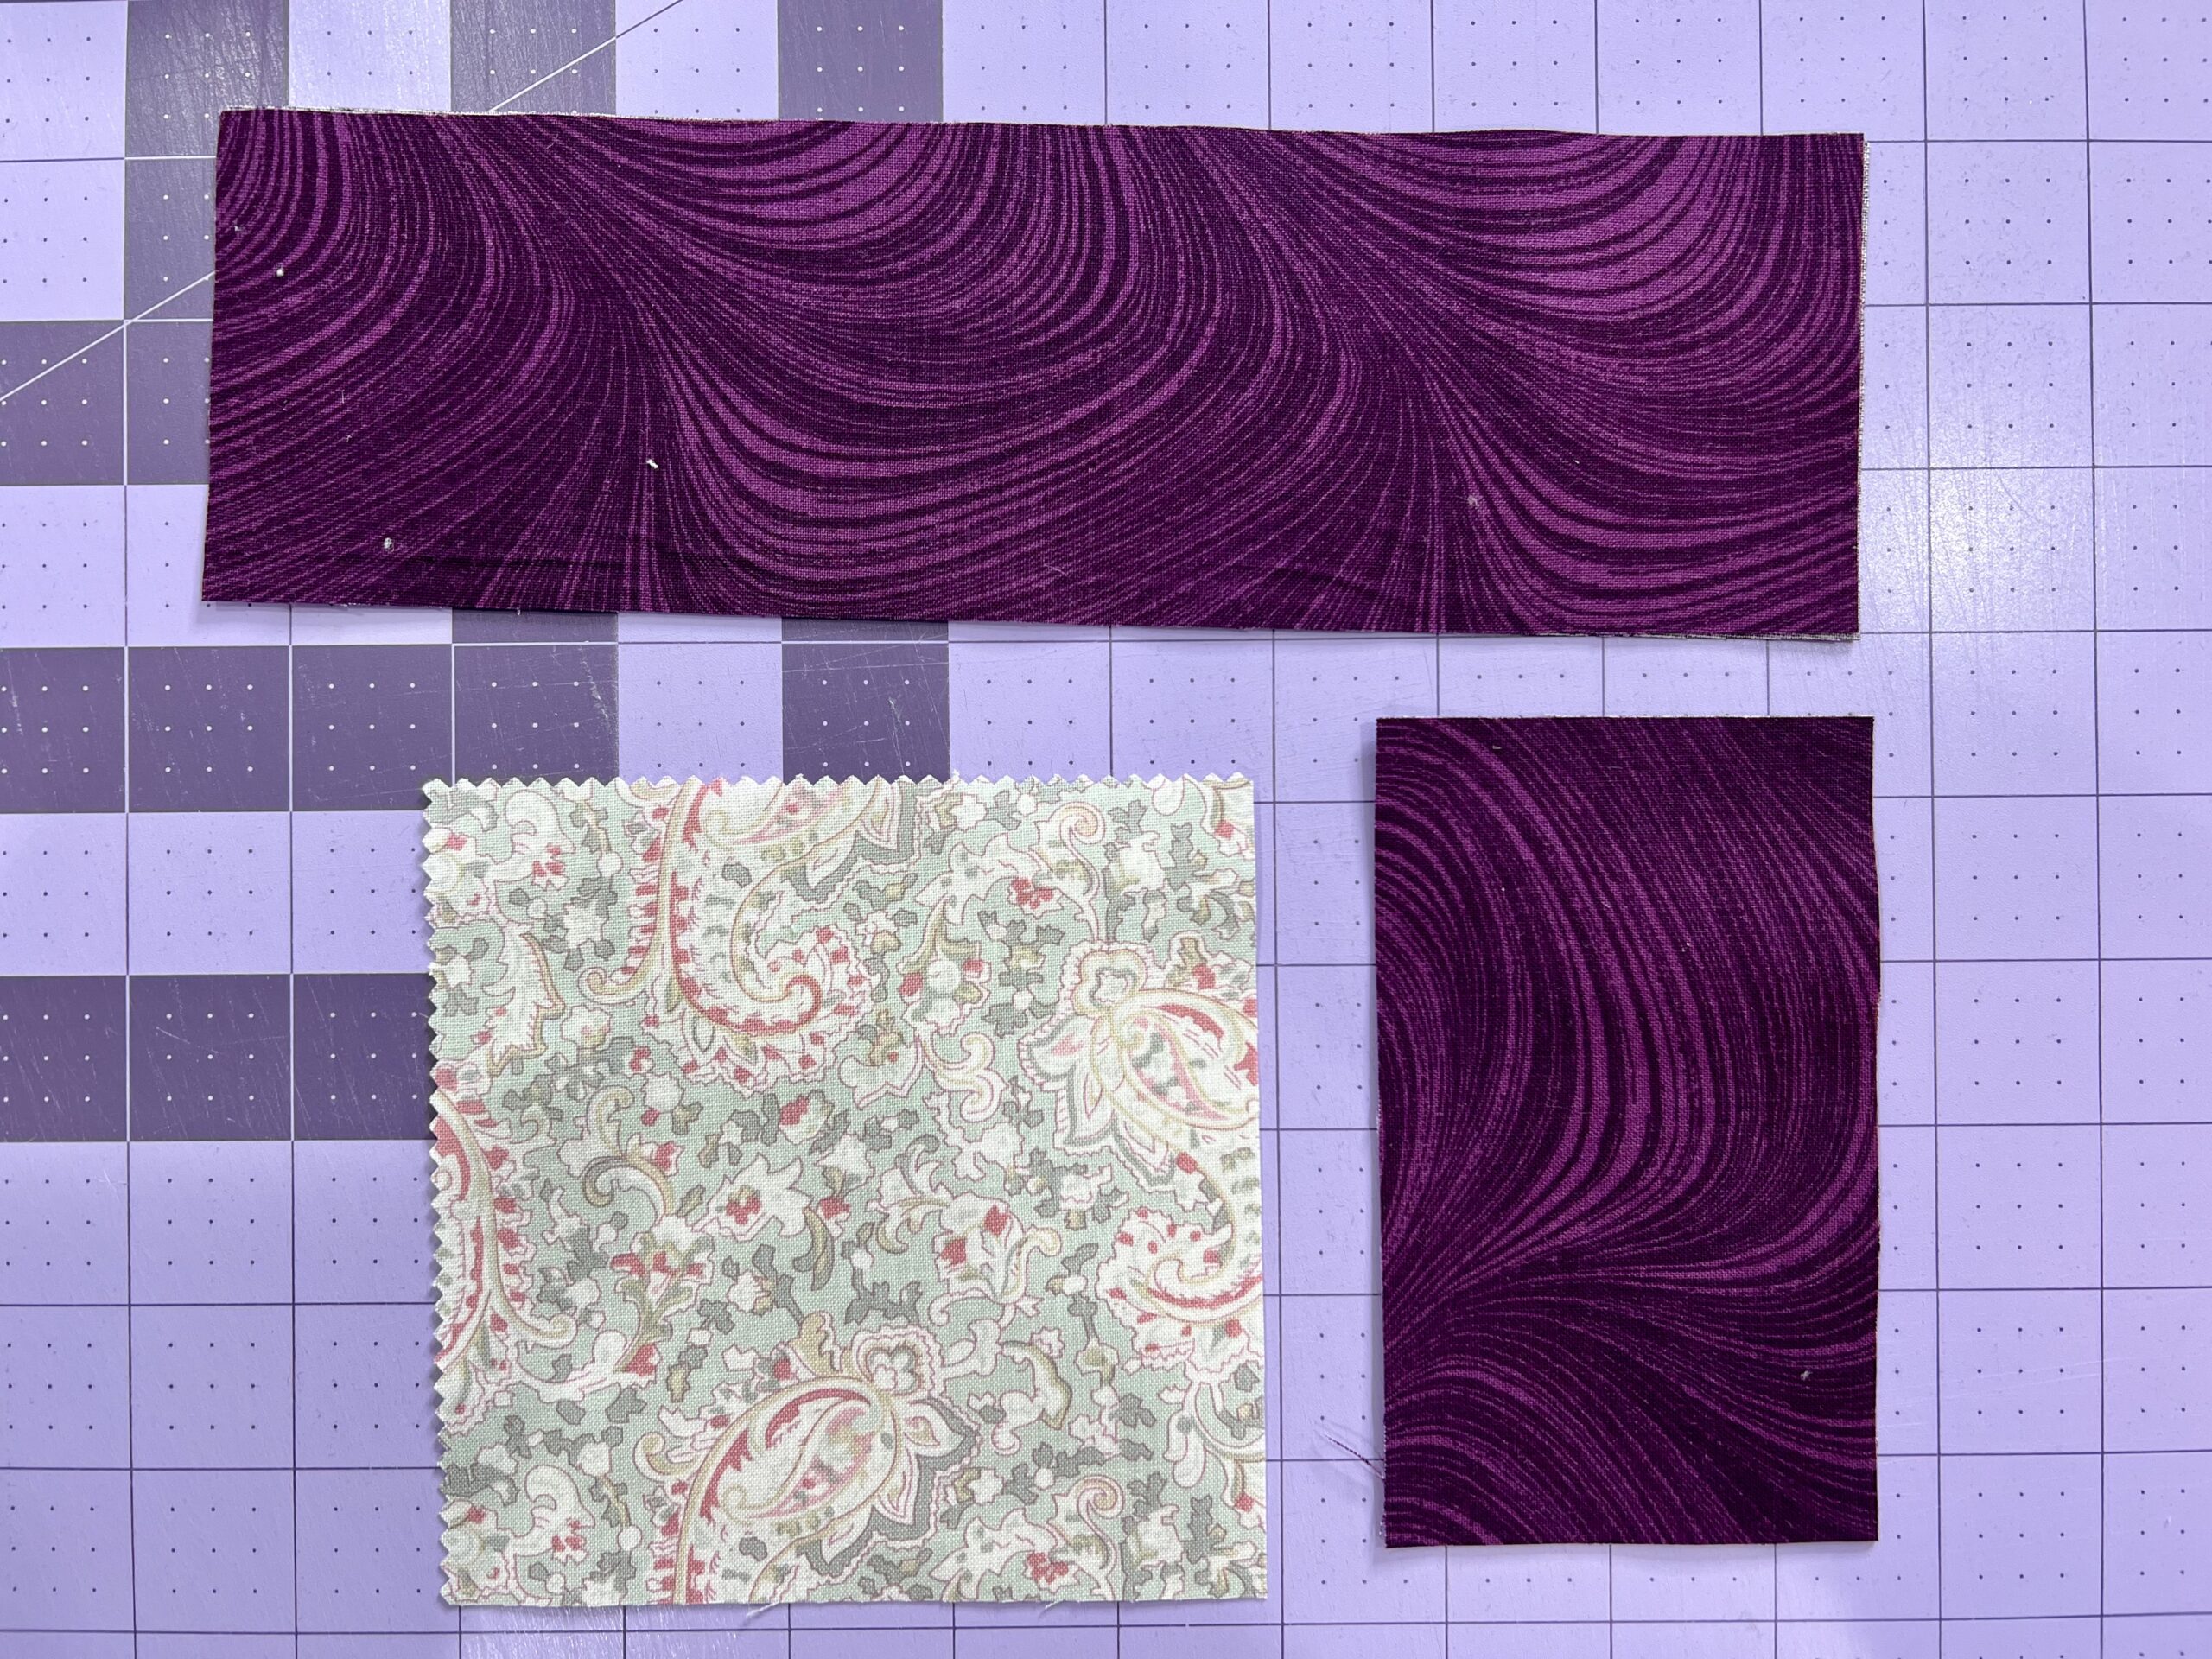
- Piece G – 5″ x 5″ – 36 pieces
From the background fabric:
- Piece H – 3″ x 5″ – 72 pieces
- Piece I – 3″ x 10″ – 72 pieces
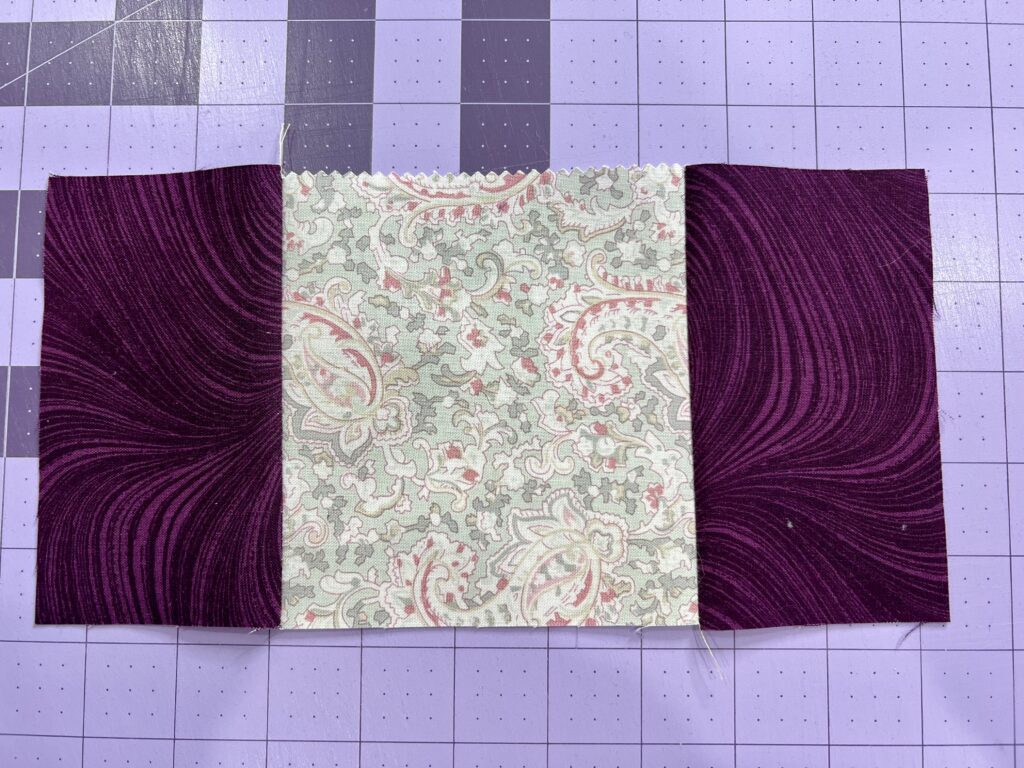

Sew a piece H to the top and bottom of a piece G. Add a piece I to the left and right. Block 3 should measure 10″ and you need 36 of them.
There are nine rows in the quilt. The odd rows are sewn together in one layout, the even rows in a different one.
Rows 1, 3, 5, 7 and 9 should be sewn together as shown.
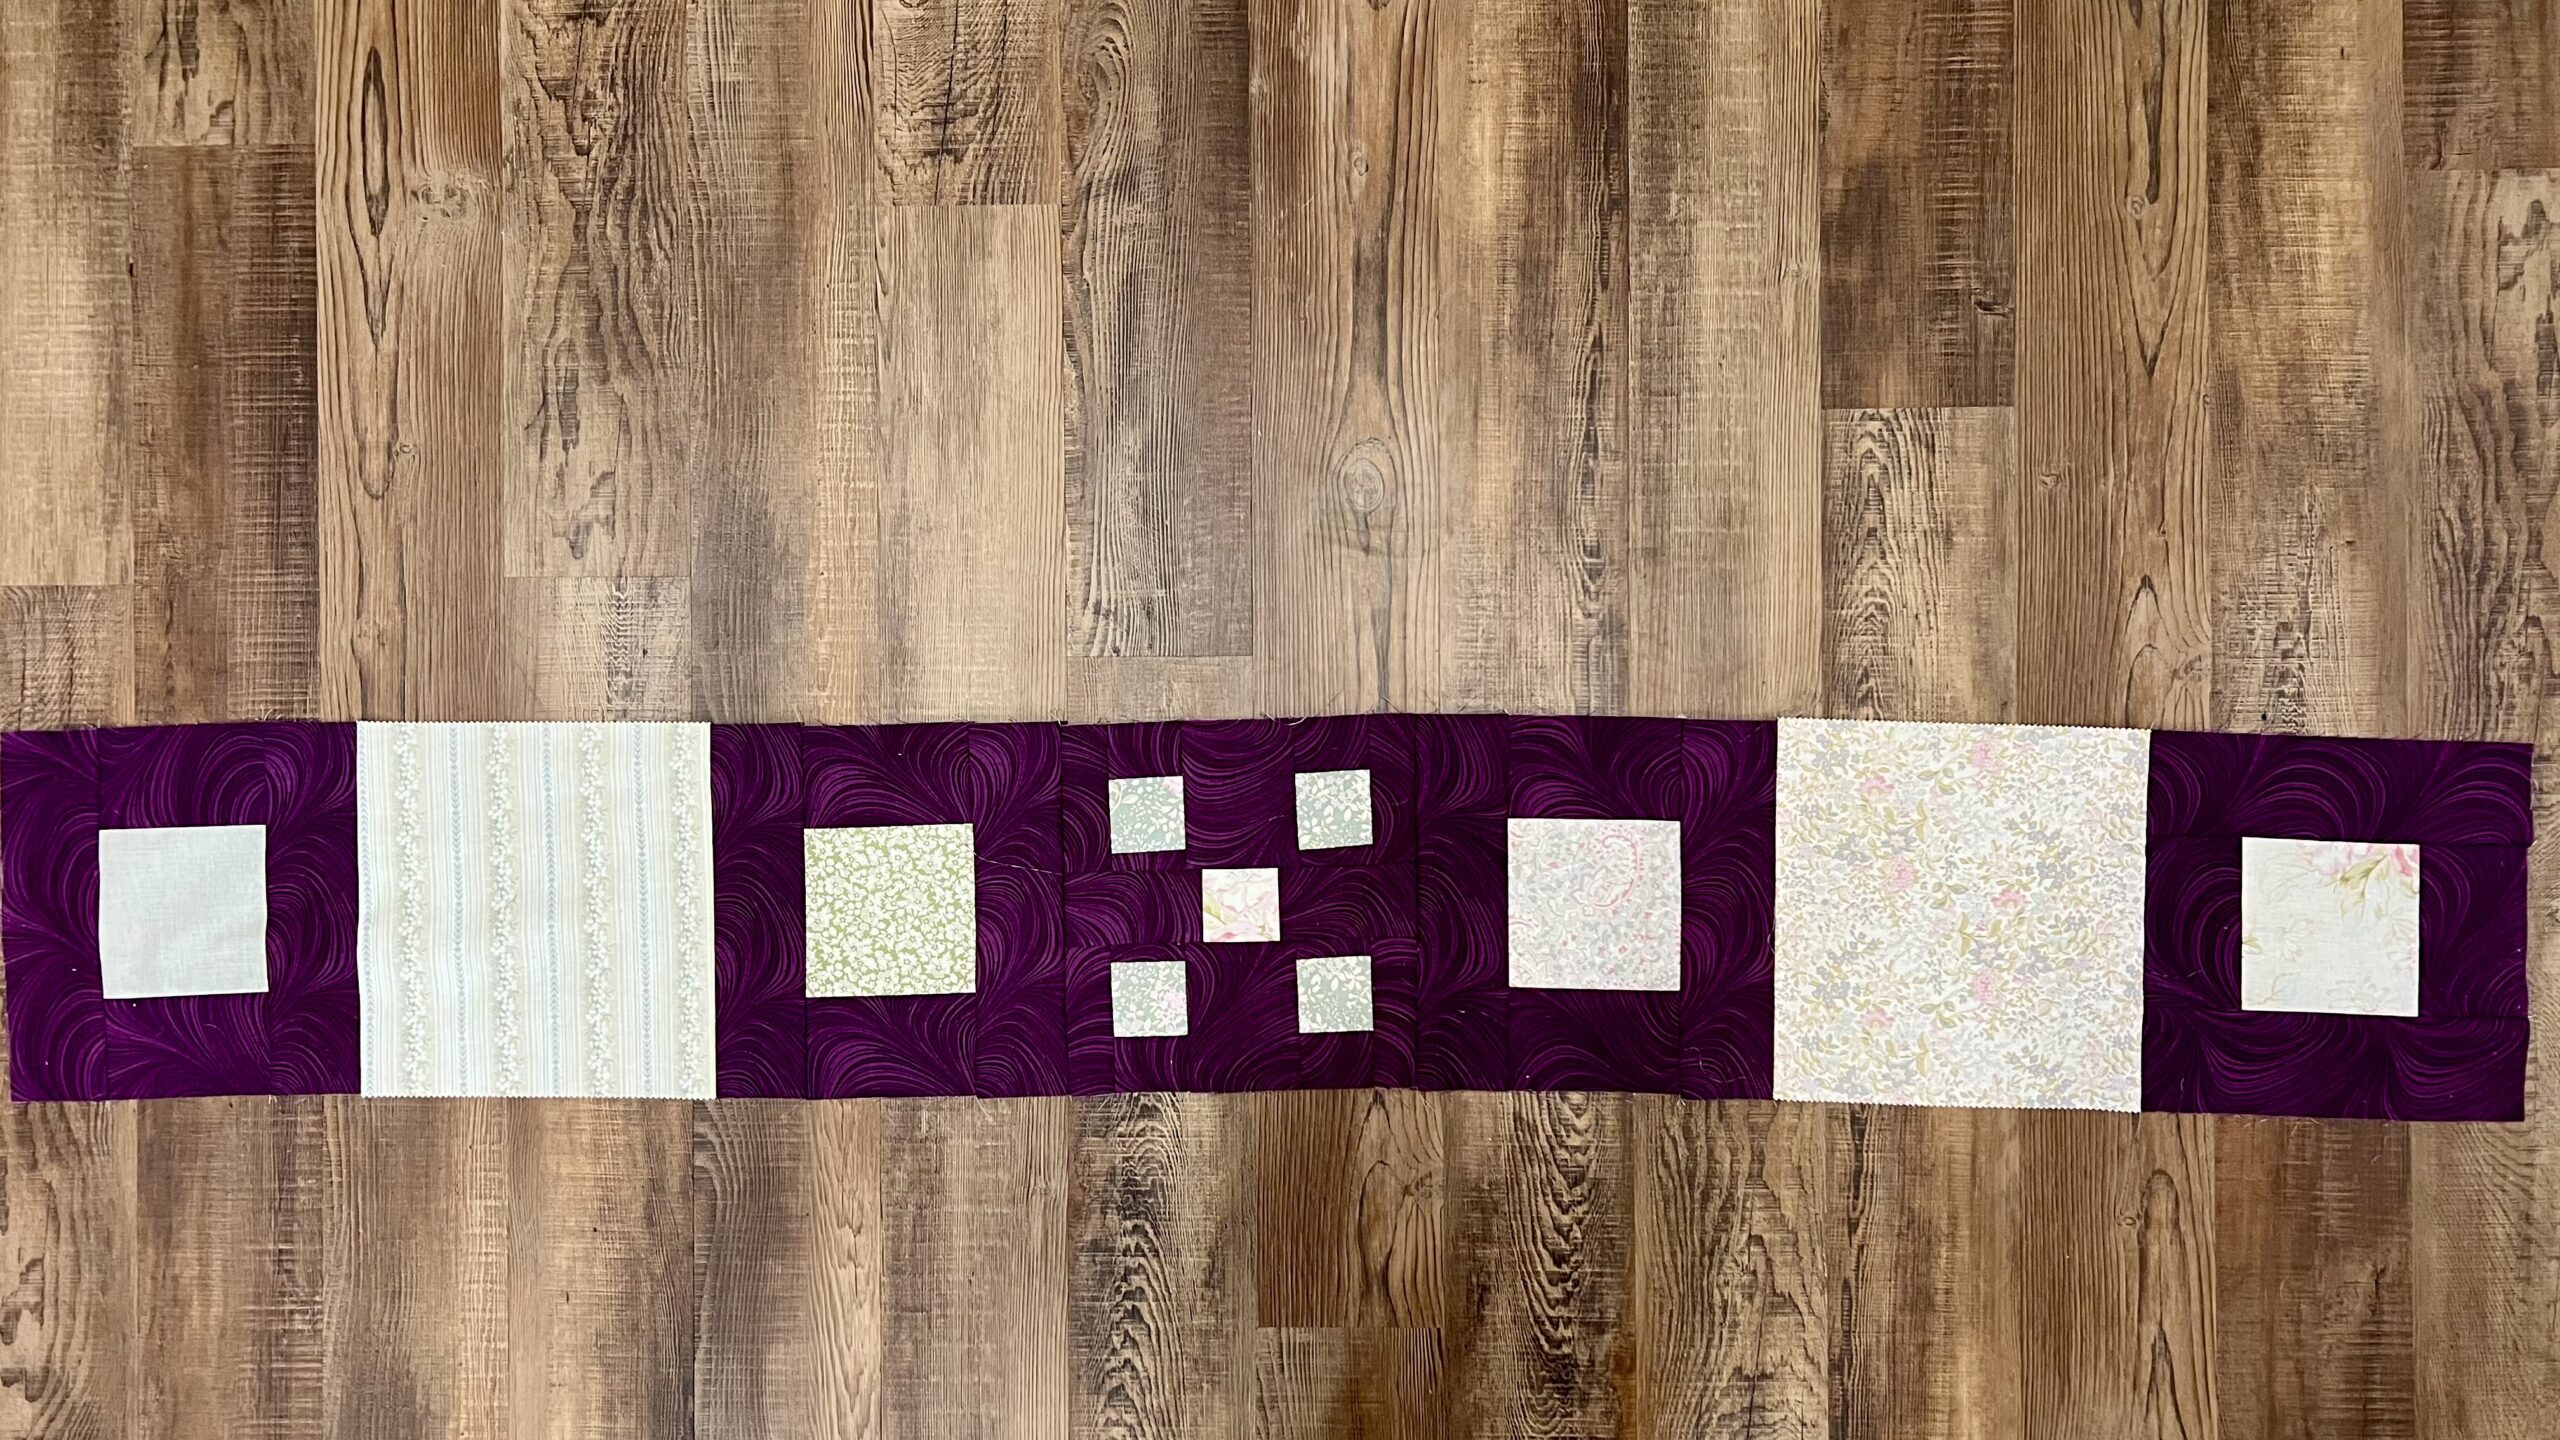
Rows 2, 4, 6 and 8 should be sewn together as shown.
Once the rows have been sewn together it is time to add borders to the top and bottom. Cut 4 strips 2 1/2″ by 33 1/2″. Piece together two of the strips together on the short end. Add this strip to the top of the quilt. Finally, piece the remaining two strips together and add the strip to the bottom of the quilt.
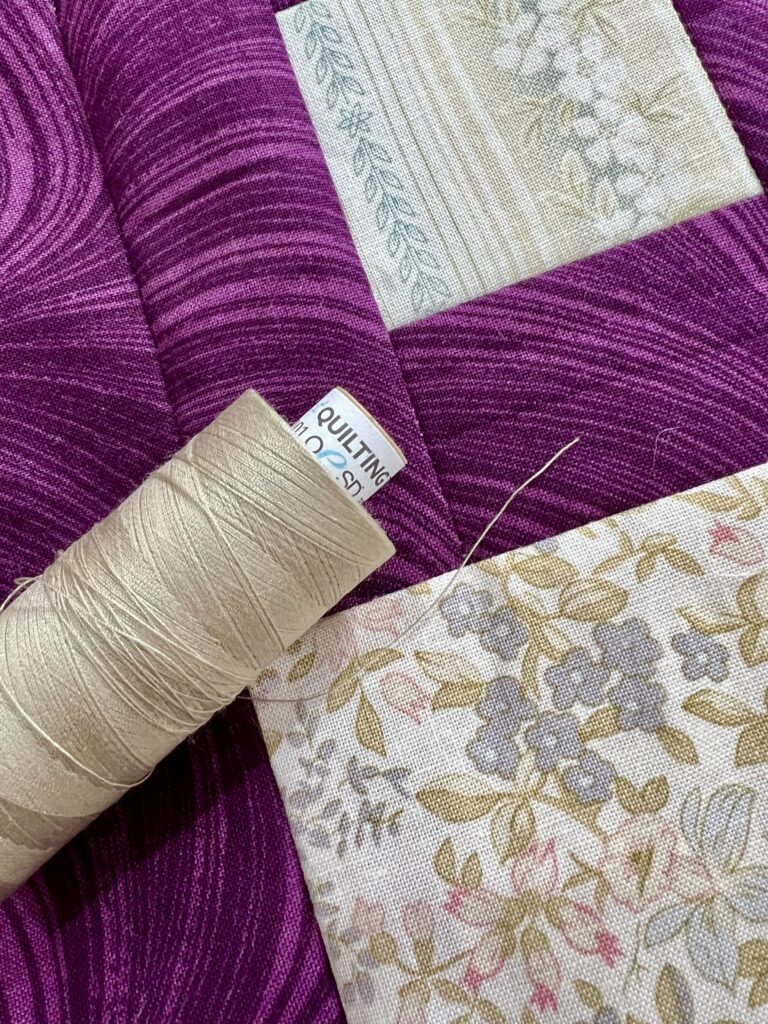
To piece this quilt I used this beige thread generously provided by OESD.
That is all there is to it! You’ll need about 5 1/2 yards for the backing and about 5/8 yard for binding (if you bind using 2 1/2″ strips).
The Photo Shoot
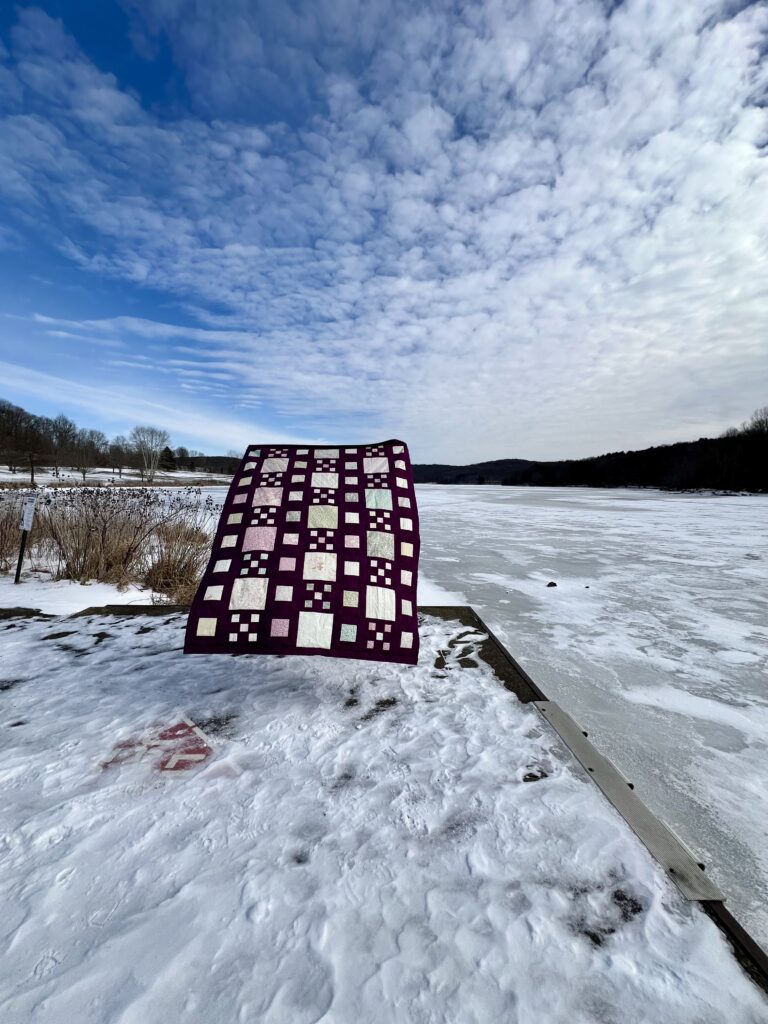
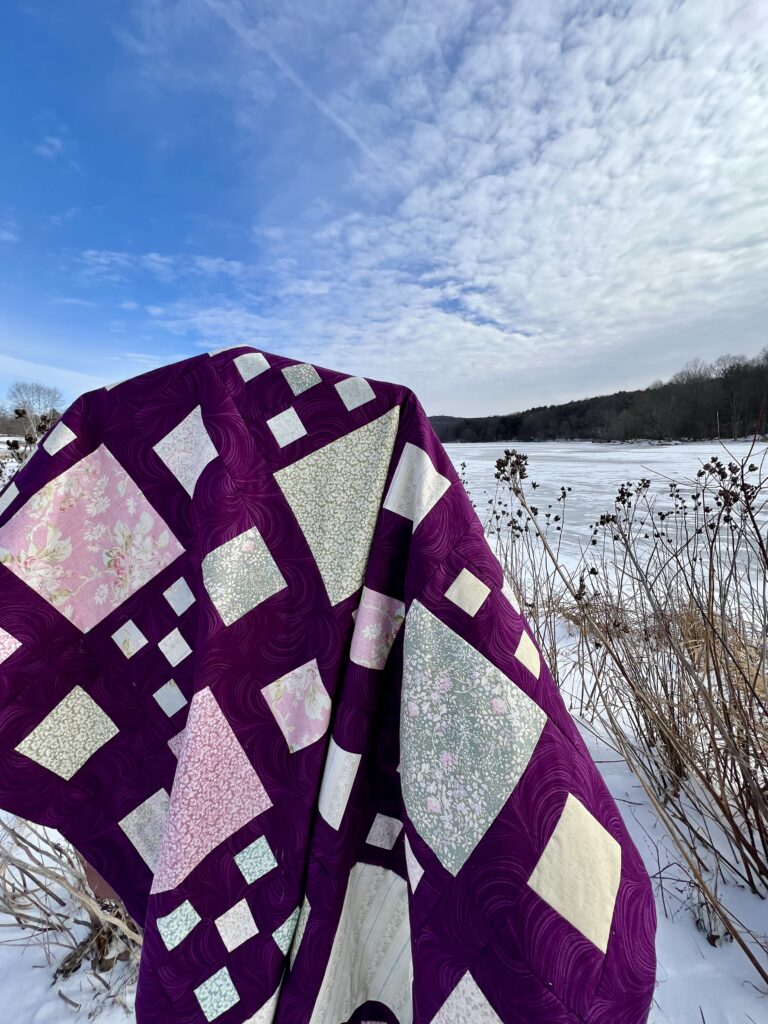
When you live in Western Pennsylvania you take advantage of a sunny day, no matter what the temperature may be. Many thanks to my quilt husband for braving the 4 degrees to help me with my photos of Beloved. Now this beauty is off to my longarm quilter for the finishing touches!
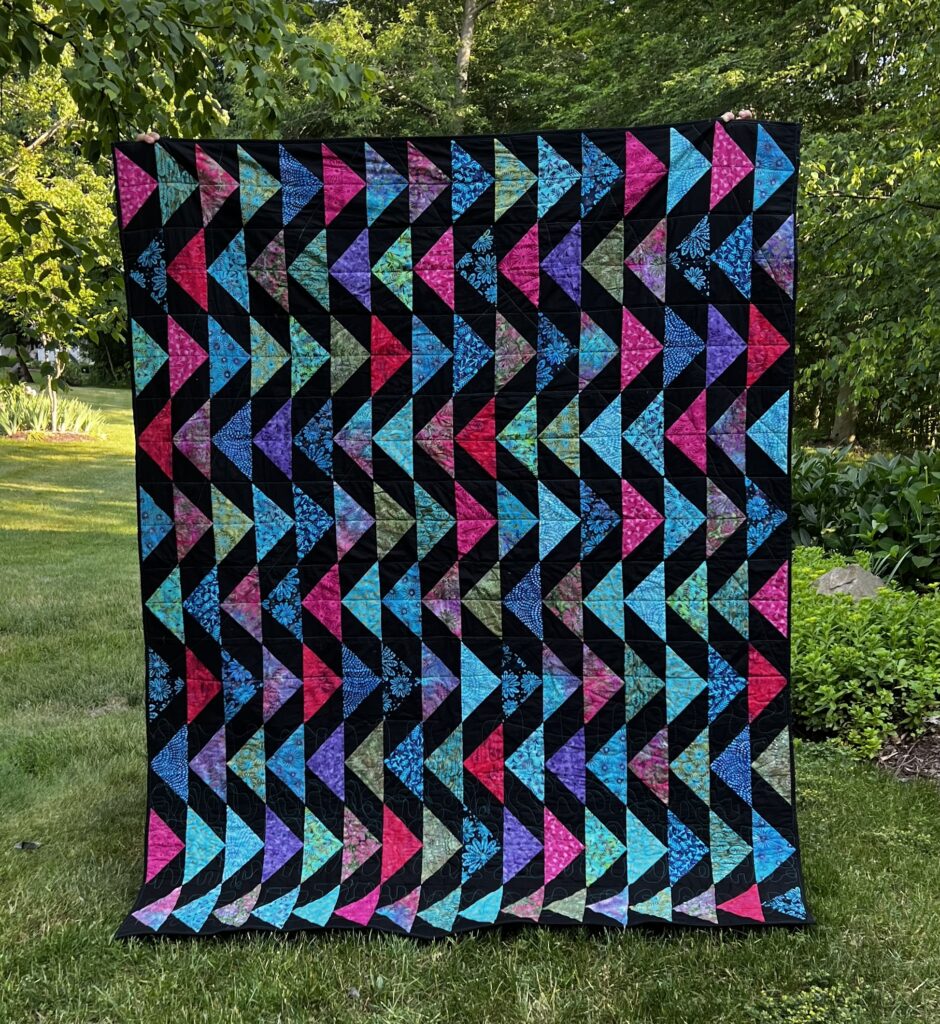
Other Precut Quilt Patterns
I love doing free quilt patterns and tutorials over on my YouTube channel. You can find two other that I did using a pack of 10″ precuts and some background fabrics. Click on the photo to take you to my video tutorial.


1 Comment
Sandra
February 16, 2026 at 1:24 PMGorgeous! This reminds me of film strips, lol.