
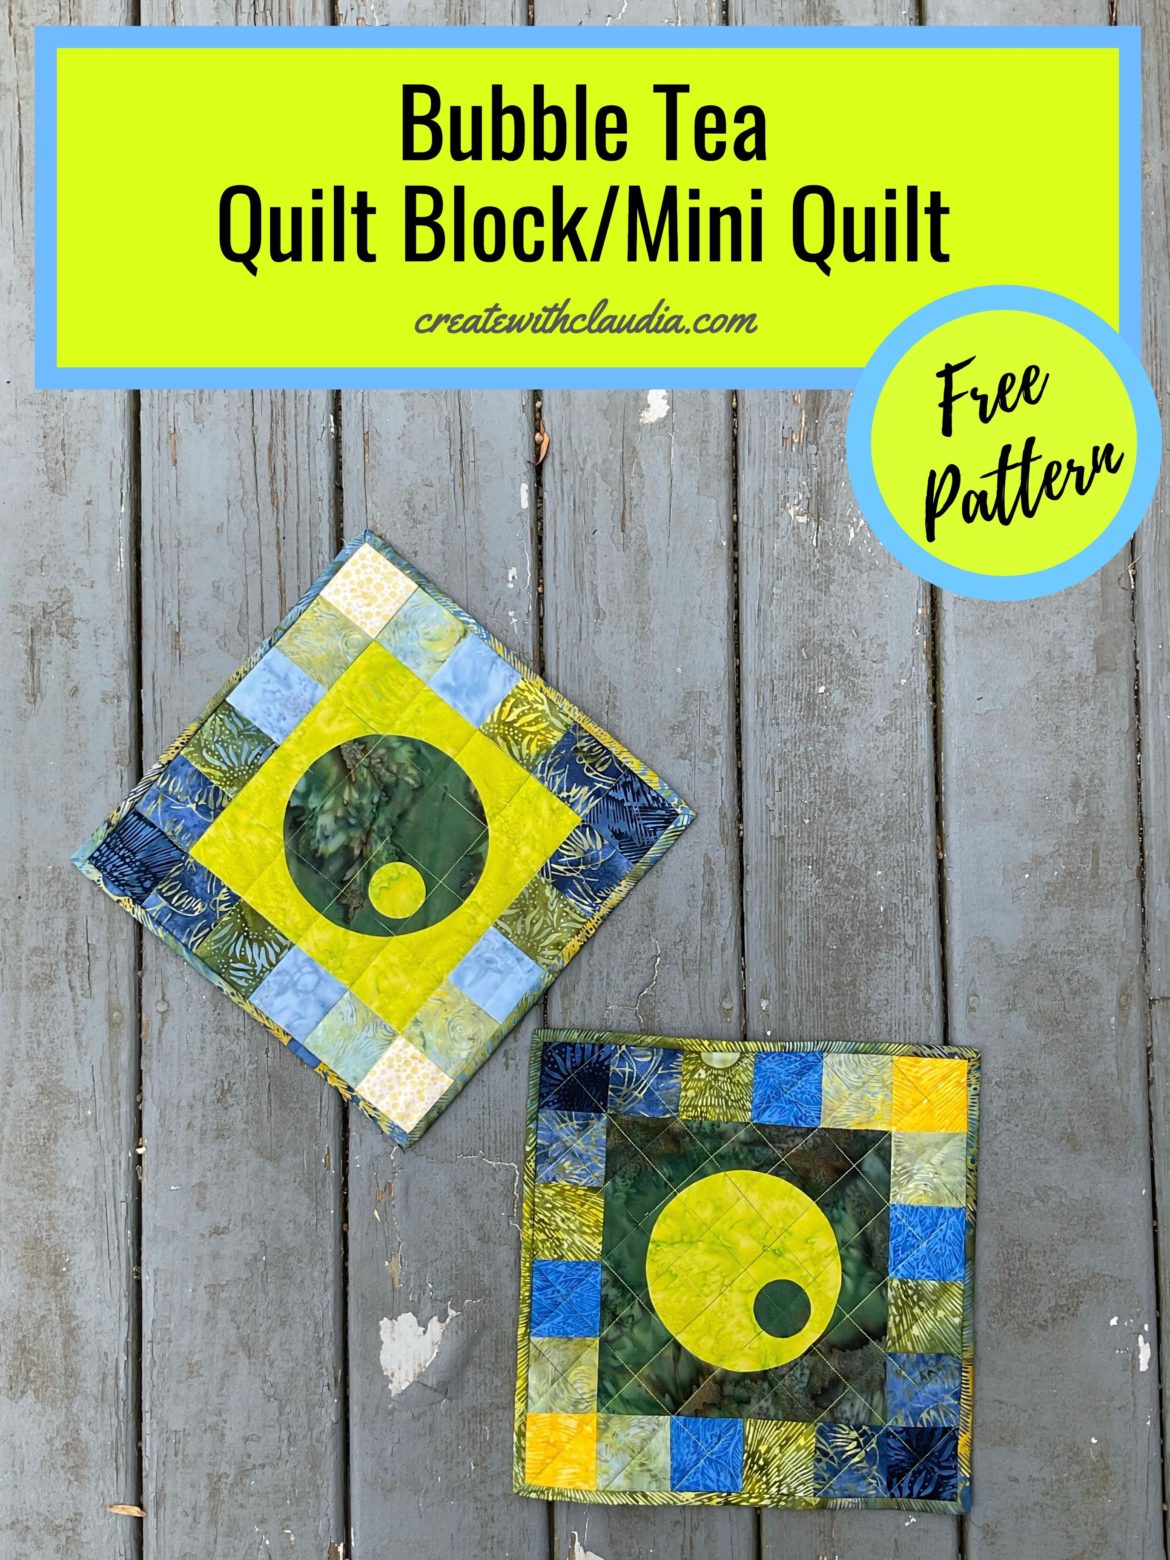
Bubble Tea Mini Quilt Tutorial – Bubble Tea
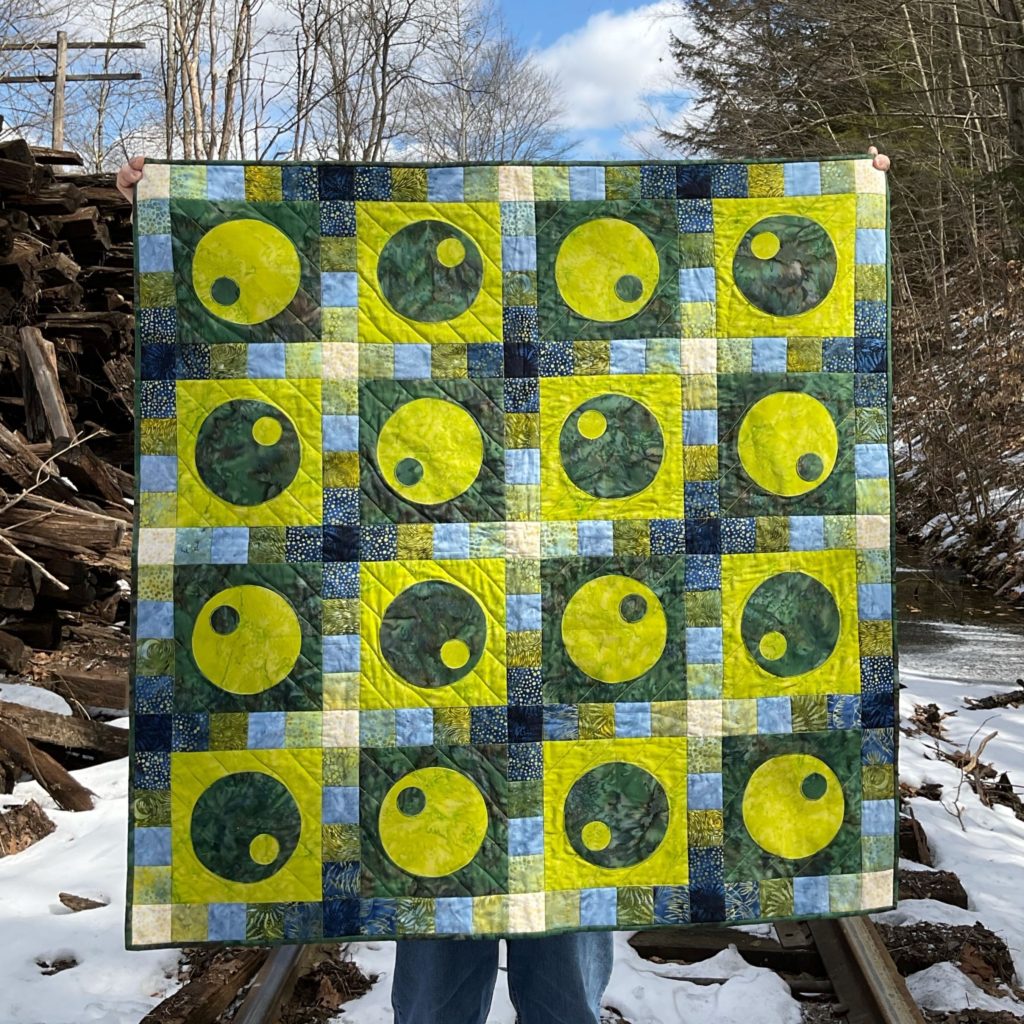
For the April Island Batik Ambassador challenge we were free to do whatever we wanted. They had given me a strip set and some coordinating fabrics that had caught my eye, and this design pretty much popped into my head. That is how the “Bubble Tea” quilt was born. As in the past months, I don’t have a pattern for the large quilt yet, but I wanted to make a fun mini to go along with it. That is why I wrote this Bubble Tea mini quilt tutorial.
This block is just a fun and easy little make that is a little bit modern and a little bit traditional. When I was designing the quilt I couldn’t decide if the bubbles looked like olives or not, but then I got a bubble tea at a local shop and the name stuck. I probably could have called it Matcha Bubble Tea because of the colors, but I kept it short instead.
The pattern combines traditional piecing and easy appliqué to come up with a fun and modern look. It can be a block or made into a mini. The outer border is ideal for strip sets.
Disclosure: The products in this post were generously provided by Island Batik, Accuquilt, Aurifil, Schmetz Needles, and Hobbs Batting.
My Inspiration for the Bubble Tea Block
The Video Tutorial
If you have visited my website before you know that I enjoy doing video tutorials for all of my posts. Here is the tutorial for this block.
*Download the Bubble Tea Quilt Block Pattern Here*
General Pattern Information
- Finished size is approximately 12 ½ inches by 12 ½ inches
- A ¼ inch seam allowance is used throughout
- Please read all instructions carefully before beginning
Supplies Needed
- General quilting supplies including a cutting mat, rotary cutter and quilt ruler
- Circle templates – 5 1/2″ diameter and 1 1/2″ diameter
- Paper backed fusible web for the appliqué
You can find many of the items that I used to make this project in my Amazon Store.
As an Amazon Associate I earn from qualifying purchases.
Fabric and Cutting
You will need eight fabrics for this project.
- From Fabric A – 1 square cut 8 ½ inches by 8 ½ inches & 1 piece of fabric large enough for the small circle appliqué template which is about 1 1/2″ in diameter
- B – 1 piece of fabric large enough for the large circle template which is about 5 1/2″ in diameter
- C – 2 squares cut 2 ½ inches by 2 ½ inches
- D – 4 squares cut 2 ½ inches by 2 ½ inches
- E – 4 squares cut 2 ½ inches by 2 ½ inches
- F – 4 squares cut 2 ½ inches by 2 ½ inches
- G – 4 squares cut 2 ½ inches by 2 ½ inches
- H – 2 squares cut 2 ½ inches by 2 ½ inches
- If making a mini quilt: Fabric for backing (about 15” square), batting and binding
Get the Look
If you love the look of these mini quilts, then here is the info you need.
- Center fabrics are both from their Basics line – The darker green is “Pinecone” and the lighter one is “Seedling”.
- Outer squares and binding were primarily from their “Citrus Sun” line designed by Kathy Engle and in stores in February 2021 with 2 exceptions: The bright yellow corners on the darker version are from their “Autumn Sunset” collection designed by Kathy Engle and in stores in February 2021. The light blue squares in the lighter version are from their Basics line and it is called “Shark”.
Batting
Tools Used
For this project I used Schmetz microtex needles in my machine.
Assembly
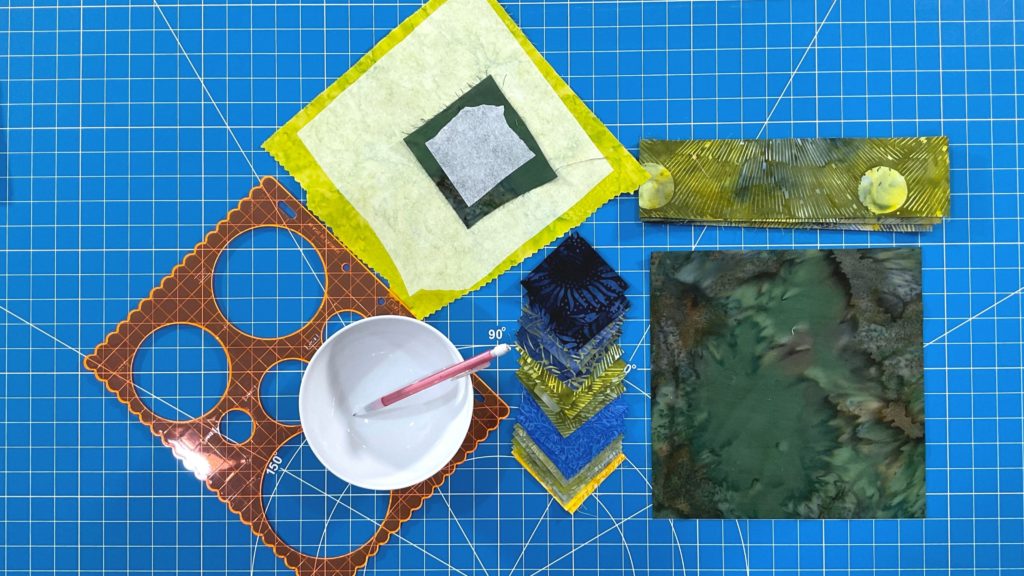
Step 1 – Appliqué the Circles
For this step you will need the large 8 ½ inch square of fabric A, the piece of fabric A for the small circle, and the piece of fabric B for the large circle.
First, following the manufacturer’s directions, apply the paper backed fusible web to the back side of the circle fabrics. Make sure the web you cut out is large enough for your template.
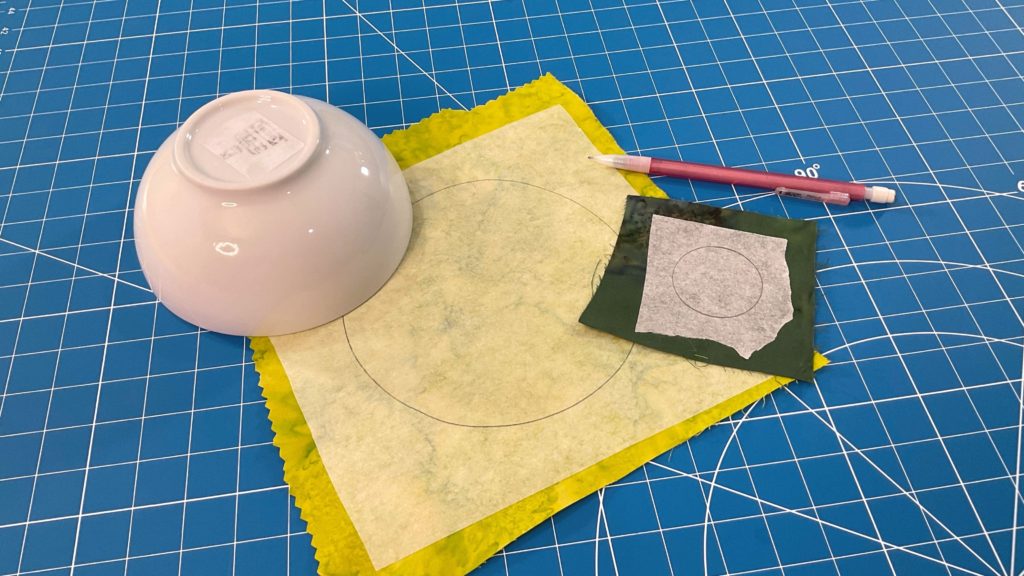
Next, using the template provided, or your own, trace around the circles on the paper backed fusible web. Carefully cut out the circles. Remove the paper backing.
Appliqué Template

Tip for removing the paper backing: I learned this from a YouTube viewer…gently score a small line in the paper backing with a pin. It should peel off easily.
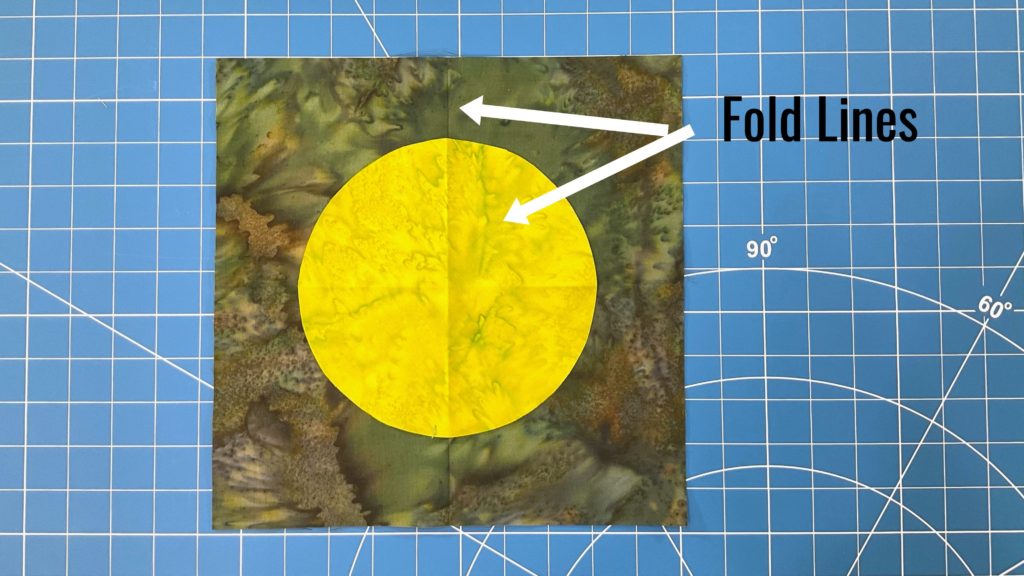
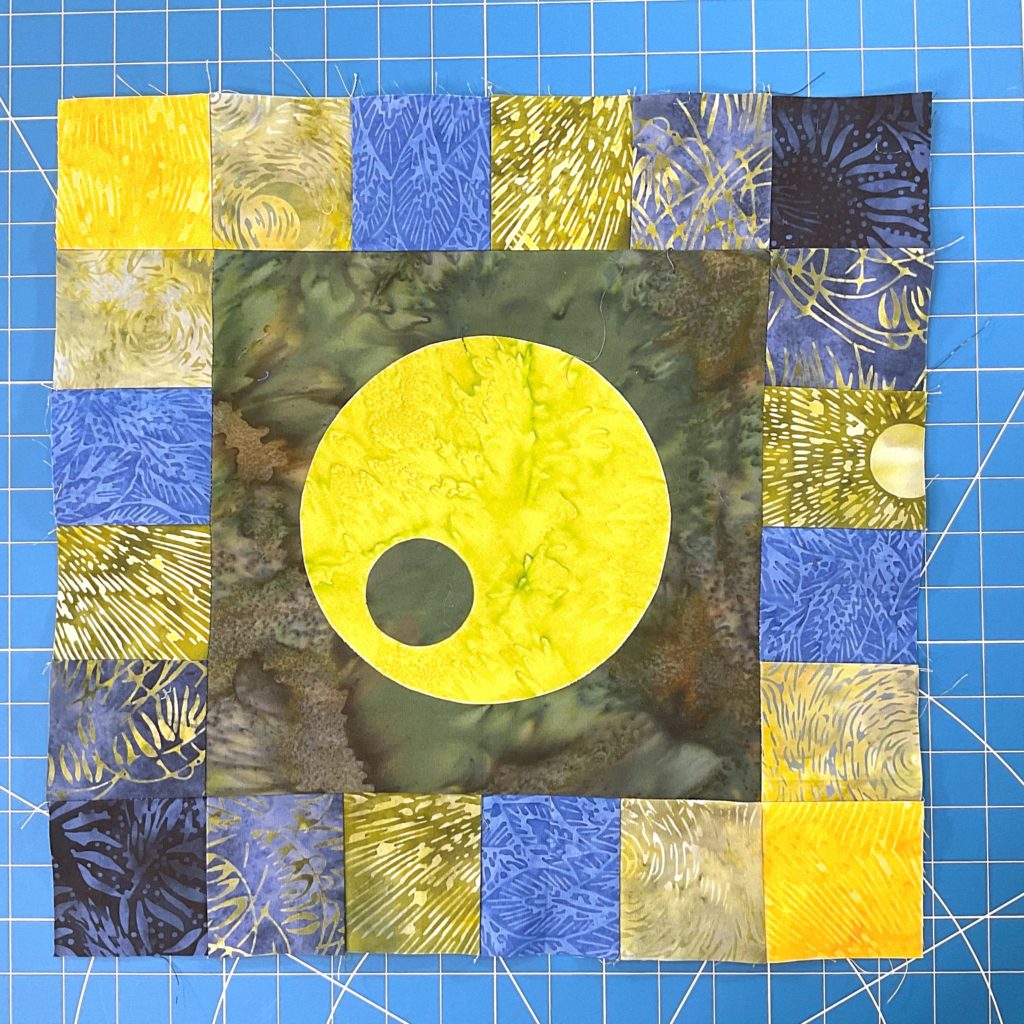
You will want to center the large circle in the 8 ½ inch square. To do that gently fold the square in half both ways and finger press. You will have a fold line to help center. Then fold the large circle in half both ways and gently finger press. Line up the folds and then, following the manufacturer’s guidelines, adhere the circle to the square.

Then, position the small circle off center, near one of the edges. I placed mine about a ½ inch from the edge of the large circle. Adhere it to the large circle.
If desired, add a decorative stitch around the outside of both circles.
Step 2 – Add the Outer Squares
Pattern Layout
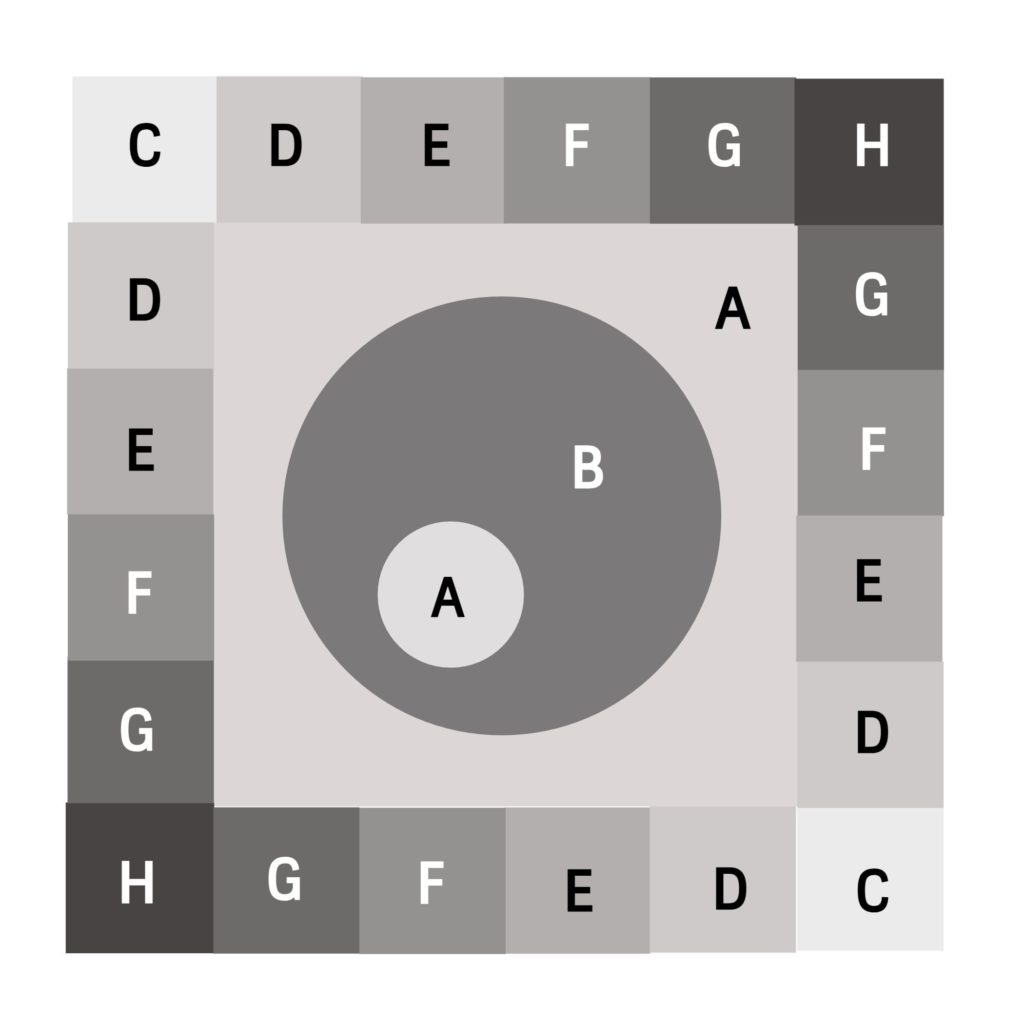
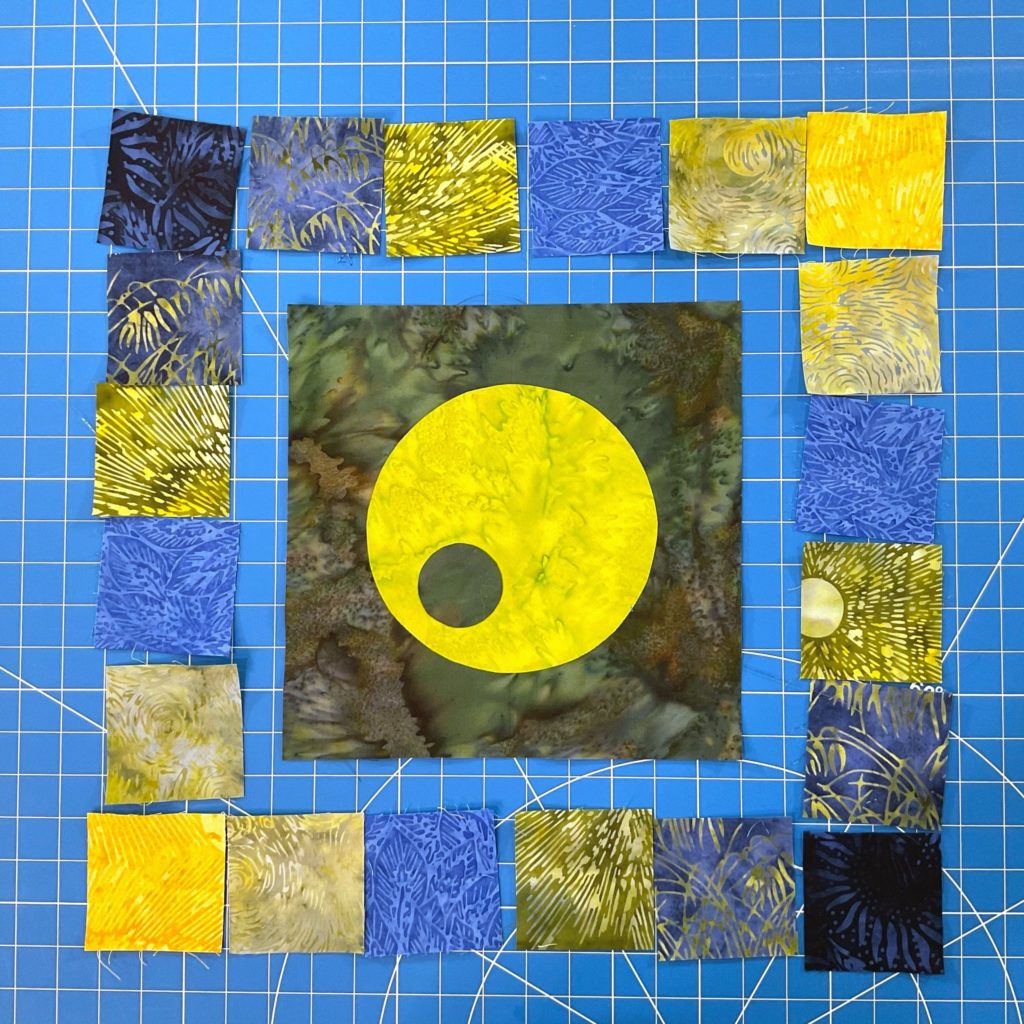
Lay out the block, placing the 2 ½ inch squares around the outside as shown. Letters indicate fabric.
First, sew together the four squares on the left side of the center square (fabrics G, F, E, and D). Repeat on the other side. Add these strips to the left and right side of the large square.
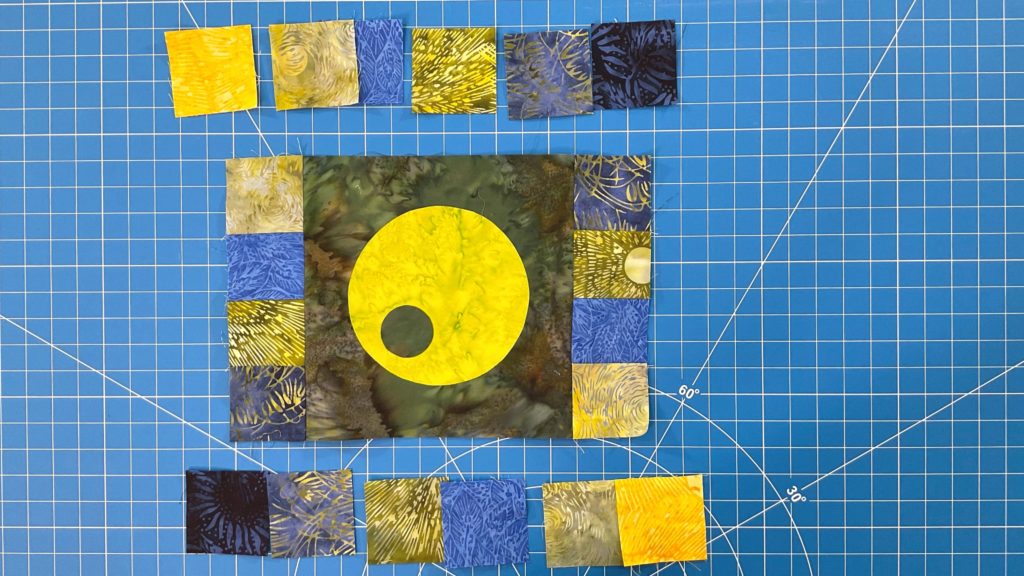
Then sew six squares to form a strip to add to the top of the block. Finally, sew the last 6 squares in a row and add that row to the bottom of the block.
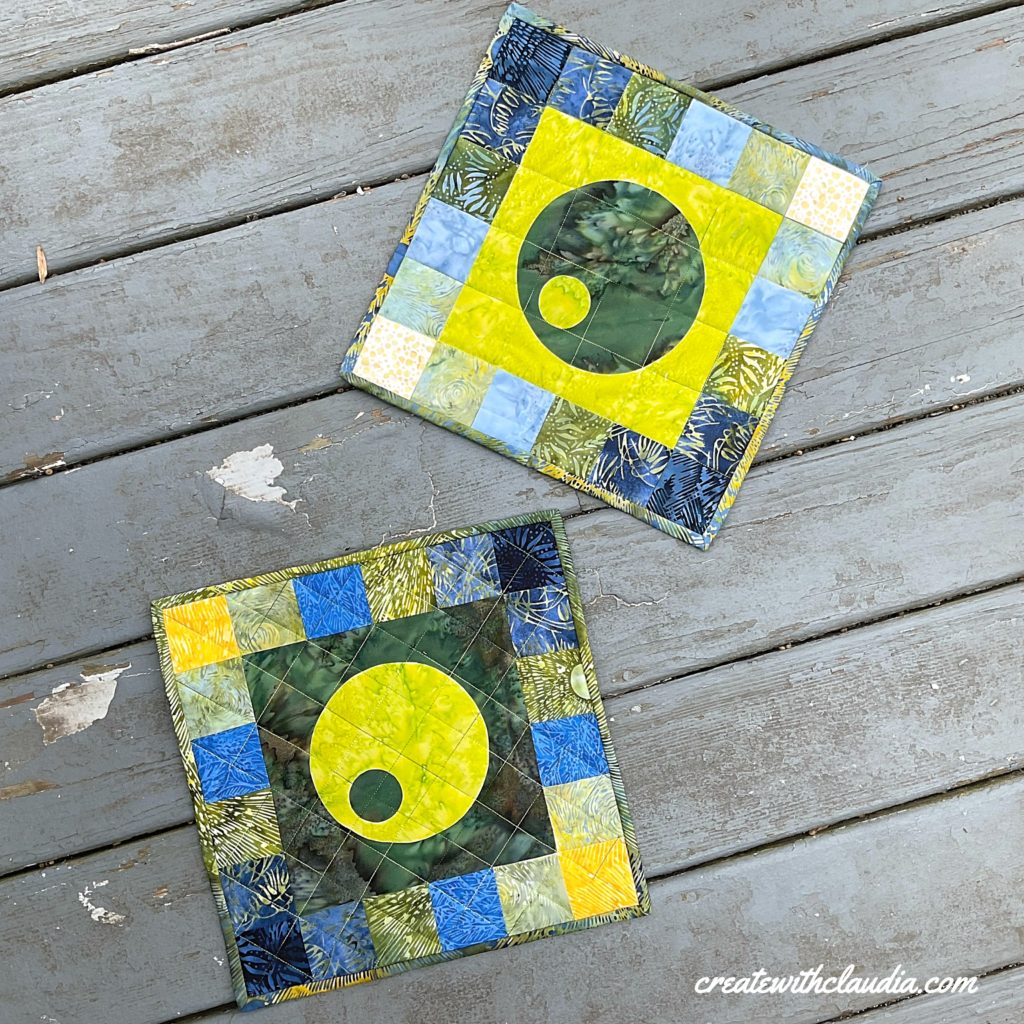
Step 3 – Finishing
Bubble Tea can be an individual quilt block or made into a mini quilt. To make it into a mini do the following:
- Lay your backing fabric on a long surface, with wrong side facing up.
- Next, lay your batting on top of the backing.
- Lastly, lay the mini quilt on top with the right side facing up.
- Baste the layers together using your preferred basting method.
- Quilt as desired.
- Bind using your preferred method.
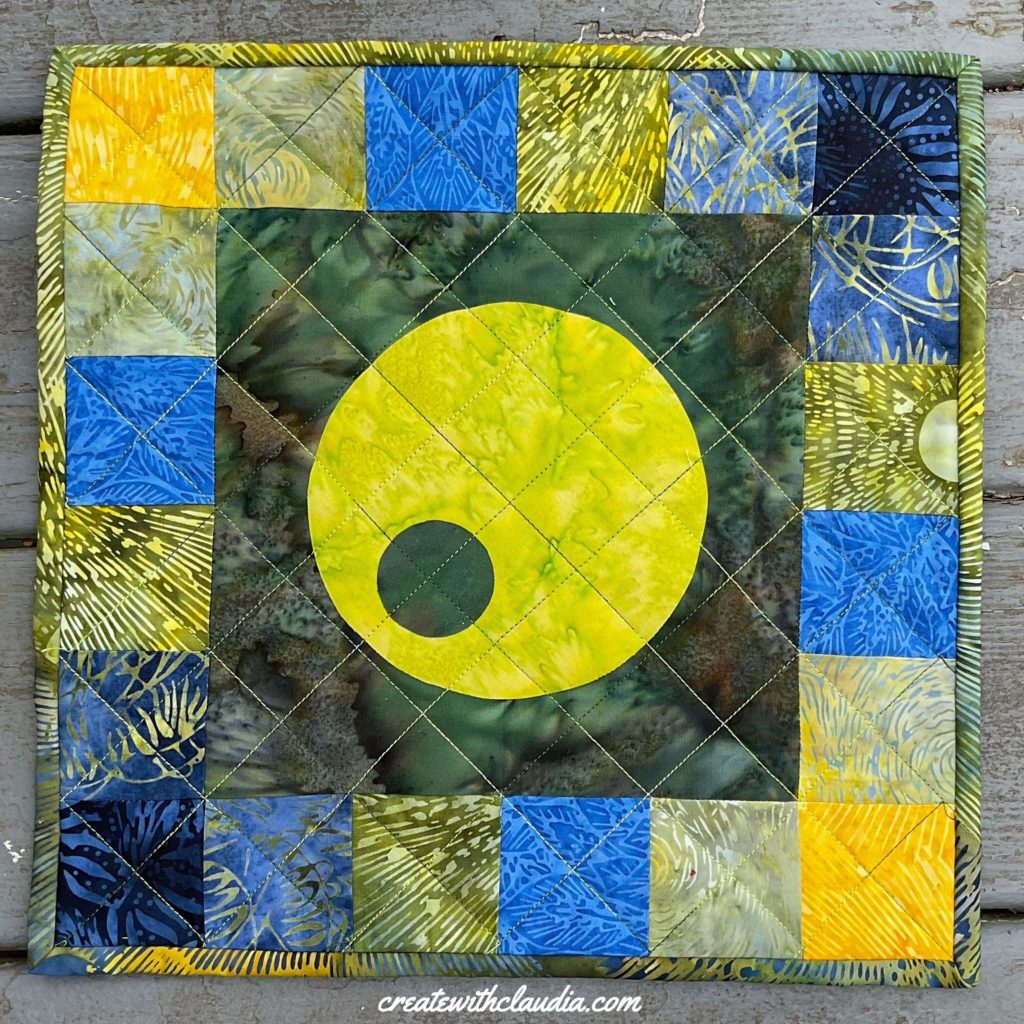
Enjoy your new mini quilt!
