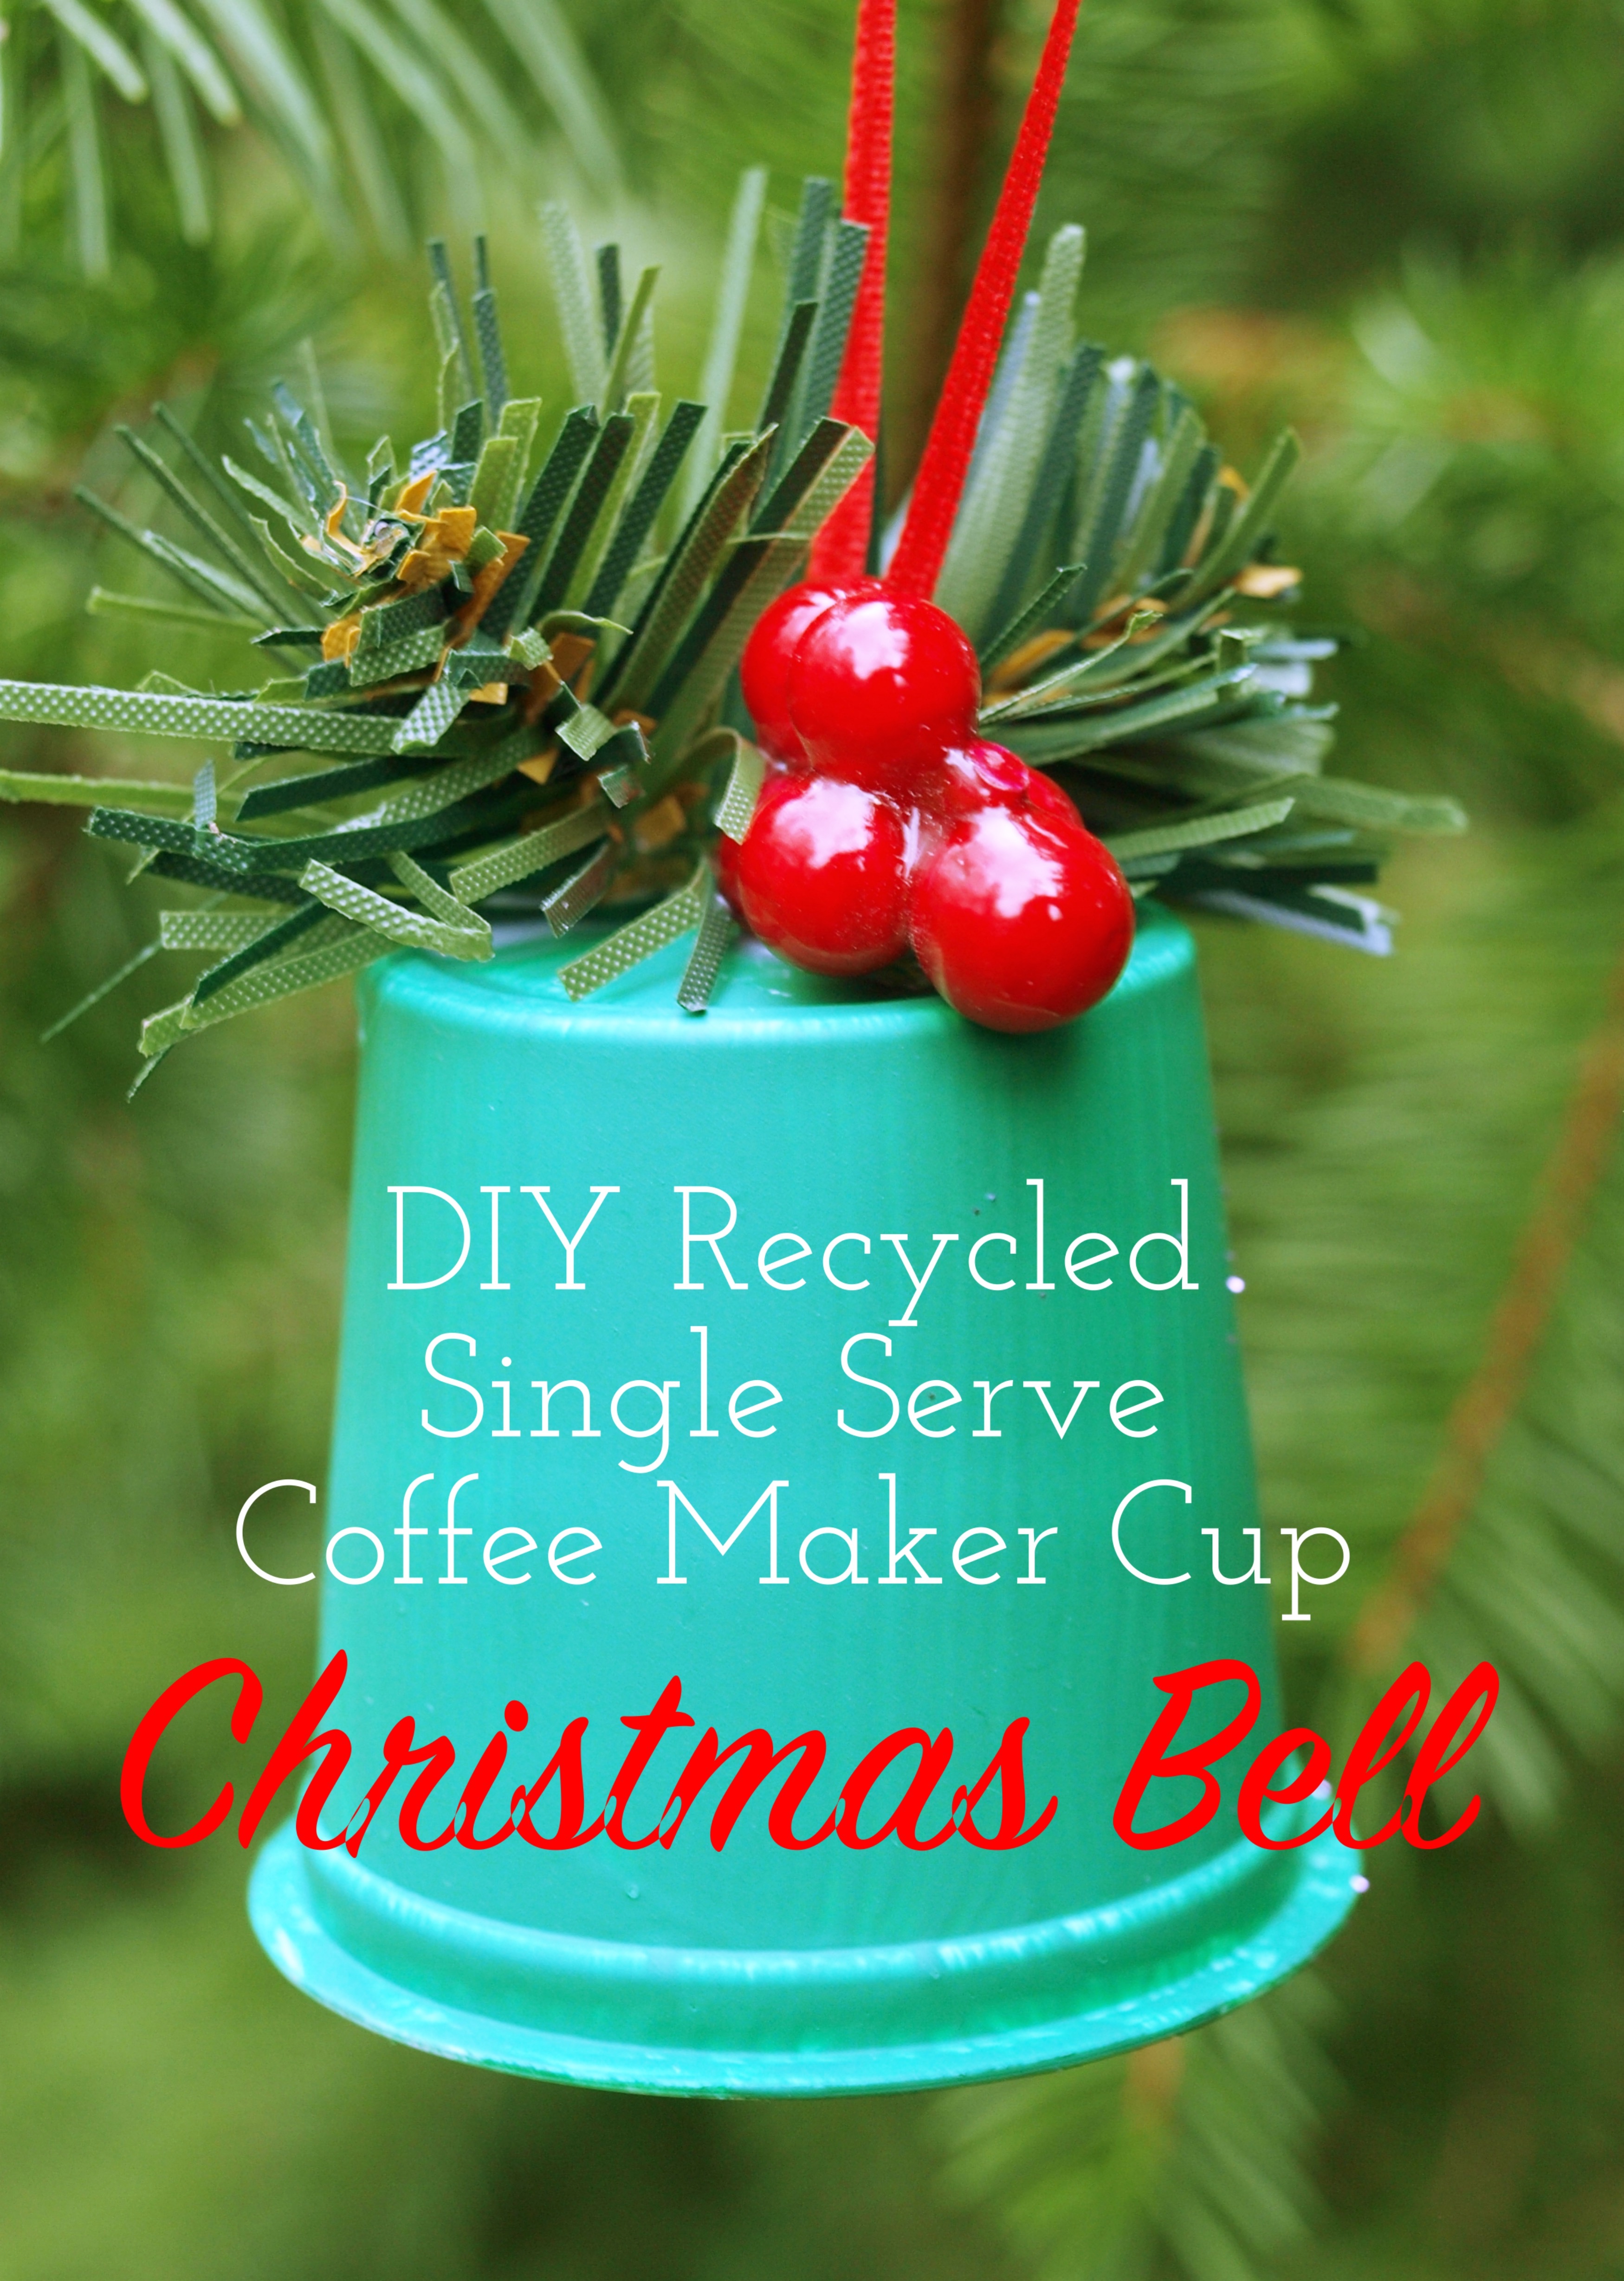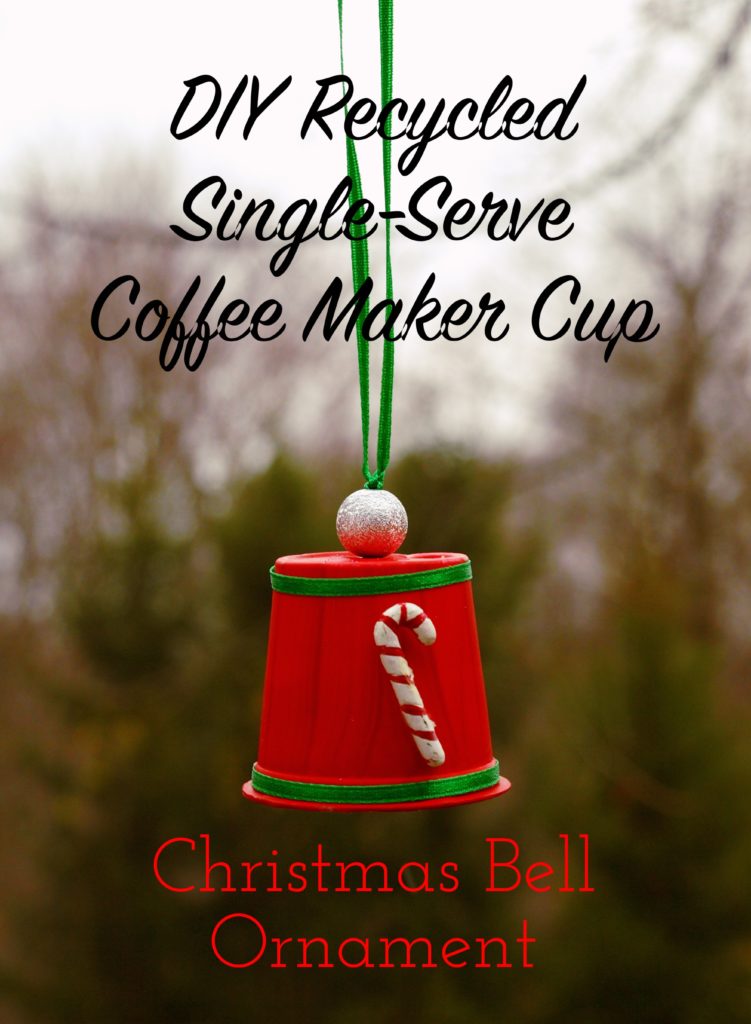
Recycled Single-Serve Coffee Maker Cup Christmas Bell Ornament Tutorial.
I don’t know about you, but I love my single-serve coffee maker. Every morning I make myself a delicious beverage with no fuss and very little muss. What I don’t like about my single-serve coffee maker is the fact that it uses those disposable little plastic cups that the coffee and tea come in. What an incredible waste! Luckily we recycle so I usually toss them in recycling bin instead of the trash.
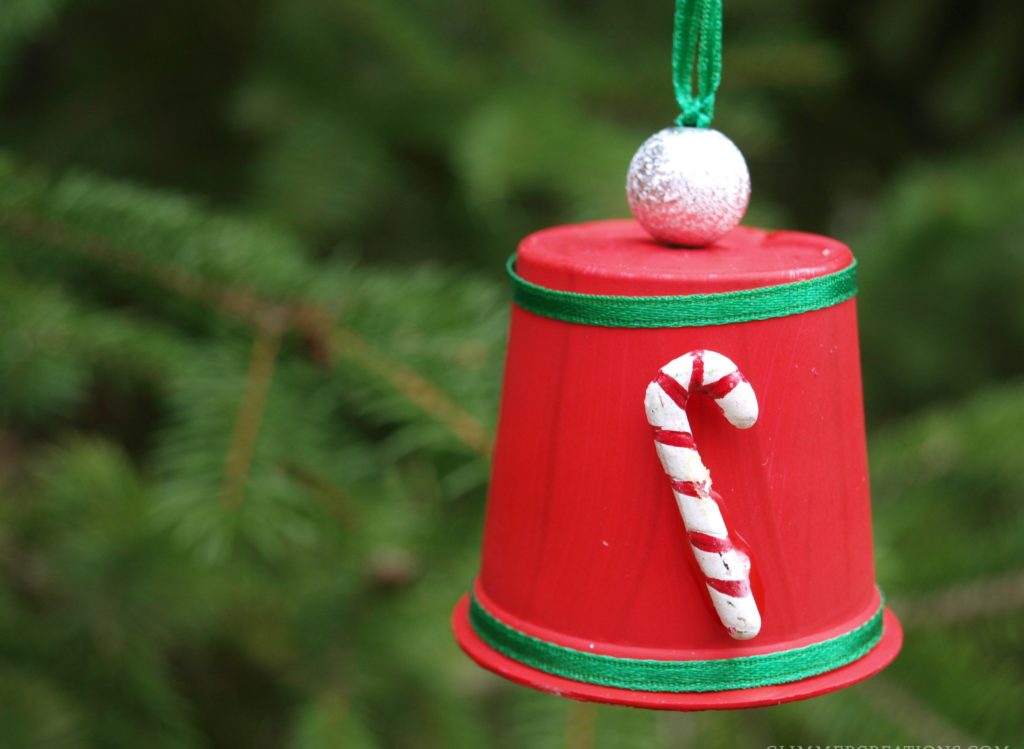
Lately though, I’ve been saving some of the cups and trying to figure out a fun craft to do with them. I came up with this cute little Christmas ornament, a bell. I absolutely love it. It’s perfect for an upcycled Christmas tree.

One of the fun things about this holiday craft is that, with just a few adjustments depending on the age, almost anyone can make it.
Younger children can help paint and glue decorations on, while parents can help with the more difficult parts of the assembly. Older children and teens can use their imagination and get really creative with their bells.
Here’s my easy-to-follow tutorial to help you make your own special ornament.
Supplies you’ll need:
- Clean and dry single-serve coffee maker cups, with all labels removed
- Acrylic paints
- Ribbon
- Small bells (I used the .375 inch size)
- Beads, glitter and other decorations
- Glue, clear drying strong craft glue
- Scissors
- Embroidery needle
- Skewer, or something else, to make the hole with
- Paint brushes
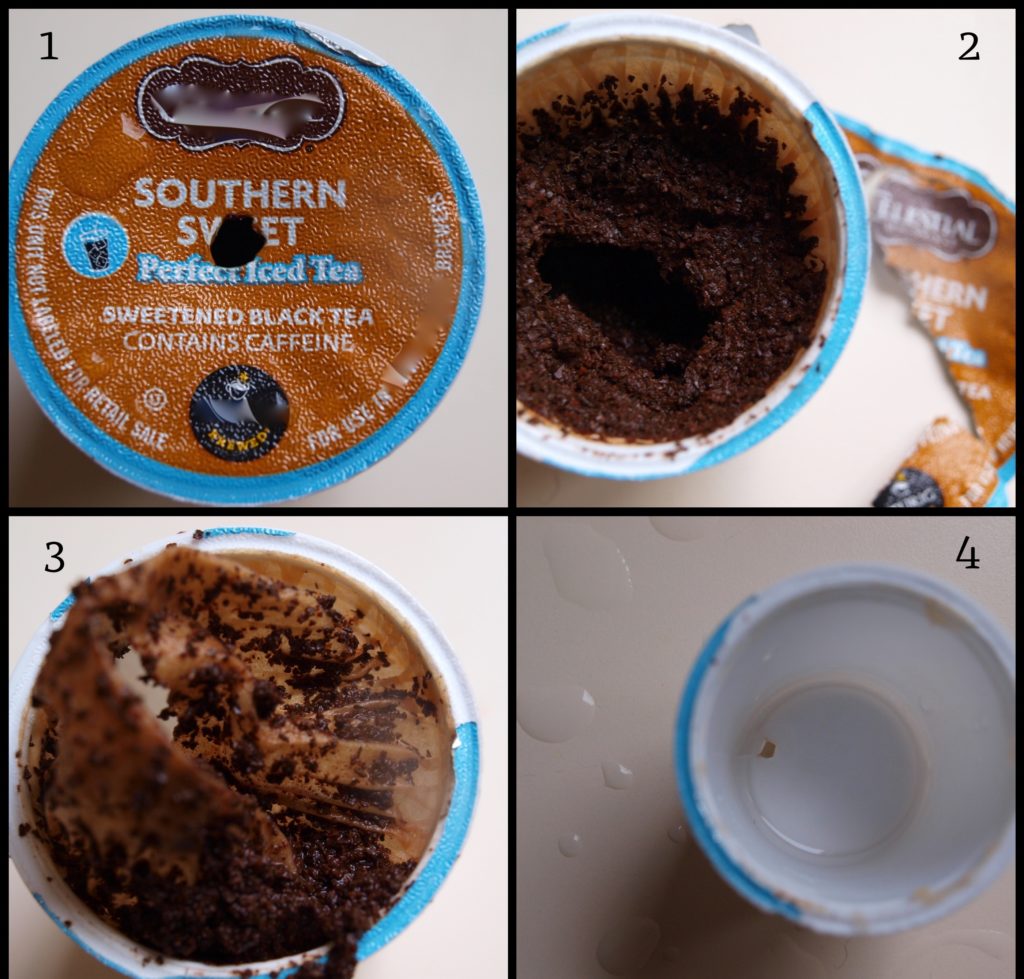
First you’ll need to clean the cups out. I find it easier to do this when the cup is still a bit warm. It seems like the glue is a little softer. Be careful to let them cool down. They are extremely hot when they first come out of the machine.

You’ll need to peel off the top label and then empty out the contents. Some of the containers have a mesh liner that needs to be removed as well. Others, like hot chocolate, only need to be rinsed out.
Using a bamboo skewer, or another tool to that works, poke a hole through the center of the bottom of the cup. It doesn’t have to be large, just enough to get the ribbon through.
Paint the cups using acrylic paints. I tried doing this project with washable paints, but the paint didn’t stick to the cups. You may need 2 coats to completely cover the cups. Also, don’t worry about that hole that is made by the coffee maker, the paint covers it up nicely. In fact, once the ornament is dry, you’ll have to re-poke the hole that you made for the ribbon.
If you are using glitter, cover the entire outside surface of the cup with glue and then sprinkle with glitter. Hint here, the more glue, the better the glitter adheres to the surface.
Pass the needle up through the center of the cup through the hole you made earlier. Pull the ribbon through. Determine how low you want the bell to hang. I don’t like the bell to show below the edge of the bell so I make a knot about an inch above the bell. If you like the bell to show that make the knot a little higher up.

Items You Can Use To Make This Craft
You can find many of the items that I used in my Amazon Store.
As an Amazon Associate I earn from qualifying purchases.


4 Comments
Christy Birmingham
January 19, 2015 at 10:19 PMVery inventive!
Julie
November 30, 2015 at 11:15 PMGreat idea! I use these as well and hate the waste. Luckily for me my pods already come in pretty pearly colours including gold, so I'm thinking lots of sparkles to add that little bit of pizzazz! x Julie
Michelle L.
December 1, 2015 at 6:37 PMSuper cute, love it for the look and the recycling! Great tutorial!
Jane Davis
September 8, 2023 at 10:06 AMI can’t remove the mesh liner, do you have any idea how to do it? I have tried to pull it off, used goog be gone , hot water, cold water, scraping it off and still there are pieces around the rim. I would love to make some projects with the pods,