

Easy Denim Patriotic Table Runner Tutorial
It is always a lot of fun making patriotic projects, especially with things made from around the house. Here in the United States one can see a lot of red, white and blue, especially in the summer months. If you are anything like me, you like to show some patriotism by decorating your home with a few festive items. This project is fun and a bit earth-friendly because you are repurposing some old blue jeans. Read on to learn how to make an easy denim patriotic table runner.
This runner measures about 15 1/2″ wide x 39 1/2″ long and the cookie cutters I used were about 3″. I suggest using a denim sewing machine needle when piecing the denim pieces together.
Supplies Needed
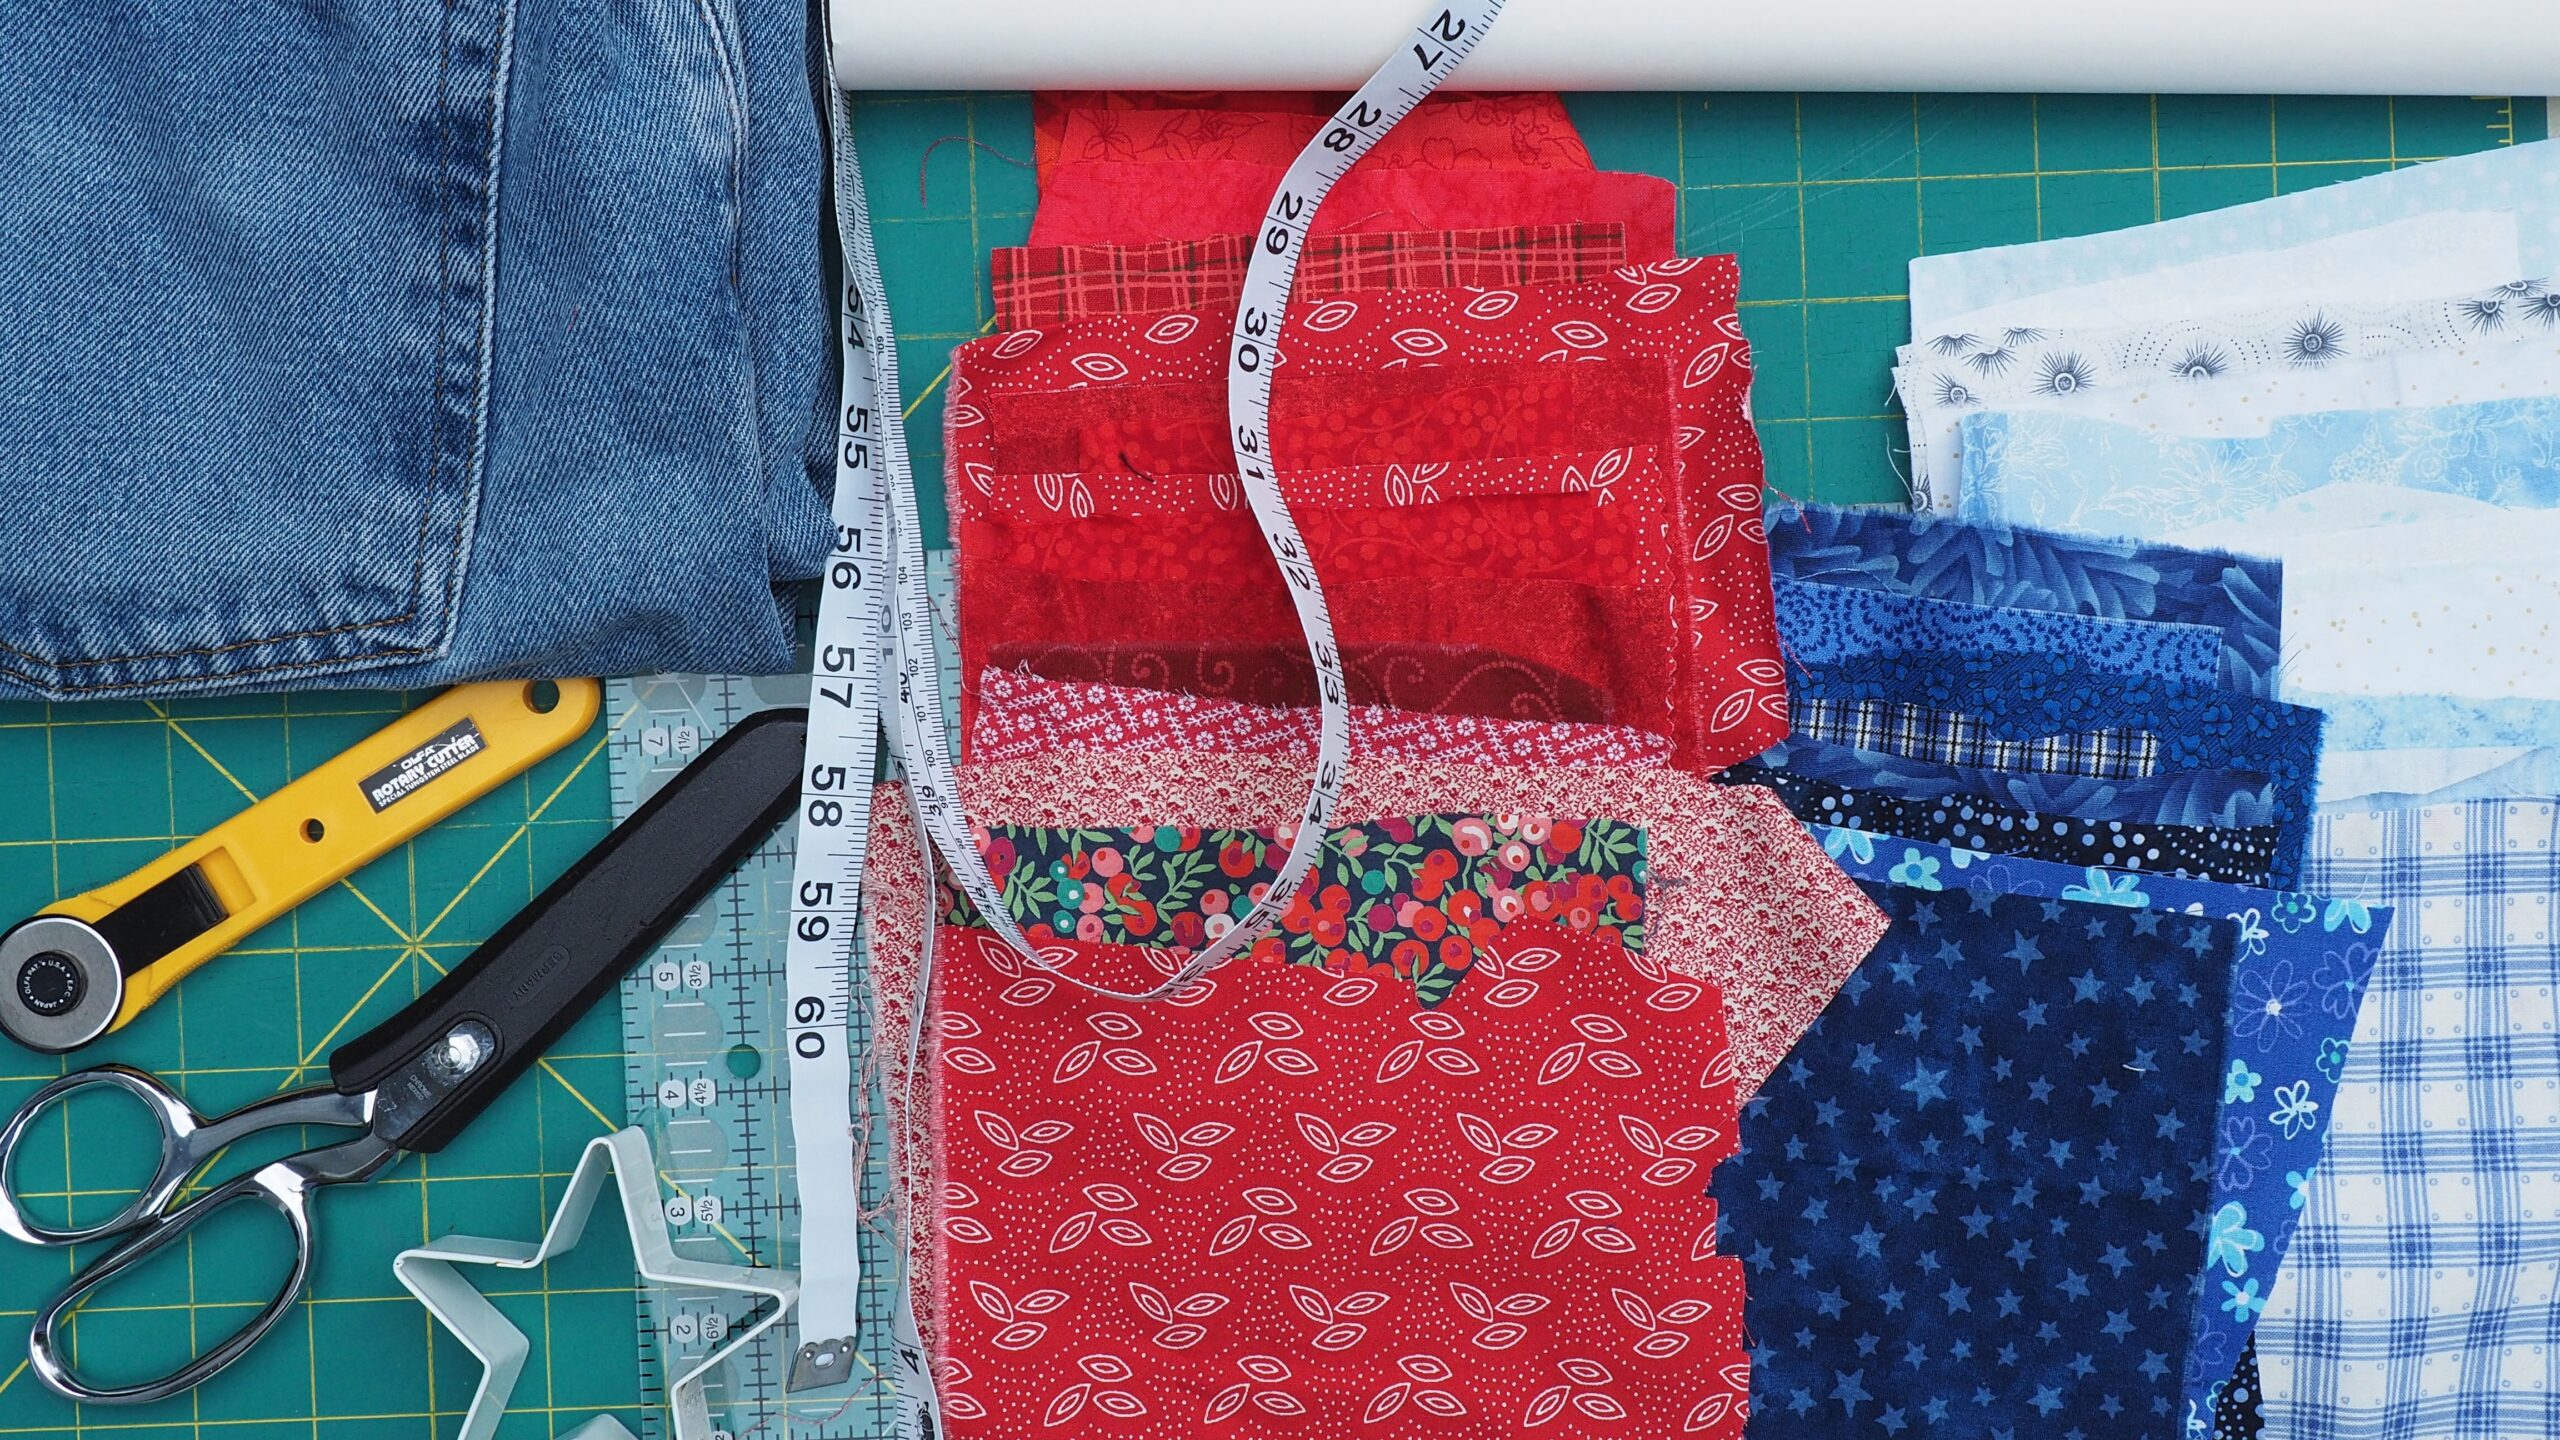
- Various red, white and blue fabrics cut into squares that are larger than your cookie cutters. The number of squares needed depends on how many stars you want to add to your table runner.
- One pair of jeans (these had a 32″ length and no spandex in them)
- Fusible web such as Wonder Under or Heat N’ Bond, but any brand will do as long as it can be washed
- Cutting mat
- Rotary cutter
- Quilter’s ruler (if you don’t have one, a yard stick will work)
- Good fabric scissors
I have curated a shop with some of my favorite quilting/crafting tools in my Amazon store. You can shop here.
MY AMAZON STORE
As An Amazon Affiliate I Earn From Qualifying Purchases at No Extra Cost To You
Preparing the Fabric Stars
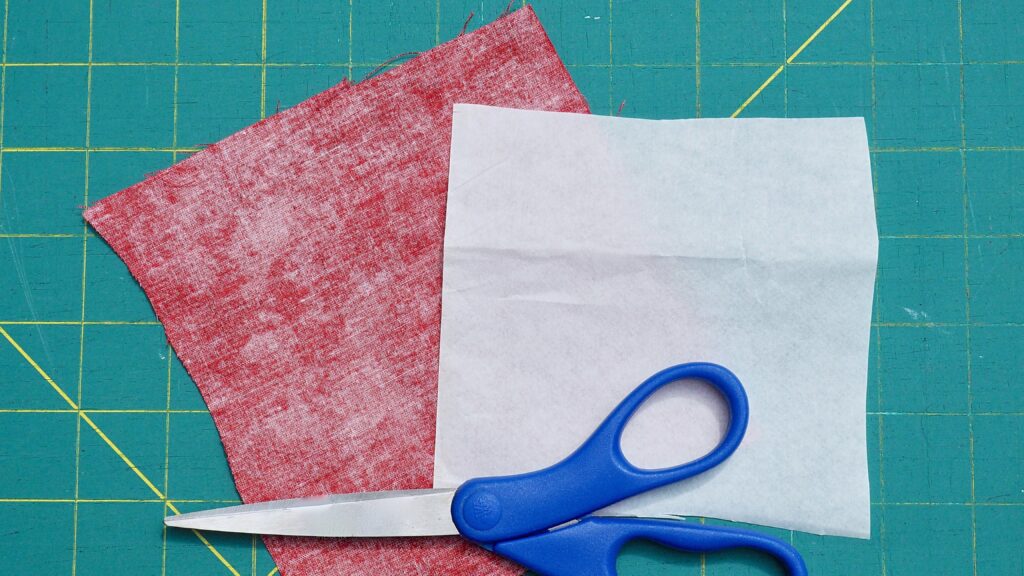
Cut out squares of the red, white and blue fabric. Press. Cut slightly smaller squares of the paper-backed fusible web, making sure that the star template you are using will fit. Following the directions of the fusible web, press it to the wrong side of the fabric squares. Set squares aside to cool completely.
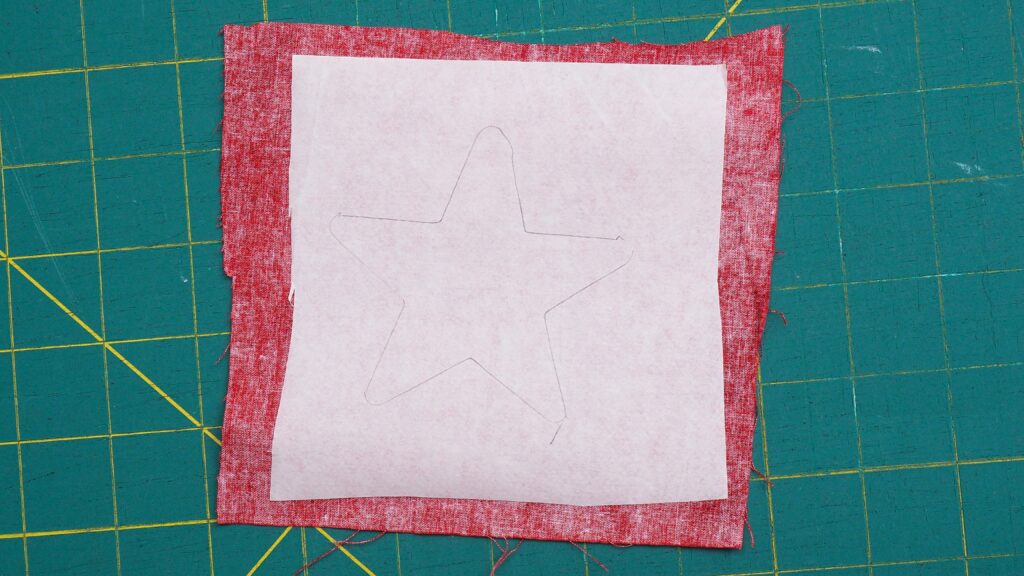
Once the squares have cooled, trace around the star shape with a pencil that is easy to see.
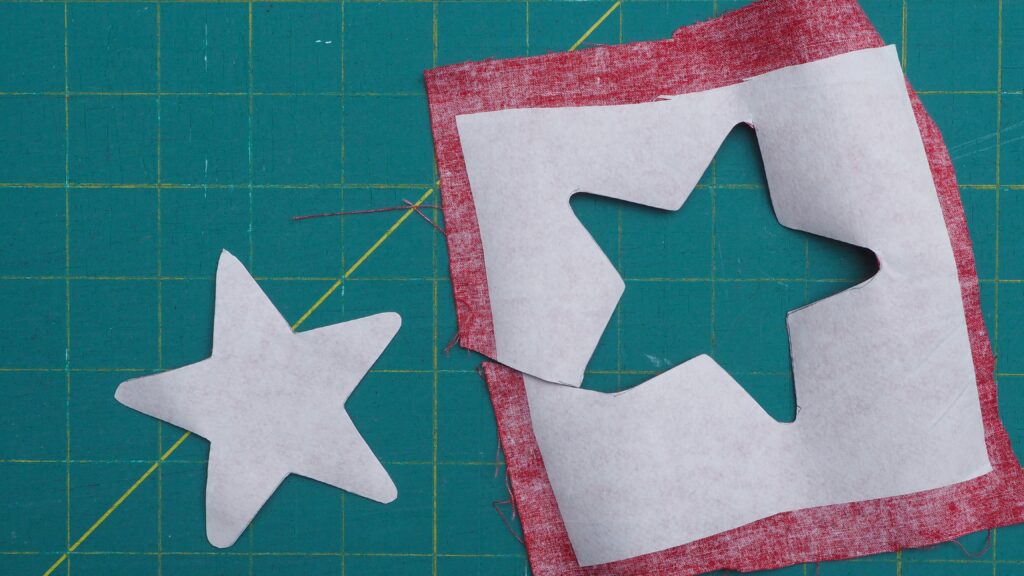
Following the traced line, cut out the star shape. Set aside the cutout, leaving the paper backing on.
Preparing the Blue Jeans
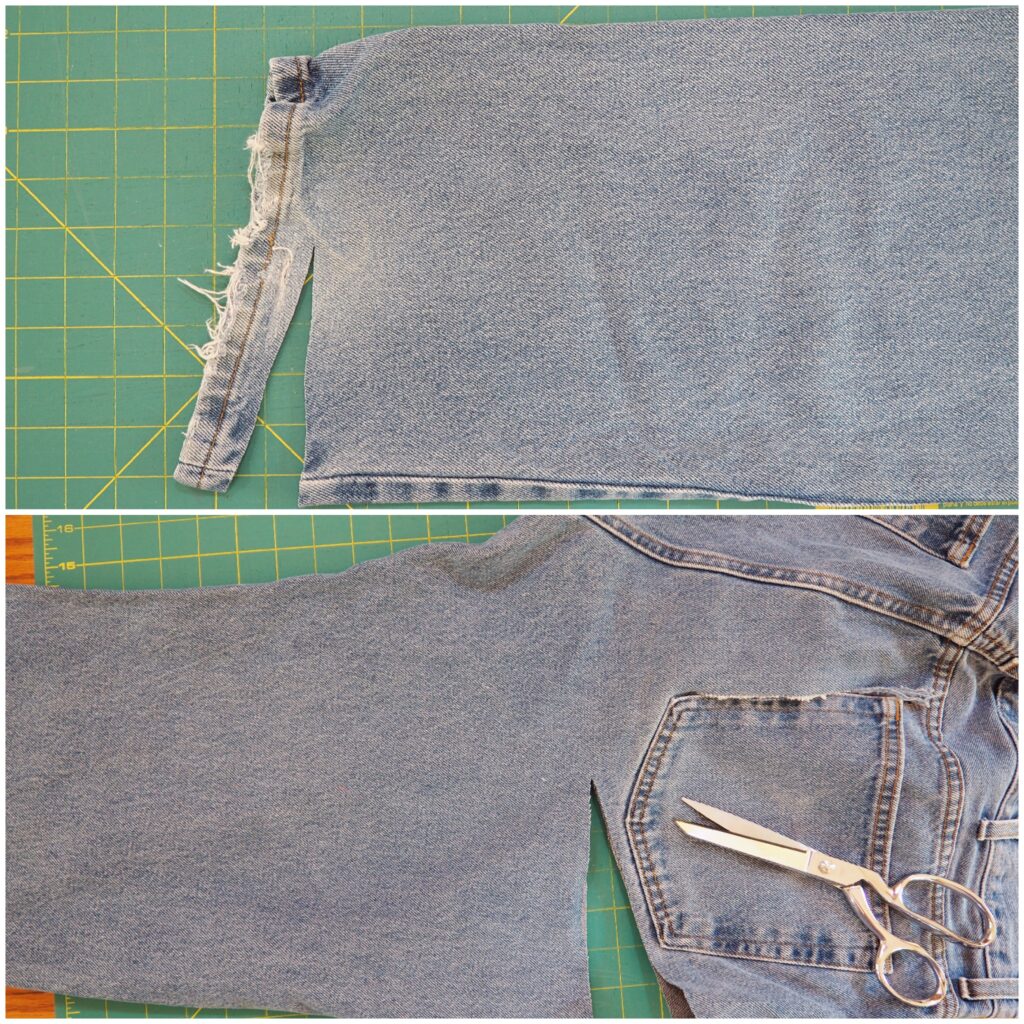
First cut off the hems. Then cut off the legs, cutting from right below the back pocket to the crotch. You will have two long tubes of fabric (the two pant legs).

Take one of the legs of the jeans and cut alongside the seam, lengthwise to open it up. Cut along the other side of the seam. Lay flat and repeat with the other long seam. You can throw the seams away or keep them for another recycled project.
Repeat with the second leg and press. You end up with four long pieces of denim.
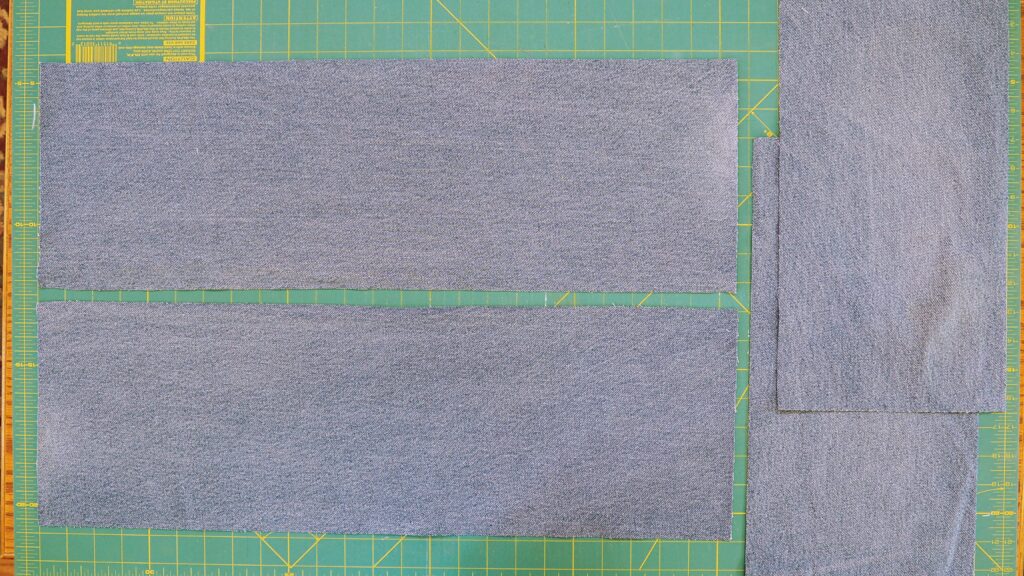
Depending on how you cut the legs, you’ll end up with two wider pieces of denim and two more narrow ones. Use the wider ones for the longer size strips and the more narrow ones for the shorter pieces. Because the pant legs aren’t quite wide enough all the way down, you need to add the two shorter strips on the ends to get the length needed for the runner.
Cut two strips 8″ wide by 24 1/2″ long. Then cut two strips 8″ long by 15 1/2″ wide. Press.
Sewing the Denim Pieces Together
Place the two long denim pieces, right sides together and sew on the long side using a generous 1/4″ seam allowance. Begin and end with a backstitch. You will end up with a piece of fabric 15 1/2″ wide by 24 1/2″ long.
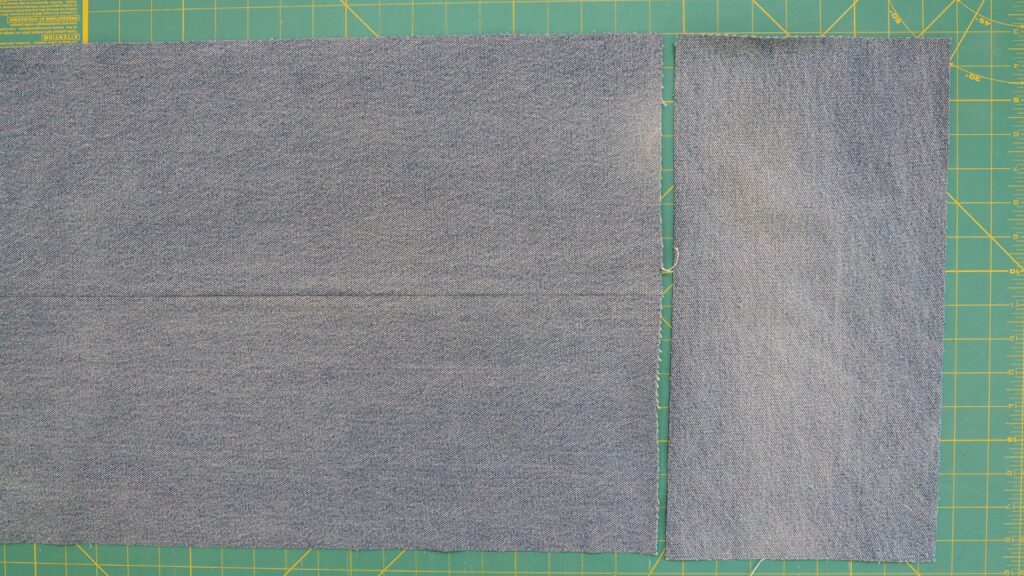
Press the seam open so the runner lays flat. Then add the two end pieces, one on each end.
Beginning on one end, add one of the 8″ by 15 1/2″ strips by laying it on top of the larger piece, matching up the 15 1/2″ sides, right sides together. Sew along the 15 1/2″ side.

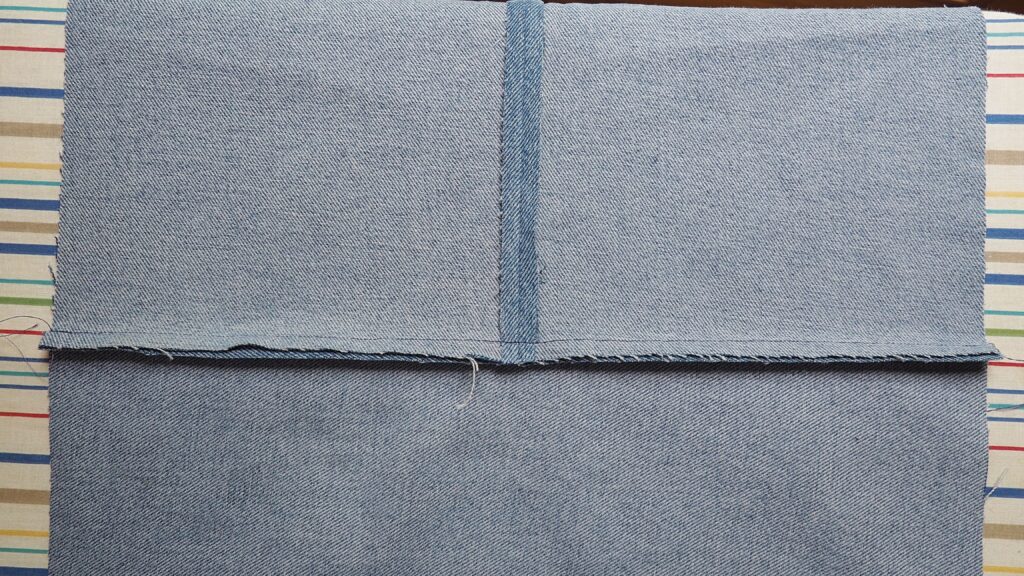
Press the seams open so they are flat. To press the double seam that is formed when the seam meets the center seam of the long pieces:
- Place the runner on the ironing board.
- Carefully snip the fabric on both sides of the seam that was previously formed when you sewed the two long sides together. Use caution so you don’t cut through the stitching.
- Press open and you’ll have nice flat seams.
- Repeat on the other end.
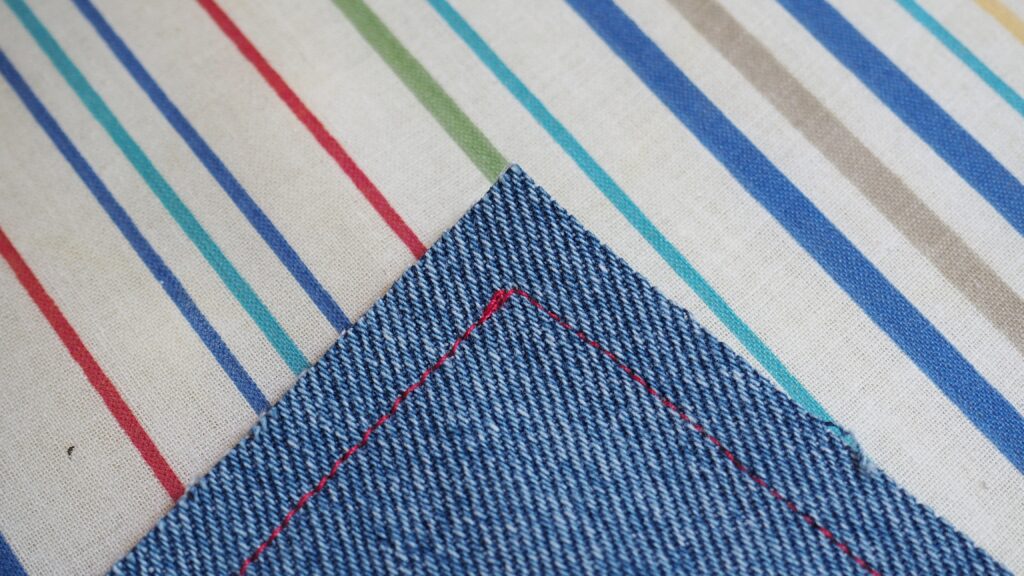
Using the edge of the runner as a guideline, sew around the outside of the runner, about a scant 1/2″ in from the edge.
Backstitch at the beginning and end. The runner has a raw edge, meaning it is not hemmed and no border is added. Denim has a tendency to fray and this stitching will ensure that the denim doesn’t fray any further than that seam line (the red stitching line in the photo above).
Adding the Stars to the Runner
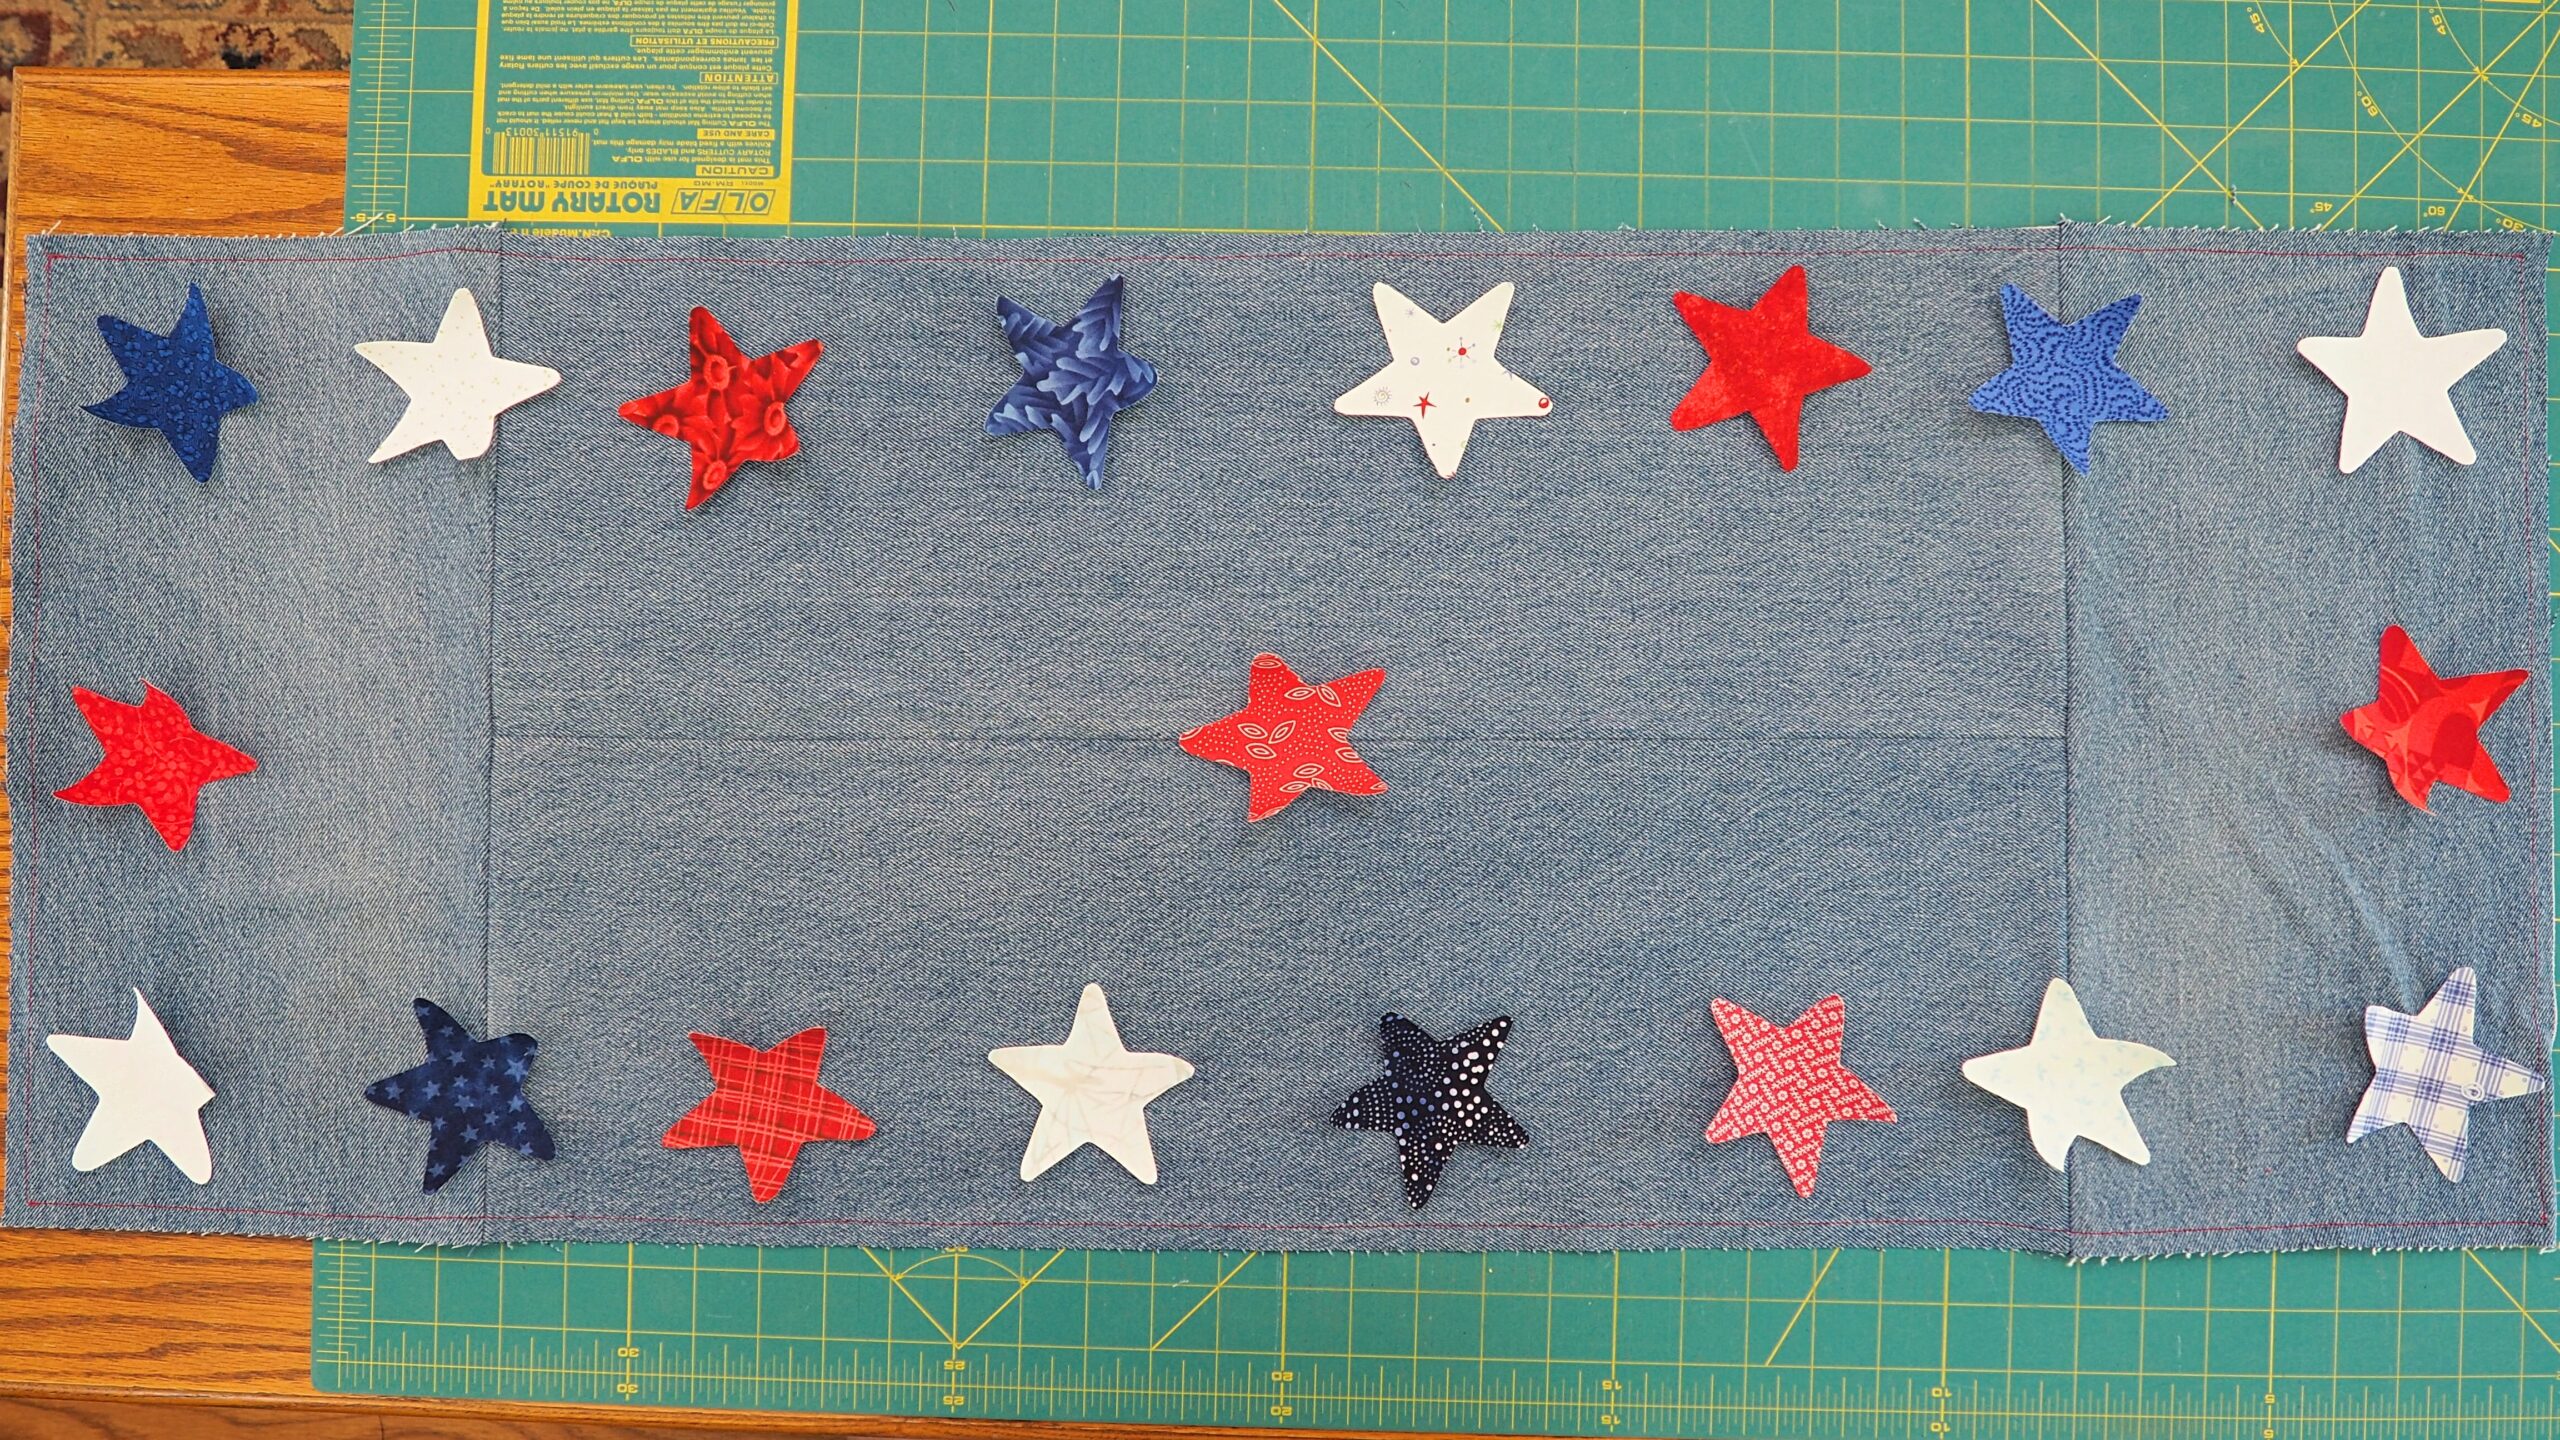
Now the fun really begins. Lay out the stars in the pattern, deciding which ones you like best and where you like them. Use your imagination here. I like to take pictures of different layouts on my phone and then come back to the project later to decide which one I like the most.
Follow the manufacturer’s directions and iron the stars onto the denim.
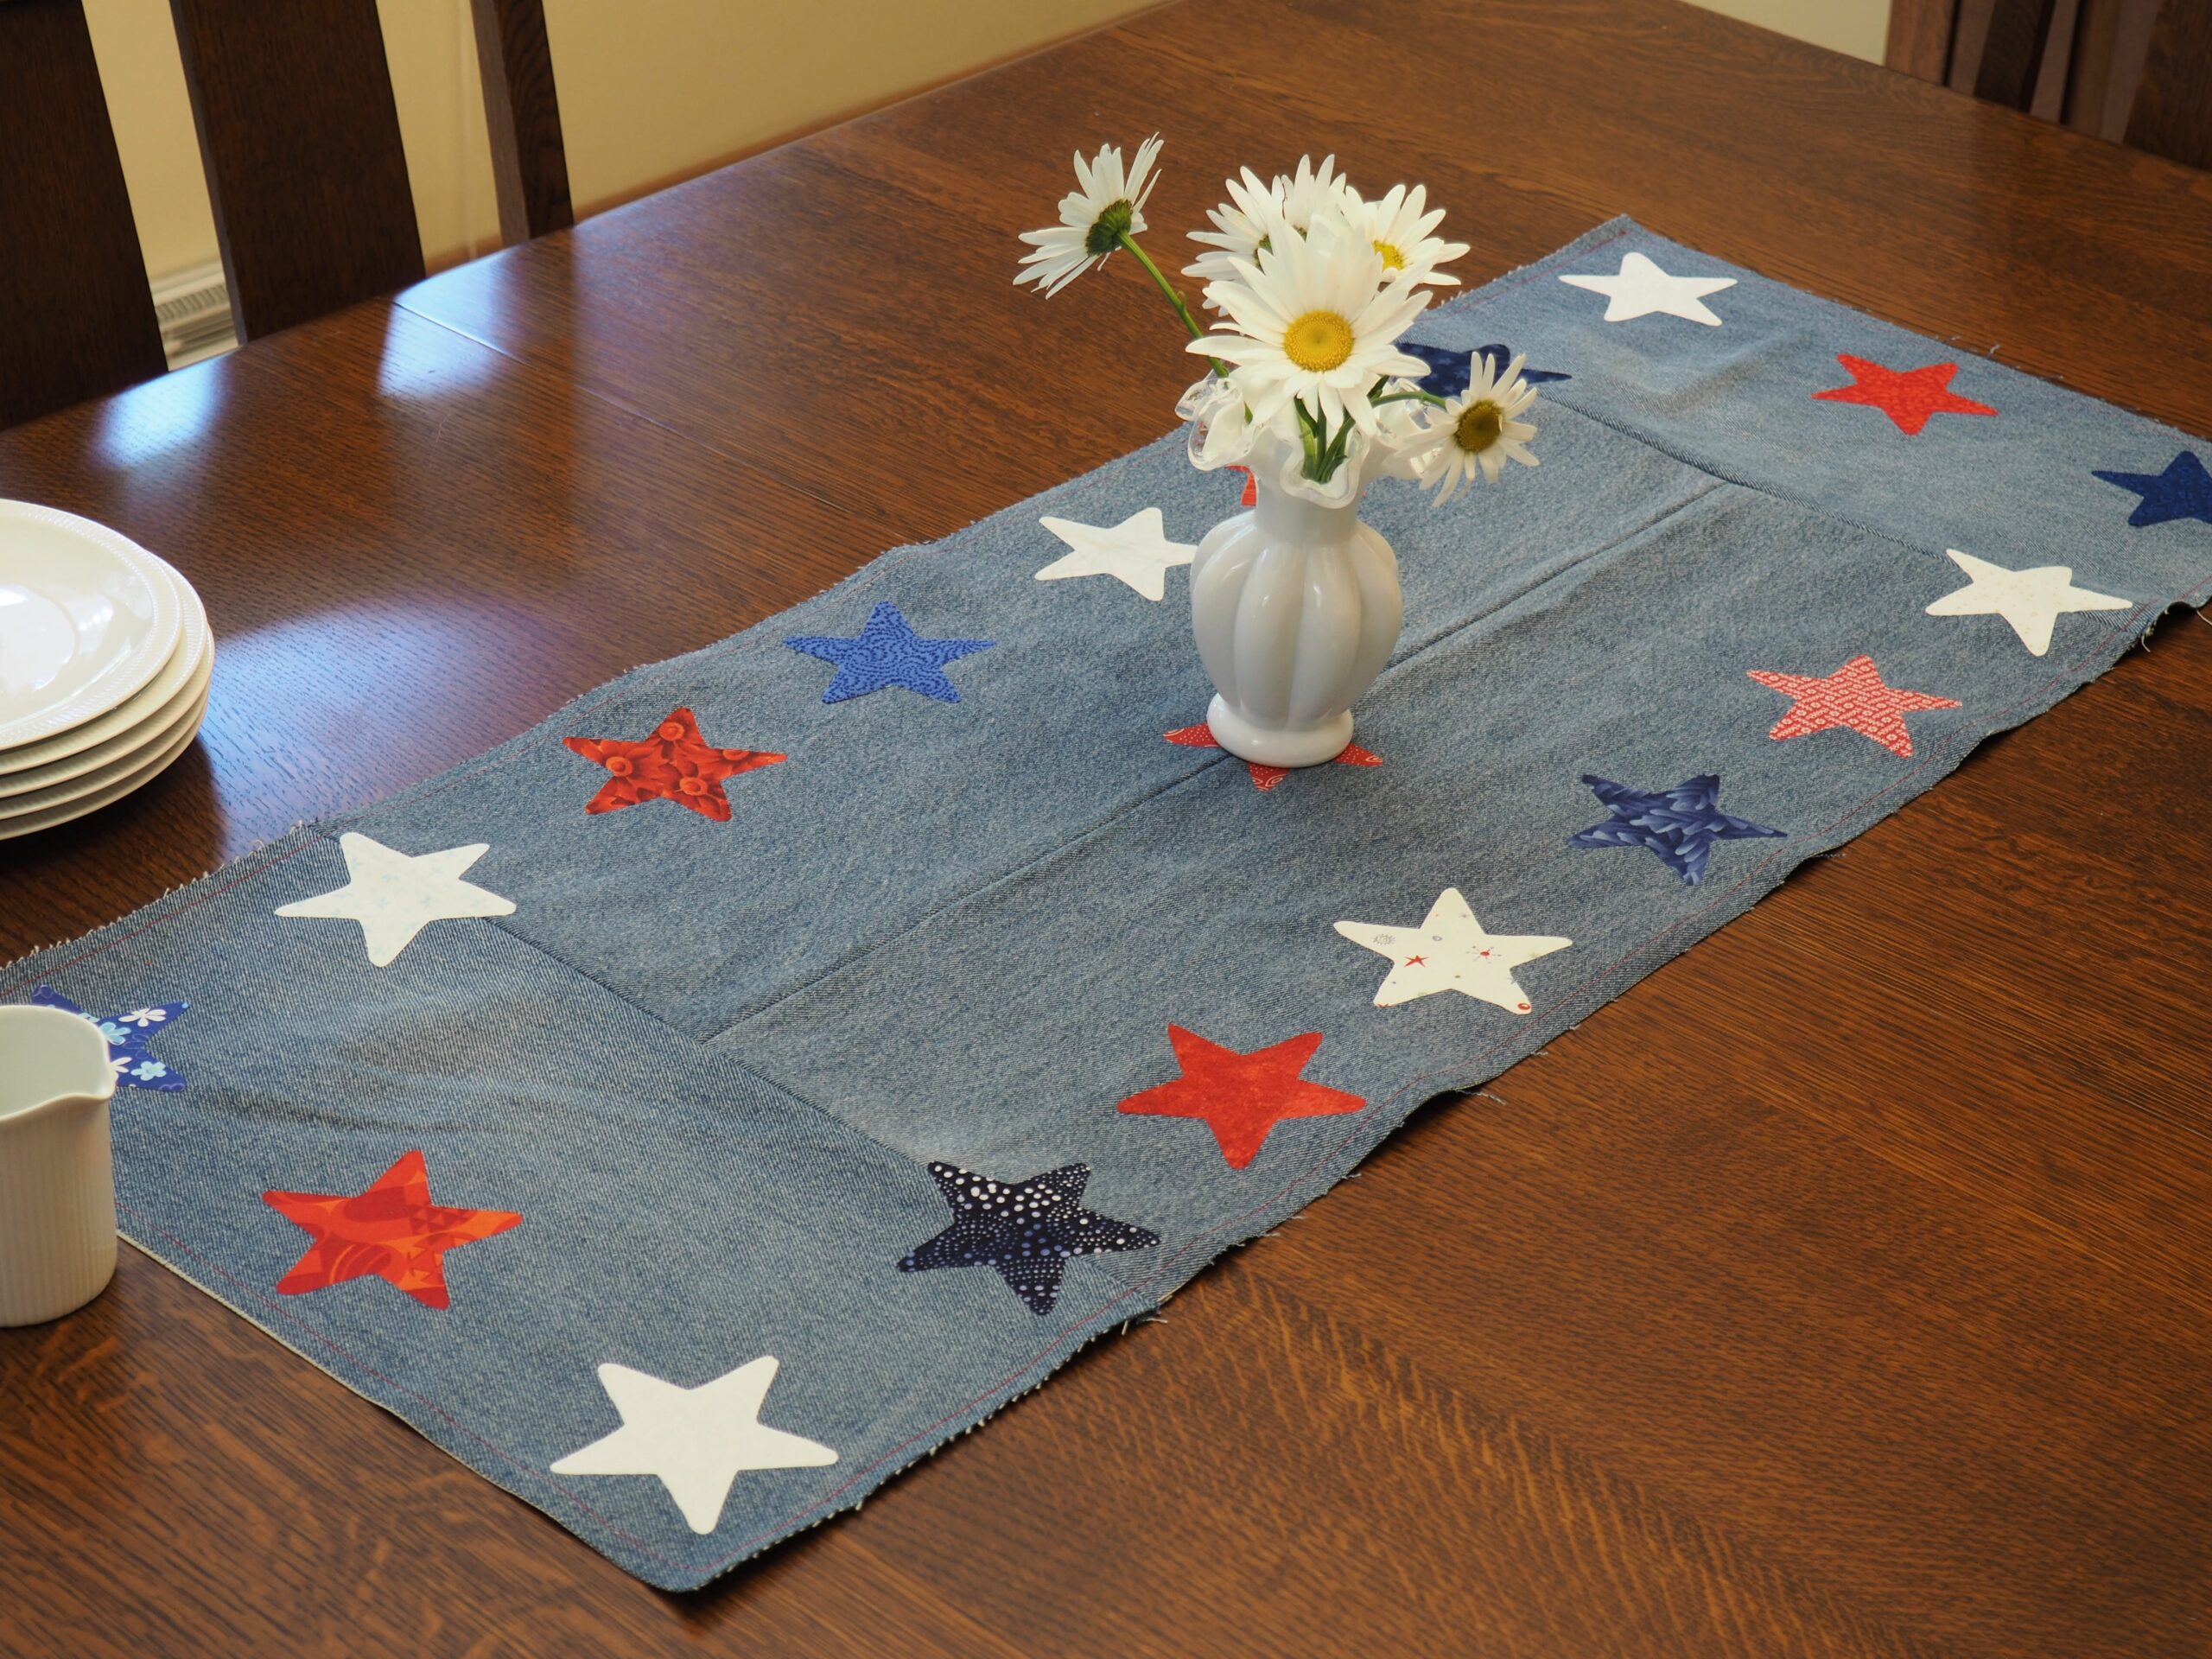
Let it cool and voilà, you have a festive and fun table runner ready for your Fourth of July table.
Make a few at once and change up the stars and fabrics for various holidays. I think this would be cute with a shamrock shape and green fabrics.
Happy Crafting! – Claudia
