
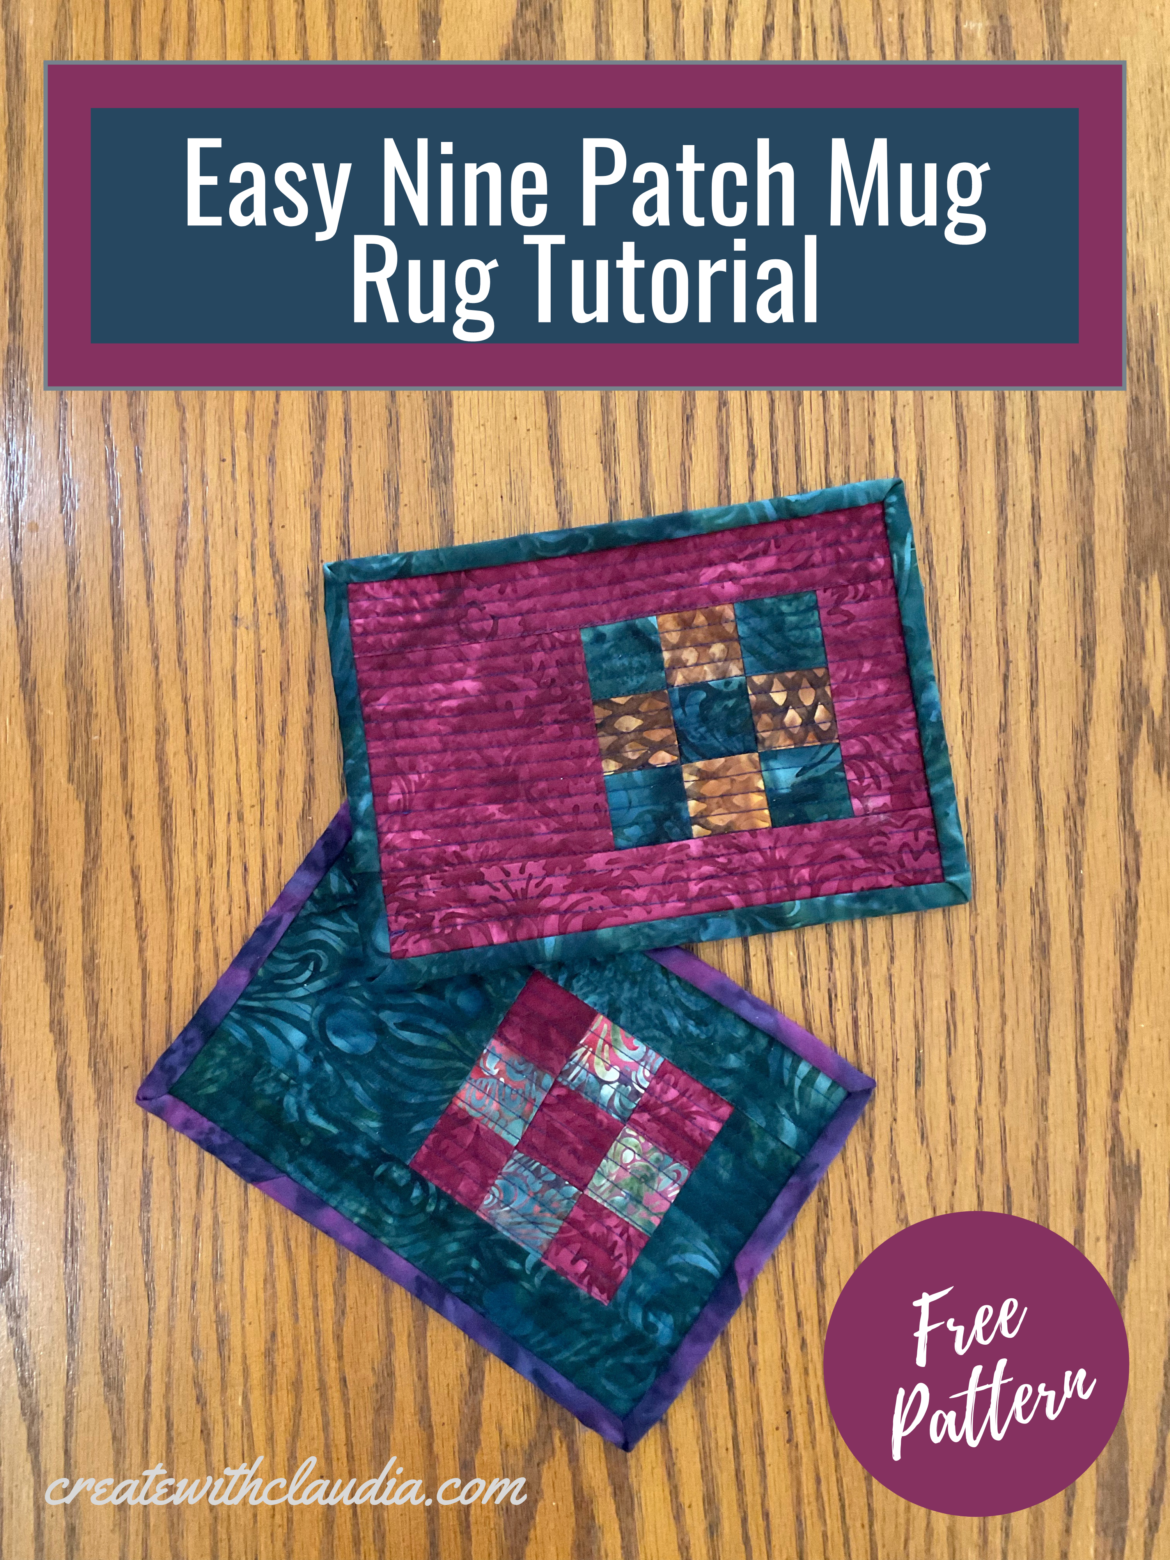
Easy Nine Patch Mug Rug Pattern
The Island Batik Ambassadors made bags with a pattern from byAnnie for our September 2021 project. We were able to choose the fabric and pattern we wanted. I love the way my “Switchback” backpack turned out and was lucky enough to have a little bit extra of the fabric. I decided to use it up making this easy nine patch mug rug pattern.
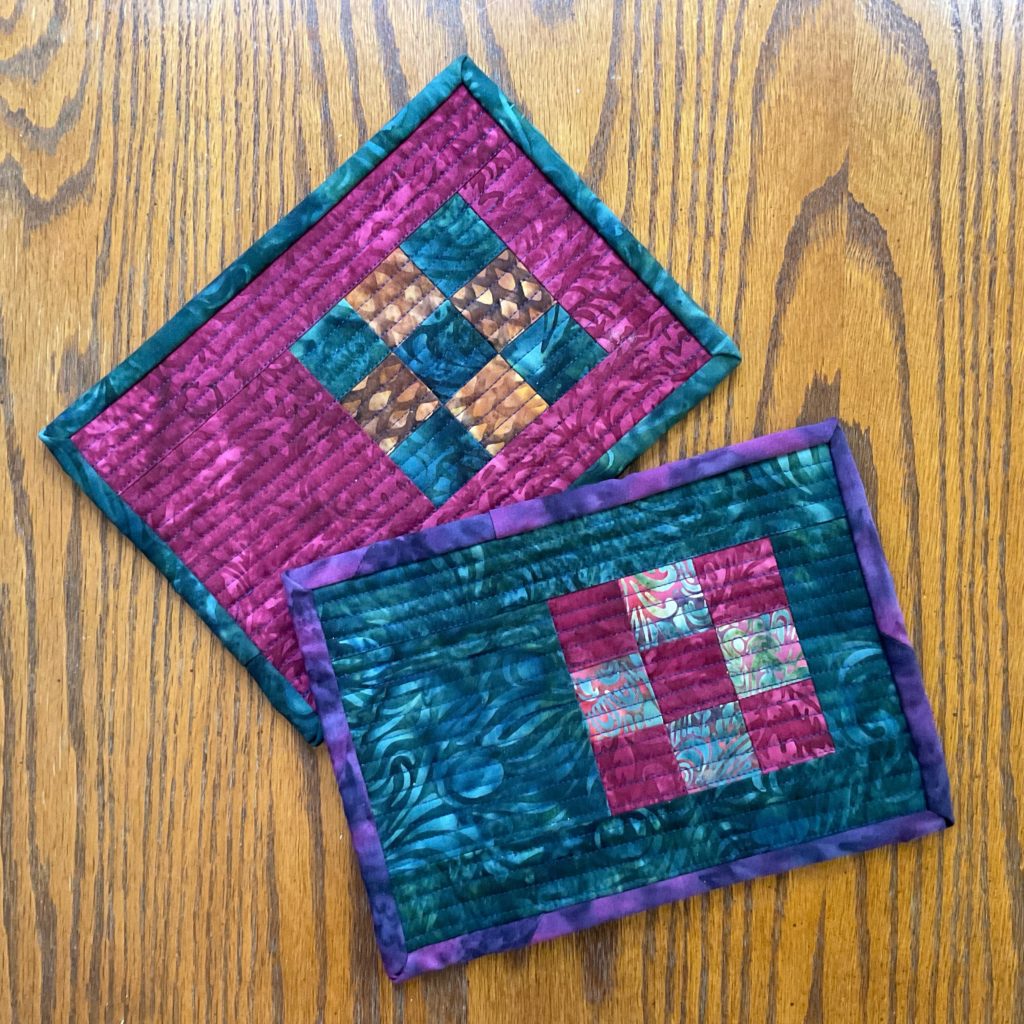
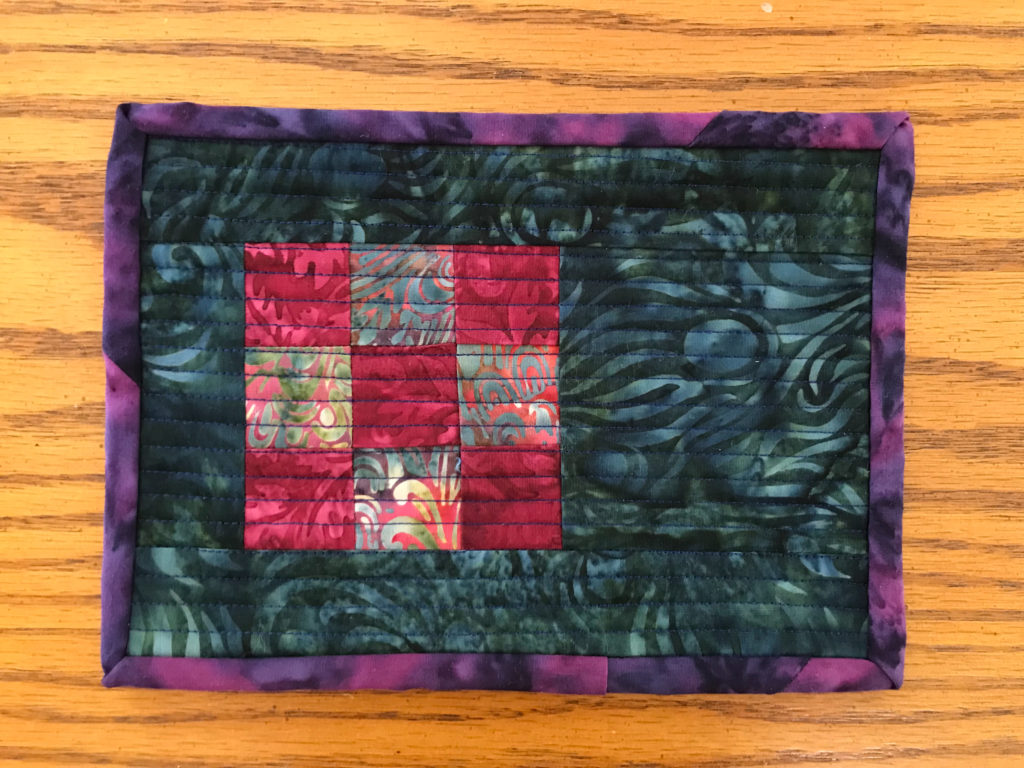
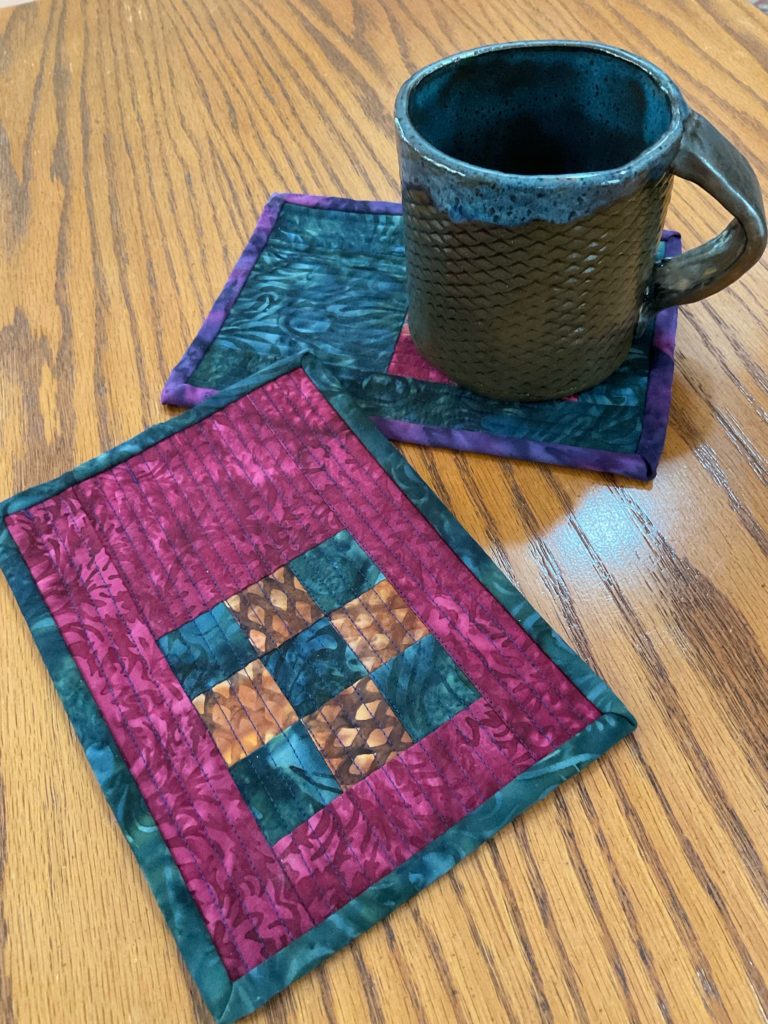
When I say easy, I mean super easy. From start to finish it only takes about half an hour, and I like to hand stitch my binding! With the various pieces, it can be made in all sorts of color combinations. I wanted to show off the gorgeous fabrics I chose from the new Island Batik line called Peacock Plumes. It should be in stores this month (September 2021). This line is designed by Kathy Engle for Tammy Silvers of Tamarinis.
For the backing I used “Blackberry” from the Island Batik foundations basics line. Gorgeous! So grab a cup of coffee, raid your scrap fabric bins, and make a couple of these easy mug rugs.
Disclosure: The products in this post were generously provided by Island Batik, Aurifil, Hobbs Batting and byAnnie
Easy Nine Patch Mug Rug Tutorial Video
Before You Begin
Please read all instructions thoroughly
Use a scant 1/4″ seam allowance
Finished mug rug measures approximately 5 1/2″ x 7 1/2″
Supplies Needed
Fabric and batting
Rotary cutter
Standard sewing supplies
You can find many of the items that I used to make this project in my Amazon Store.
As an Amazon Associate I earn from qualifying purchases.
Cut the Fabric
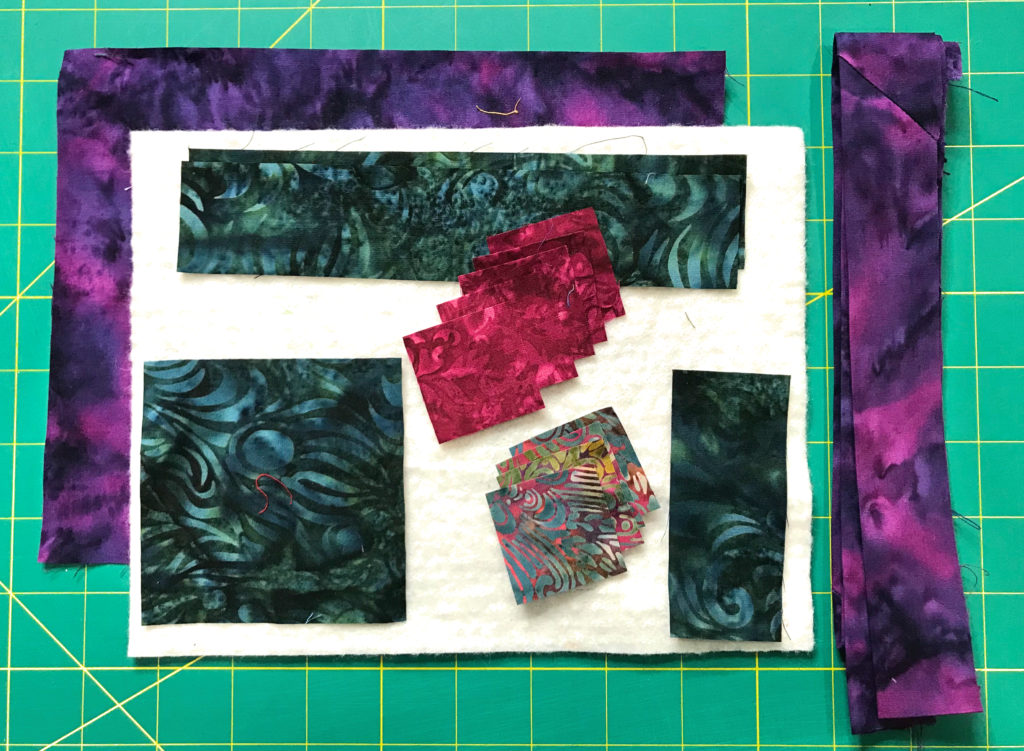
You will need to cut your fabric choices as follows:
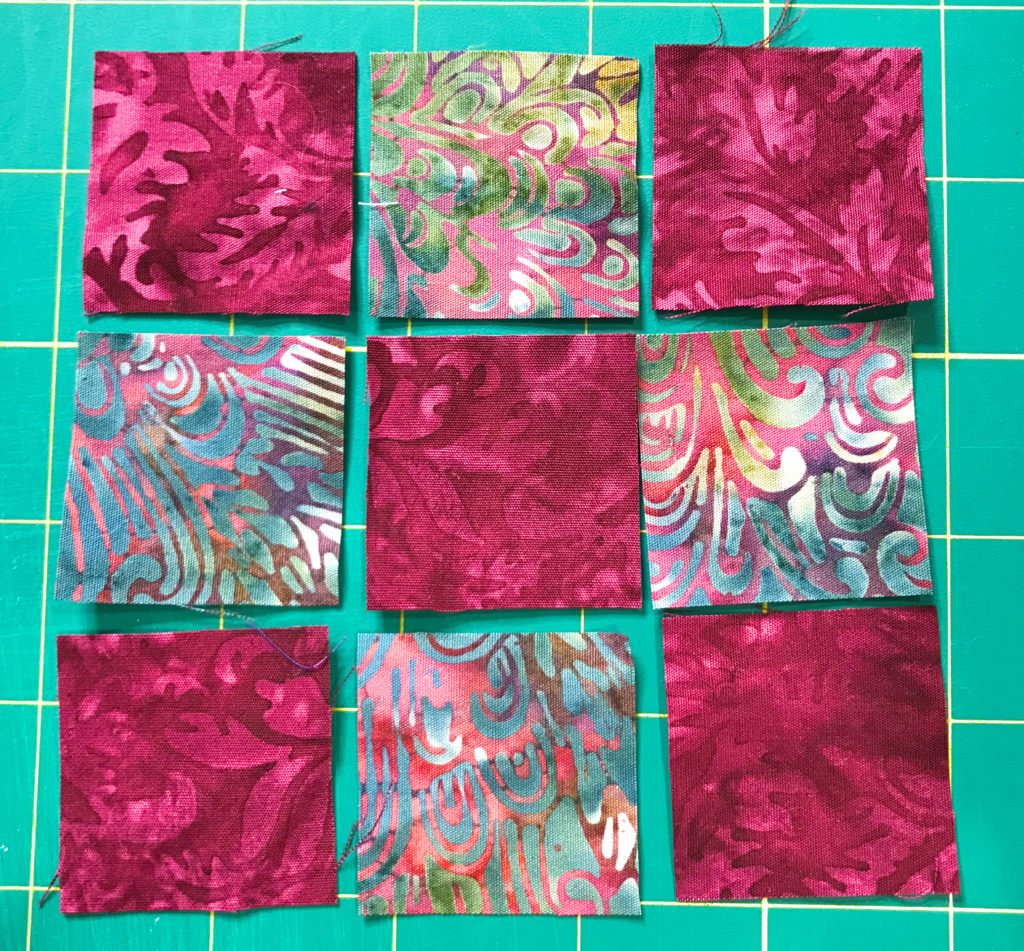
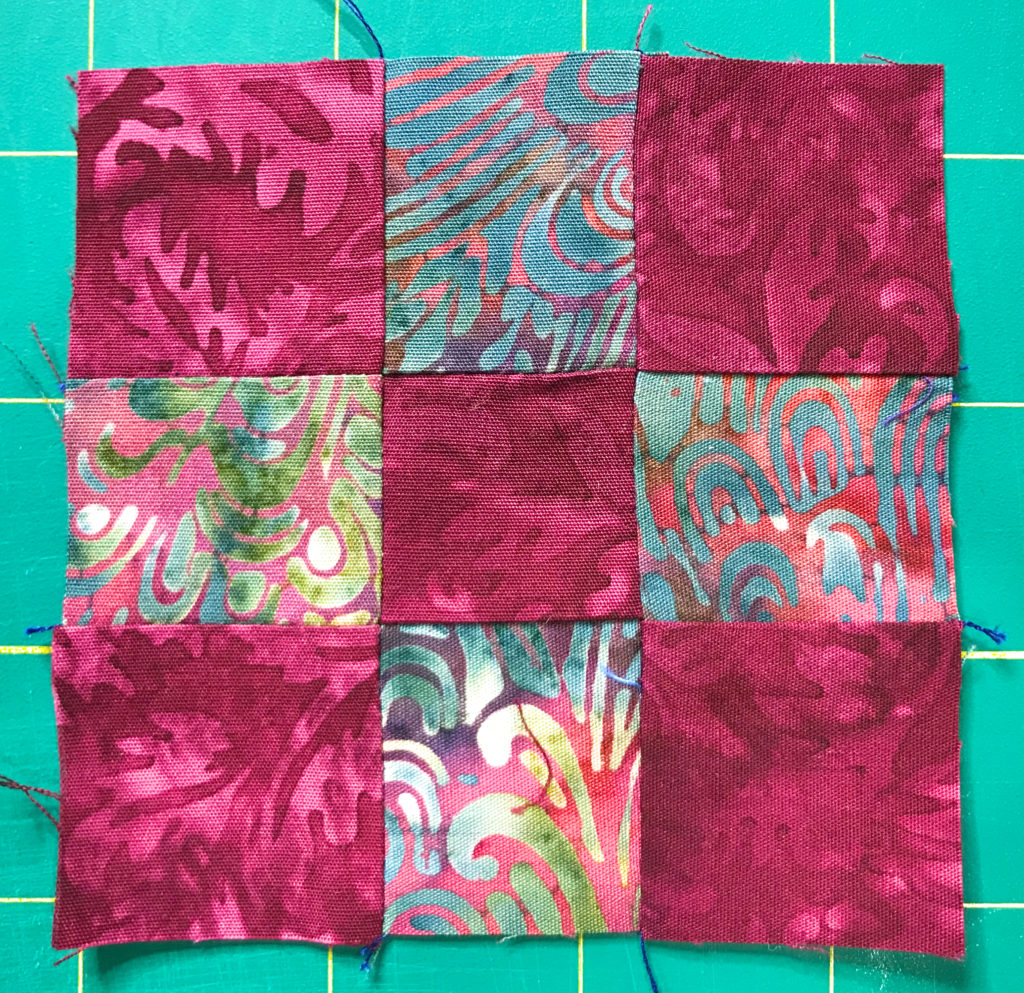
For the nine patch, cut all of the squares 1 1/2″ x 1 1/2″: 5 squares of one fabric and 4 squares of another fabric for a total of 9 squares.
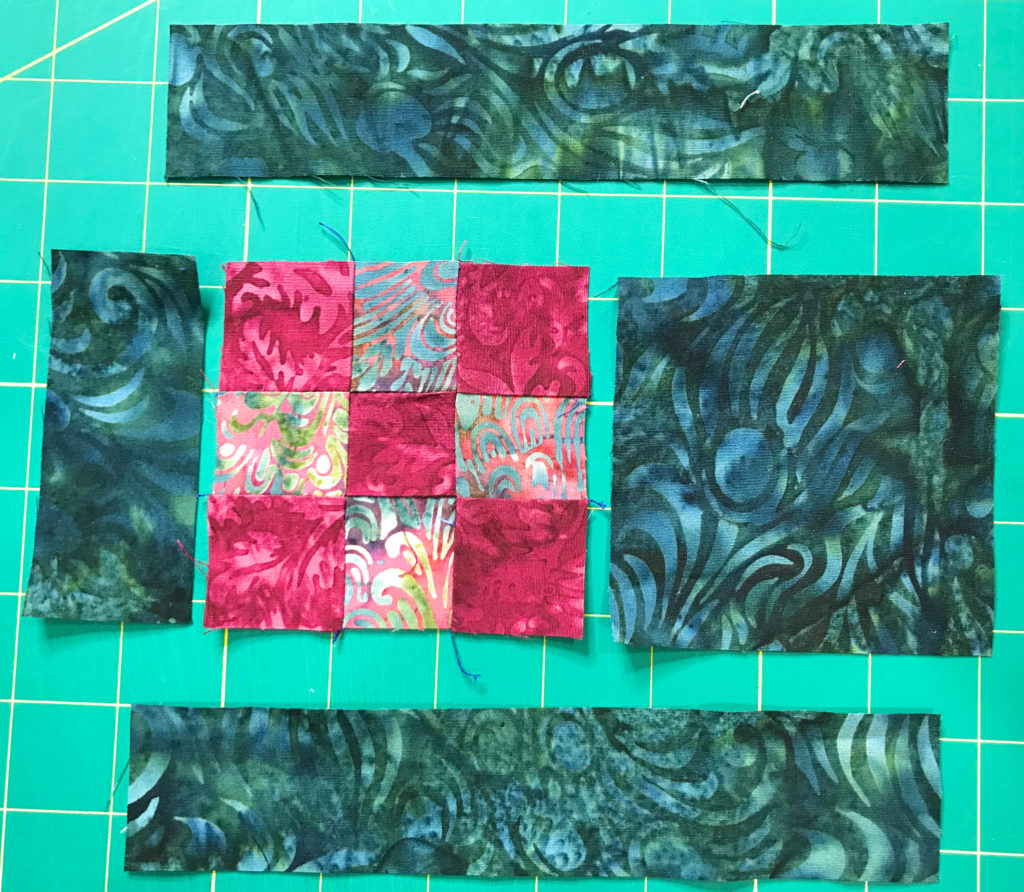
1 strip cut 1 1/2″ x 3 1/2″
2 strips cut 1 1/2″ x 7 1/2″
1 square cut 3 1/2″
Cut backing fabric and batting to about 7″ x 9″
Assembling the Mug Rug
Using the 1 1/2″ squares you cut, assemble your nine patch mini block.
Next, lay out the fabric pieces as shown. Then sew the 1 1/2″ x 3 1/2″ strip to the left of the nine patch and the 3 1/2″ square to the right as shown below.
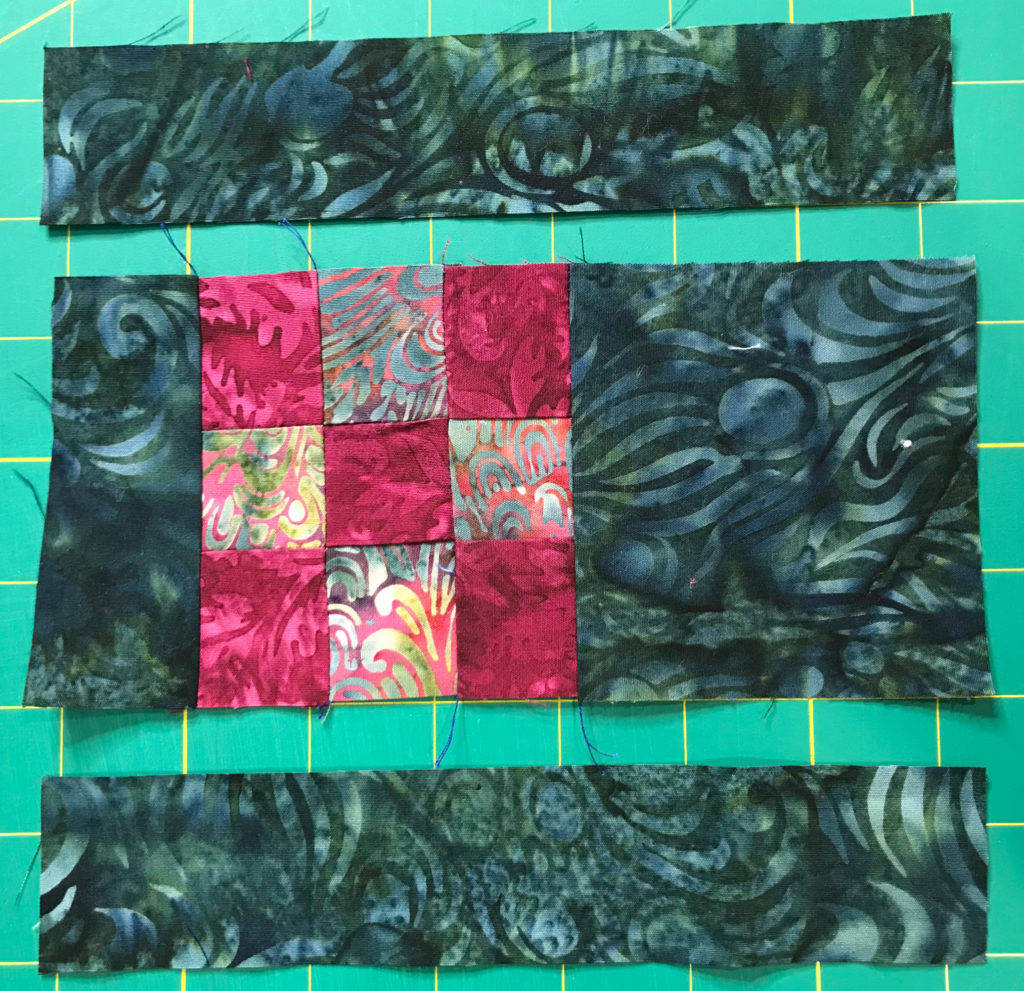
Lastly, to finish the mug rug top, add the long strips, one to the top and the other to the bottom.
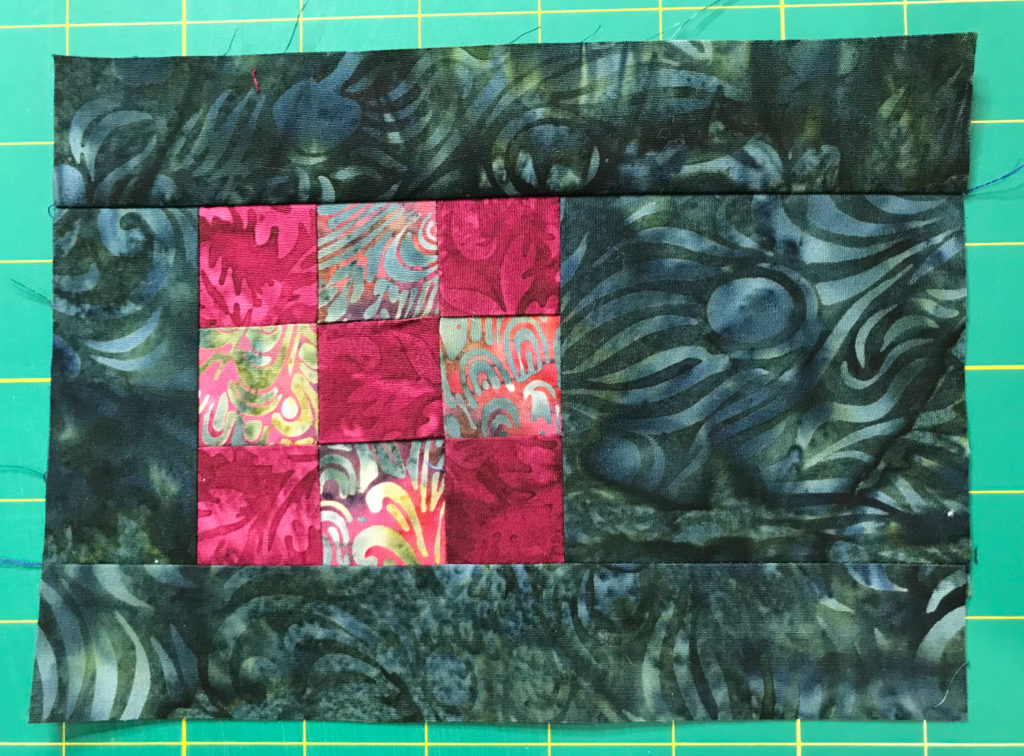
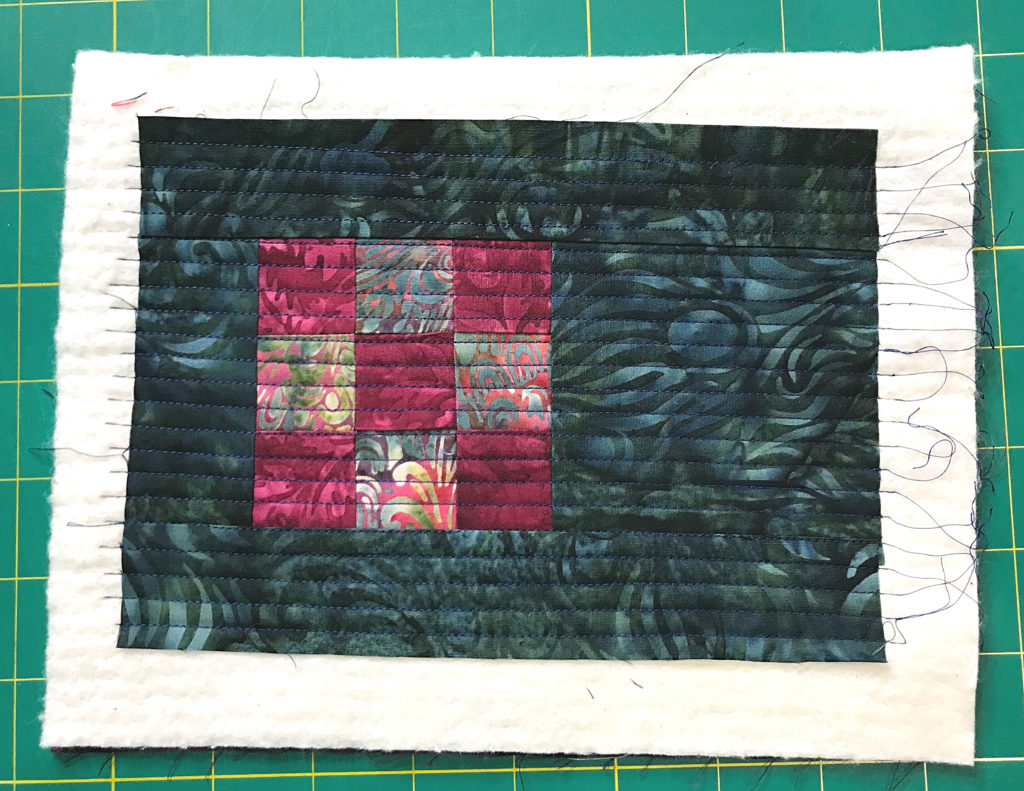
To finish up your project lay your backing fabric (wrong side up) on a flat surface. Next, line up the batting on top of the backing fabric. Then lay the top onto the batting and backing fabric, centering it. Lastly, quilt and bind as desired.
Like I said earlier…super easy! A set of these mug rugs would look great in holiday colors and they’d make a great gift. I hope you give them a try.
The Bag I Made
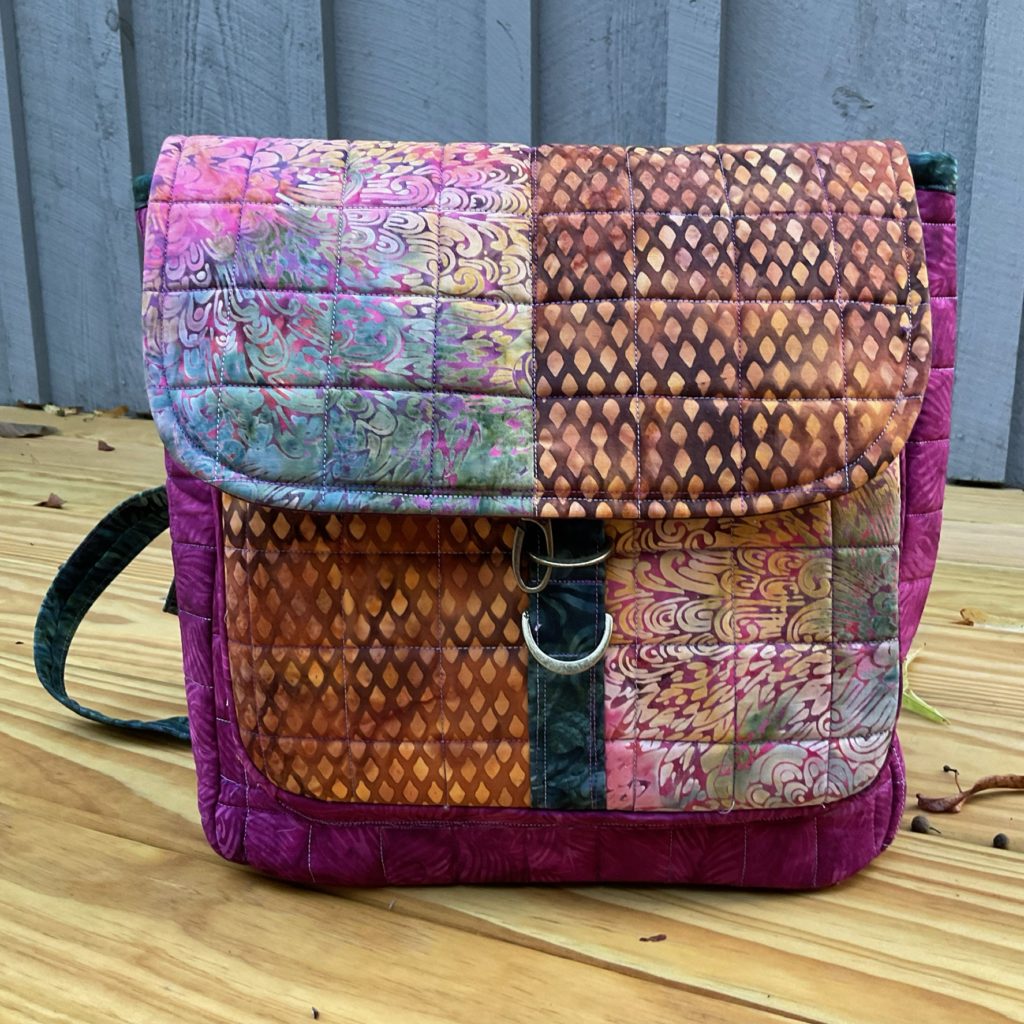
Remember how I said that my Island Batik Ambassador challenge was to make a bag from byAnnie? Well here it it. I absolutely love it and I’m not really a bag maker. The “Switchback” pattern was not the easiest one to make, but with their organized and easy-to-follow instructions, I did it and it was not as daunting as I thought it would be. I’m pretty proud of this bag. It went to my daughter who started college a few weeks ago.
I tried to persuade her to leave it for me, but it didn’t work. Oh well, I guess I’ll just have to make another one. You can see how I made it, along with more information on the fabric in my bag making blog post.
Happy Quilting!
