
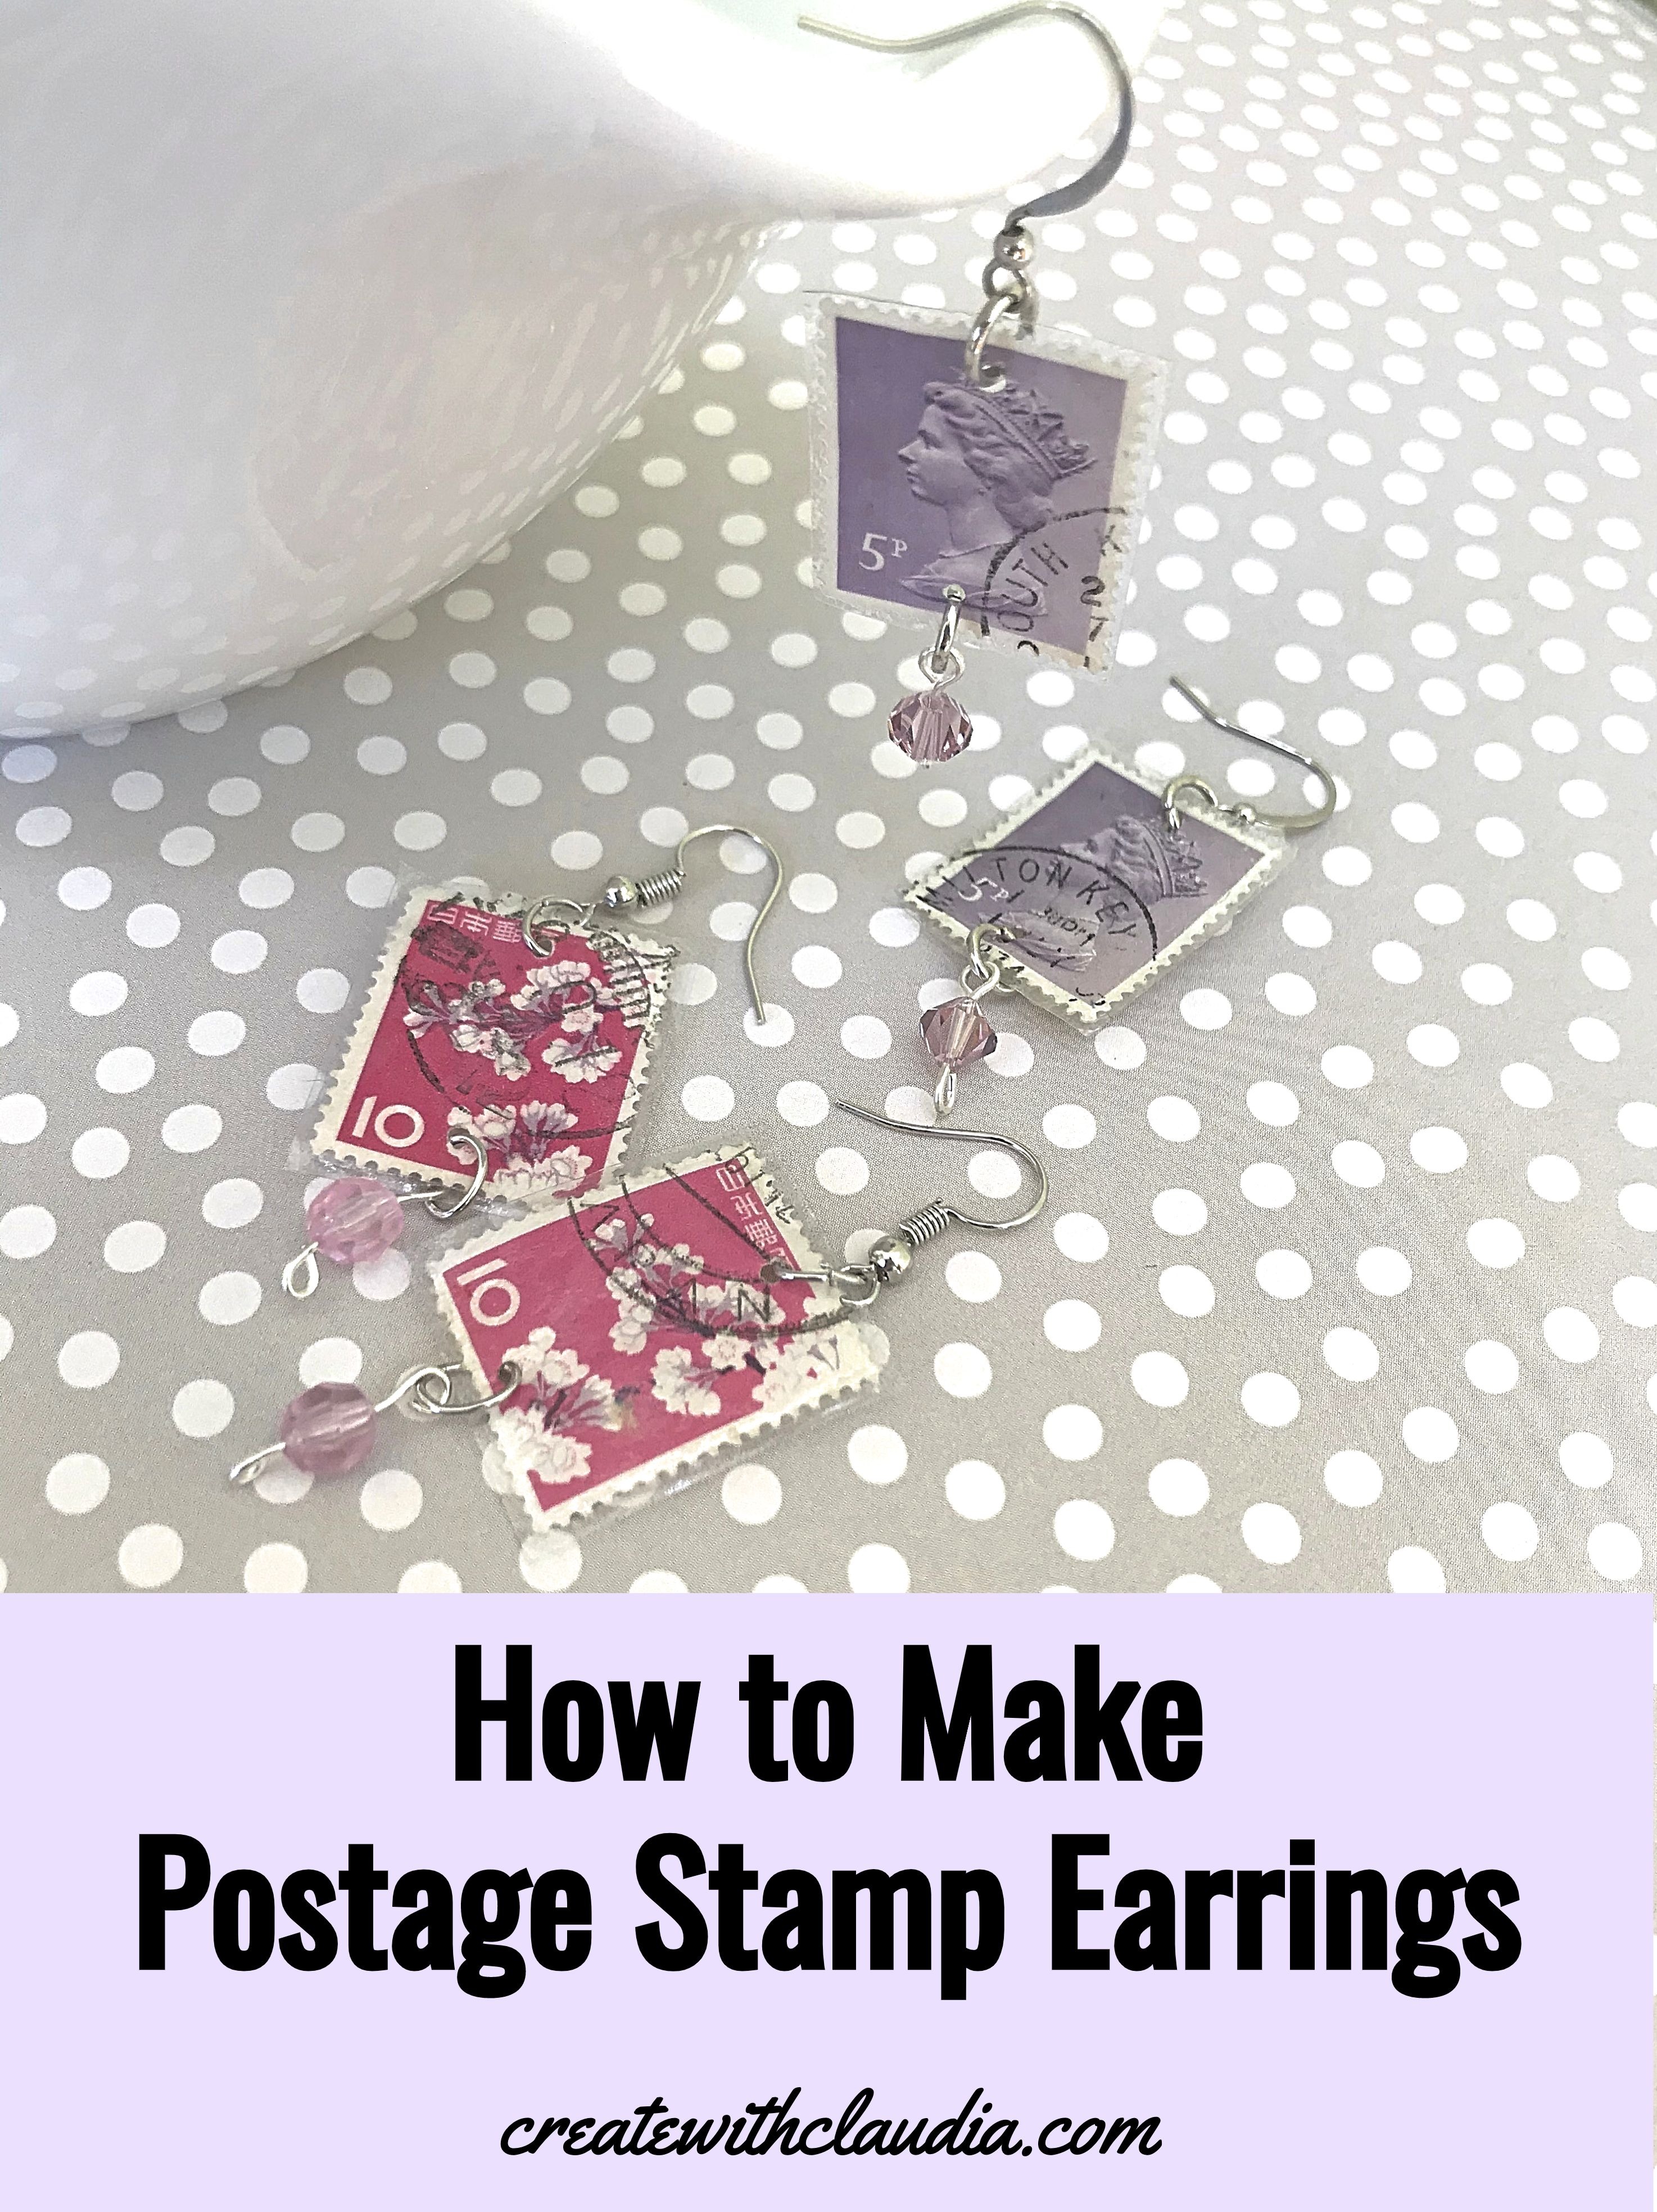
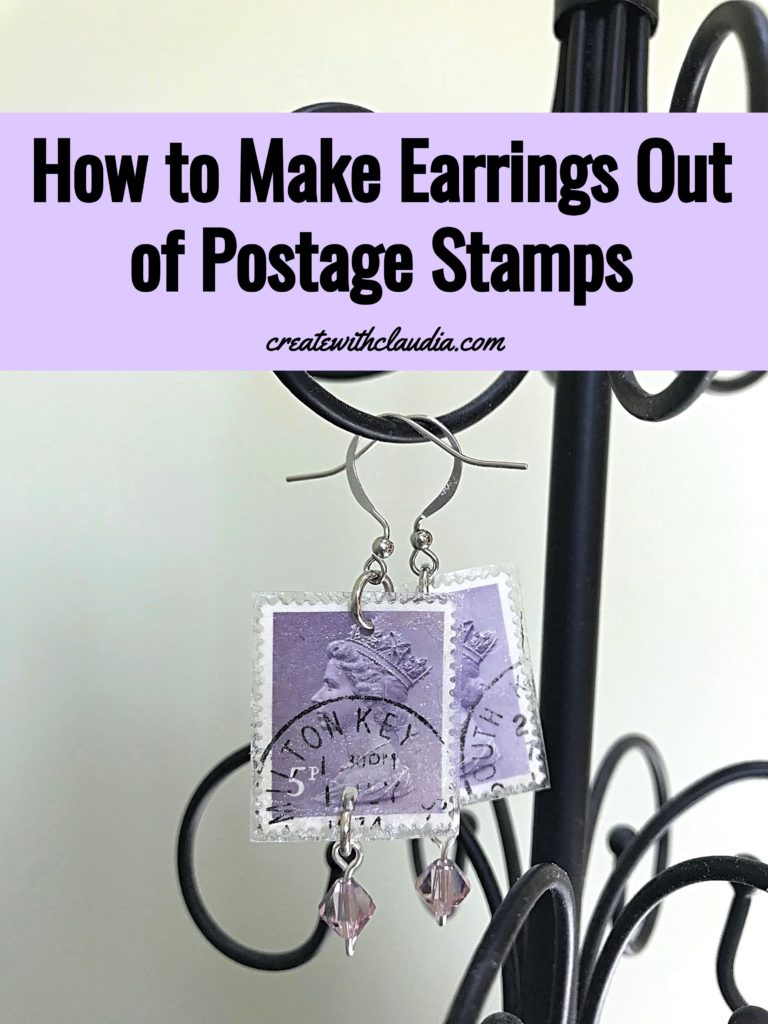
Postage Stamp Earrings Tutorial
Every once in a while I pull out my box of used postage stamps and try to get some inspiration from them. For some reason all of the colors and designs get the creative side of my brain going. As I was going through them a few weeks ago, a light bulb went off in my head and I thought they would look great as a pair of earrings. As a result, I came up with this easy postage stamp earrings tutorial.
I just think they look terrific, and no two pairs are alike. You also don’t see many postage stamp earrings around, so they make a unique fashion statement.
With only a few supplies needed, they are surprisingly easy to make. In fact they are so simple to put together that it is worth it to make a few pairs at a time.
Let’s get started.
Check out the video tutorial for these earrings
Supplies You’ll Need
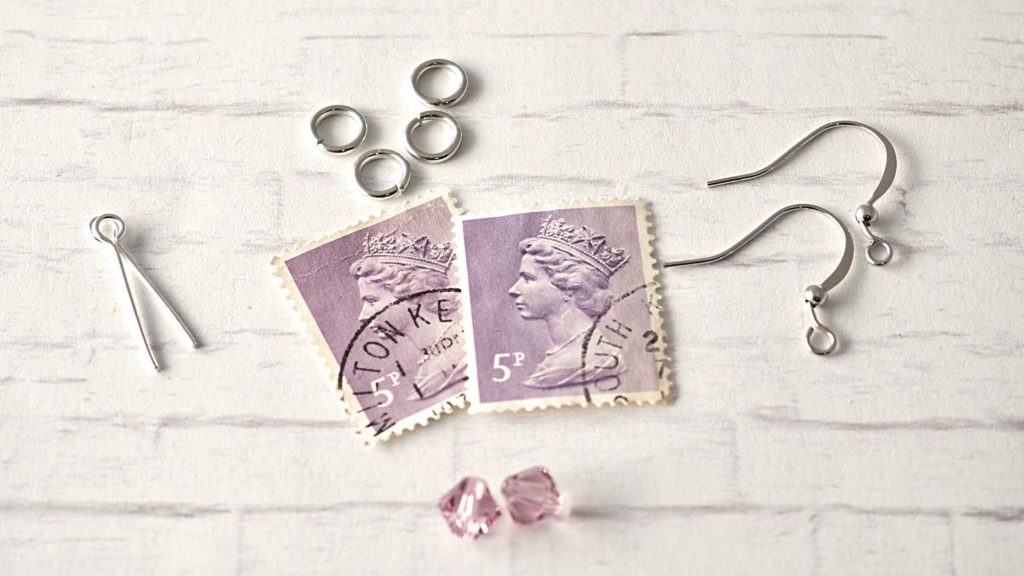
- 2 Used Postage Stamps (any size or pattern desired) * Don’t use any that you think might be worth some money as this process ruins any value they may have.
- 2 Beads
- 2 Earring Hooks or Wires
- 4 Jump Rings – 6mm
- 2 Eye Pins – 18 or 20mm
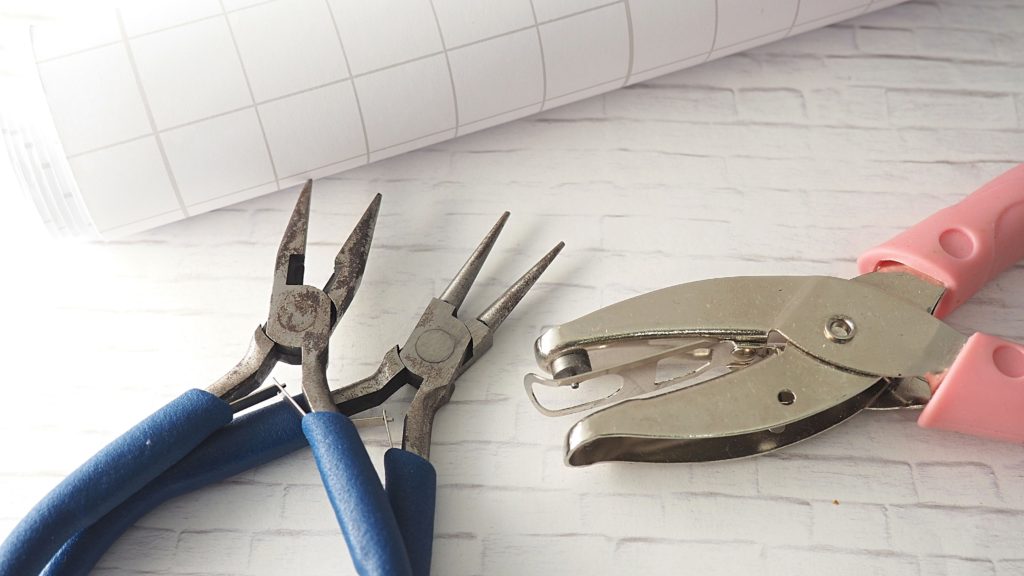
- Iron-on Vinyl, clear contact paper or another laminating method
- Mini Hole Punch – 1/16”
- Jewelry Making Tools
Items to help you make these earrings
As an Amazon Associate I earn from qualifying purchases.
Preparing the Stamps
Note: For my earrings I used iron-on vinyl to seal the earrings, and I used the manufacturer’s instructions to guide me. If you are using something else to seal the stamps, you will have to follow those manufacturer’s instructions.
Make sure that the stamps are clear of any debris or other paper.
First, take a piece of vinyl that is large enough to cover both stamps front and back. Remove the paper backing and lay the vinyl on a surface with the sticky side facing up.
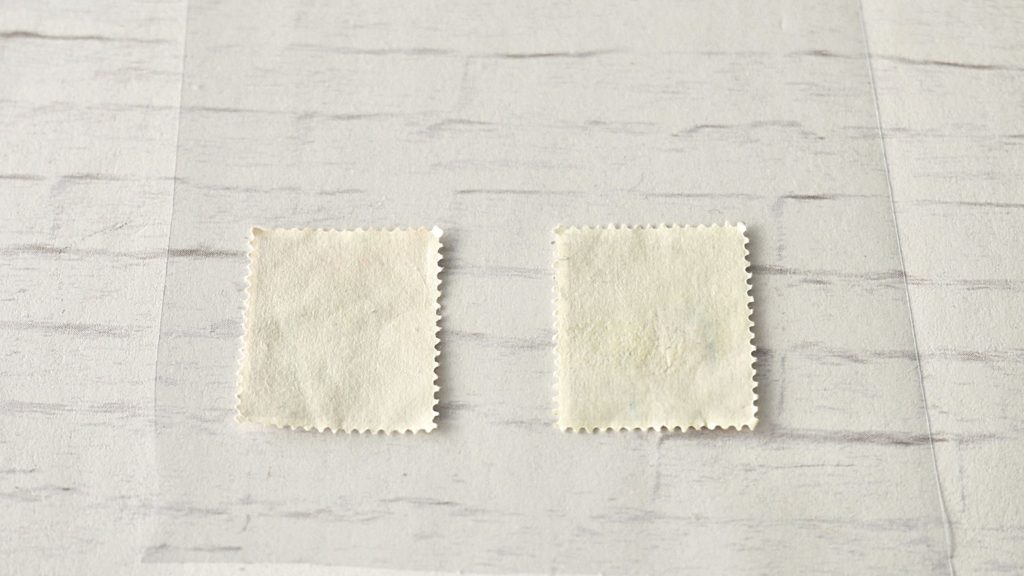
Next, place the postage stamps close to one end of the sticky side of the vinyl and gently press.
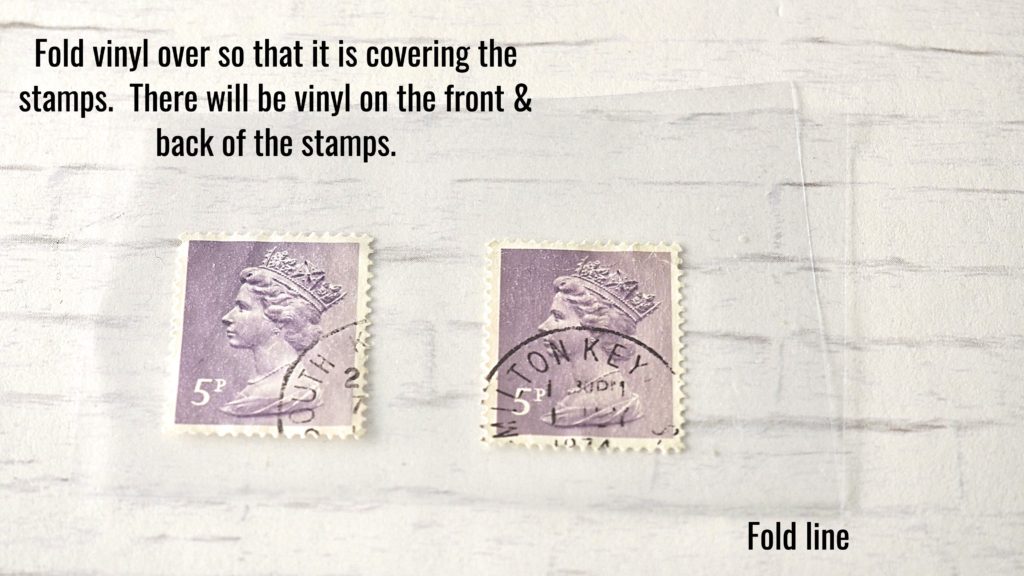
Then, fold the remaining vinyl over the top of the stamps. The stamps will be sandwiched in between the layers of vinyl. Gently smooth out the vinyl to get rid of any air bubbles or wrinkles.
Following the manufacturer’s instructions, press the vinyl with an iron to seal the stamps. Cool completely before touching.
Important: If you are using a different method to laminate the stamps then you do not need to do the step(s) mentioned above. You will want to follow the manufacturer’s directions on the product you are using.
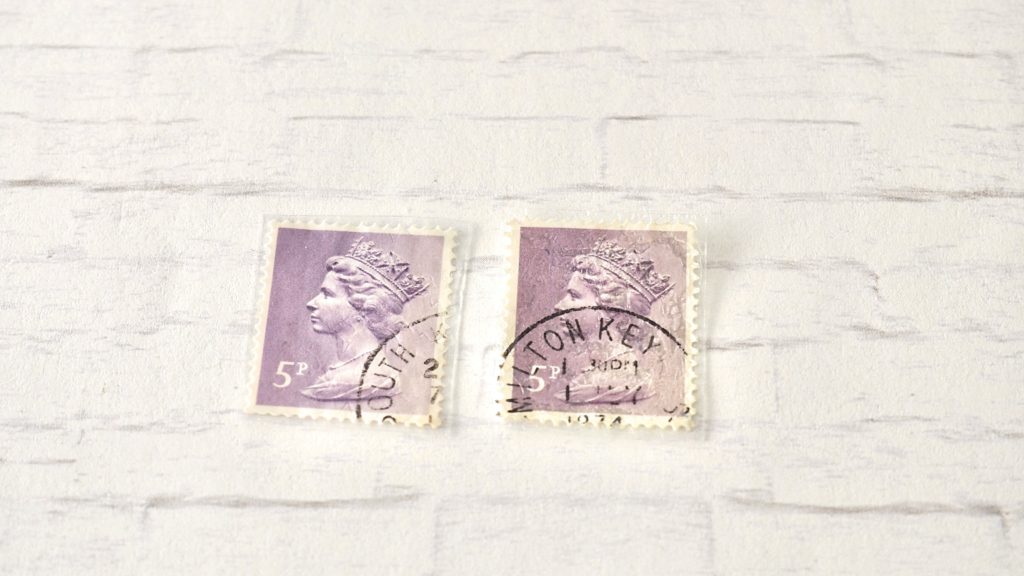
Cut out the stamps, as closely as possible to the scalloped edge of them.
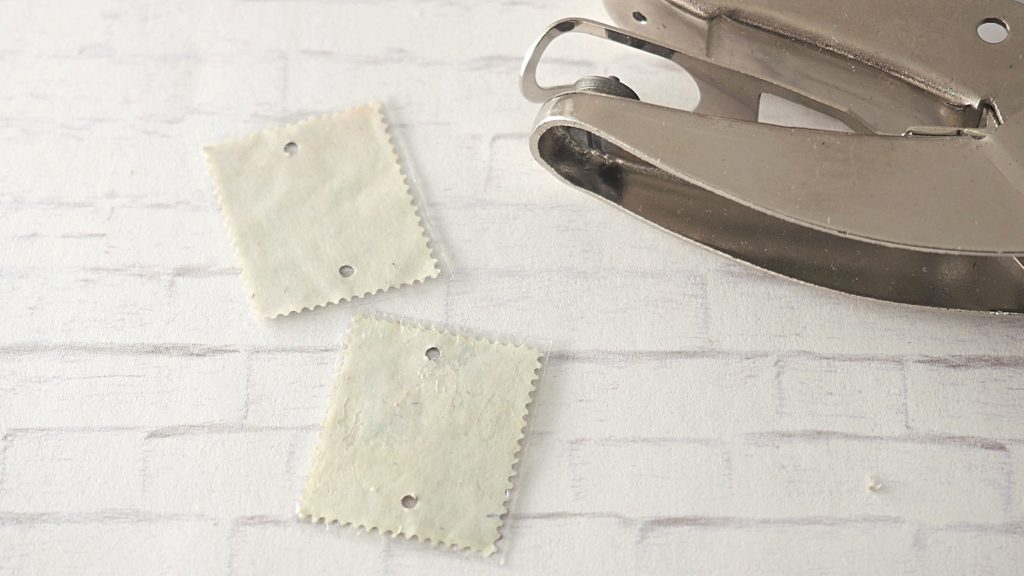
Lastly, using the mini hole punch, make a hole in the top and bottom of the stamps, approximately 1/16” to 1/8” from the edge. Set aside.
Assembling the Earrings
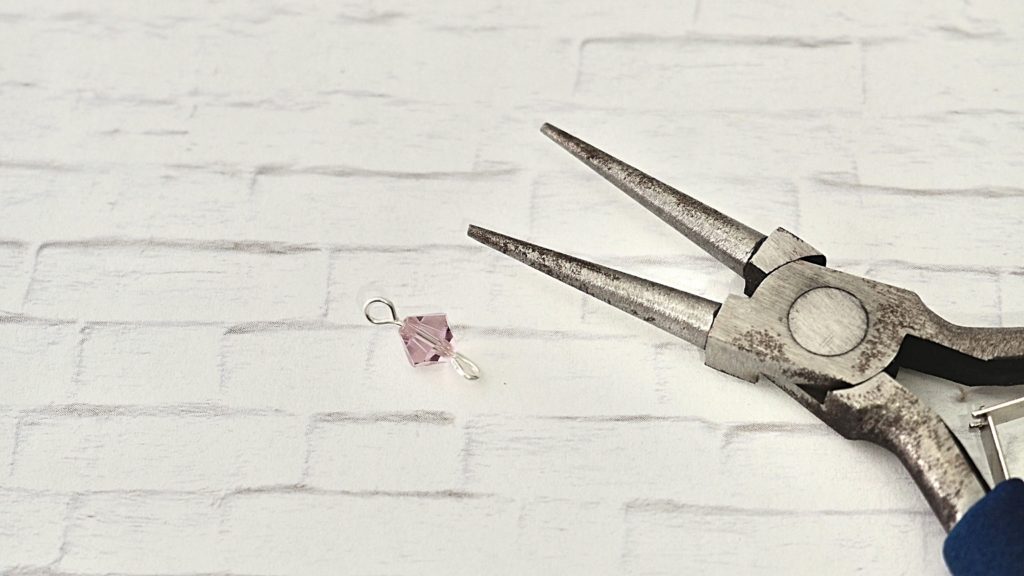
First, add a bead to the eye pin. Then, using the needle nose pliers, twist the straight end up into a loop so the bead does not fall off. Repeat with the second one.
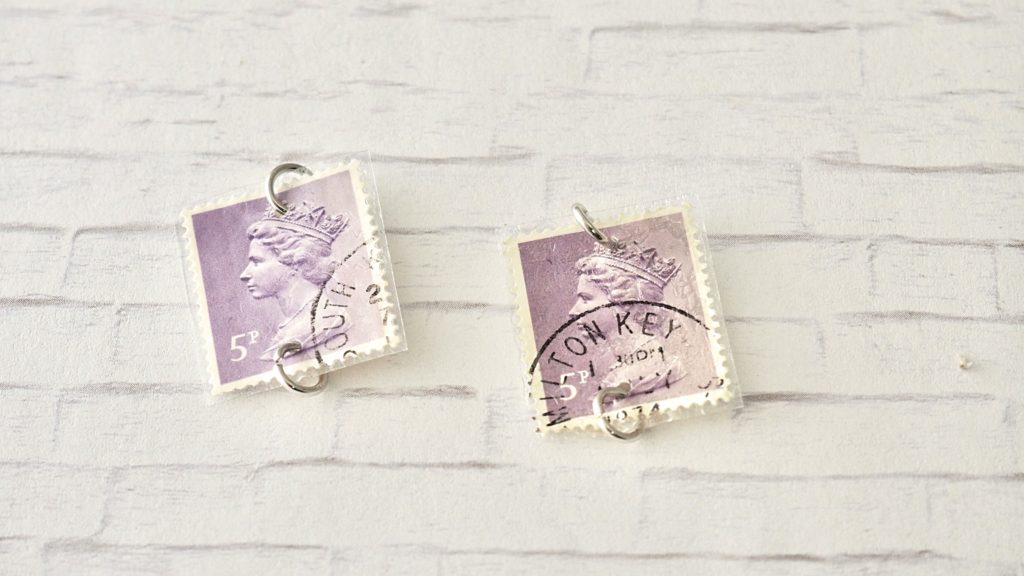
Next, add jump rings to the holes previously punched in the stamps. Add the eye pin with the bead on it to the bottom of the stamps.
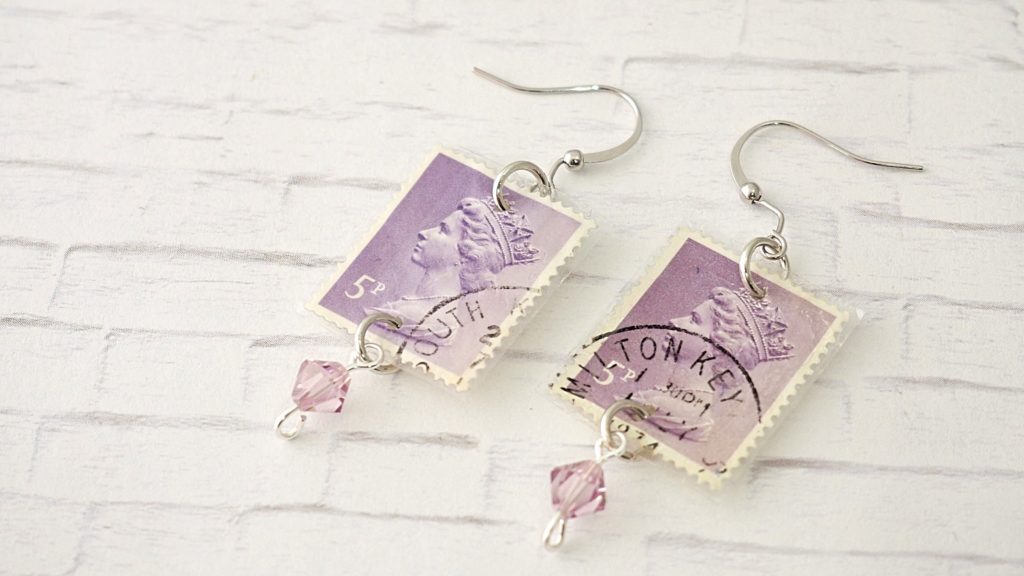
Then add the earring hook/wire to the top jump ring.
Important: When adding the hooks, make sure to pay attention to the direction they are facing. My earrings don’t have a back side, so I wanted to make sure they hung with the design facing out so people can see them.
Squeeze the rings closed tightly so that stamps don’t slip out.
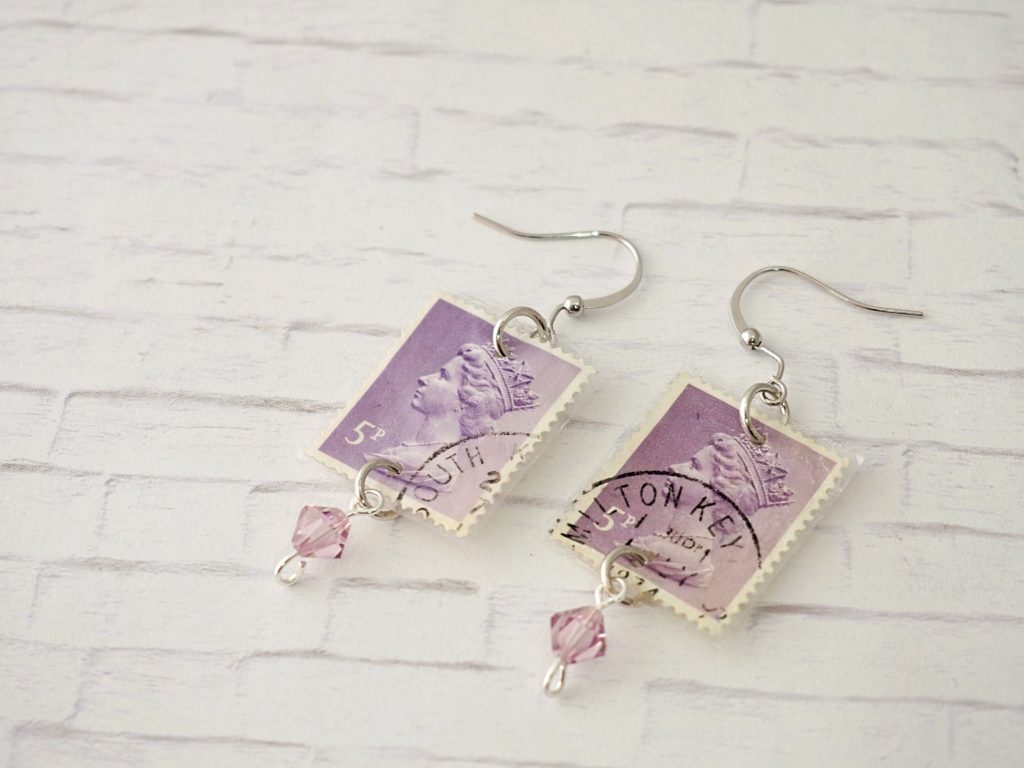
Voila! You now have a totally unique and stylish pair of earrings.
The possibilities are endless with this jewelry. With so many beautiful stamps out there in every color of the rainbow, you won’t want to stop making them.
If you liked this postage stamp earrings tutorial, then you may like this fun fabric one too.

Don’t forget to share your earrings on Instagram and tag me at #createwithclaudia so I can see what you made.
Thanks for reading and Happy Crafting!

2 Comments
Emma
January 18, 2021 at 1:04 AMHi! I just wanted to thank you for this article! I have some old stamps a friend gave me that I’ve been wondering what I could do with. And I thought about making them into earrings but had no idea how I should go about it. This is exactly what I was looking for. Your video tutorial is so helpful and you even linked the products!
createwithclaudia_7j76hs
January 18, 2021 at 6:21 AMThat’s great. Have fun making your earrings!