
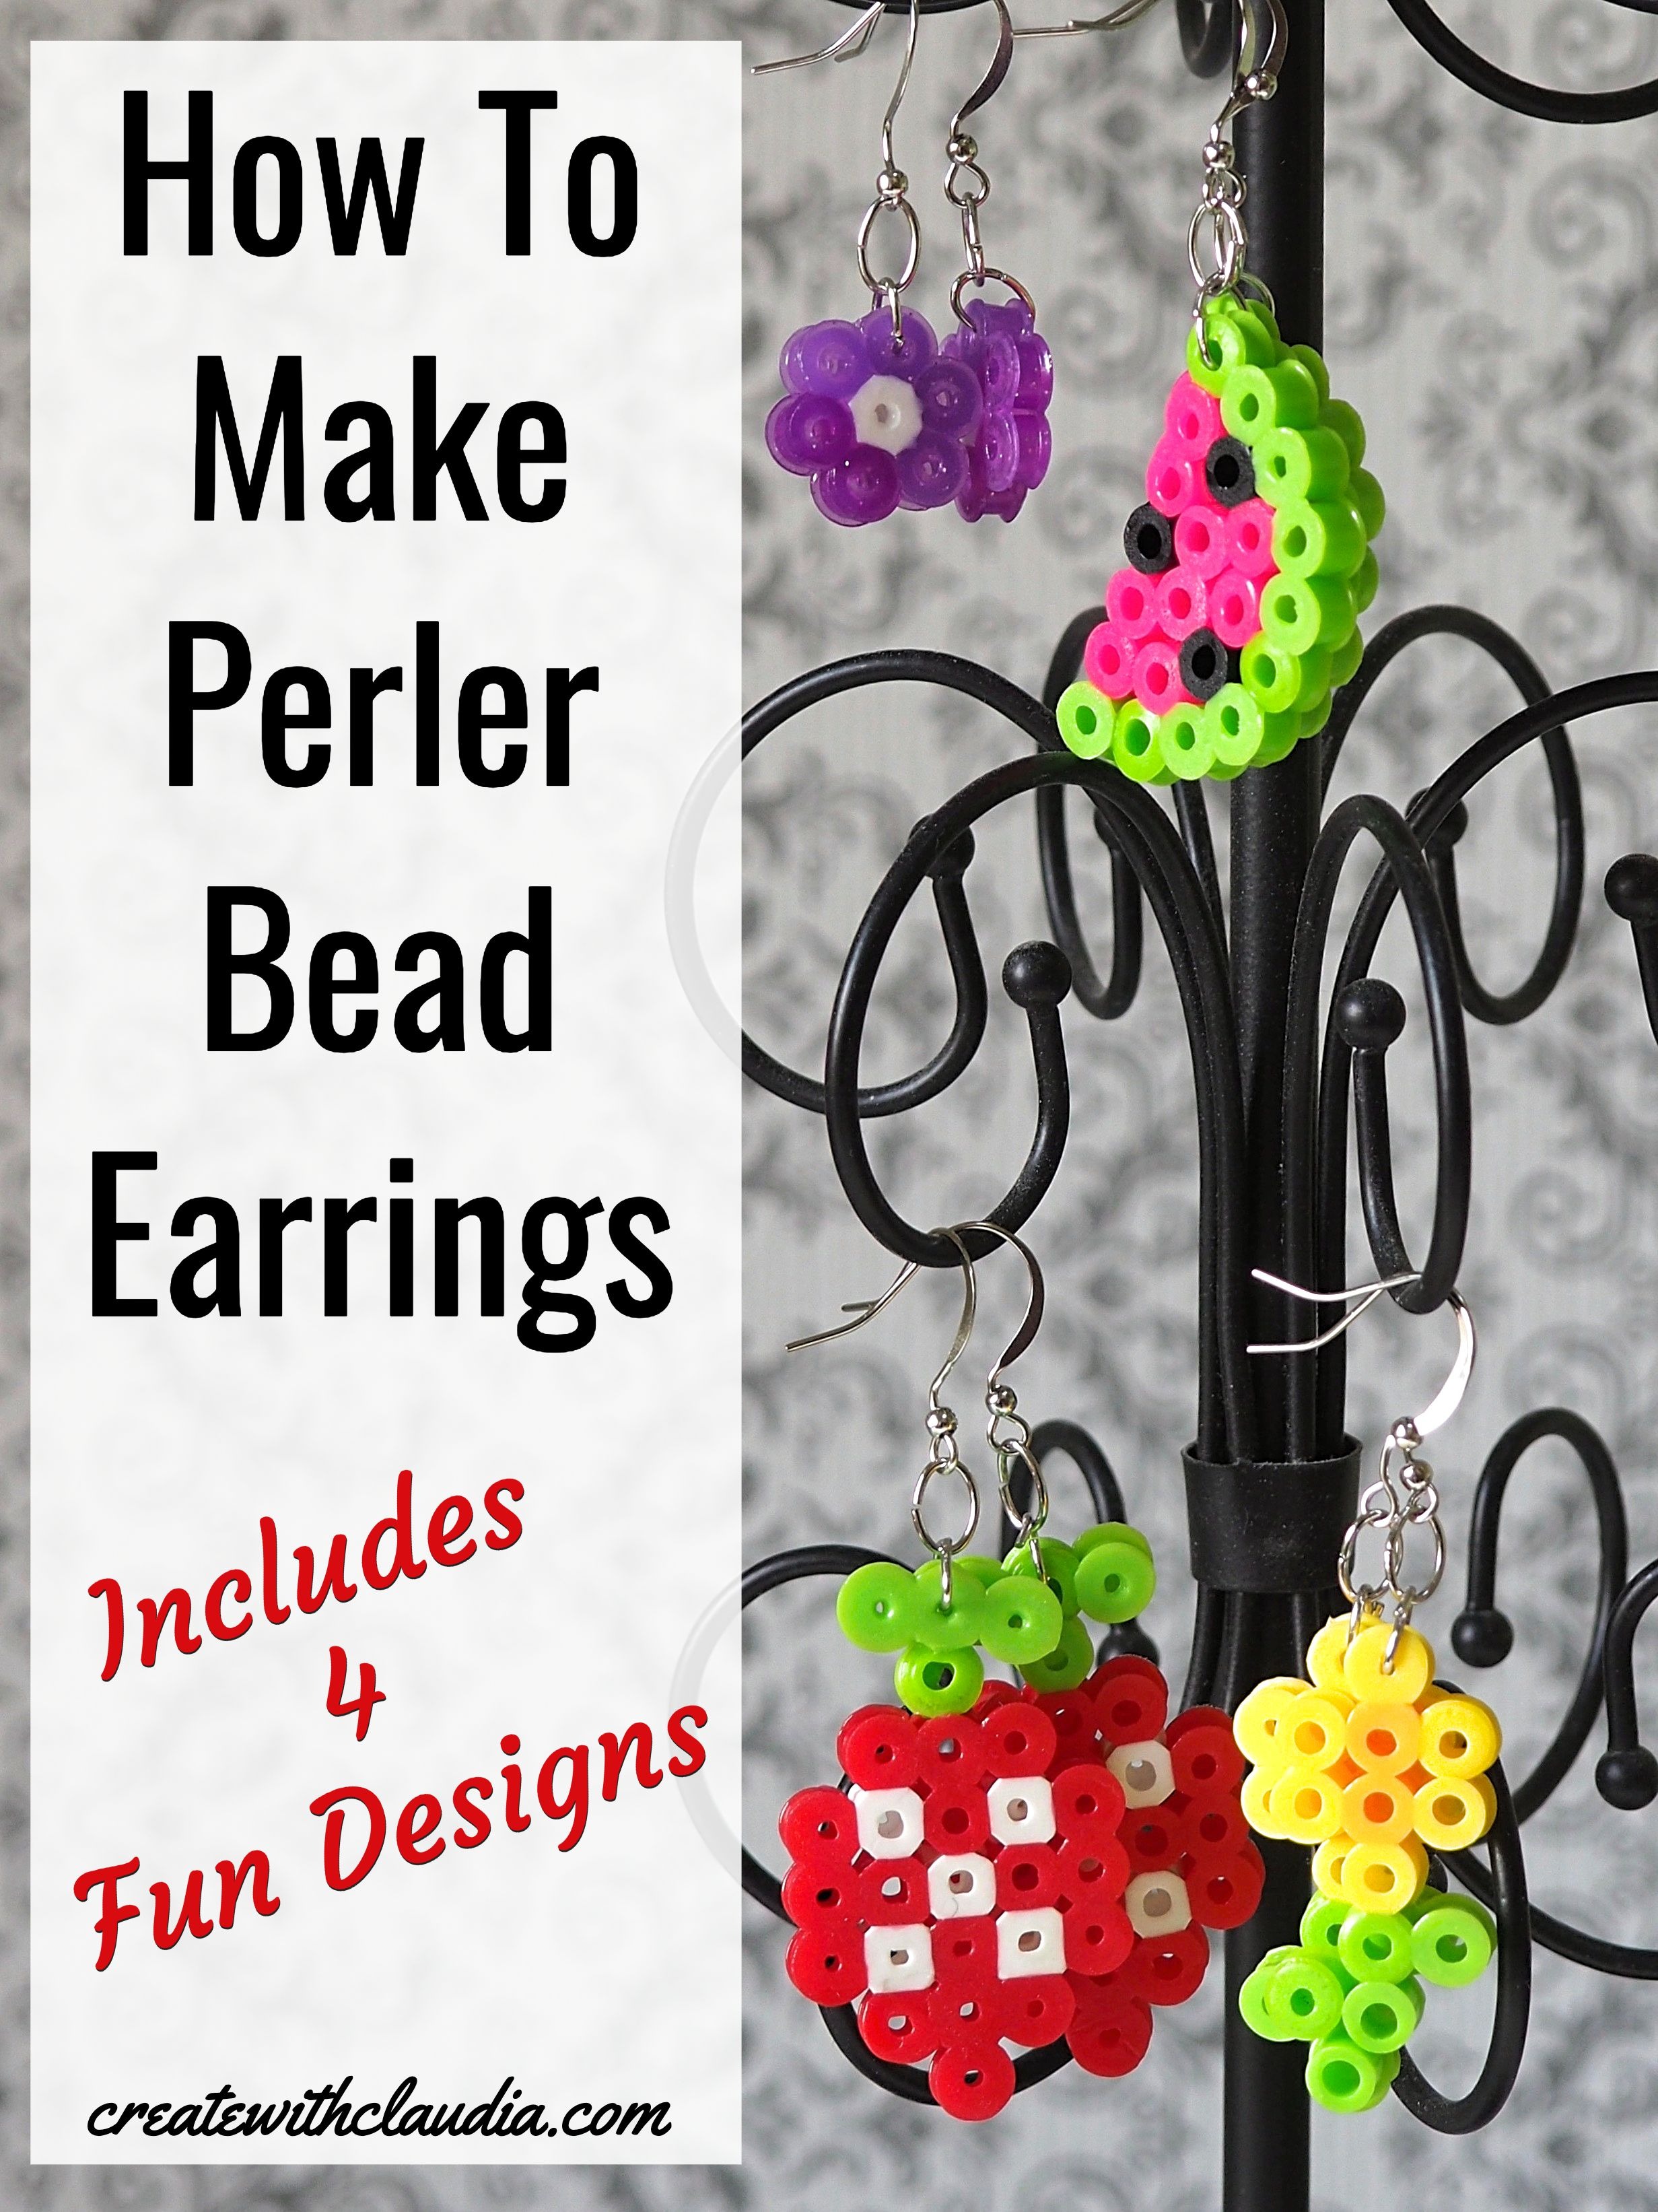
Easy Perler Bead Earrings Tutorial
When my daughter was younger she was really into perler (also known as hama) beads. Over the years, she lost interest in them, but we still have her brightly colored creations around the house. We also have a big plastic container filled with unused beads. In my never-ending quest to declutter, I decided to dig in to that bin, and I came up with this easy perler bead earrings tutorial.
Perler beads come in practically every color of the rainbow, and the design possibilities are endless. It is also surprisingly simple to turn them into a pair of fun earrings that kids, teens, and even adults, will love.
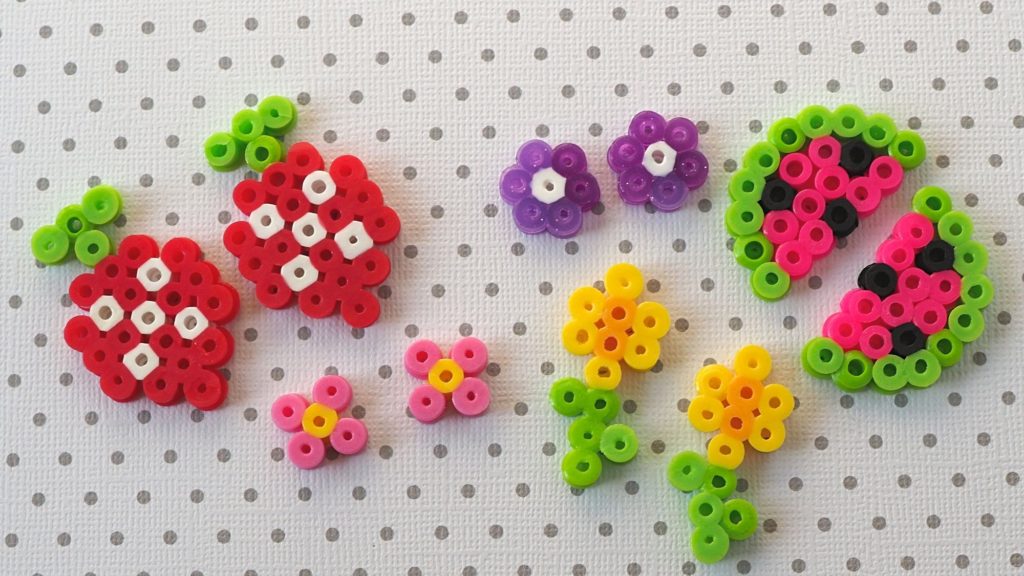
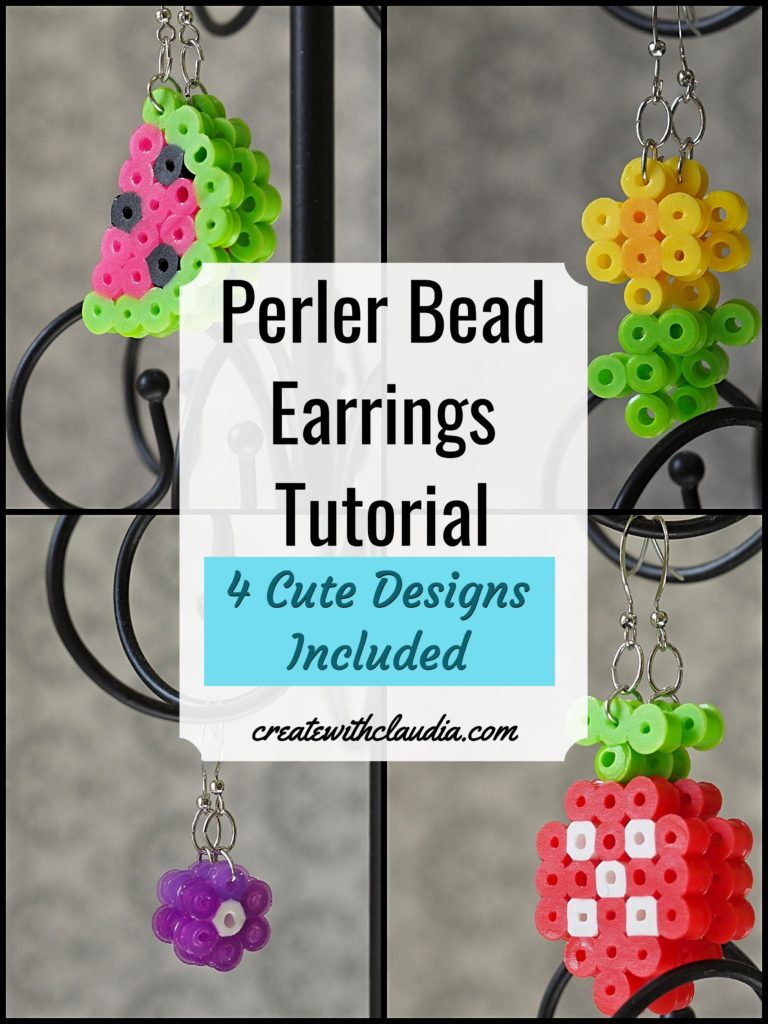
Today I am bringing you four different options, two that are fruity, and two that are floral. The fruit designs are big, bold, and sure to bring a smile to anyone who sees them. The flowers are a bit more understated, especially the smaller ones.
No matter which design you choose, you will not be disappointed.
You can see how I made these earrings in my video.
Instructions
Supplies Needed For One Pair of Earrings
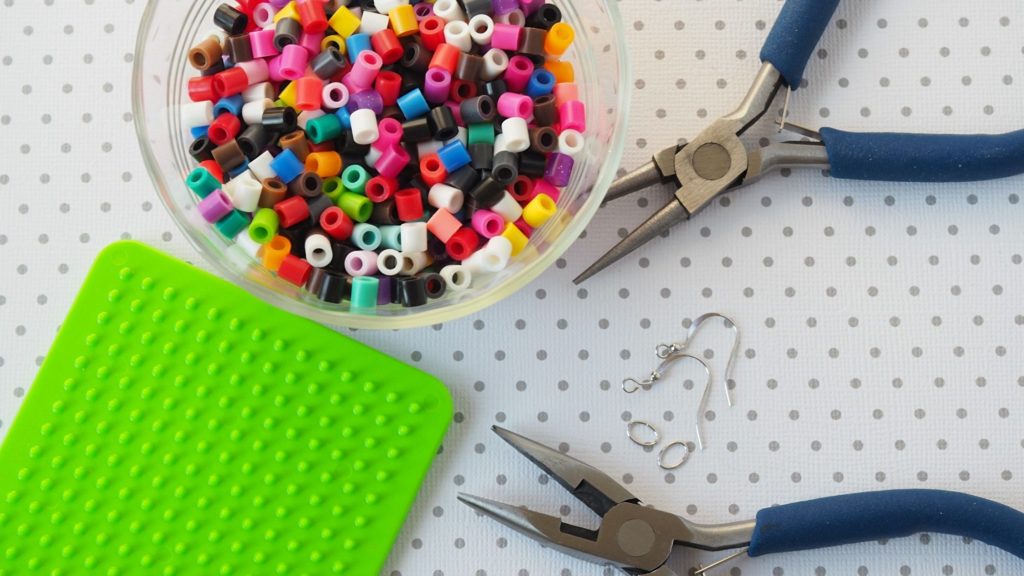
- Perler (Hama) Beads
- Square and/or Round Bead Peg Boards
- Earring Hooks – 2
- Jump Rings – 6mm or larger – 4
- Needle Nose Pliers
- Round Nose Pliers
- Iron
- Ironing Board
Items You Can Use To Make This Project
You can find many of the items that I used to make this project in my Amazon Store.
As an Amazon Associate I earn from qualifying purchases.
Patterns and Number of Beads Needed:
Strawberry
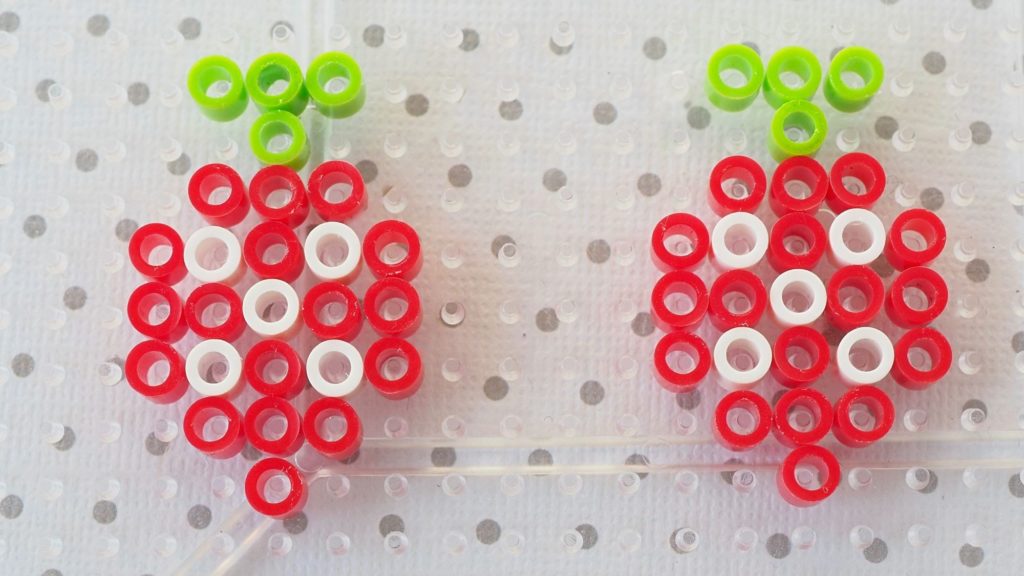
For the strawberry you will need the following number of beads: 8 – green, 10 white, 34 red – Use a square peg board
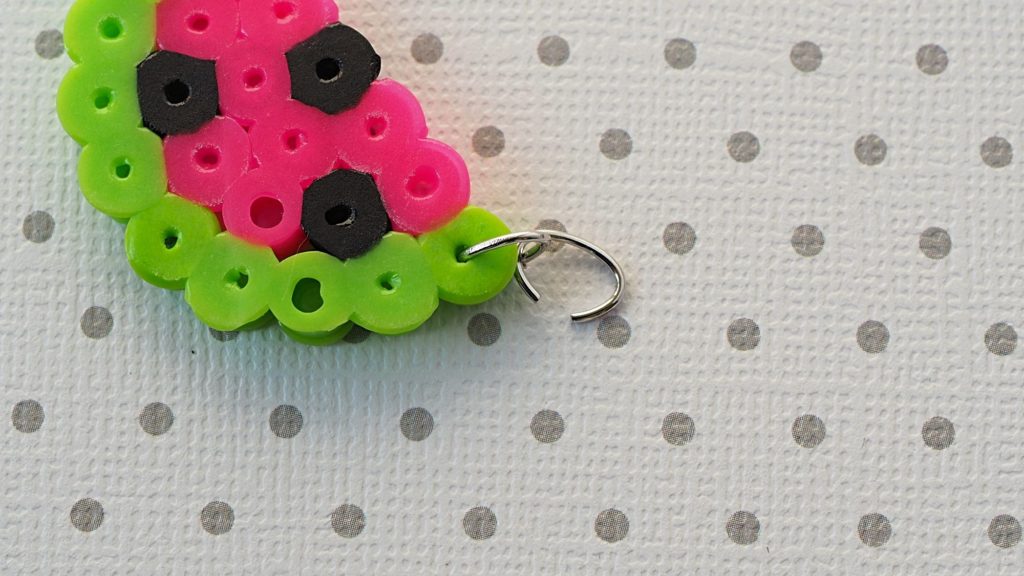
Watermelon
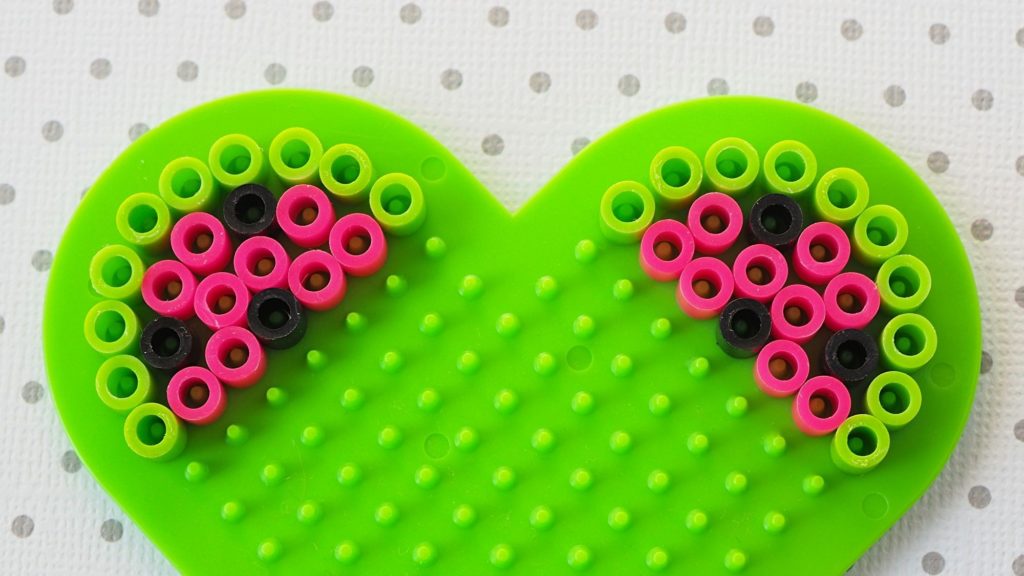
For the watermelon you will need the following number of beads: 20 green, 18 pink, 6 black – Use a round peg board
Daffodil
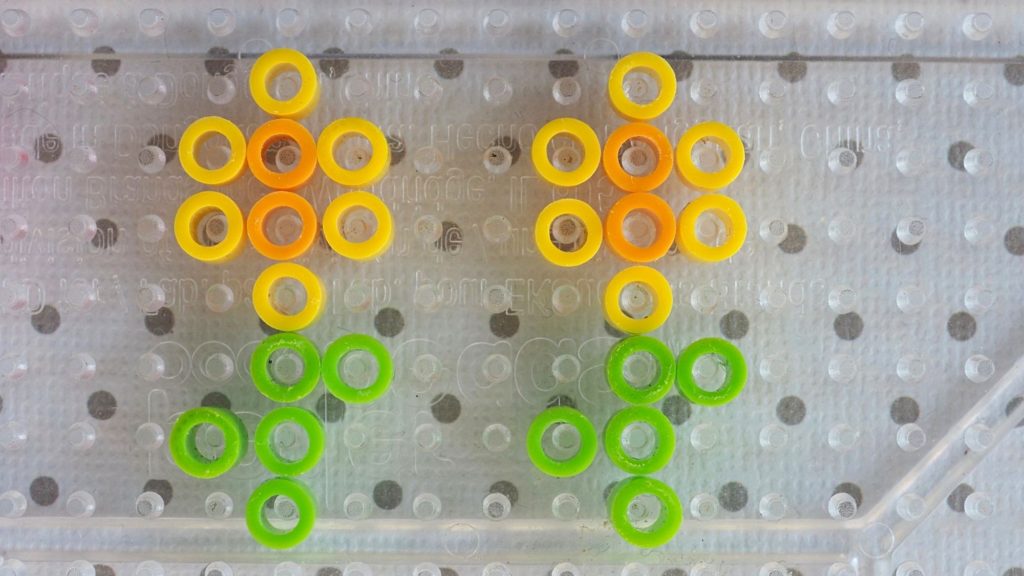
For the daffodil you will need the following number of beads: 10 green, 12 light yellow, 4 dark yellow – Use a square peg board
Purple Daisy
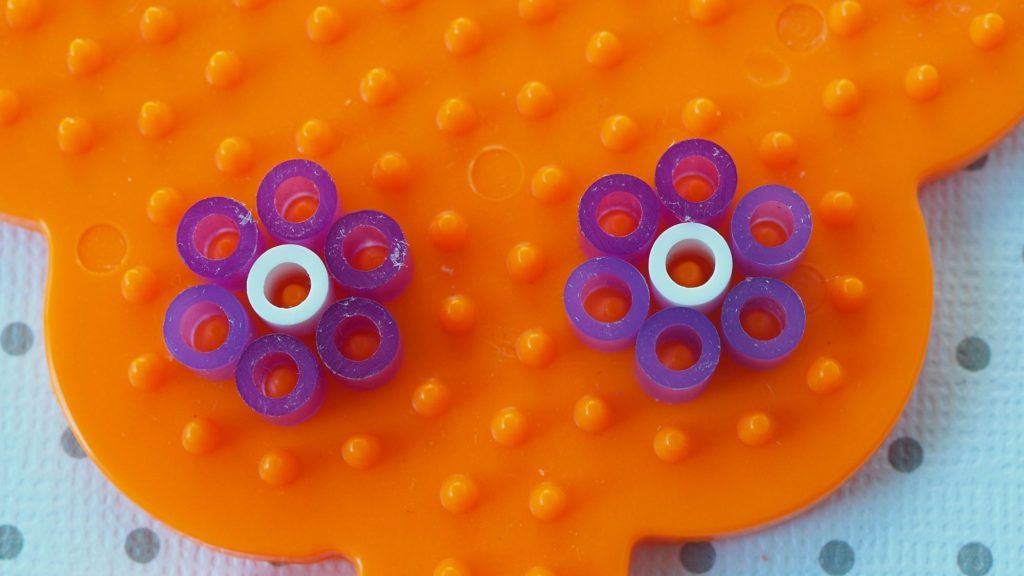
For the purple daisy you will need the following number of beads: 12 purple, 2 white – Use a round peg board
Step 1 – Make the Perler Bead Shape
- Lay out the design for the first earring on your peg board.
- Following the pressing instructions that come with your perler beads, create the shape. Try to keep the hole open where you will be inserting the earring fixture by not melting that area too much.
- Repeat with the second earring.
Important: These shapes will be extremely hot. Use caution when doing this craft and follow all of the directions that came with your perler beads. This project should be done by an adult.
Step 2 – Assemble the Earrings
Once the shapes have cooled completely, you can start assembling the earrings.
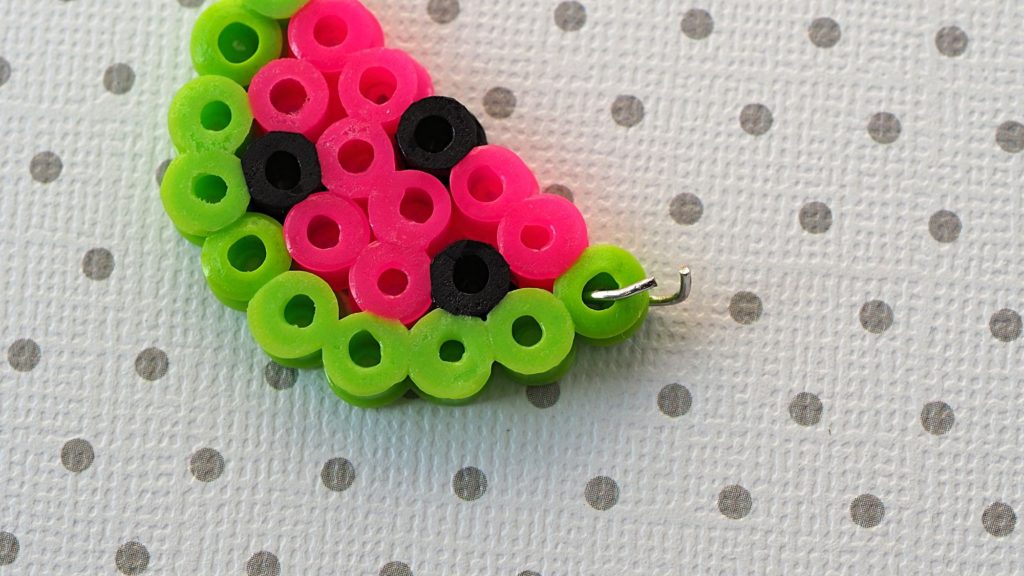
First, take one of the bead shapes you made and insert a jump ring through the hole you want to use for the fixtures. Gently pinch the ends of the jump ring together so there is no gap. This will be the top of your earring.
Note: If the hole in the bead is too small because it melted too much, take a sharp needle and make it larger. I used a sewing machine needle to help me out with this.
Take the second jump ring and attach it to the first one. Don’t pinch it shut yet.
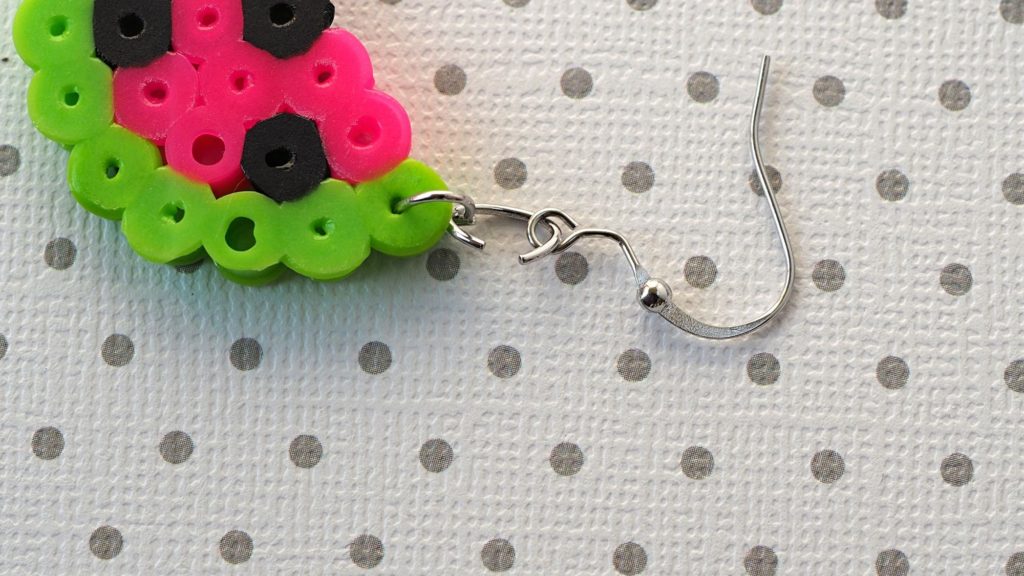
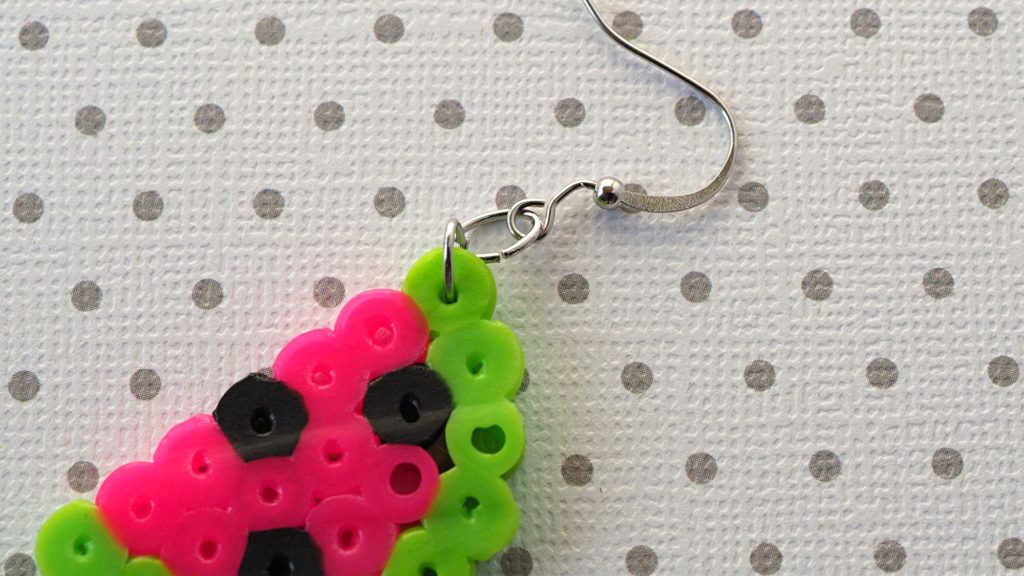
Finally, take the earring hook and attach it to the second jump ring. Now pinch the ends of the ring together so there is no gap.
Repeat all of the steps with the second earring. You now have some fun and colorful fashion.
A few things to look out for:
Strawberry – Make sure that the one green bead connecting to the red one is melted a lot. This is a weak point, and I had to redo one of them because it came apart.
Daffodil – The weak link in the flower is the bottom yellow bead that attaches to the green stem. Make sure that it is melted well at that point.
And don’t forget that you are not limited to these four designs. Just think of all of the different kinds of fruit and flowers there are.
So whether you have a big bin of forgotten perler (hama) beads, or you just bought your first set, this easy perler bead earrings tutorial is a unique way to use them.
More Perler / Hama Bead Projects
If you love perler beads and want to try out some other projects, these three fun and fabulous projects are a great option!
